If you have ever stared at your work and thought, “Wait. When did that happen?” welcome. You are officially a knitter or crocheter. Mistakes are not a sign you are bad at this. They are a sign you are making things with string, sticks, and optimism.
Below are 10 of the most common beginner knitting and crochet mistakes I see (and still occasionally make when my yarn stash is staring at me like a judgmental audience). Each one includes: how to spot it, why it happens, and how to fix it without starting over.
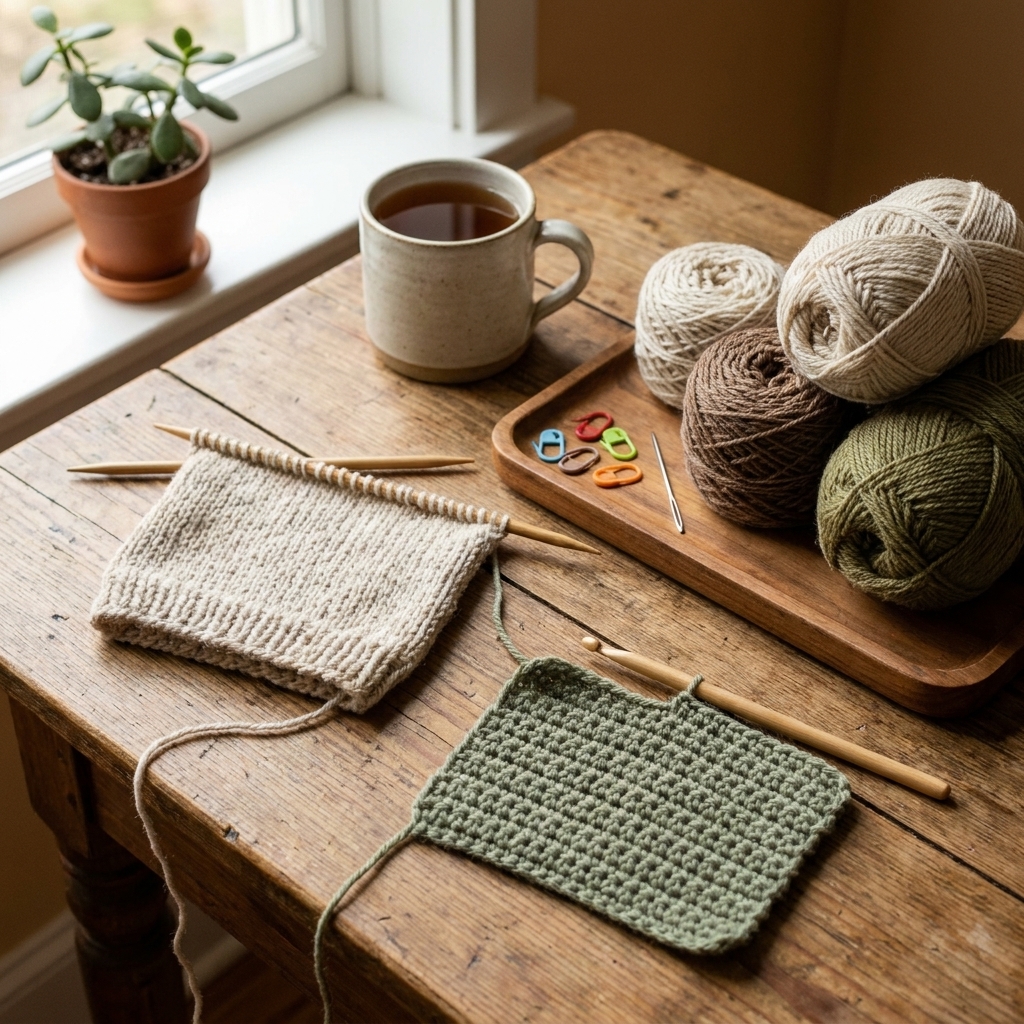
Before you fix anything: diagnose it
When something looks off, pause and do this quick check. It saves so much time.
- Count stitches. Compare to what you should have. If the count changed, you likely have an accidental increase or decrease, or a dropped stitch.
- Look for ladders, gaps, or dents. In knitting, a drop often shows up as a vertical run or loose bar. In crochet, an error often shows up as a hole, a bump, or a leaning edge.
- Check the fabric direction. If the whole piece looks slightly spiraled or slanted, think twisted chains, accidental turning, or inconsistent tension.
- Find your last definitely correct row or round. Put a removable marker there next time. Future you will be thrilled.
1) Dropped knit stitch
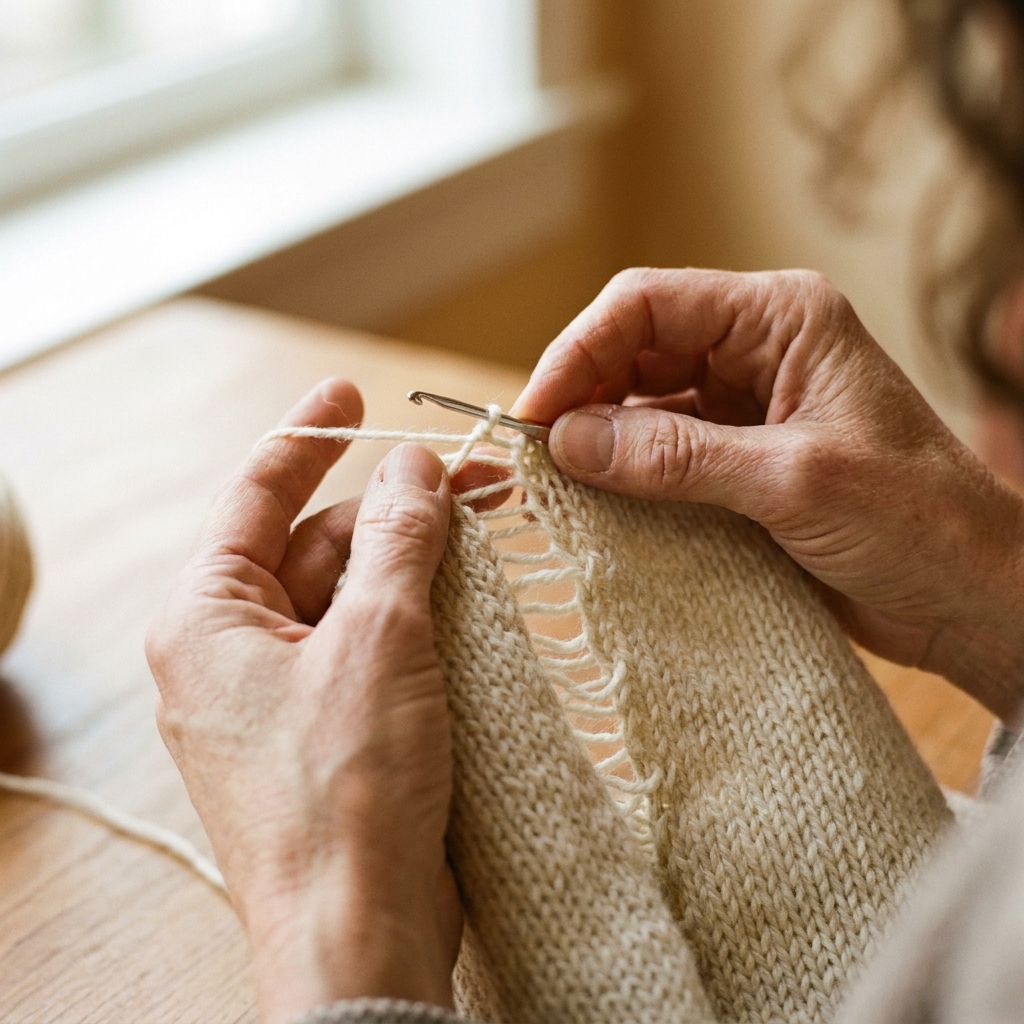
How to spot it: You will see a loose loop and a vertical ladder of horizontal bars below it. If you tug the fabric gently, the ladder becomes more obvious.
Why it happens: A stitch slips off the needle, often when switching needles, chatting, or setting the project down mid-row.
How to fix it (no ripping)
- Stop the run: Put a locking stitch marker or safety pin through the dropped loop right away so it cannot travel further. If your yarn is very delicate or snag-prone, use a smooth locking marker (or a scrap of waste yarn) instead of a sharp pin.
- Pick it back up: Use a crochet hook that fits your yarn. Starting at the lowest bar, pull the dropped loop through one bar at a time to ladder it back up.
- Return to the needle: Place the recovered stitch back onto the left needle with the correct orientation for your knitting style. In standard mount (for most Western knitting), the leading leg sits at the front of the needle.
- Secure if needed: If the stitch is loose, gently snug the surrounding stitches. If it is at an edge or in slippery yarn, you can lightly weave a tail through it later for peace of mind.
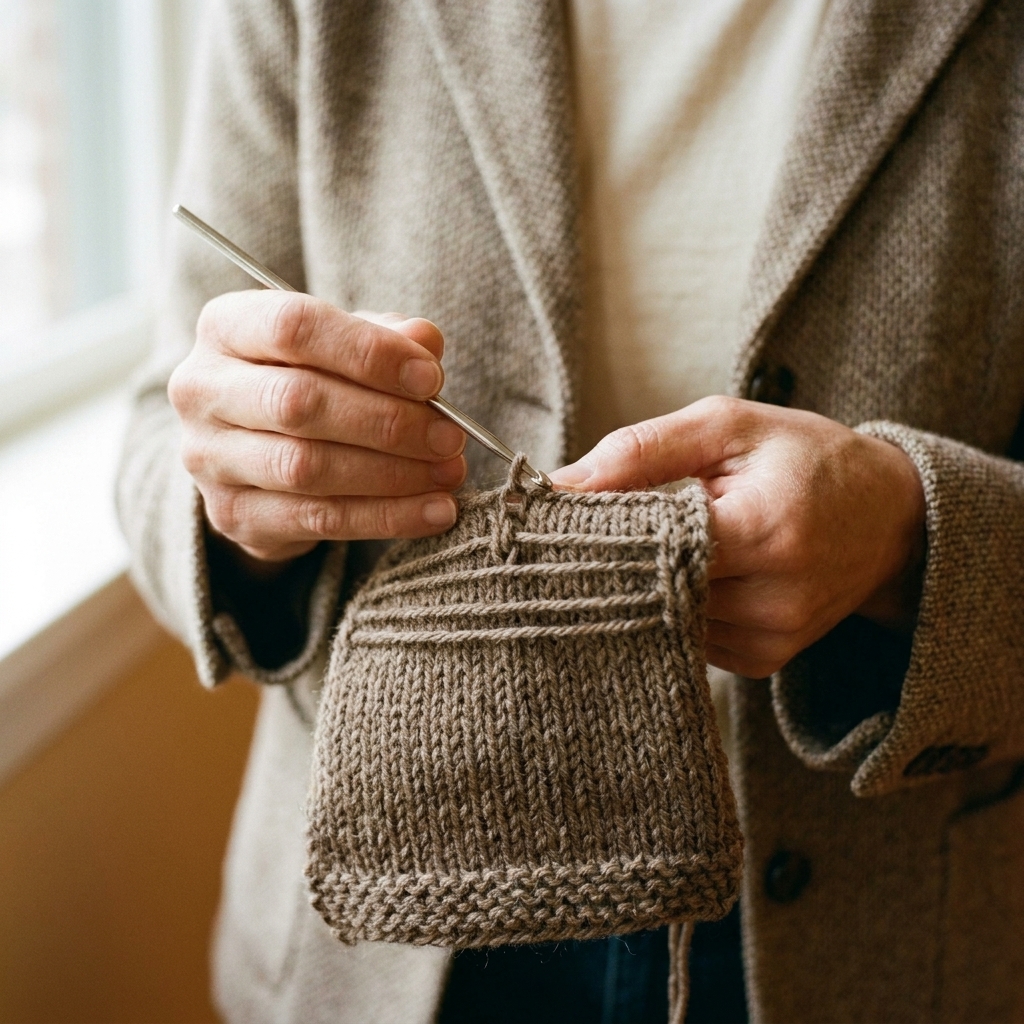
2) Skipped crochet stitch (missing stitch)
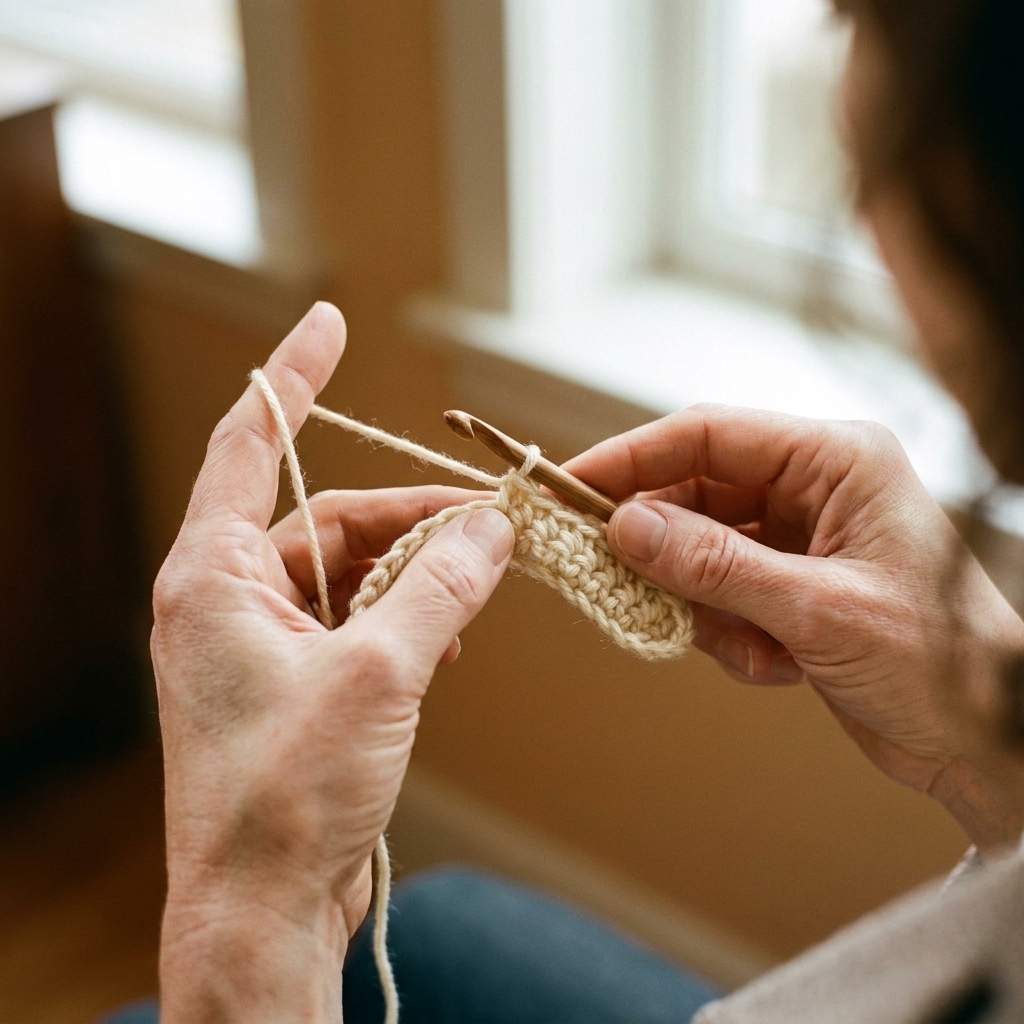
How to spot it: Your row looks shorter than it should, the edge pulls inward, or the stitch count is low by one (or more). Sometimes it shows up as a tight dent in the side.
Why it happens: You skip working into a stitch, especially the very first stitch of the row, the last stitch of the row, or a sneaky stitch near a turning chain.
How to fix it
- Confirm with stitch count: Count across the row you just made. If you are short, locate where the gap starts.
- If you are still on the same row: Pull back (frogging) only to the mistake. Most of the time this is 3 to 10 stitches, not the whole project.
- If you already worked more rows: You can fake a missing stitch by working an increase in a later row to get the count back, then gently redistribute the extra stitch (make the increase in a less noticeable spot like near a seam area). This will not be invisible, but it is often good enough for scarves, blankets, and cozy-at-home wearables.
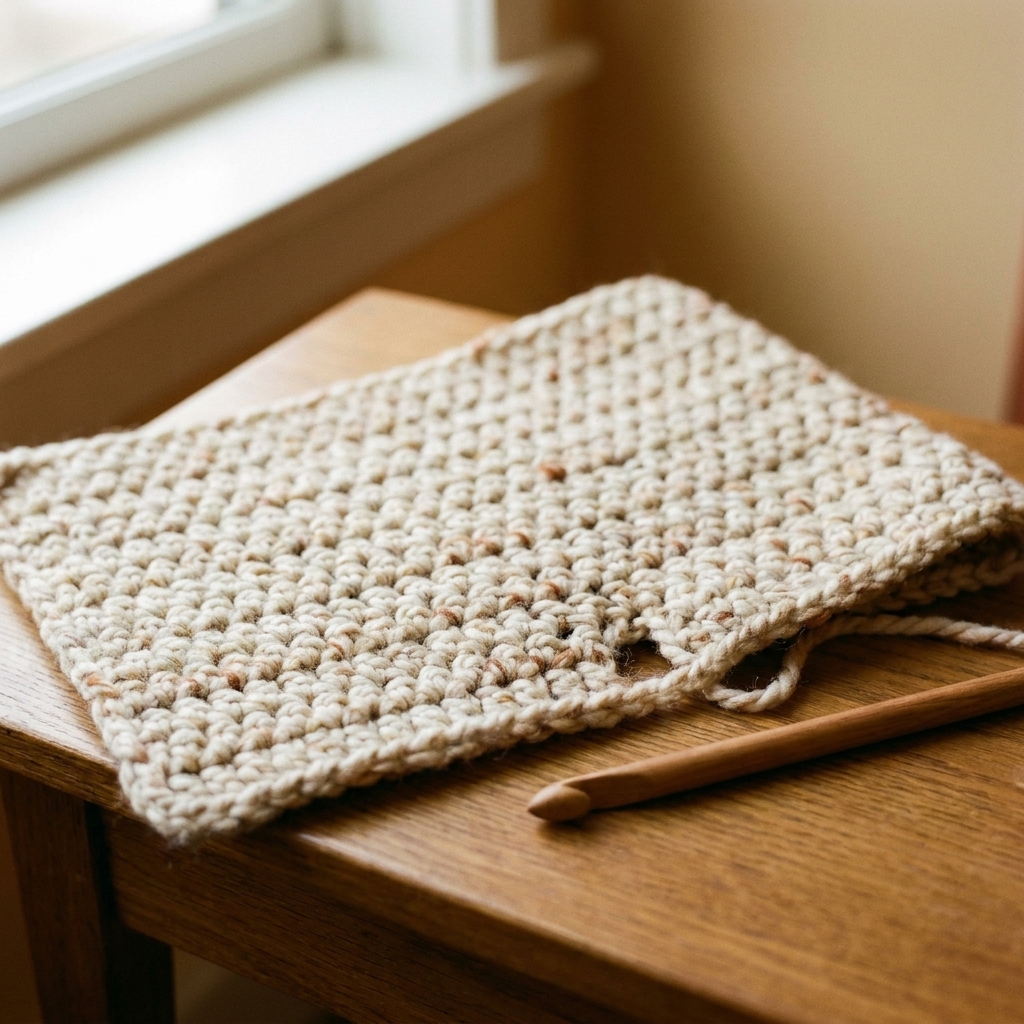
3) Accidental knit increase
How to spot it: Your stitch count is higher than it should be, and you may see a small eyelet hole or an extra bump between stitches.
Common causes: An accidental yarn over, knitting into the bar between stitches, or working the same stitch twice (especially at the beginning of a row).
How to fix it
- If you just made it on the current row: Tink back (unknit) to the extra stitch and redo it correctly.
- If it is an accidental yarn over and you catch it on the very next row: When you reach that yarn over, you can drop it off the needle instead of working it (this removes the added stitch). This works best immediately, when the surrounding stitches can absorb the slack. It can still leave a slightly loose bar or small gap, so tug neighboring stitches gently to even out the tension.
- If you are several rows past it: Dropping a yarn over later can create a more noticeable ladder. A calmer fix is to work a decrease (like k2tog) in a less visible spot on a later row to get your stitch count back where it belongs.
Tip: If you see a mysterious hole, pause and ask, “Did I yarn over on purpose?” If the answer is “I do not know,” it was probably not on purpose.
4) Accidental crochet increase
How to spot it: Your stitch count grows, the fabric starts ruffling, or the edge begins to wave.
Why it happens: Working two stitches into the same stitch (often by accident in the first or last stitch), or working into the turning chain when you did not mean to.
How to fix it
- If it is within the last few stitches: Pull back to the increase and redo that section.
- If you are several rows past it: Add a single decrease later (like sc2tog) to bring your stitch count back in line. Place it where it will not scream for attention, such as near a side seam or under an arm if you are making a garment.
- Prevention: Mark the first and last stitch of every row. This sounds fussy until you try it, then it feels like cheating in the best way.
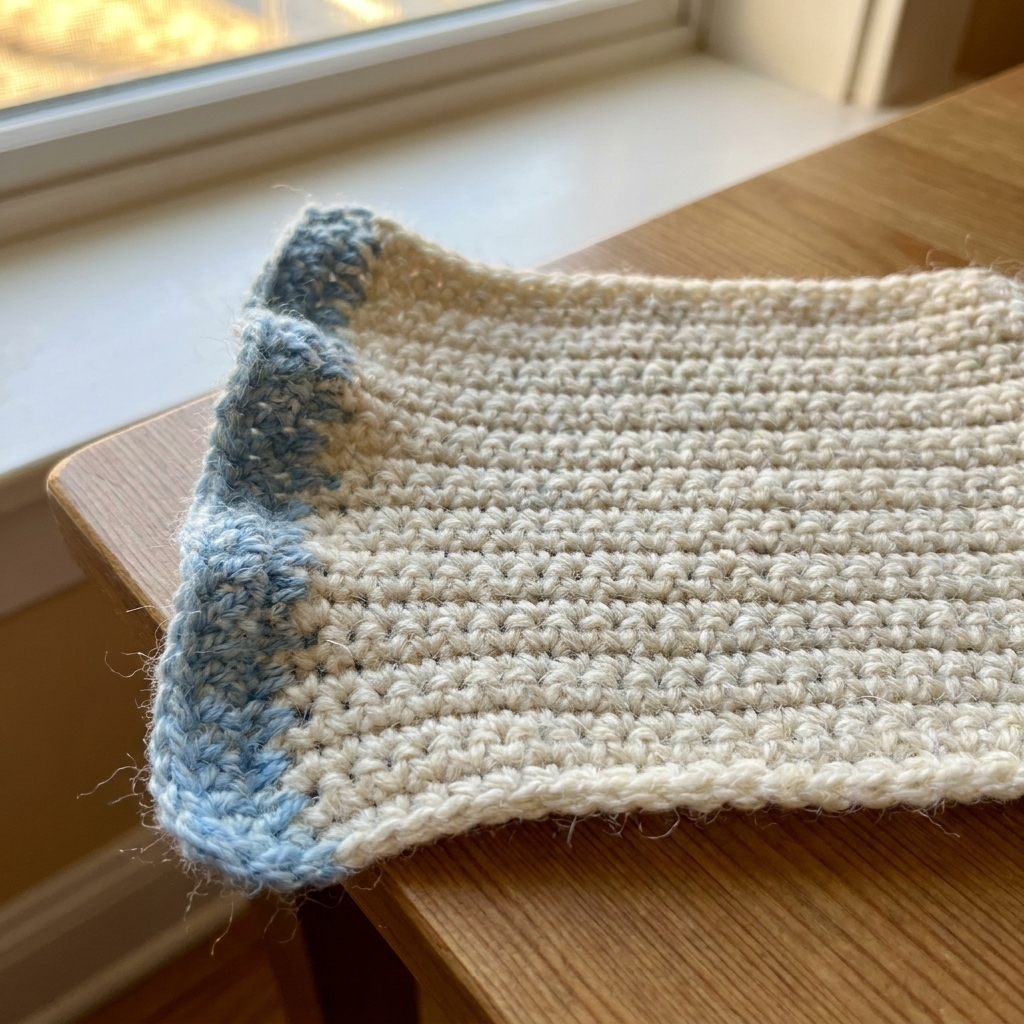
5) Twisted knit stitches
How to spot it: Your knit stitches look tighter and slightly crossed, and the fabric may look more rope-like or skewed. In stockinette, twisted stitches often appear like little X shapes instead of neat V shapes.
Why it happens: Usually one of these:
- Inserting the needle through the wrong leg of the stitch (knitting through the back loop when you meant the front, or vice versa for your stitch mount).
- Wrapping the yarn a different direction than your usual style.
- Mixing knitting and purling styles so one of them changes the stitch mount.
How to fix it
- Fix as you go: When you notice a twisted stitch on the needle, work it in the way that uncrosses it for your stitch mount.
- Fix one stitch in the fabric: If only one stitch is twisted a row below, you can drop that stitch down to the twist and ladder it back up correctly with a crochet hook.
- Check your wrap and mount: In standard Western knitting, you wrap the yarn counterclockwise for both knit and purl, which usually creates a common stitch mount. If you wrap clockwise (as some Eastern or combined styles do), that is not wrong, but it does change which leg is leading. Twisting happens when the wrap direction creates a different mount and then you knit or purl into the non-leading leg for that mount.
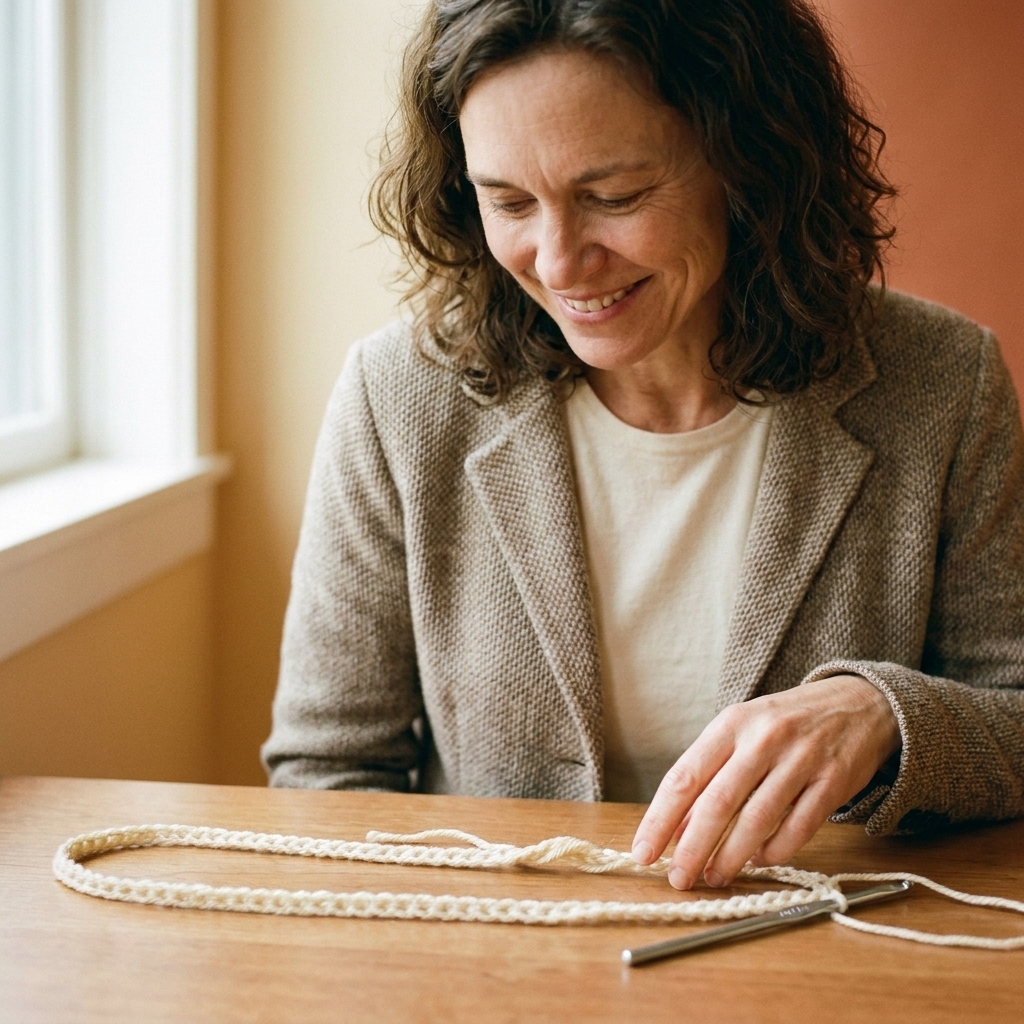
6) Twisted crochet foundation chain
How to spot it: When you join to crochet in the round, the chain looks like it took a half-turn. You will see bumps on the top in some places and on the bottom in others, and your round wants to Mobius itself.
Why it happens: Chains love to flip while you are trying to join, especially long ones. They are dramatic like that.
How to fix it
- If you have not worked into the chain yet: Undo the join, straighten the chain so all the Vs face the same direction, then rejoin.
- If you already crocheted a round or two: Decide whether you can live with it. For cowls, it can accidentally become a design feature. For hats or bags, it usually affects fit, so it is worth pulling back to the foundation and redoing.
- Prevention options:
- Chain a few stitches, then place the chain flat on the table to keep the Vs aligned as you continue.
- Crochet the foundation chain with a slightly larger hook, then switch to the correct hook for Round 1. It reduces twisting.
- Use a foundation single crochet (or foundation double crochet) instead of chaining. It is a game changer once you learn it.
7) Turning chain confusion
How to spot it: Your edges look bumpy or have gaps, your stitch count is off every row, or you feel personally betrayed by the end of the row.
Why it happens: Different patterns treat the turning chain differently. Sometimes it counts as a stitch, sometimes it does not. If you guess wrong, your edges slowly drift.
How to fix it
- Read the pattern note: Look for language like “ch 1 does not count as a stitch” or “ch 3 counts as first dc.”
- Make your own rule if none is given: For single crochet, I recommend ch 1 and do not count it, then work the first sc into the first stitch. For double crochet, many patterns use ch 3 as a stitch, but I personally prefer standing double crochet for cleaner edges if allowed.
- Use markers: Put a marker into the top of your turning chain if it counts as a stitch. Then you will know exactly where the last stitch goes.
8) Messy knit edges
How to spot it: One side edge looks neat, the other looks messy, or your selvage has random little bumps. If you are doing ribbing, the columns may shift at the edges.
Why it happens: Beginners often knit the first stitch too tightly, accidentally slip it, or forget whether the edge stitch is knit or purl in patterned fabric.
How to fix it
- Stabilize your edge routine: Choose an edge method and stick to it. One common option is a slip-stitch selvage, like slipping the first stitch purlwise. A beginner-friendly starting point is: slip the first stitch purlwise on every row, and keep the yarn in front to slip on knit-side rows, then keep the yarn in back to slip on purl-side rows. (Yes, there are other good versions too.) Always check your pattern first, because some stitch patterns (especially ribbing and garter details) want you to work every stitch.
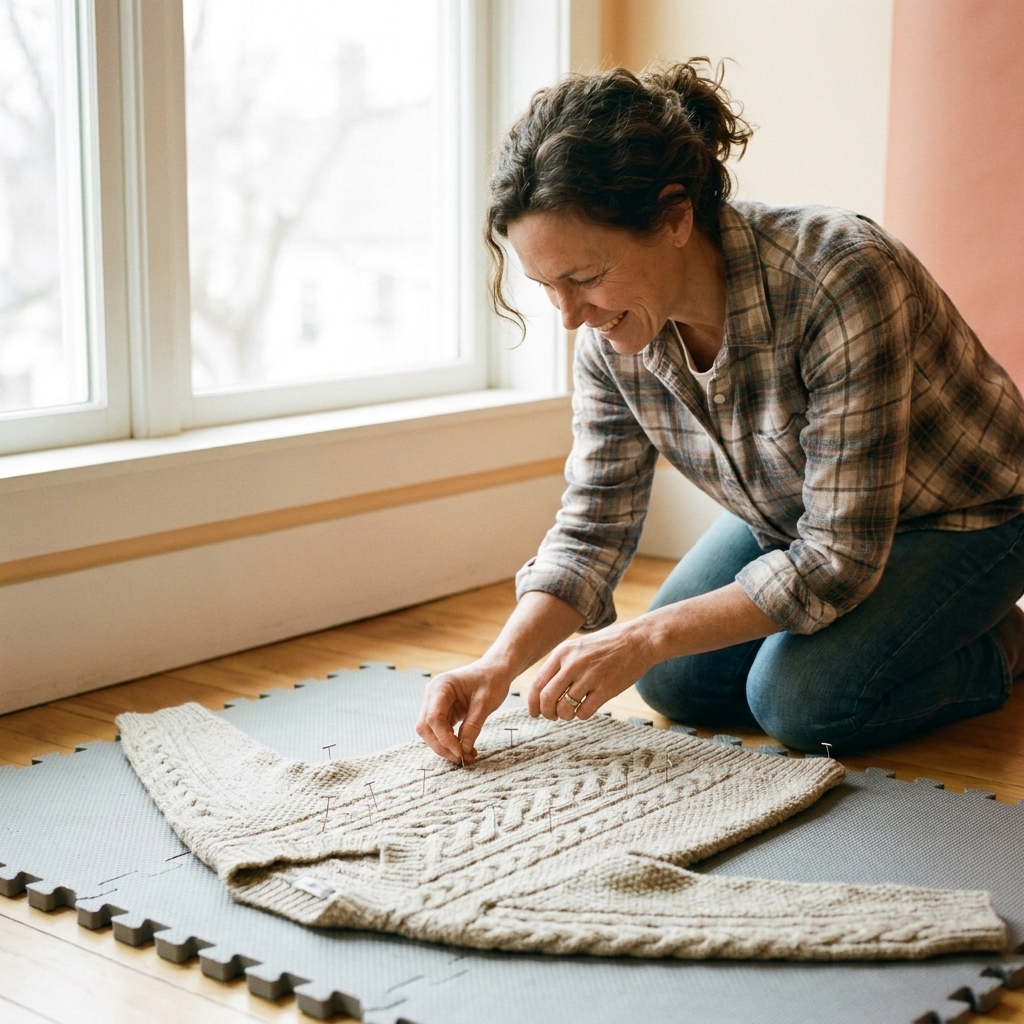
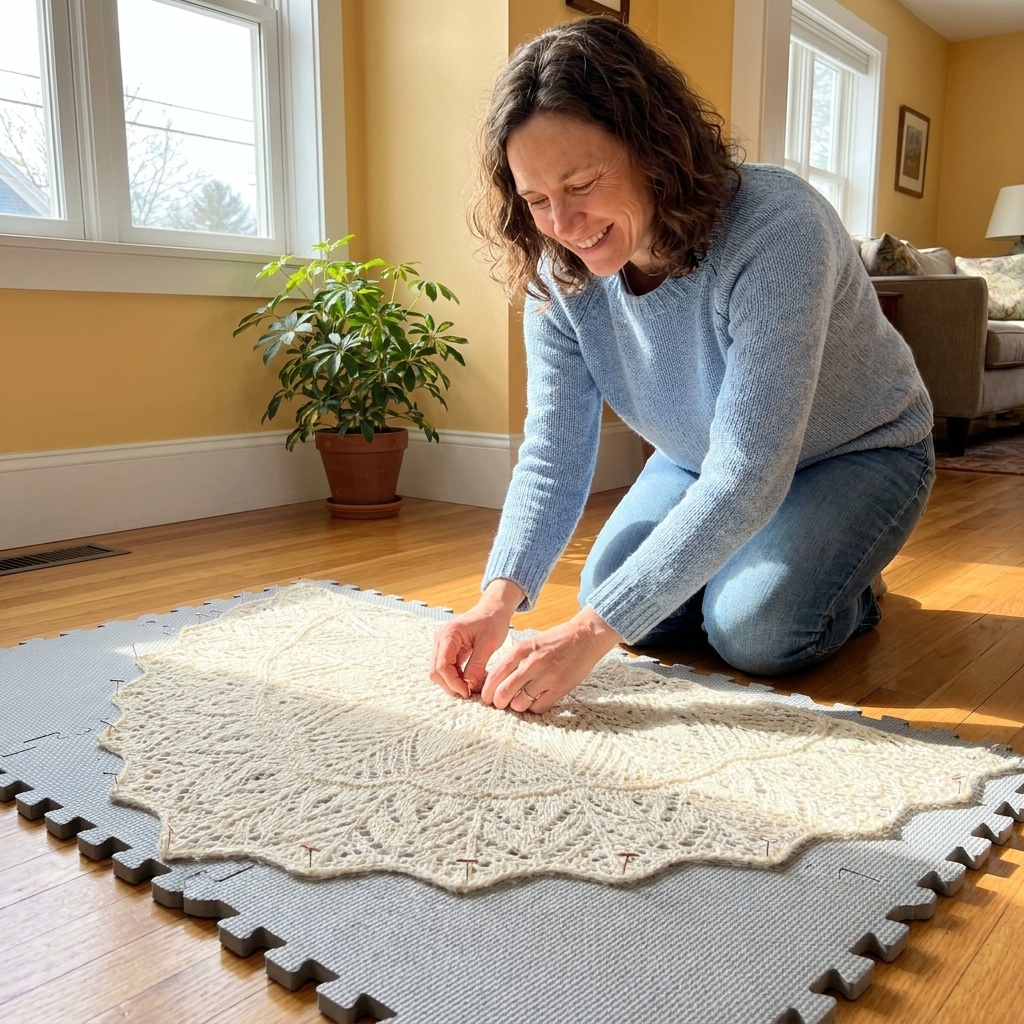
- If your edge already looks uneven: Most edge weirdness blocks out. Seriously. Wet block your piece and let the border relax.
- If you are seaming later: Do not panic. Seams hide a multitude of sins, including mine from 2009.
9) Inconsistent tension
How to spot it: Some rows look loose, others tight. In knitting, columns may look wavy. In crochet, stitches might look different sizes within the same row.
Why it happens: Changing how you hold yarn, switching hook or needle grip, stress-crocheting, or working when you are tired. Also, some fibers show inconsistency more than others.
How to fix it
- Relax your hands: Take a quick stretch break. If your shoulders are up by your ears, your stitches will tell on you.
- Check tool size: Make sure you did not accidentally swap to a different needle or hook size mid-project.
- Use a smaller practice zone: Work 10 to 20 stitches focusing only on even loops. Your tension often settles after a few minutes.
- Trust blocking: For many projects, a good block evens out minor tension wobble.
Gentle truth: Your first scarf is allowed to look handmade. That is not a flaw. That is the point.
10) Not counting (until it is dramatic)
How to spot it: Things do not match, your rectangle becomes a trapezoid, or your sleeves look like they belong to two different people.
Why it happens: Counting feels slow. But fixing later is slower.
How to fix it
- Count at set checkpoints: Every 2 to 4 rows for flat pieces, and for shaping sections, every round (or every few rounds if it is a huge, repetitive section and you are confident in the pattern).
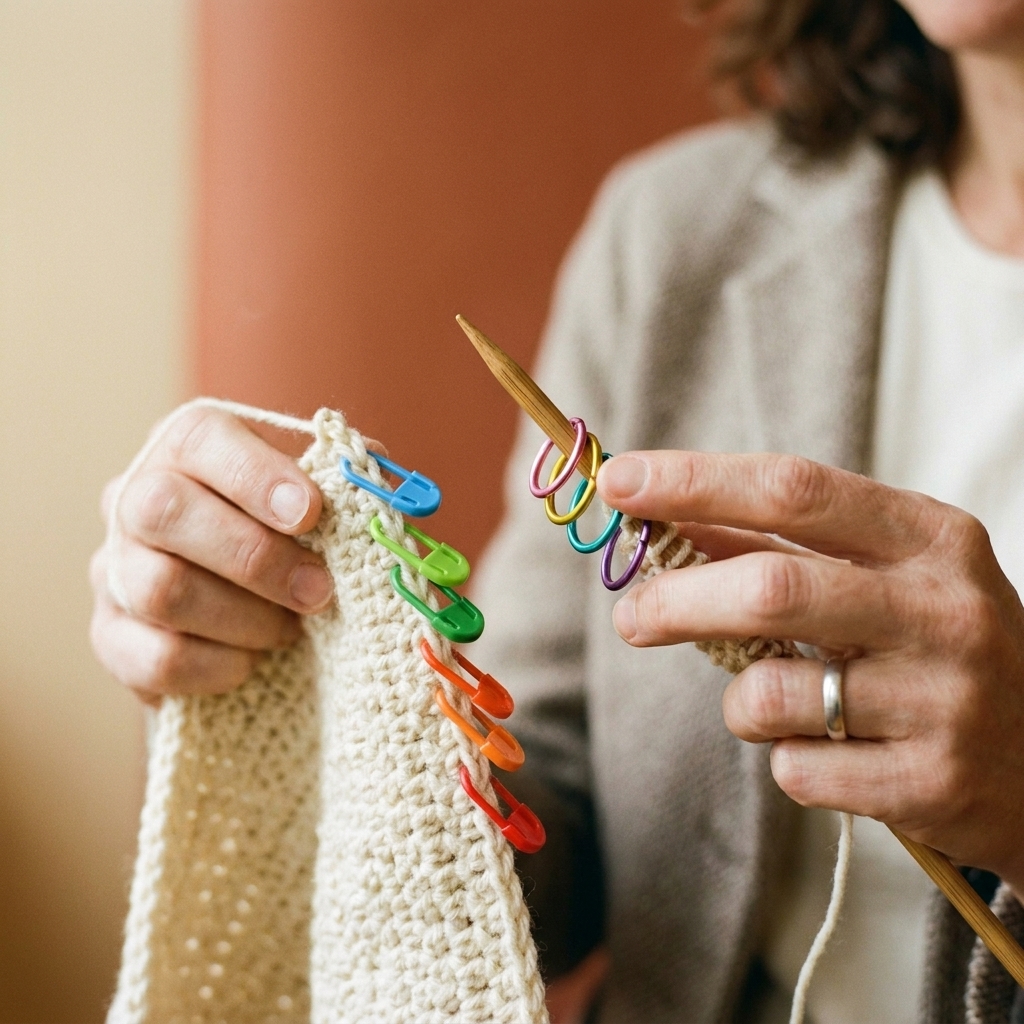
- Use stitch markers like breadcrumbs: In knitting, place a marker every 20 to 30 stitches to make counting painless. In crochet, mark the first stitch of each round, and optionally every 10 to 20 stitches in long rounds.
- Track rows: A row counter is great, but a scrap of paper works too. Make a tick mark each row. Your future self will feel so cared for.
Quick rescue kit
- Locking stitch markers: for crochet and for knitting emergencies
- A small crochet hook: even if you mostly knit, it is the best dropped-stitch tool
- Tapestry needle: for weaving in ends and anchoring small fixes
- Extra smooth waste yarn: for lifelines in knitting
- A good light source: half of troubleshooting is simply being able to see the stitches
Also common
- Knitting: accidentally turning mid-row, splitting yarn with the needle tip, or making an accidental short row that leaves a mysterious hole.
- Crochet: working into the wrong loop (FLO or BLO by accident), or missing the join stitch when switching between joined rounds and spirals.
FAQ
When should I actually start over?
If the mistake changes the size or structure in a way you cannot live with, it is worth ripping back. Examples: a twisted foundation chain on a fitted hat, repeated stitch count errors that make the piece flare, or a major cable mistake in the center front. If it is cosmetic and you will not notice it after blocking or wearing, consider leaving it as a maker’s mark.
What is the fastest way to fix a dropped knit stitch?
Secure the loop immediately, then ladder it up with a crochet hook. It feels like magic the first time you do it, and then you will start offering to fix other people’s dropped stitches at knit night like a tiny yarn superhero.
How do I stop skipping the first or last stitch in crochet?
Mark the first stitch of every row or round. Also, learn what the last stitch looks like in your stitch pattern. In single crochet, the last stitch is often hiding right next to the turning chain, pretending it does not exist.
Can blocking really hide mistakes?
Blocking evens tension and helps fabric relax, but it will not change stitch counts or undo a big structural error. Think of it like brushing your hair, not getting a haircut.
A cozy reminder
Every maker you admire has a history of weird edges, accidental increases, and that one scarf we do not talk about. The goal is not perfection. The goal is progress, comfort, and learning to read your fabric like a story.
If you want, tell me what happened in your project: “I dropped a stitch in ribbing” or “my crochet edges are growing.” I can help you narrow down which fix will be the least annoying.