Blocking is the part of knitting and crochet that feels like a tiny bit of magic and a tiny bit of science. You know that moment when you bind off and your project is technically “done,” but it still looks a little crumpled, curly, or uneven? Blocking is how you help the stitches settle into place so your fabric looks smoother, your edges behave themselves, and your finished piece has that calm, professional look.
And yes, it can feel intimidating the first time. If you can soak something and lay it flat, you can block.
What blocking actually does
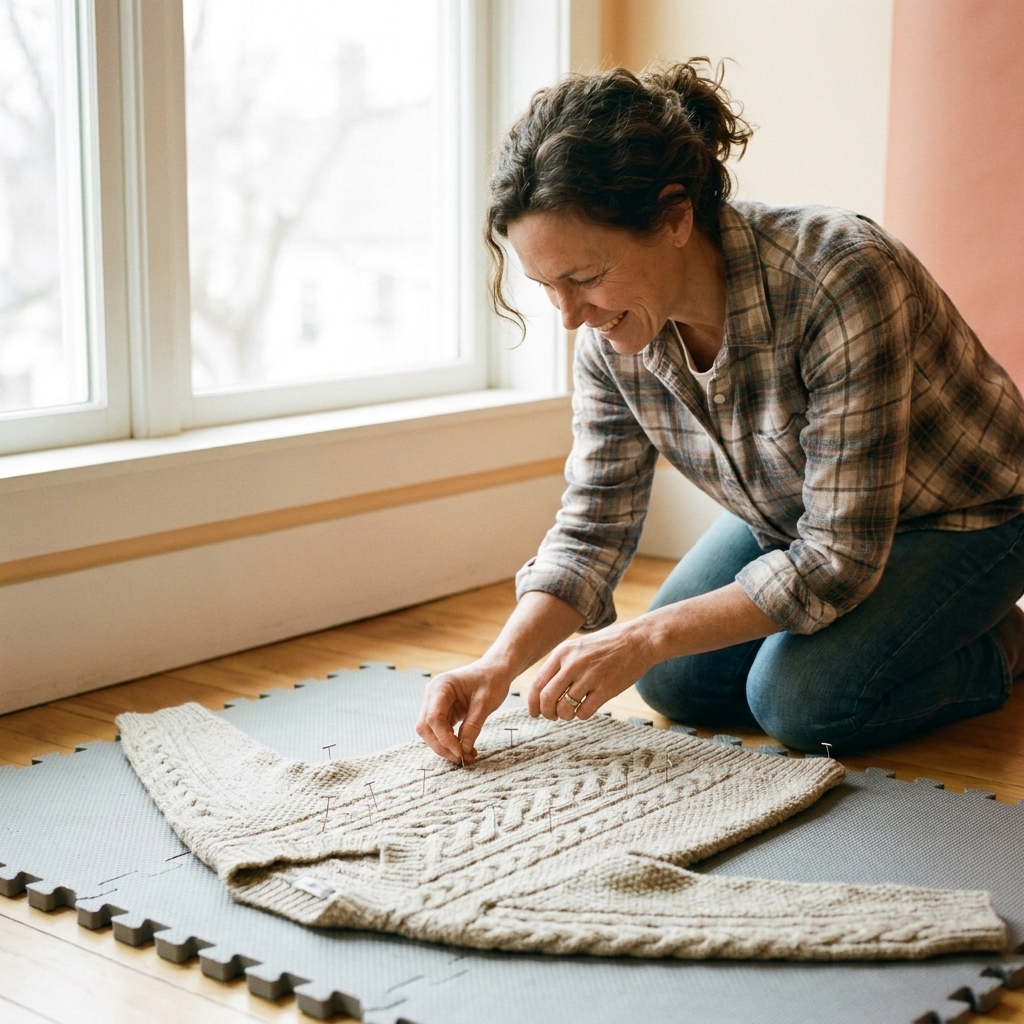
Blocking is the process of adding moisture and then shaping your fabric as it dries or cools. That simple step can completely change the look and feel of your work.
- Evens out tension: Those slightly bumpy rows often relax and smooth out.
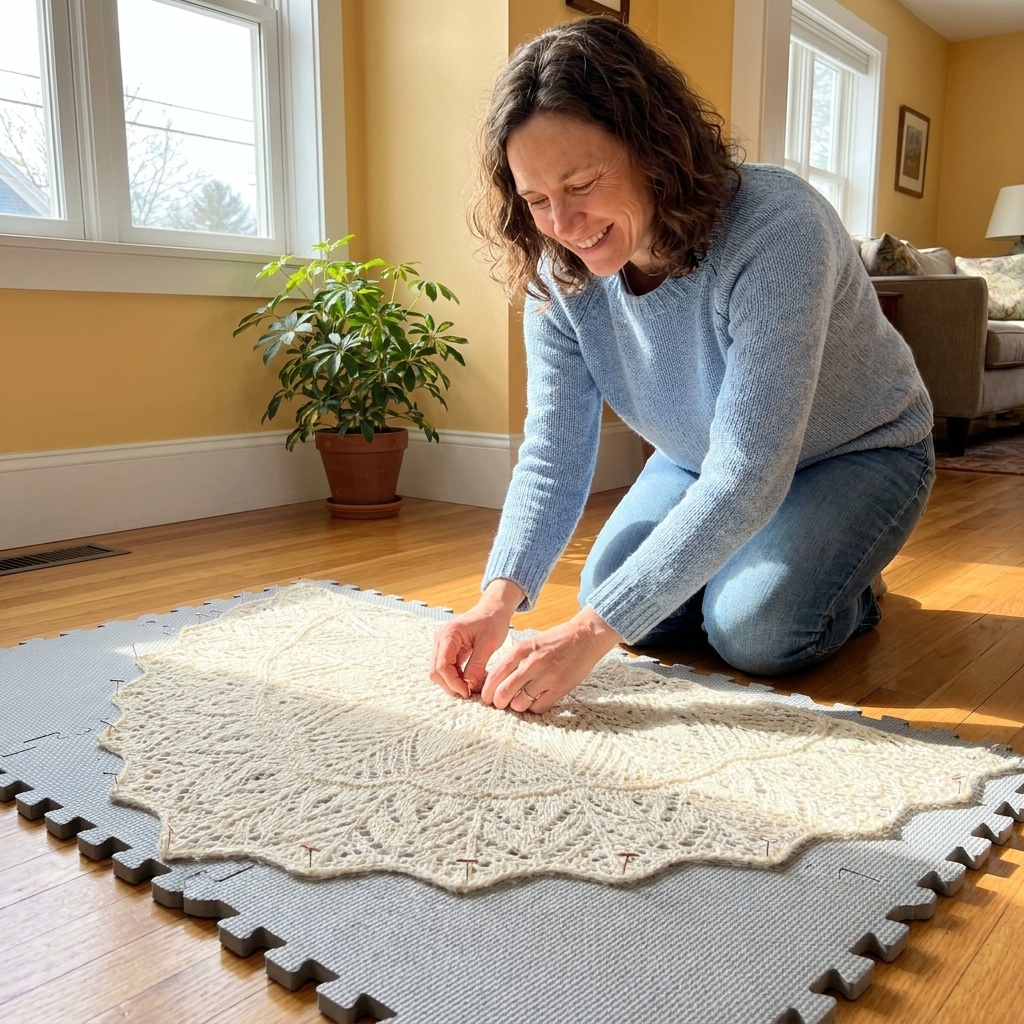
- Opens up lace: Lace patterns can look like a wrinkled mess until they are blocked. Then the eyelets pop open and the motif appears.
- Improves drape: Many fabrics hang more nicely after the fibers relax.
- Helps sizing: Blocking helps you match the measurements you are aiming for, which matters a lot for wearables.
- Helps seams and edges: Pieces are easier to sew together, and edges often lie flatter.
One important note: blocking is not a guaranteed way to “fix” sizing. You can guide fabric into shape, but you cannot reliably force a project into a totally different size without risking distortion or rebound later. Think of it as helping the fabric become its best self.
Does crochet need blocking?
Yes, crochet can absolutely benefit from blocking. Crochet stitches are structurally different from knitting, so the change may be less dramatic for dense fabrics, but blocking still helps with:
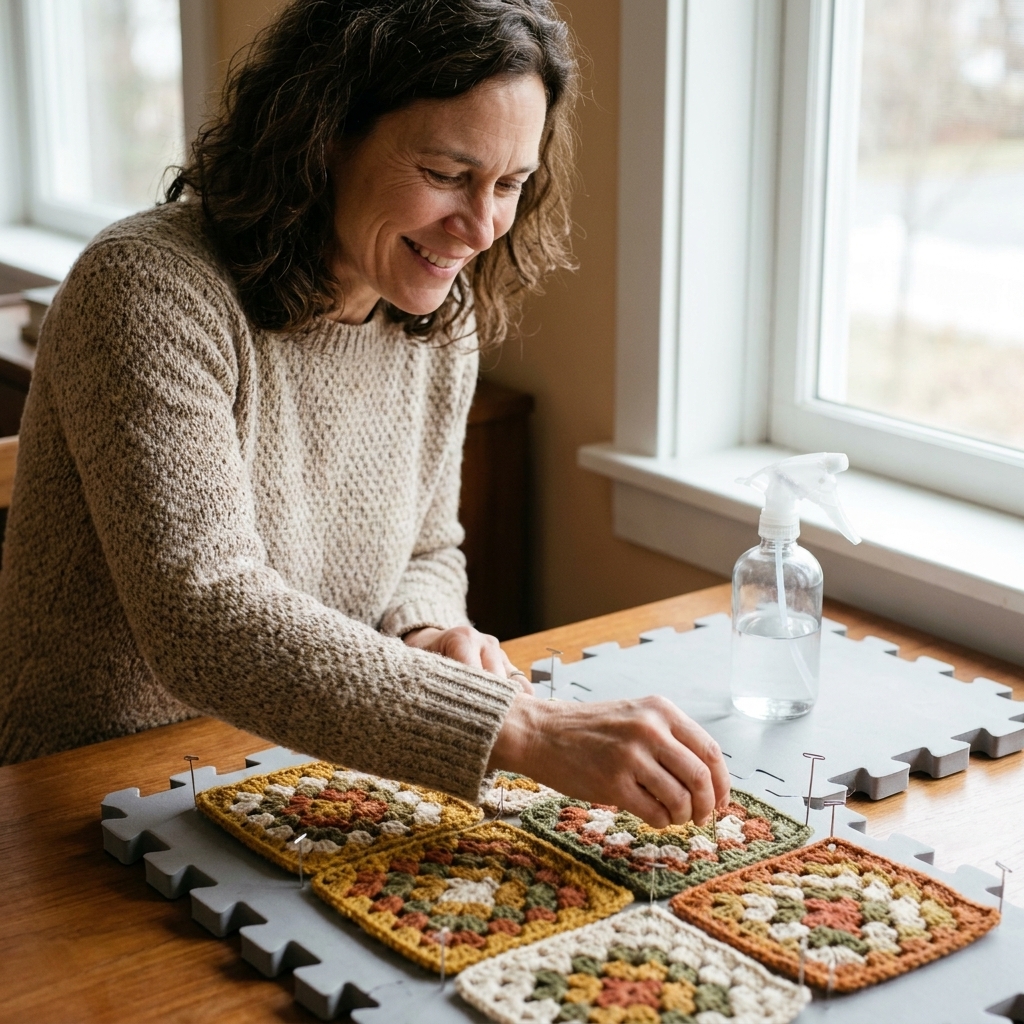
- Flattening curled edges (hello, granny squares and garment panels).
- Getting consistent square sizes for blankets and bags.
- Making lace motifs and doilies look crisp and intentional.
- Helping garments drape and hang evenly.
If you have ever tried to seam two crochet panels that refuse to match up, blocking first can save a lot of frustration.
Three easy blocking methods
You will hear a few different terms, but for most yarn projects, these are the big three: wet blocking, spray blocking, and steam blocking. The right choice depends on your fiber, your fabric, and how much shaping you need.
Wet blocking
Best for: Wool and other animal fibers, cotton, linen, superwash yarns, lace, garments that need significant smoothing or shaping.
This is the classic method: fully wet the fabric, gently remove excess water, then pin or lay it to dry in the right shape.
- Fill a basin with cool to lukewarm water. Add a small amount of wool wash if you like.
- Soak the project. Let it sit 15 to 30 minutes so the fibers are fully saturated.
- Lift and support the fabric. Wet knits and crochet can stretch under their own weight, so scoop it up rather than grabbing one corner.
- Press out water. Do not wring. Instead, gently squeeze.
- Roll in a towel. Lay the project on a towel, roll it up like a burrito, and step or press to remove more moisture.
- Shape it. Lay flat on a blocking surface, smooth with your hands, and pin if needed.
- Let it dry completely. This can take 12 to 48 hours depending on thickness and humidity.
Spray blocking
Best for: Light shaping, acrylic or blends when you want a gentle relax, small items, pieces that are almost there but need a little smoothing.
Spray blocking is the low-commitment option. You pin or shape first, then mist the fabric until it is evenly damp. It is generally low-risk, but you can still distort fabric if you stretch aggressively, especially with heavy items or slippery fibers.
- Lay the item flat and shape it to size.
- Pin edges if you need crisp lines or matching dimensions.
- Mist evenly with water until the fabric is damp, not dripping.
- Let dry completely before unpinning.
Steam blocking
Best for: Acrylic (with caution), quick touch-ups, helping stubborn edges behave, setting a smooth finish on textured stitches.
Steam blocking uses heat and moisture. It can be wonderful, but it is also the method most likely to go wrong if you are not paying attention, especially with acrylic.
- Pin or shape your project on a blocking surface.
- Hold a steamer or steam iron just above the fabric. Hover and never press down on most yarn projects.
- Steam in passes, letting the moisture relax the stitches.
- Let the piece cool and dry fully before moving it.
Acrylic note: Steam can “kill” acrylic, meaning it permanently relaxes and loses some bounce and stitch memory. Sometimes that is exactly what you want for a softer drape. Sometimes it makes ribbing sad and floppy forever. Test on a swatch if you are unsure, and do not let the iron’s soleplate touch the yarn.
What you need
You do not need a fancy setup. Here is the simple starter kit, plus a couple nice-to-haves.
Essentials
- Water (basin or spray bottle depending on method).
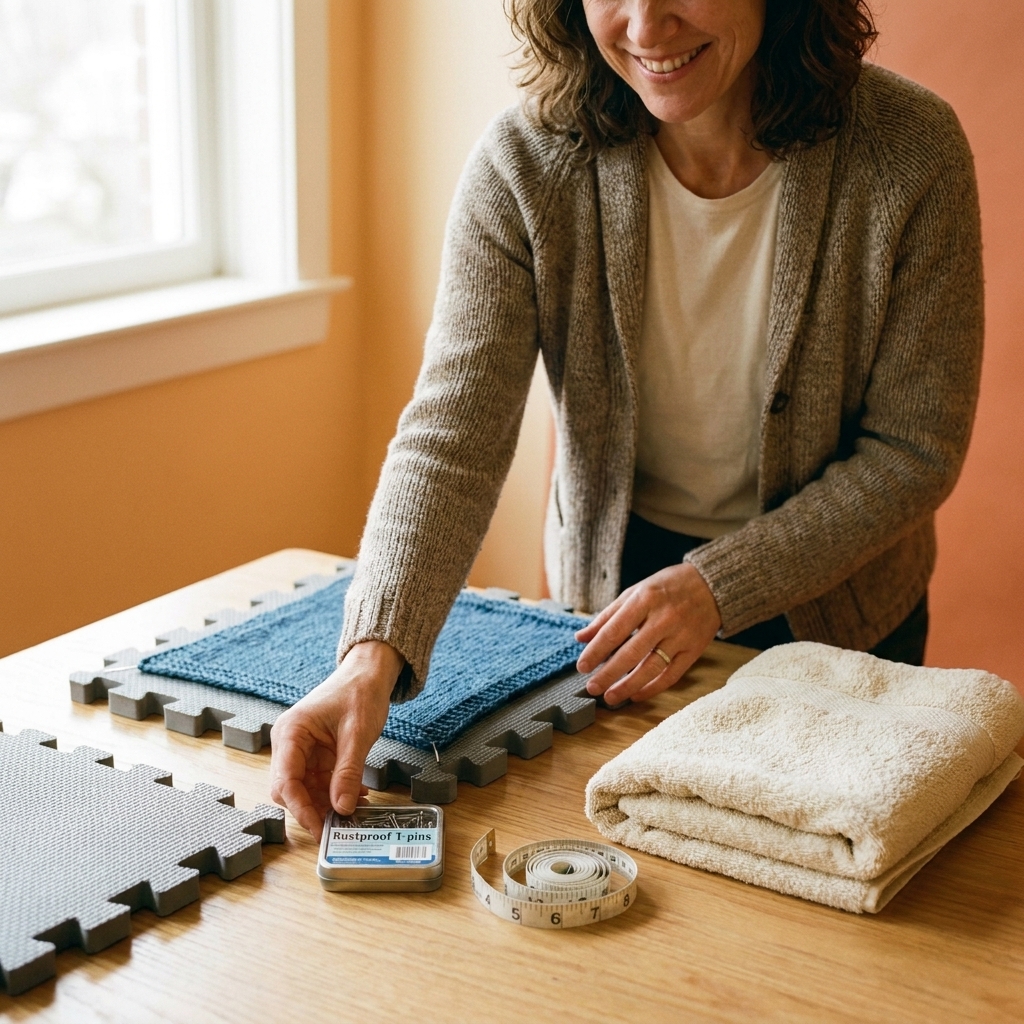
- Towels for rolling and pressing out moisture.
- A flat surface that can handle moisture: blocking mats, a spare bed, a clean rug with towels on top, or even a yoga mat covered with towels.
Helpful extras
- Blocking mats (foam puzzle mats are a classic).
- Rustproof pins (T-pins or knit blockers). Regular sewing pins can rust and stain when wet.
- Measuring tape or ruler for hitting exact dimensions.
- Wool wash for gentle cleaning while you block.
- Steamer if you plan to steam block often.
Color check before you soak
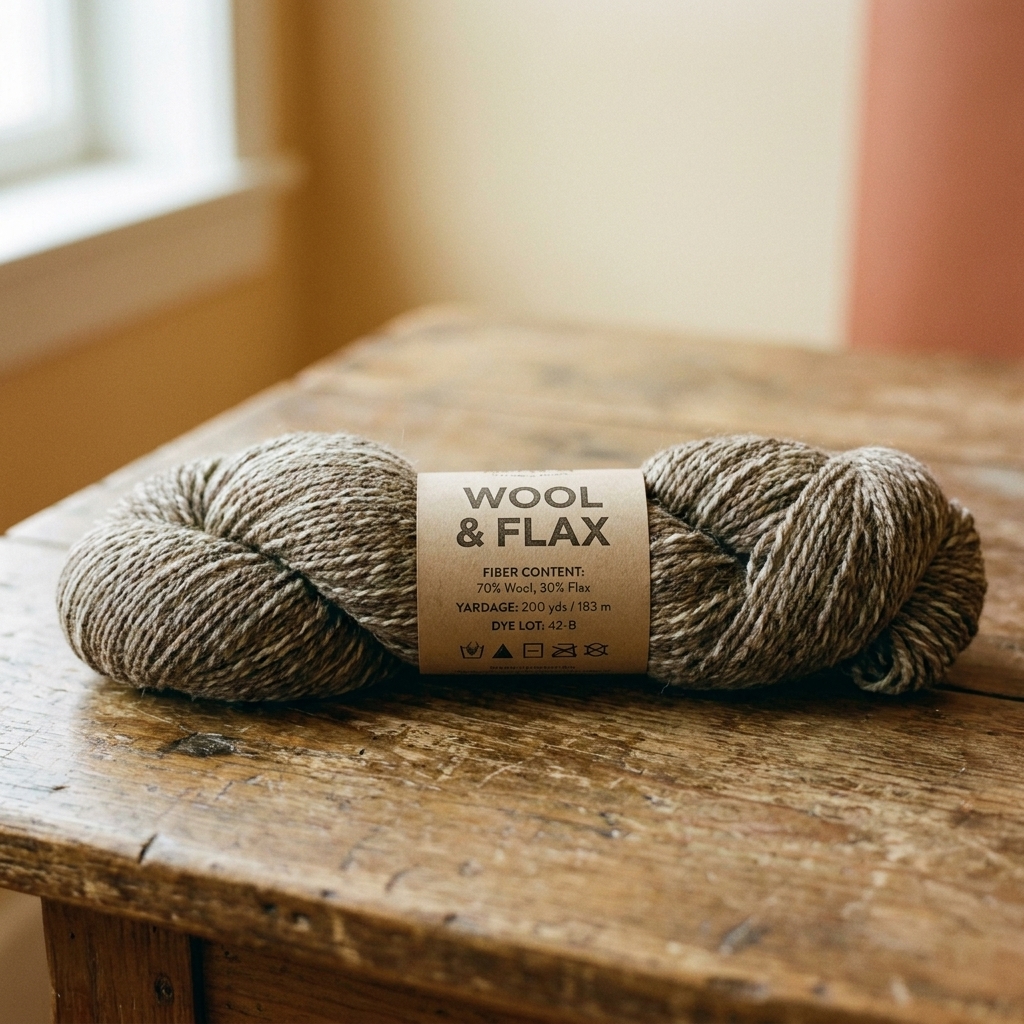
If you are working with a saturated or hand-dyed yarn, do a quick colorfastness check before wet blocking: dampen a small hidden area (or a swatch), press it against a white towel, and look for dye transfer. If it bleeds, use cool water, minimal soak time, and consider adding a dye-catching sheet to the soak. When in doubt, test first.
Blocking a simple rectangle
If you want the least scary first project to block, pick something rectangular like a scarf, wrap, or cotton dishcloth.
- Choose your method: Wet block for natural fibers or if it is very wavy. Spray block if it only needs a light smoothing.
- Lay it flat: Smooth the fabric gently with your hands.
- Square up the corners: Use a ruler if you want to be precise.
- Pin the edges if needed: Place pins perpendicular to the edge, spacing them evenly. More pins give straighter edges.
- Let it dry fully: Unpin only when it is completely dry to the touch.
That is it. Blocking does not have to be an event. It can be a quiet little finishing ritual.
Blocking lace
Lace is where blocking earns its fan club. Unblocked lace can look like a rumpled spiderweb. Blocked lace looks intentional and airy.
- Wet block whenever possible: Lace opens best when fully saturated.
- Pin points and curves: If your pattern has scallops or points, pin each one to define the shape.
- Do not overstretch: You want the pattern open, not distorted. If the motif looks pulled out of shape, ease back.
If you are nervous, block your swatch first. It is like a rehearsal dinner, but for yarn.
Blocking garments
Wearables are where beginners tend to worry most, so here are my go-to guidelines.
Block your swatch the same way
If you swatch for a sweater (and you should, said lovingly), wash and block the swatch the same way you plan to block the finished sweater. Fabric often changes after blocking, especially superwash wool and plant fibers.
Block pieces before seaming
For many garments, blocking the pieces before assembly makes seaming easier and cleaner. Flat, even edges are simply friendlier to sew. After the garment is assembled, a final light block can help the whole piece settle and look cohesive.
Aim for measurements
For pieces like sweater fronts and backs, block to the measurements listed in the pattern. Use a measuring tape and pin to the correct width and length. This helps seams line up cleanly.
Support wet fabric
When moving a soaked garment, support the whole thing with both hands. Wet fabric is heavier and more stretchy, and gravity is persuasive.
Let it dry all the way
If it feels even slightly cool and damp, give it more time. Taking it off the mats early can let it shrink back or warp.
Fiber basics
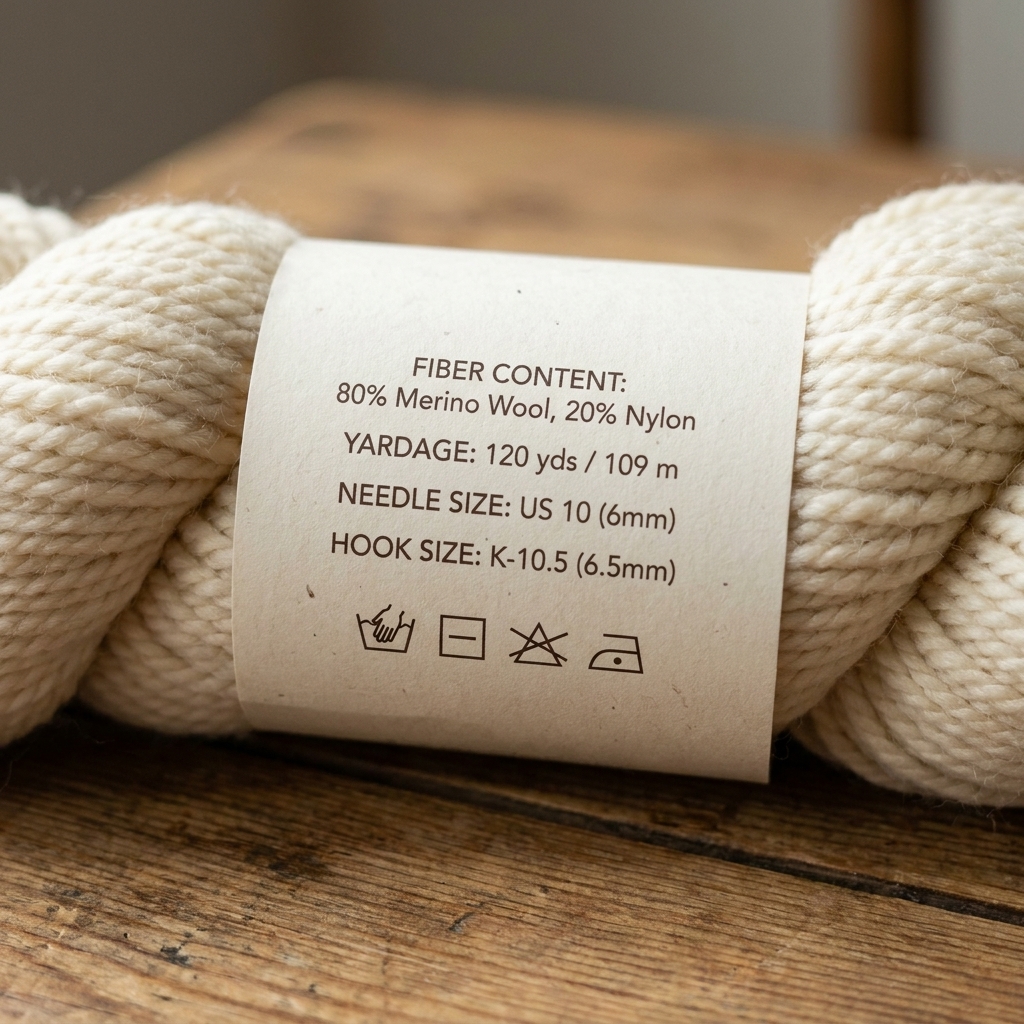
If you are ever unsure, check the yarn label and err on the gentlest method. Here is a simple cheat sheet, plus a note on “shape memory,” meaning how much the fabric springs back after you block it.
- Wool (non-superwash): Loves wet blocking. Avoid big temperature changes and lots of agitation to prevent felting. It often has good spring, so it may bounce back a bit after drying.
- Superwash wool: Wet blocking works great, but it can grow, sometimes a lot. Block to measurements and let it dry flat so you do not accidentally stretch it longer than intended.
- Alpaca and other drapey animal fibers: Wet blocking is helpful. These fibers can stretch and stay stretched, so handle gently and avoid over-pinning.
- Cotton and linen: Wet blocking is excellent. These fibers often relax and may keep that relaxed shape, especially with wear.
- Acrylic: Spray blocking is usually the lowest-risk place to start. Steam blocking can create a very smooth drape, but heat can permanently change the fabric, so test first.
- Blends: Choose the method based on the most delicate fiber in the mix.
Common mistakes
“My project got bigger”
This often happens with superwash wool, cotton, and anything heavy. Fix: block to measurements, not maximum stretch, and always dry flat. For next time, block your swatch so the final size is not a surprise.
“My edges are still wavy”
Fix: use more pins, pin more frequently, and check that your surface is truly flat. For stubborn edges, a gentle steam pass can help (fiber permitting).
“I got rust spots”
Rust can be difficult or impossible to remove, which is why rustproof pins are worth it. If spots appear, try re-wetting and gently washing, then re-blocking. If that does not help, a specialty rust stain remover may be needed, and even then it may not fully come out. Prevention is the real hero here.
“My acrylic feels limp now”
That is the “killed acrylic” effect from too much heat or touching the iron to the fabric. Unfortunately, it is generally permanent. Washing may improve the hand feel a little, but the bounce and stitch memory usually will not return. In the future, steam from above, keep the heat moving, and test on a swatch.
FAQ
Do I have to block every project?
No, but many projects look better and wear better when blocked. At minimum, I recommend blocking anything you plan to wear, gift, photograph, or seam together.
Can I block without pins?
Yes. Many items do great with a “pat and smooth” approach, especially hats, cowls, and simple stockinette or single crochet fabrics. Pins are most helpful when you need straight edges, matching dimensions, or opened lace.
How long does blocking take?
Hands-on time is usually 10 to 20 minutes. Drying time depends on the thickness of your fabric and your climate. Plan for overnight, and longer for sweaters or blankets.
Will blocking fix curling stockinette edges?
Blocking can reduce curling, but stockinette naturally wants to roll. For truly flat edges, you usually need a border (ribbing, garter stitch, seed stitch) or a facing. Crochet edges can also curl depending on stitch pattern and tension, and blocking helps but does not always eliminate it.
A gentle encouragement
If blocking feels like an “advanced” step, I get it. It looks like something Real Knitters do on serious-looking mats with a million pins. In reality, it is just caring for your fabric the way it deserves. Your stitches did a lot of work. Let them relax.
And if your first blocking session is slightly chaotic, welcome. The good news is that most blocking is forgiving, and every project teaches you something for the next one.