Blocking is the glow-up step that turns a slightly wonky handmade piece into something that looks intentional, polished, and ready to wear. It helps lace open up, edges relax, seams behave, and measurements settle where they are supposed to be. And yes, I have absolutely skipped blocking “just this once” and then wondered why my cardigan cuffs looked like sad little accordions.
This guide covers blocking for both knitting and crochet, with the three main methods (wet, spray, and steam) and the tools that make each one easier: blocking mats, pins, wires, and steamers. I’ll keep it beginner-friendly and practical, like we’re sitting on the couch together and I’m gently confiscating your yarn from the cat.
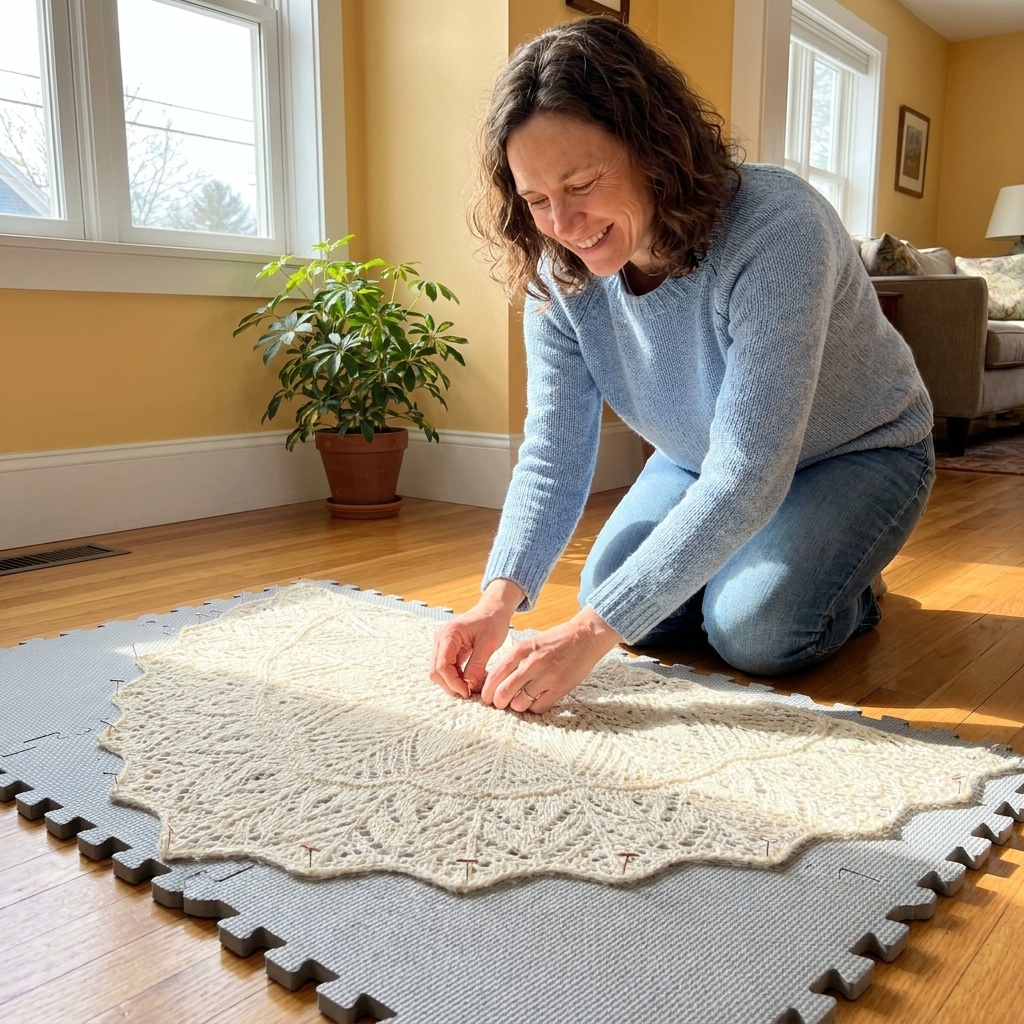
What blocking does
Blocking is controlled shaping. You add moisture (and sometimes gentle heat), then let the fabric dry in the shape you want.
What happens next depends on the fiber. Wool can take a nice “set.” Plant fibers like cotton and linen often relax and soften. Acrylic usually changes the most with heat. And for many projects, blocking is not a one-and-done spell. The fabric can shift again with wear and future washes, which is normal.
- It smooths: evens out stitches, softens curling edges, and reduces rippling.
- It shapes: helps a garment hit its intended measurements and drape.
- It opens lace and texture: makes eyelets, shells, and lace motifs look crisp instead of bunched.
- It helps finishing: gives you a flatter surface for seaming, attaching trims, or adding buttons.
Blocking is not magic. It will not permanently fix a size that is wildly off. It also cannot force a fiber to behave against its nature (hello, superwash wool that likes to grow). But it can make a dramatic difference.
Blocking methods
1) Wet blocking
Best for: wool and other animal fibers, cotton, linen, lace shawls, sweaters, granny square blankets, and anything that needs serious relaxing and reshaping.
How it works: You soak the item, gently remove excess water, then pin it to shape until completely dry.
- Pros: most effective overall, especially for lace and stubborn curling.
- Cons: takes the longest to dry, requires space, and can stretch items if you overdo it.
2) Spray blocking
Best for: small items, mild shaping, or when you are short on time and space.
How it works: Pin the item to shape while it is dry, then mist evenly with water until damp, not dripping. Let it dry pinned.
- Pros: quicker than wet blocking, less chance of over-stretching, minimal mess.
- Cons: not as powerful for lace or heavy fabrics, can dry unevenly if you under-mist. Also, many acrylics barely respond to water alone, so spray blocking may smooth things a bit but not truly “set” the shape.
3) Steam blocking
Best for: acrylic and acrylic blends, and quick touch-ups on finished pieces that are already close to the right size but need smoothing.
Steam can also be useful for wool in small doses (think light smoothing or helping seams behave), but wet blocking is usually the gentler, more thorough choice for wool.
How it works: Pin the item to shape, then hover steam above the fabric. You do not press down with the iron. Let it cool and dry completely before unpinning.
- Pros: fast, excellent for acrylic, great for edges that need to behave.
- Cons: easy to overdo. Too much heat on acrylic can “kill” the fiber, meaning it becomes limp, may get shinier, and loses elasticity permanently. That change is not reversible.
My beginner rule: If your project is wool or cotton, start with wet blocking. If it is acrylic, start with gentle steam. If you are nervous, start with spray on a swatch.
Blocking mats
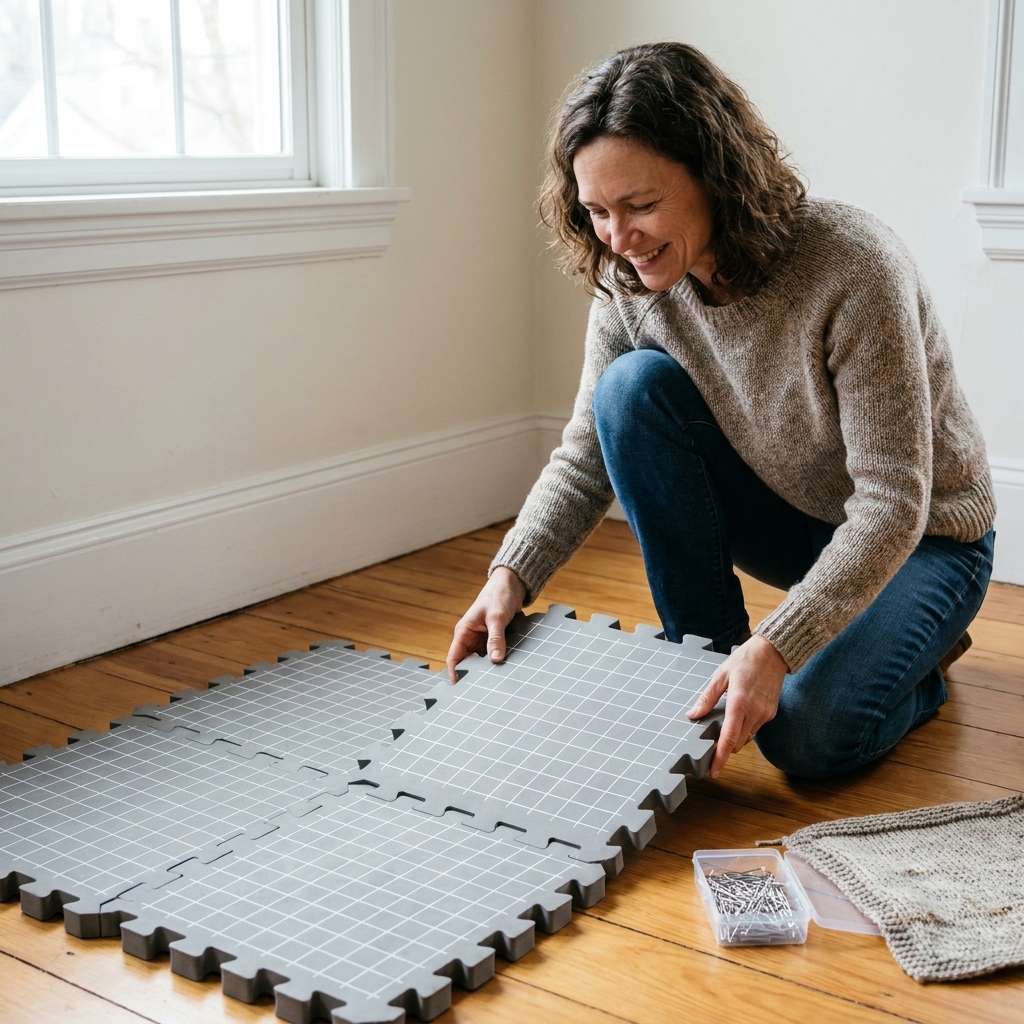
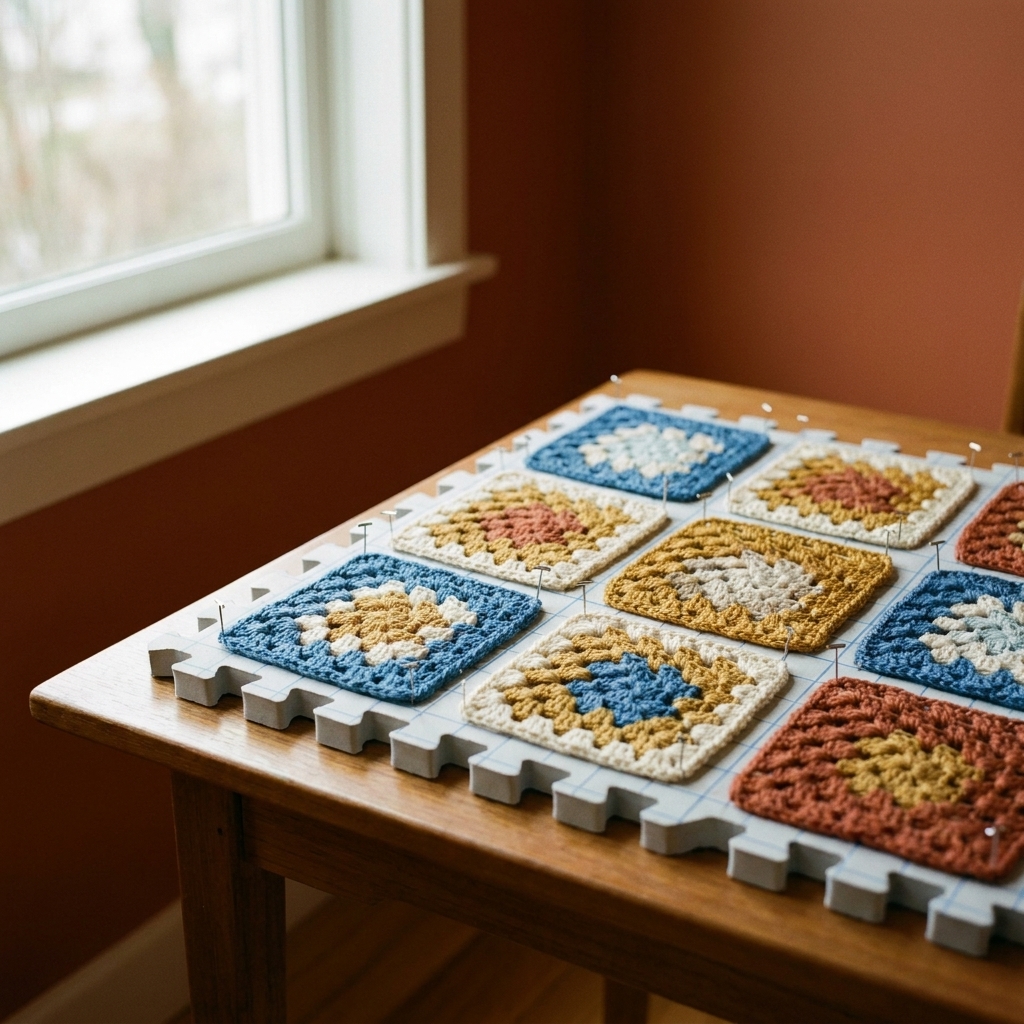
Blocking mats are simply a pin-friendly surface that resists water and gives you a grid for straight edges. You can block on a bed or towel in a pinch, but mats make it easier to get clean lines and consistent measurements.
Foam puzzle mats
These interlocking foam tiles are popular for good reason.
- Why beginners love them: affordable, expandable, easy to store.
- Look for: a clear grid, thickness that holds pins well, and enough tiles for your typical projects.
- Heads-up: some foam can dent or warp if stored bent or used with very hot steam too close to the surface.
Roll-up foam mats
These are one continuous piece you roll up like a yoga mat.
- Pros: no seams between tiles, quick setup.
- Cons: can curl at the edges unless stored flat or strapped tightly.
Blocking boards
Usually rigid and gridded, sometimes made specifically for granny squares.
- Pros: fantastic for consistent shapes like squares.
- Cons: less flexible for big garments and often pricier per square inch.
Pins and blockers
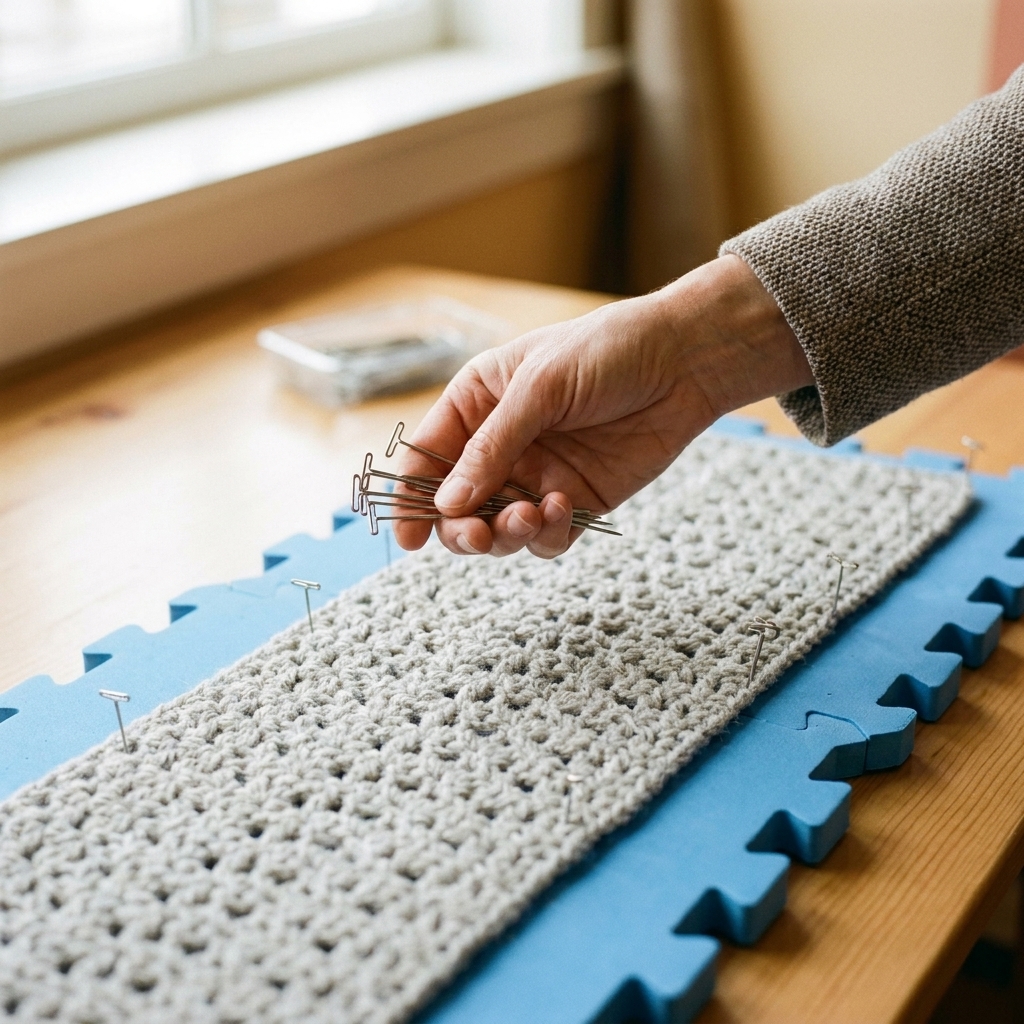
Pins are your shaping tools. The goal is to hold the fabric in place while it dries, without snagging yarn or rusting into your masterpiece.
Rustproof T-pins
Best for: most projects, especially edges of shawls and sweaters.
- Why they work: strong grip, easy to push into foam.
- Choose: stainless or explicitly rustproof pins.
- Avoid: bargain pins that do not say rustproof, especially for wet blocking. Rust stains are heartbreak in pin form.
Ball-tip pins
Best for: delicate fibers and lace where snagging is a concern.
Ball-tip pins have a rounded end that is less likely to split plies. Make sure they are rustproof too.
Knit blockers
Best for: long straight edges like shawl sides, blanket edges, and sweater hems.
These have multiple pins in a row, so you can set a straight line quickly and evenly.
- Pros: speed and straighter edges.
- Cons: not ideal for tight curves or intricate points.
What about sewing pins?
You can use them in a pinch, but I do not recommend them long-term for blocking. Many sewing pins are not rustproof, and thinner pins can bend easily or snag textured yarn.
Blocking wires
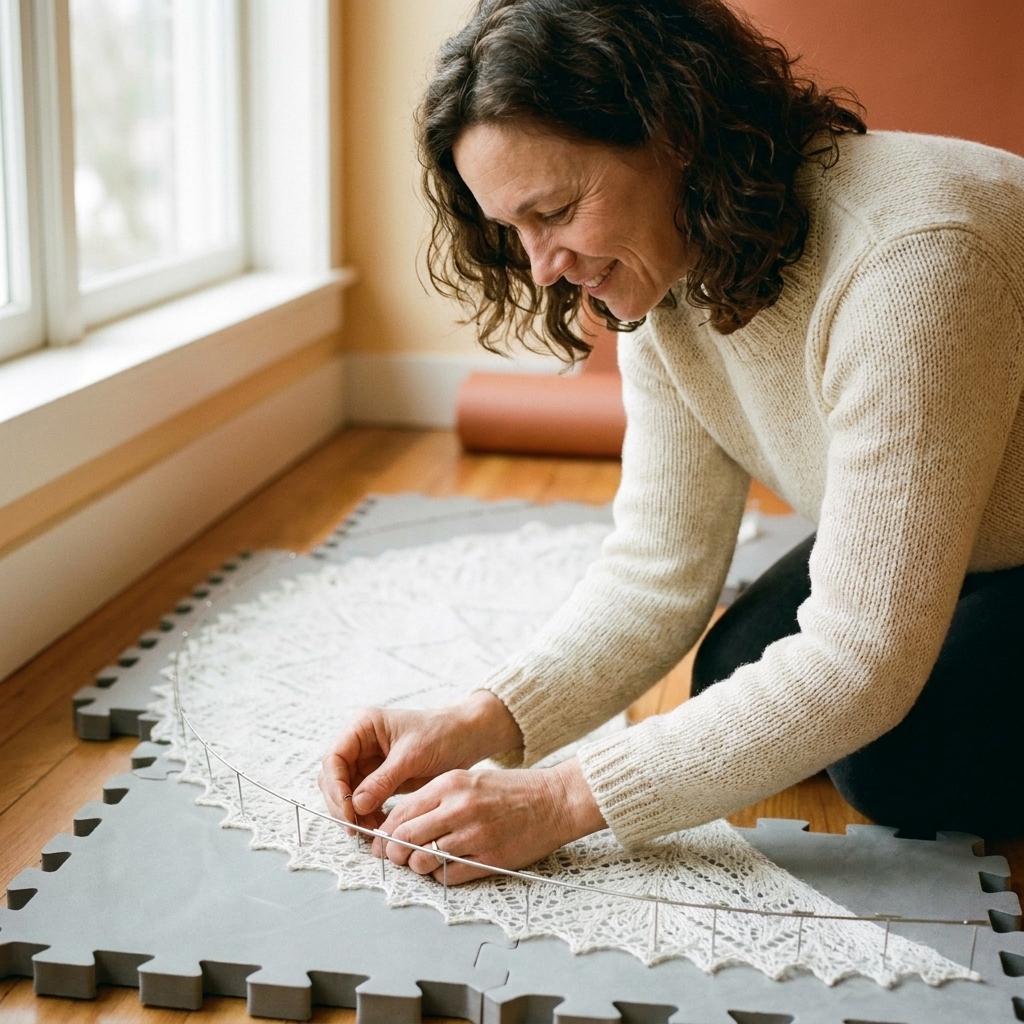
Blocking wires slide through the edge of your fabric and help you get those smooth, swoopy, professional lines that are hard to achieve with pins alone.
When wires shine
- Lace shawls and wraps: especially crescent, triangular, and rectangular shawls.
- Long straight edges: when you want an even, continuous line.
- Scallops and points: wires can anchor the main edge while you pin out points individually.
When wires are optional
- Most basic garments: sweaters and hats usually block beautifully with pins or just careful laying flat.
- Very dense crochet fabric: wires can be tricky to thread through thick edges.
- Anything with a fragile edge: if the edge loops are loose or easily distorted, pinning might be gentler.
What to look for
- Stainless steel: rustproof is non-negotiable.
- Flexible but springy: should bend into gentle curves without kinking.
- Multiple lengths: short wires for small edges, long wires for shawls.
Steam tools
Steam can be your best friend or your “why does this feel like a dish rag now?” moment. Let’s keep it in the best-friend category.
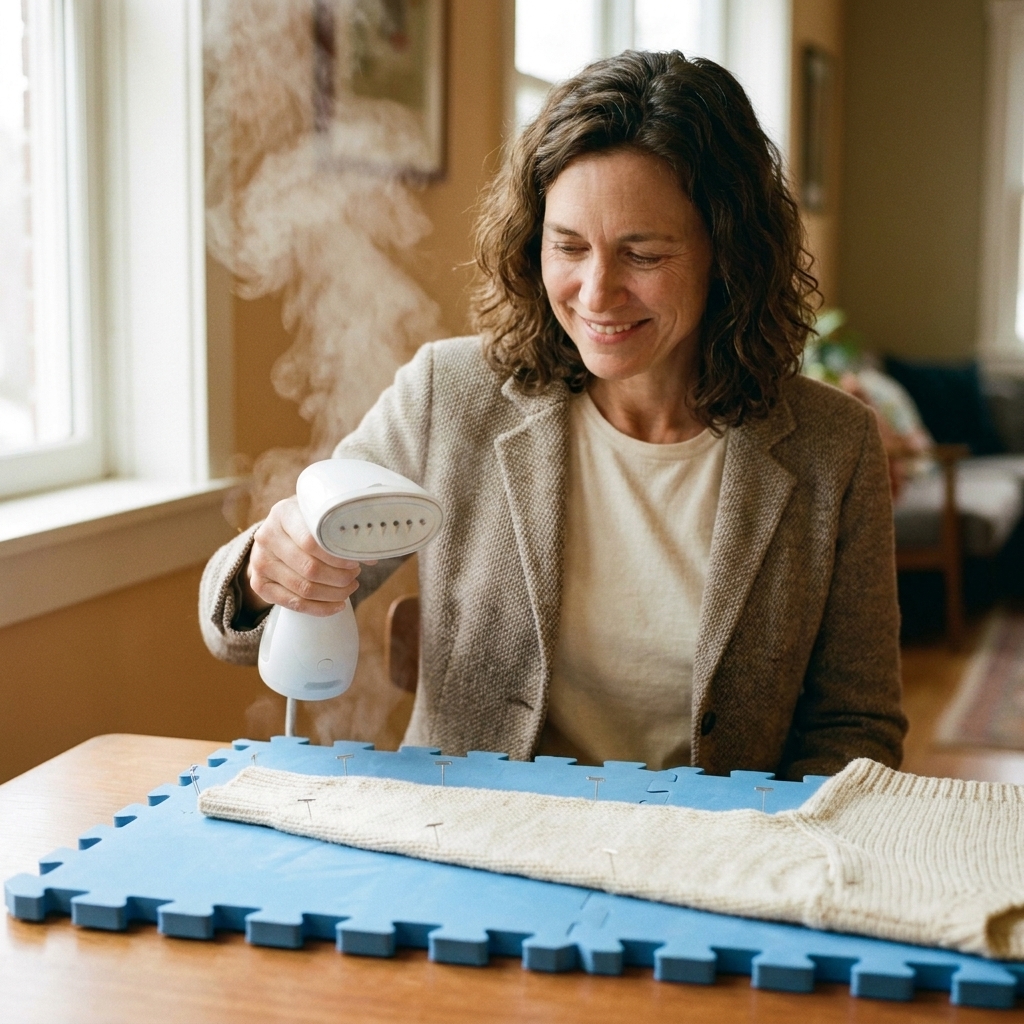
Handheld garment steamer
Great for: acrylic, quick touch-ups, and gentle smoothing of finished items.
- How to use: Pin the piece to shape, then hover the steamer a few inches above the fabric. Move slowly and evenly.
- Do not: press the steamer head into the fabric.
Steam iron
Great for: structured pieces like cotton panels or seams, and for those who already own one and do not want another gadget living in the closet.
- How to use: Use the steam setting and hover above the fabric. For wool, a press cloth is smart if you need to get close, but hovering is still the safest default.
- Do not: drag the iron across stitches. That can flatten texture and stretch fabric unpredictably.
Acrylic warning
Acrylic can be steam-blocked beautifully, but heat changes it permanently if you overdo it. Once acrylic is “killed,” it loses bounce and may get a different sheen and hand. Sometimes that is desirable for a drapey shawl, but it is usually not what you want for ribbing, cuffs, or hat brims.
If you are unsure: steam-block a swatch first. It is the lowest-stakes way to learn how your yarn behaves.
Choosing tools
If you mostly knit garments
- Mats: foam puzzle mats with a grid
- Pins: rustproof T-pins (plus a few ball-tip pins for delicate yarn)
- Optional: knit blockers for hems and fronts
- Steam: handy for quick finishing, but wet blocking is still the workhorse for wool
If you mostly crochet blankets and squares
- Mats: enough surface area matters most, grid helps a lot
- Pins: rustproof pins, or a granny square blocking board for consistent squares
- Optional: wires are usually not necessary unless you make lace shawls
If you love lace
- Mats: gridded mats (you will actually use the grid)
- Pins: lots of rustproof pins, plus knit blockers for long edges
- Wires: yes, especially for shawls
- Method: wet blocking for maximum open lace
If you mostly use acrylic yarn
- Mats: any pin-friendly mat surface
- Pins: rustproof pins
- Method: gentle steam blocking, and test heat on a swatch first
Step by step
Wet blocking
- Check care first: Follow the yarn label and any pattern notes, especially for superwash, delicate fibers, or special dye instructions.
- Color check: If the yarn is very saturated or hand-dyed, do a quick colorfastness test. Dab a damp white cloth on a hidden spot and see if dye transfers.
- Soak: Fill a basin with cool to lukewarm water. Submerge the item and let it soak 15 to 30 minutes. If your yarn label suggests less, listen to the label.
- Optional wash: Add a little gentle soap or wool wash if the item needs it. If you use soap that requires rinsing, rinse until the water runs clear.
- Support the fabric: Lift it out like a delicate sea creature. Do not wring.
- Remove water: Press gently to squeeze out water, then roll in a towel and step on it to blot.
- Pin to shape: Lay on mats, smooth gently, then pin. Use the grid and measure against your pattern schematic or target dimensions as you go.
- Let it dry completely: This can take overnight or longer. Unpin only when fully dry.
Spray blocking
- Pin dry: Arrange the item on mats and pin to the correct measurements.
- Mist evenly: Spray until the fabric is evenly damp.
- Dry pinned: Let it air dry fully.
Steam blocking
- Pin first: Steam does not replace shaping, it supports it.
- Hover steam: Hold the steamer or iron a few inches above the fabric and steam in passes.
- Go gentle on texture: Ribbing, cables, and plush textures can flatten if you blast them with heat. Hover, keep moving, and stop as soon as things look calmer.
- Hands off while hot: Let it cool and dry completely before moving it. Heat makes fibers more pliable.
Common mistakes
- Unpinning too soon: If it is even slightly damp, it is not done. Damp fabric can bounce back smaller.
- Over-stretching: Aim for the pattern’s measurements, not maximum tension. If your stitches look strained, back off. For garments, think “shape, don’t stretch.”
- Flattening ribbing and cables: Aggressive blocking can relax texture more than you wanted. Be especially gentle with heat and heavy pinning on ribbing, cuffs, hat brims, and cables.
- Using non-rustproof pins: Even one pin can leave a stain that is very hard to remove.
- Pressing heat directly onto stitches: Hover. Let steam do the work.
- Skipping the swatch test: Especially with superwash wool and acrylic, a quick swatch block can save you from surprises.
Quick FAQ
Do I need to block every project?
No, but most projects benefit from at least a gentle block. If you are making a gift or a wearable, I consider blocking part of the finishing, like weaving in ends.
Will blocking make my project bigger?
It can. Some fibers relax and grow, especially superwash wool and some plant fibers. Block your swatch the same way you will block the finished item to understand how your yarn behaves.
Can I block without mats?
Yes. A towel on a bed, a spare mattress, or a carpeted floor with a thick towel can work. Mats are just more consistent and pin-friendly, especially for larger items and straight edges.
Is steam blocking okay for wool?
It can be, especially for light smoothing or seam setting. I still prefer wet blocking for wool when you want an even, thorough result. If you use steam on wool, hover and be cautious with heat.
What is the simplest blocking toolkit to start with?
If you want the smallest, most useful setup: foam mats + rustproof T-pins + a spray bottle. Add wires later if lace becomes your personality, as it tends to do.
Finishing pep talk
Blocking can feel like “extra work,” but it is also a small, quiet ritual that makes your handmade piece feel complete. Put on a podcast, make a cup of tea, and give your stitches the gentle spa day they deserve. Your future self, the one wearing that perfectly drapey cardigan, will be very proud of you.