If you have ever opened a crochet pattern and felt like you accidentally downloaded a secret code, you are in excellent company. Crochet patterns are full of shorthand on purpose because they are trying to fit a whole sweater, blanket, or hat into a few tidy pages. The good news is that once you learn the grammar of pattern language, most patterns start to feel surprisingly predictable.
This masterclass will walk you through the key parts of a typical crochet pattern, what the abbreviations mean, how to follow repeats without losing your place, and how to read both written instructions and stitch charts. I will keep things beginner-friendly and super practical, like I am right there on the couch next to you, sliding the yarn bowl away from the edge so it does not fall into the tea.
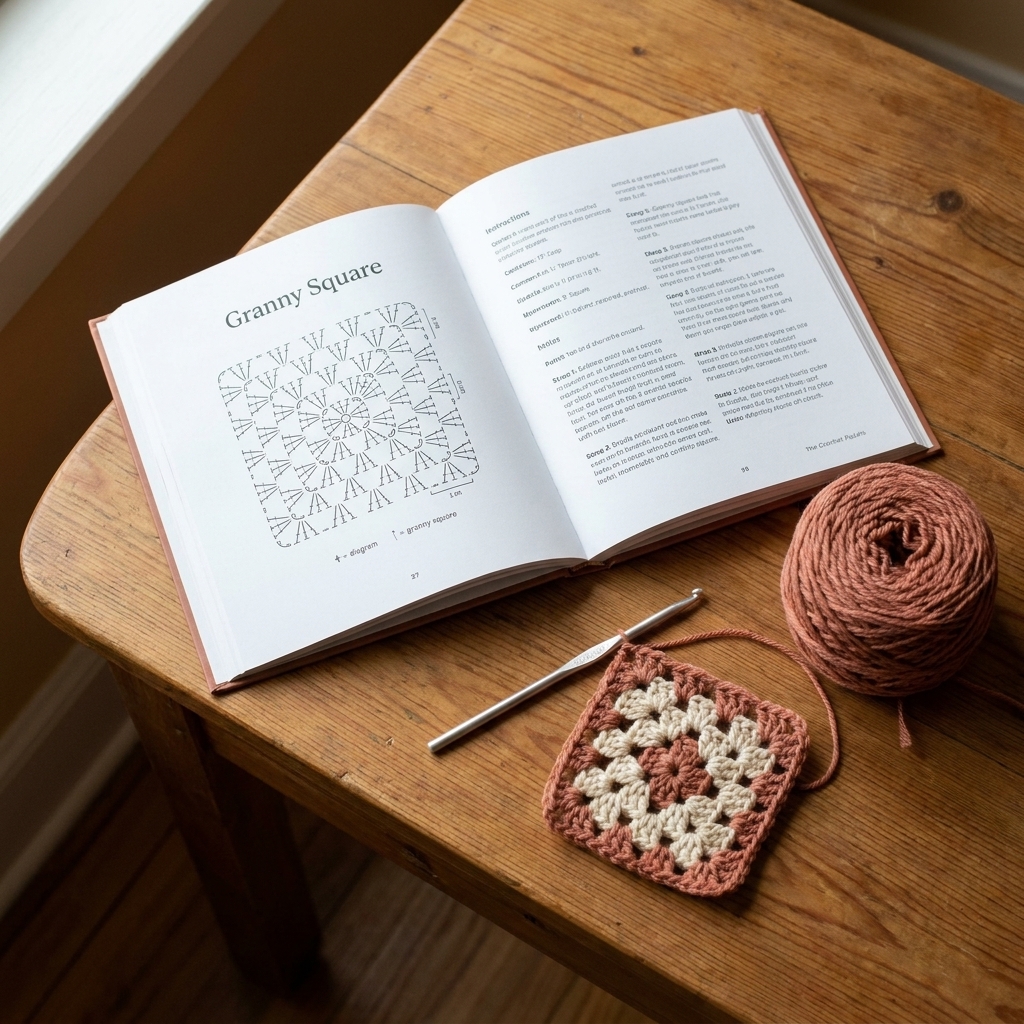
First, know what you are holding
Most crochet patterns come in one (or both) of these formats:
- Written instructions: Step-by-step lines like “Ch 21. Row 1: Sc in 2nd ch from hook…”
- Stitch charts: A picture-style map made of symbols that represent stitches.
Neither is “more advanced.” Charts are just a different way to show the same info, and they can actually be easier once you know the symbols because you can see shape and repeats at a glance.
The anatomy of a crochet pattern
1) Materials and tools
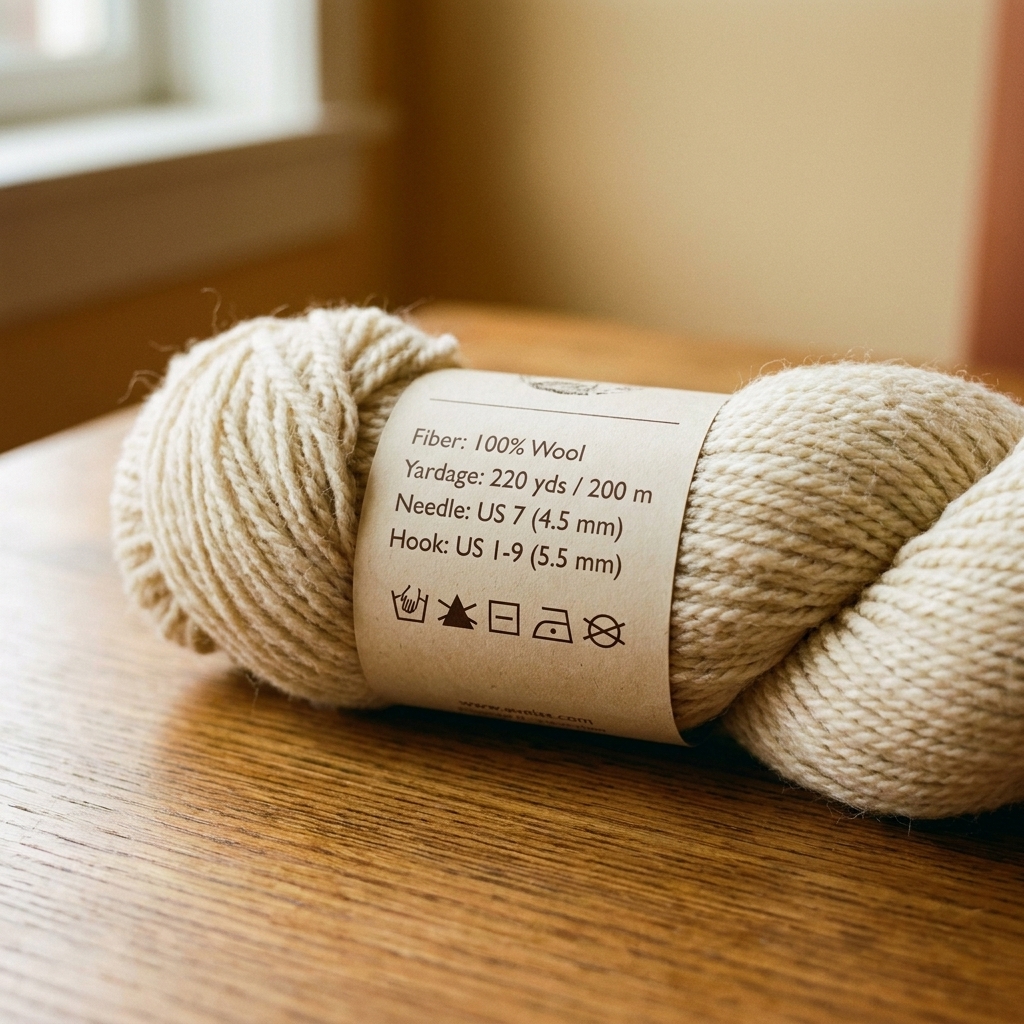
This section tells you the yarn weight, yardage, hook size, and notions. Treat it like a recipe’s ingredient list.
- Yarn weight (like worsted, DK, fingering) affects drape and size.
- Yardage or meters helps you buy enough yarn.
- Hook size is a starting point, not a commandment.
2) Skill level and techniques
“Beginner,” “intermediate,” and “advanced” are not standardized labels. Instead, scan the techniques list. If it includes something like “front post double crochet” or “foundation single crochet,” you can still do it. It just means you may want a quick tutorial break (and a deep breath).
3) Finished measurements
Look for bust, circumference, length, or width. This helps you pick a size and also sanity-check your progress as you go.
4) Gauge (your best friend, not your enemy)
Gauge tells you how many stitches and rows equal a specific measurement, often 4 in x 4 in (10 cm x 10 cm). Example:
Gauge: 14 sc and 16 rows = 4 in / 10 cm
Translation: if you crochet 14 single crochets across and 16 rows tall in the specified stitch pattern, that square should measure 4 inches.
One important detail: many patterns specify gauge in a particular stitch pattern (not plain single crochet) and sometimes after blocking (more on blocking below). When in doubt, match the pattern’s exact gauge instructions as closely as you can.
When gauge matters most: wearables, fitted hats, anything sized.
When you can be a little looser about it: scarves, blankets, shawls where exact sizing is flexible.
5) Notes and special instructions
Do not skip the notes. This is where designers quietly mention crucial details like:
- “Pattern is written in US terms.”
- “Ch-1 at beginning of row does not count as a stitch.”
- “Work in continuous rounds, do not join.”
It is also where you will often find the designer’s personal punctuation rules. Crochet notation is fairly consistent, but it is not a single global standard, so the Notes and Abbreviations sections are always the final authority.
US vs UK terms
Crochet has two common terminology systems: US and UK. The abbreviations can look identical while meaning different stitches, so most patterns clearly state which system they use. If yours does not, check whether it uses sc. In most UK-written patterns, you will see UK terms like dc where a US pattern would say sc, though some UK designers publishing to an international audience include US terms or dual terminology.
Helpful rule of thumb: UK stitch names are often one step up from US names. That is why a US double crochet lines up with a UK treble crochet.
Quick conversion cheat sheet
- US sc = UK dc
- US hdc = UK htr
- US dc = UK tr
- US tr = UK dtr
A tiny caution: the naming around “treble” and “double treble” can vary a bit by publisher, especially once you get into very tall stitches. Always trust the pattern’s stated terminology and any stitch key or legend over a generic chart online.
If you start a pattern and it feels wildly too tall or too short, terminology mismatch is one of the first things I check.
Common abbreviations
Most patterns rely on a core set of abbreviations. Here are the ones you will see constantly:
ch= chainsl st= slip stitchsc= single crochet (US)hdc= half double crochet (US)dc= double crochet (US)tr= treble crochet (US)st(s)= stitch(es)sp= space (often a chain space)sk= skiprep= repeatrnd= roundRS/WS= right side / wrong sideblo/flo= back loop only / front loop onlyinc/dec= increase / decreasetog= together (worked into the same stitch group, likesc2tog)yo= yarn over (more common in knitting language, but appears in some crochet instructions too)
A beginner tip for abbreviations
If a pattern uses an abbreviation you do not recognize, look for an “Abbreviations” section near the top. If it is not there, it is totally normal to look it up. Even designers do this, and anyone who says they do not is either lying or has a suspiciously tidy yarn stash.
Pattern punctuation
This is where most confusion happens, so we are going to slow down and make it make sense. Also, quick reality check: designers do not all use punctuation in exactly the same way, so if something looks odd, check the pattern Notes or the Abbreviations section for how that designer formats repeats.
Commas
Commas usually separate steps that happen in order. Example:
Ch 3, dc in next st
Do a chain-3. Then make a double crochet in the next stitch.
Parentheses ( )
Parentheses usually mean one of two things:
- Repeat instructions:
(sc, ch 1) 10 timesor(sc, ch 1) rep 10 timesor(sc, ch 1) x10 - Stitch counts or size options:
Row 5 (24 sts)or(S, M, L)
Brackets [ ]
Brackets often group stitches that are worked into the same stitch or space, or they group a repeat unit. Example:
[2 dc, ch 1, 2 dc] in ch-1 sp
All of that happens in the same chain-1 space.
Asterisks * *
Asterisks mark repeats. The pattern will tell you what to repeat and how many times.
Example 1: *sc in next st, ch 1, sk next st* rep from * to * across
Find the stitches between the asterisks and keep repeating that chunk until you run out of stitches.
Example 2: *2 sc, inc* repeat 6 times
Repeat the chunk between the asterisks exactly 6 times.
Stitch counts
Many patterns include stitch counts at the end of a row or round, like (36 sts). This is not there to judge you. It is there to help you catch mistakes while they are still small and fixable.
How to use stitch counts
- Count at natural checkpoints: after a repeat section, after a corner, or after finishing a round.
- Use stitch markers: place a marker every 10 or 20 stitches on long rows. It is like adding mile markers to a road trip.
- When you are off by one: check the very beginning and very end. Most “mystery” missing stitches are hiding in the first stitch (skipped) or the last stitch (accidentally stitched into turning chain or not stitched into it when you should have).
Rows vs rounds
Working in rows
Row-based patterns go back and forth. You will usually see:
- A turning chain (like
ch 1orch 3) - The word turn
Key detail: patterns should tell you whether the turning chain counts as a stitch. If it counts, you will typically work into it at the end of the next row. If it does not count, you usually ignore it as a height helper.
Working in rounds
Round-based patterns can be worked in two main ways:
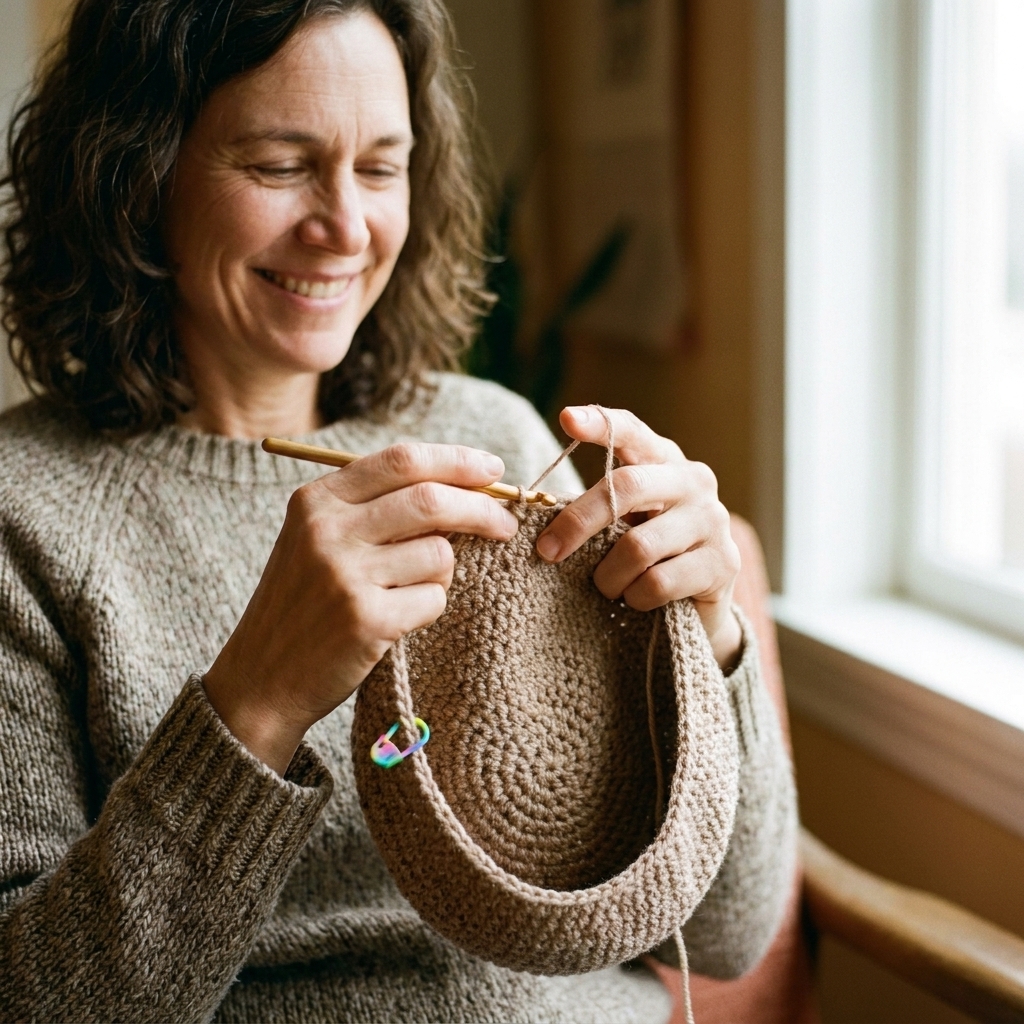
- Joined rounds: you finish the round with
sl stto join, then start the next round. - Continuous rounds (spiral): you keep going without joining. Stitch markers become extra important here so you can find the start of the round.
Starting Round 1
A lot of beginner frustration happens right at the start, because patterns assume you already know the common ways to begin.
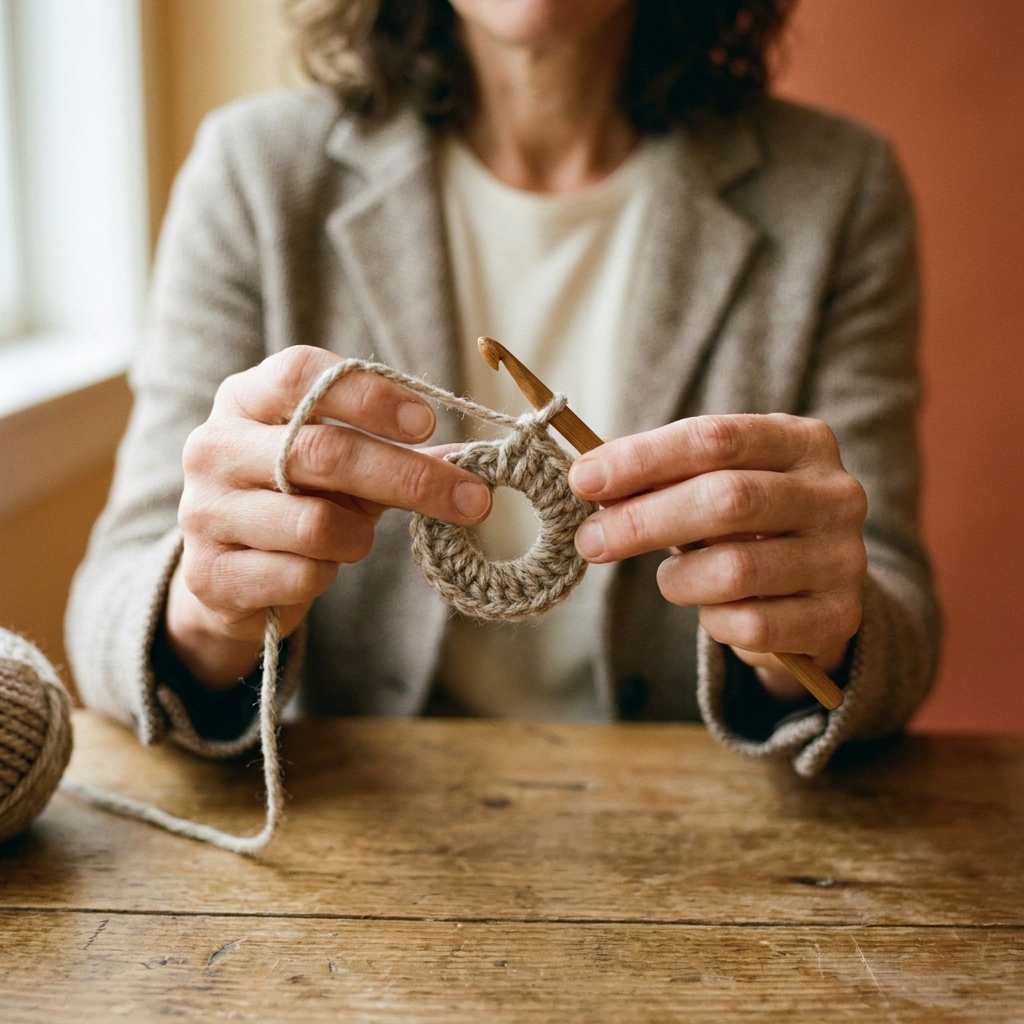
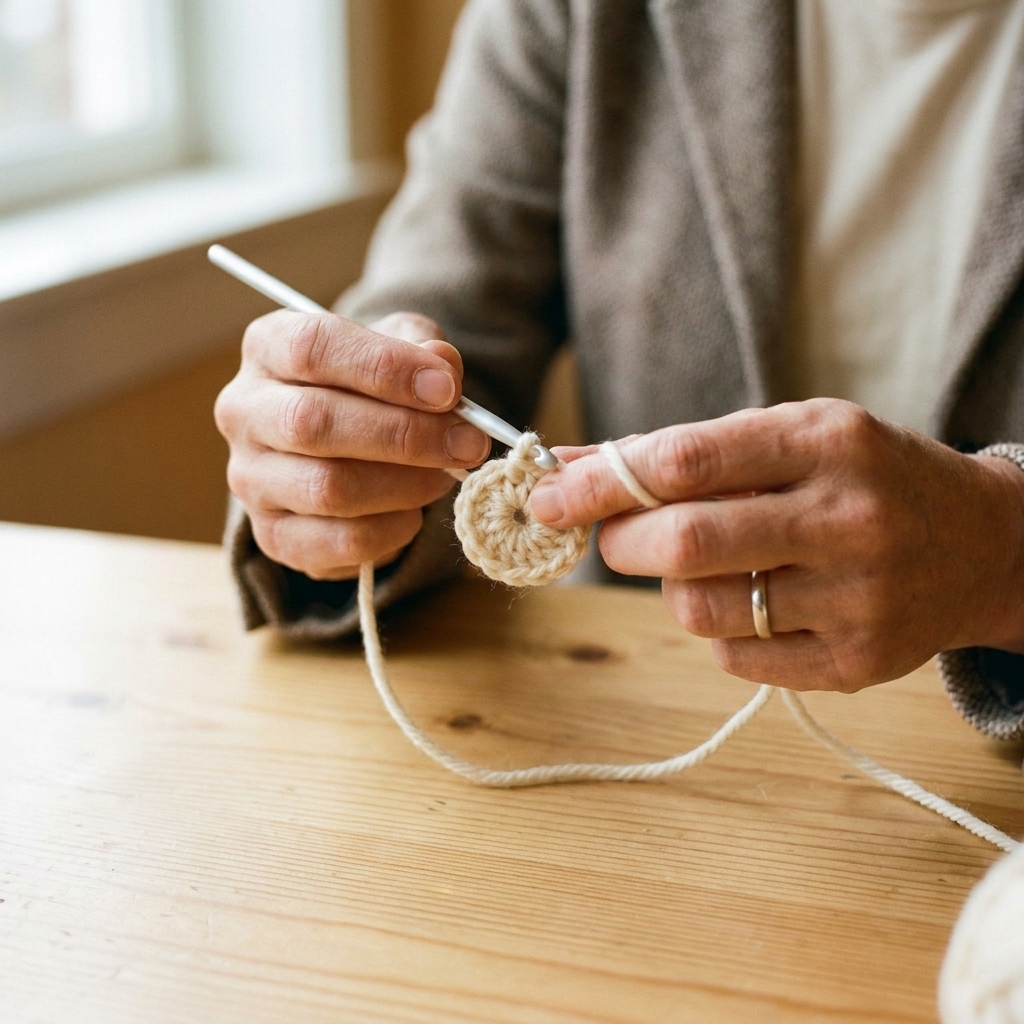
- Magic ring (also called adjustable loop): lets you pull the center tight. Common for hats, amigurumi, and granny-style motifs.
- Chain and join: you chain (often 2, 3, or 4), then join with a slip stitch to form a ring, and work into that ring.
- Work into a chain: some patterns have you chain a specific number, then work Round 1 into the chains (no ring at all).
If a pattern offers both a magic ring and a chain-and-join option, either is usually fine. The designer is basically saying, “Pick your favorite door. We are going to the same room.”
Stitch multiples
Some stitch patterns need a specific starting number to work correctly. You might see language like:
Stitch multiple: multiple of 2 + 1
That means the foundation stitch count needs to be an even number, plus one extra stitch. So 21, 31, 41, and so on would work.
One common gotcha: sometimes that “+1” is part of the pattern repeat math, and sometimes patterns list a stitch multiple and then add a separate turning chain instruction. The pattern should specify which it means. If it does not, check any setup row or the stitch pattern notes.
This shows up a lot in blankets and scarves where you can choose your own width.
Special stitches
Many patterns include stitch combos that have cute names: shells, clusters, popcorns, bobbles, V-stitches, and so on. The trick is that the name is not the instructions. The pattern should tell you the exact recipe somewhere, often in one of these spots:
- A Special Stitches section near the top
- A stitch key next to a chart
- A footnote right before the section that uses it
If you see something like “Shell in next sp,” immediately look for the shell definition. A shell might be 5 dc in one space, or it might be (2 dc, ch 1, 2 dc), or something else entirely. Same name, different sweater.
Blocking basics
Blocking is simply shaping your finished fabric so it relaxes into the size and drape the pattern expects. Some projects barely change with blocking, and some change a lot. Lace especially likes to bloom.
If a pattern gives a “blocked gauge” or says “measure after blocking,” take it literally. Swatch, block the swatch the way the pattern recommends, and then measure. It is not busywork. It is how you avoid crocheting an “adult medium” that fits a very fashionable lamp.
Reading stitch charts
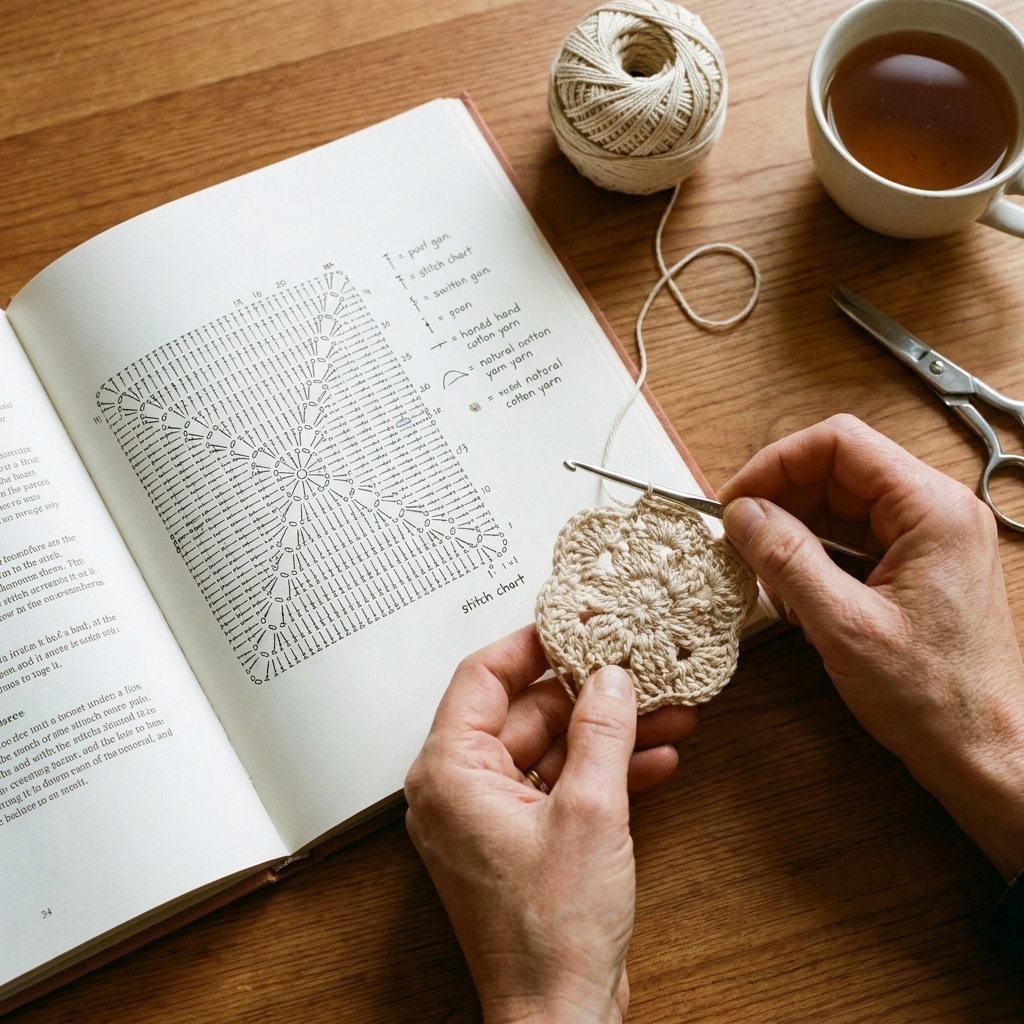
Charts are a visual map. Each symbol stands for a stitch, and the chart shows where those stitches go.
What to check first
- Key or legend: a small box that tells you what each symbol means.
- Direction of work: charts often use arrows or row numbers.
- Right side and wrong side: some charts show only the right side, even if you turn your work.
General chart rules
- Rows: often read right-to-left on right-side rows, then left-to-right on wrong-side rows if you are turning.
- Rounds: usually read in one direction all the way around, often counterclockwise, starting at a marked point.
One more helpful truth: symbol sets can vary (especially if you pick up charts that follow Japanese conventions). The legend is the boss. If the legend says that symbol means a half double crochet, it means a half double crochet, even if your other pattern book taught you differently.
If charts are new for you, start with a simple one like a granny square chart. Your brain learns faster when it is not also trying to do complicated stitches.
Common instructions, decoded
“Work even”
This means continue without increasing or decreasing. Keep making the same number of stitches each row or round.
“Fasten off”
Cut yarn, pull the tail through to secure. Patterns may also say “finish off.”
“Join with sl st”
Slip stitch into a specified stitch (often the first stitch of the round) to close the round.
“Place marker”
Clip a stitch marker into the indicated stitch or space. If you do not have markers, a scrap of yarn works great.
“2 dc in next st” (increases)
You will work two double crochets into the same stitch. That is how crochet gets wider.
“Dc2tog” or “sc2tog” (decreases)
You will combine two stitches into one. The exact steps vary depending on stitch type, but the goal is always the same: fewer stitches, shaping inward.
Reading size lines
Wearable patterns often list multiple sizes in one line, like:
Ch 72 (80, 88, 96)
That means:
- First number = smallest size
- Next numbers = progressively larger sizes
My classroom-teacher trick: pick your size, then highlight or underline your numbers throughout the pattern. It reduces mistakes dramatically.
A simple tracking system
- Read the whole pattern once. Not to memorize it, just to spot surprises like special stitches or seaming.
- Circle the terminology system (US or UK) and the hook size.
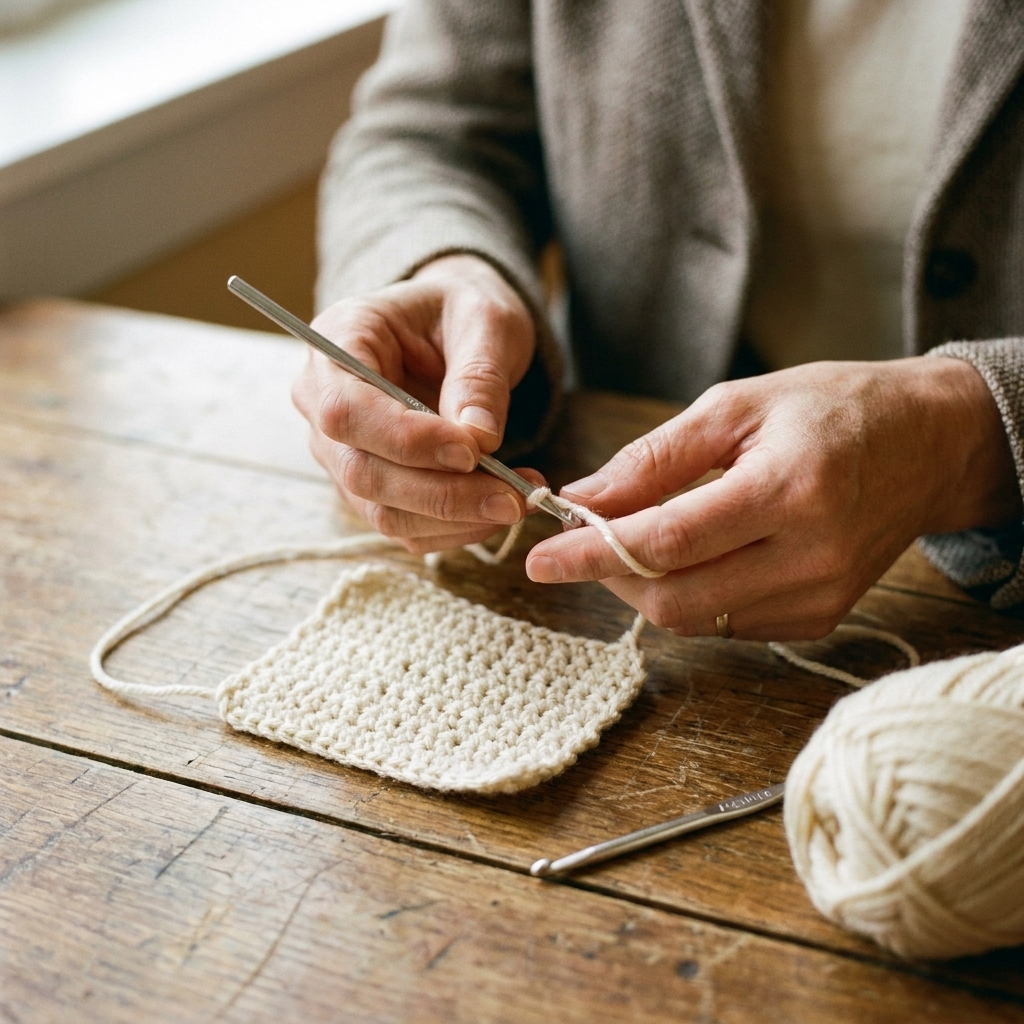
- Make a small gauge swatch if fit matters, and block it if the pattern measures blocked gauge.
- Highlight repeats (the asterisk sections) so your eyes can find them quickly.
- Use a row counter or a note on your phone. Your future self will thank you.
- Pause to count at the end of each row or round until you feel steady.
Troubleshooting
If your edges look wobbly
- Confirm whether the turning chain counts as a stitch.
- Check that you are not skipping the first or last stitch.
- Try placing a marker in the first and last stitch of every row for a few rows.
If your circle ruffles or bowls
- Ruffling usually means too many increases.
- Bowl shape usually means too few increases or your tension is tighter than the pattern expects.
- Count stitches each round and compare to the pattern’s stitch count.
If your project is the wrong size
- Check gauge first. A different hook size can fix a lot.
- Make sure you are using the yarn weight the pattern expects.
- If you substituted yarn, compare fiber content. Cotton and wool behave very differently.
If you are stuck, it does not mean you are “bad at crochet.” It usually means the pattern assumes a tiny piece of knowledge you have not been taught yet. That is a teaching problem, not a you problem.
Knitting crossover
Since Purl Craft is a cozy home for both knitters and crocheters, here is a quick translation for anyone who started with knitting:
- Crochet patterns often use shorter instruction chunks because shaping can happen quickly with increases and decreases.
- Gauge is just as important in both crafts, but crochet fabric can vary more with small tension changes.
- Charts exist in both worlds, but crochet charts use stitch symbols rather than knit and purl squares.
If you can read a knitting pattern, you already have the pattern-reading brain. You are just learning a new dialect.
FAQ
What does “turning chain does not count as a stitch” mean?
It means the chain at the beginning of the row is only there to bring your yarn up to the right height. You do not treat it like a real stitch when counting, and you usually do not crochet into it at the end of the next row.
What does “( )” at the end of a row mean?
Usually it is the stitch count for that row or round, like (42 sts). It is a checkpoint.
What does “in same st” mean?
It means you place the next stitch into the exact same stitch you just used. This is common in increases and cluster-type groups.
How do I know where Round 1 starts?
Patterns often tell you explicitly, but in practice the easiest method is to place a stitch marker in the first stitch of the round as soon as you make it. Move the marker up each round.
Is it okay to rewrite a pattern in my own words?
For your own personal use, absolutely. Many crocheters reformat instructions into a checklist, especially for repeat-heavy sections. Just do not repost or redistribute the rewritten pattern.
A gentle next step
If you want to build pattern-reading confidence fast, choose a small project with clear repeats: a dishcloth, a simple hat, or a granny square. Make it once while following the pattern closely, then make it again and notice how much more the instructions click the second time.
And if you drop a stitch or misread a repeat? Welcome to the club. That is not failure. That is crochet doing what crochet does best: giving you a cozy excuse to slow down, breathe, and try again.