If you have ever started a crochet hat or amigurumi and ended up with a tiny “donut hole” in the center that will not behave, hi, welcome. You are in excellent company. The magic ring (also called a magic circle or adjustable ring) is one of those techniques that feels like a wizard trick until your hands have done it a few times. Then it becomes the most satisfying little yarn move in your toolkit.
In this tutorial, I will walk you through a reliable magic ring method, show you exactly where beginners get tripped up, and then give you three bite-sized patterns designed specifically to help the technique stick.
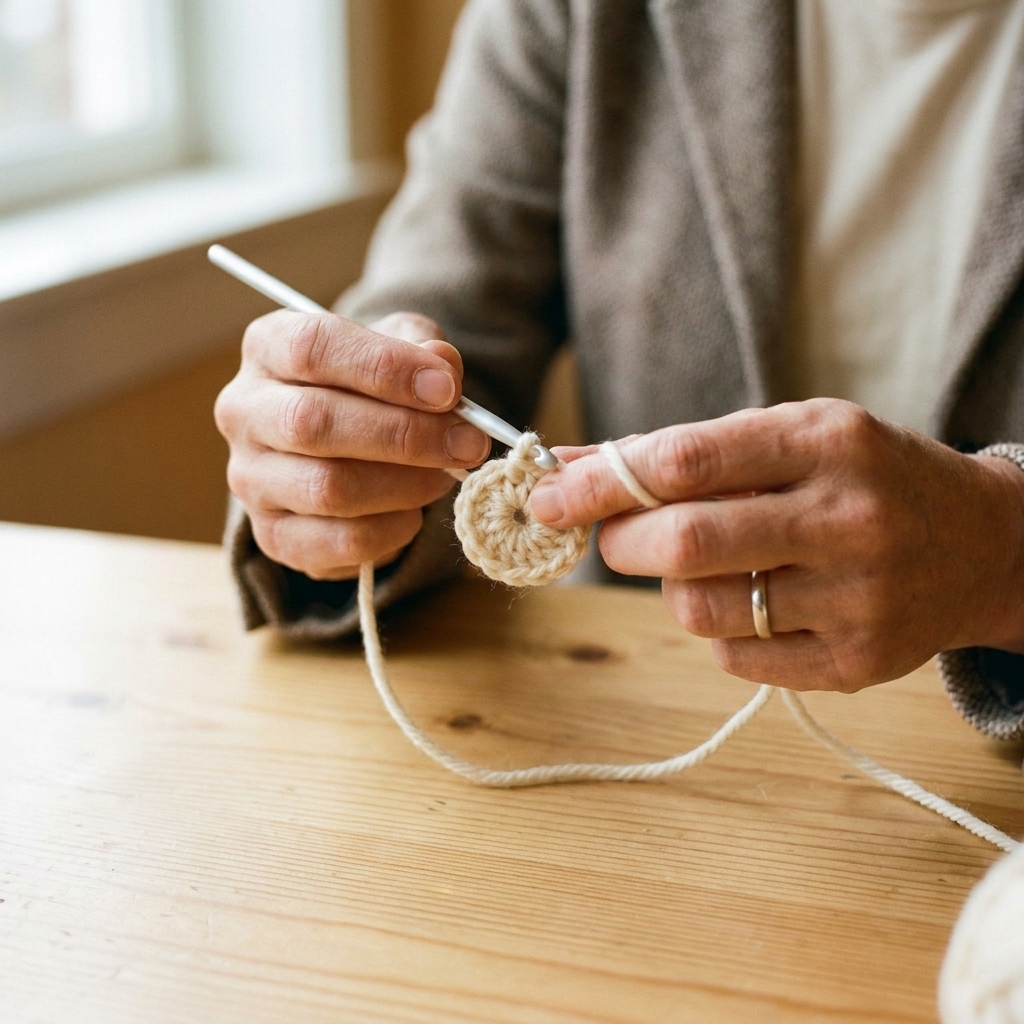
What it is (and when to use it)
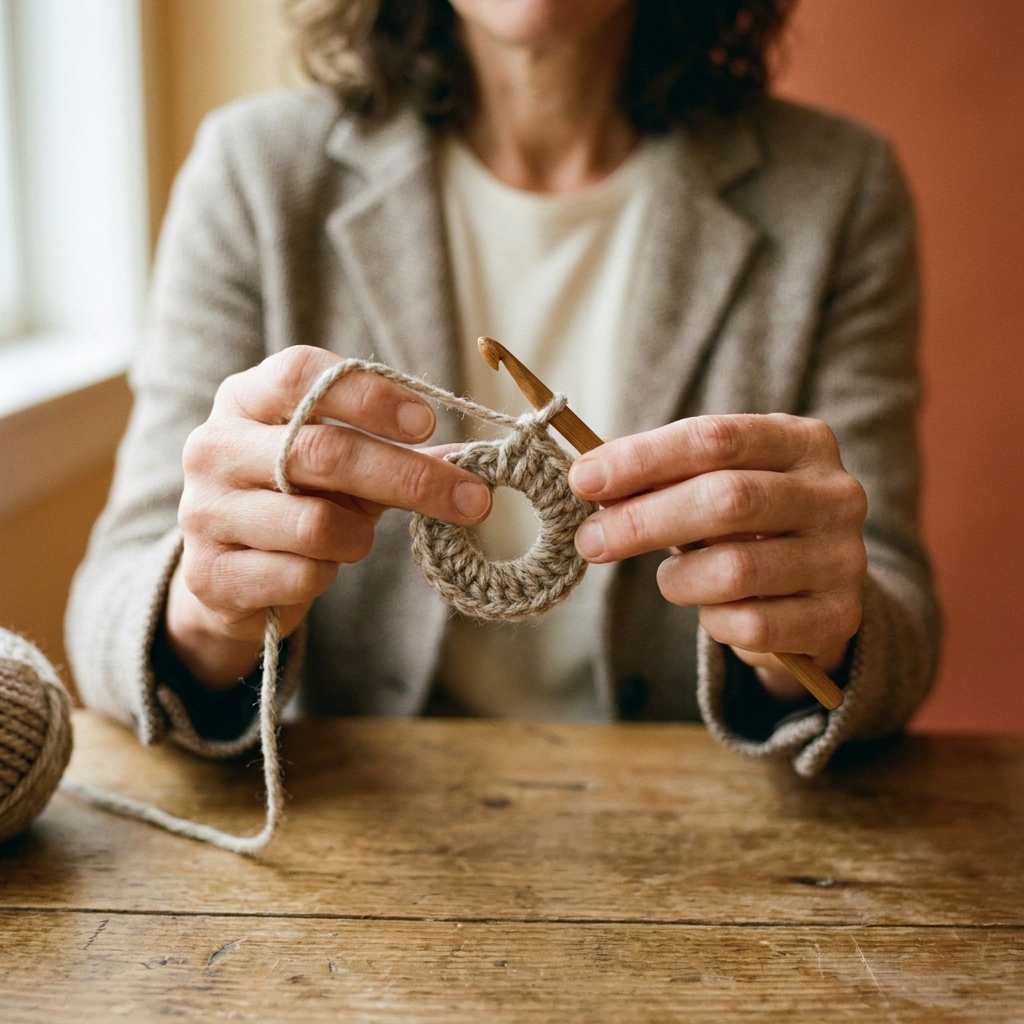
A magic ring is an adjustable starting loop used for projects crocheted in the round. You work your first round of stitches into the loop, then pull the yarn tail to close the center tight.
Use a magic ring for:
- Amigurumi, where you want a tight, closed center
- Hats started from the crown
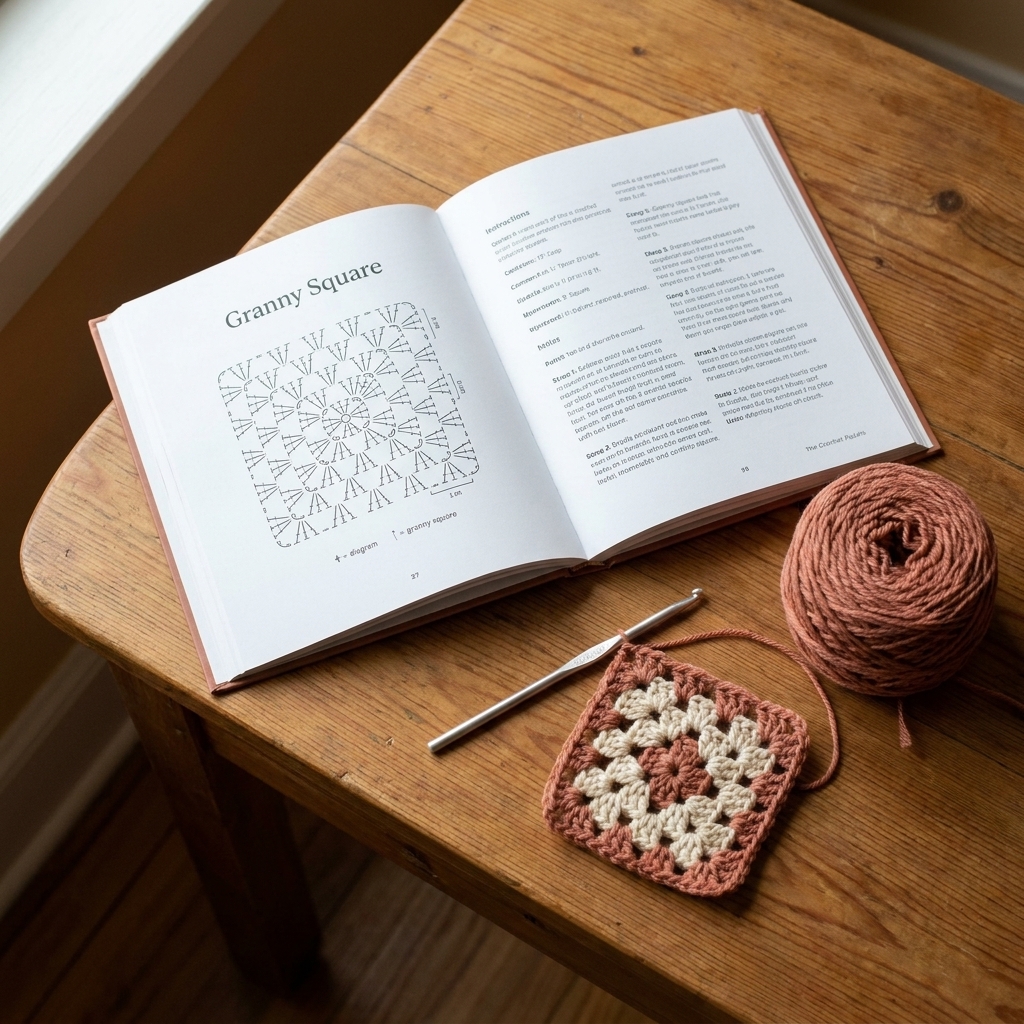
- Granny squares that begin with a round center
- Coasters and circular motifs
Skip it (or choose an alternative) when:
- You are using very slippery yarn and do not want to fuss with securing the tail
- You are making something that will get heavy wear and laundering and you prefer a chain-ring start
Teacher brain moment: the magic ring is not “hard,” it is just a sequence. Once your hands memorize the loop and where the hook goes, it becomes automatic.
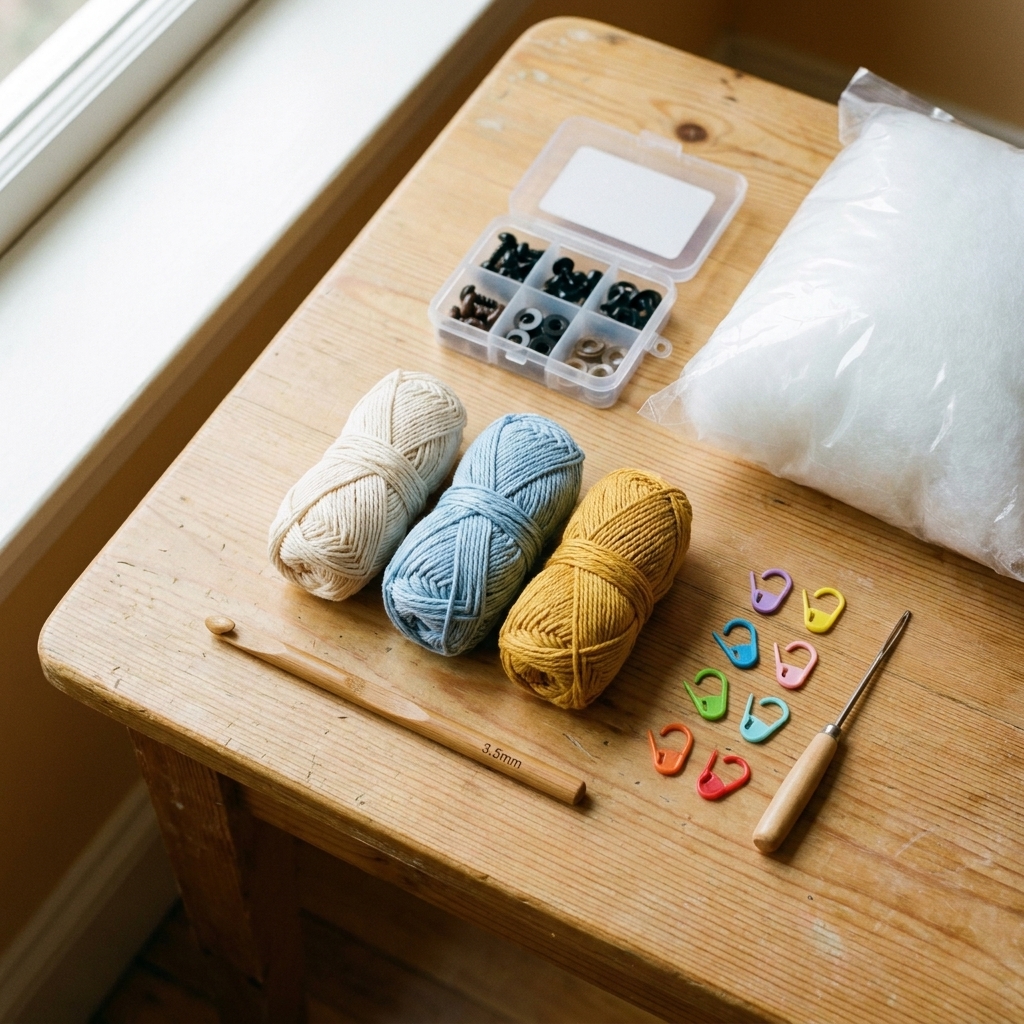
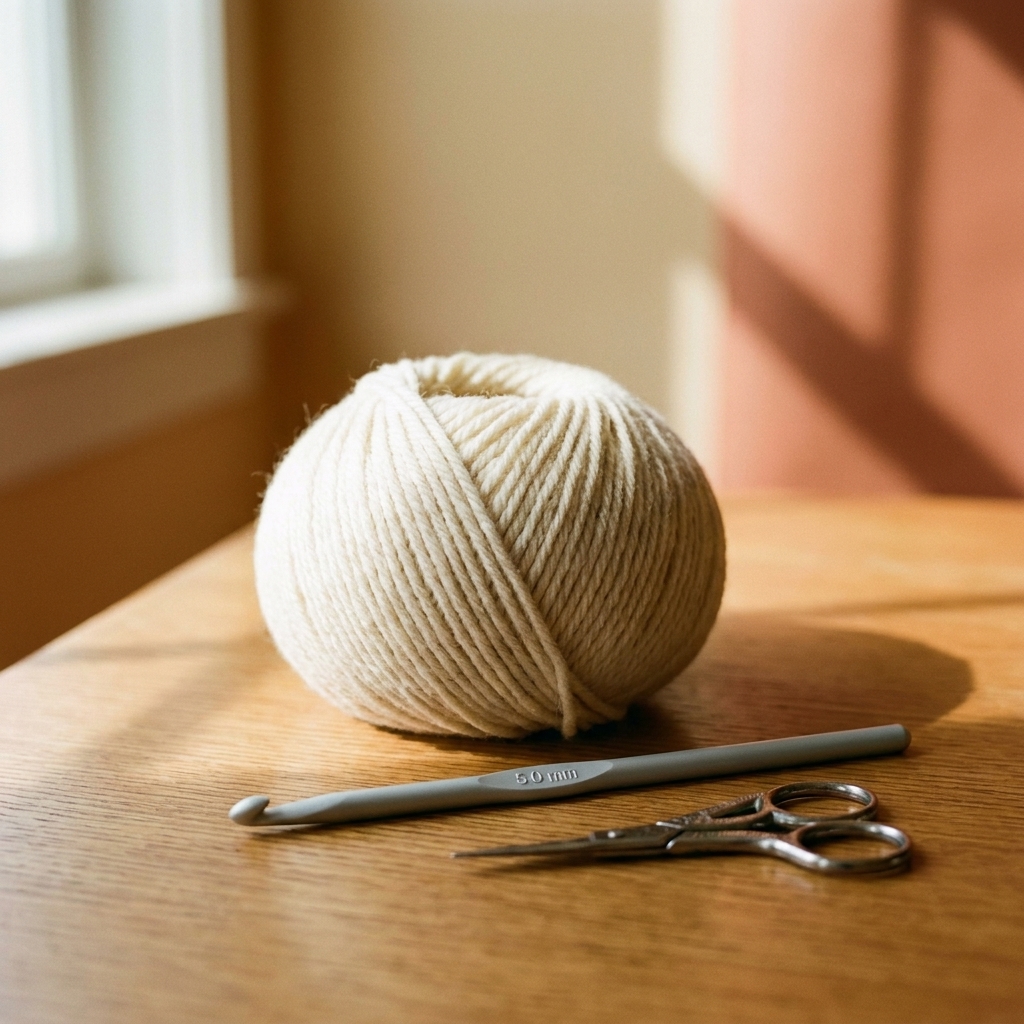
Tools and yarn for learning
You can practice with any crochet hook and yarn, but for easiest learning, choose materials that show your stitches clearly and do not fight you.
- Yarn: smooth, light-colored worsted weight (Category 4) is ideal
- Hook: 5.0 mm (H-8) or whatever your yarn label suggests
- Extras: scissors and a yarn needle (you will use the needle to secure the ring properly)
Magic ring steps (single loop)
This is the method I teach most often because it is straightforward and works for the majority of patterns.
Step 1: Make a loop on your fingers
Leave a yarn tail of about 4 to 6 inches (10 to 15 cm), then lay that tail across your palm. Wrap the working yarn (the strand connected to the ball) around your index and middle finger so it forms an X. The tail should be the strand closest to your palm. The working yarn should be the strand going to the yarn ball.
Left-handed note: mirror the wraps the way your hands naturally want to hold the yarn. Same idea, same result.
Step 2: Catch the strand that makes the adjustable ring
Slide your hook under the strand closest to your fingertips, then catch the other strand and pull it under to create a loop on your hook.
Quick check: when you pull the tail, the ring on your fingers should shrink. If pulling the tail only tightens the loop on your hook (and the ring does not cinch), flip the loop and try again.
Step 3: Chain to lock it (optional)
Yarn over and pull through the loop on your hook to make ch 1. This “locks” the ring so you can work stitches into it.
Important: This chain does not count as a stitch unless your pattern says it does. Also, some amigurumi patterns skip the locking chain entirely and begin with “MR, 6 sc” directly into the ring. Either approach is fine, just follow your pattern.
Step 4: Work stitches into the ring
Now crochet your first round stitches into the ring by inserting your hook through the center of the loop and working over the ring loop strand (the strand you are crocheting around), not over the tail alone. Beginners often accidentally crochet around the tail only, which makes closing the ring a headache later.
Common starts:
- Amigurumi: usually 6 sc into the ring
- Coasters: often 12 dc into the ring (with a beginning chain)
Step 5: Pull the tail to close
Hold your stitches with one hand and pull the yarn tail with the other. The center should cinch closed like a drawstring.
Step 6: Join or continue in a spiral
If your pattern joins rounds, slip stitch to the first stitch. If it works in a spiral, place a stitch marker in the first stitch and keep going.
Do not skip this: secure the tail
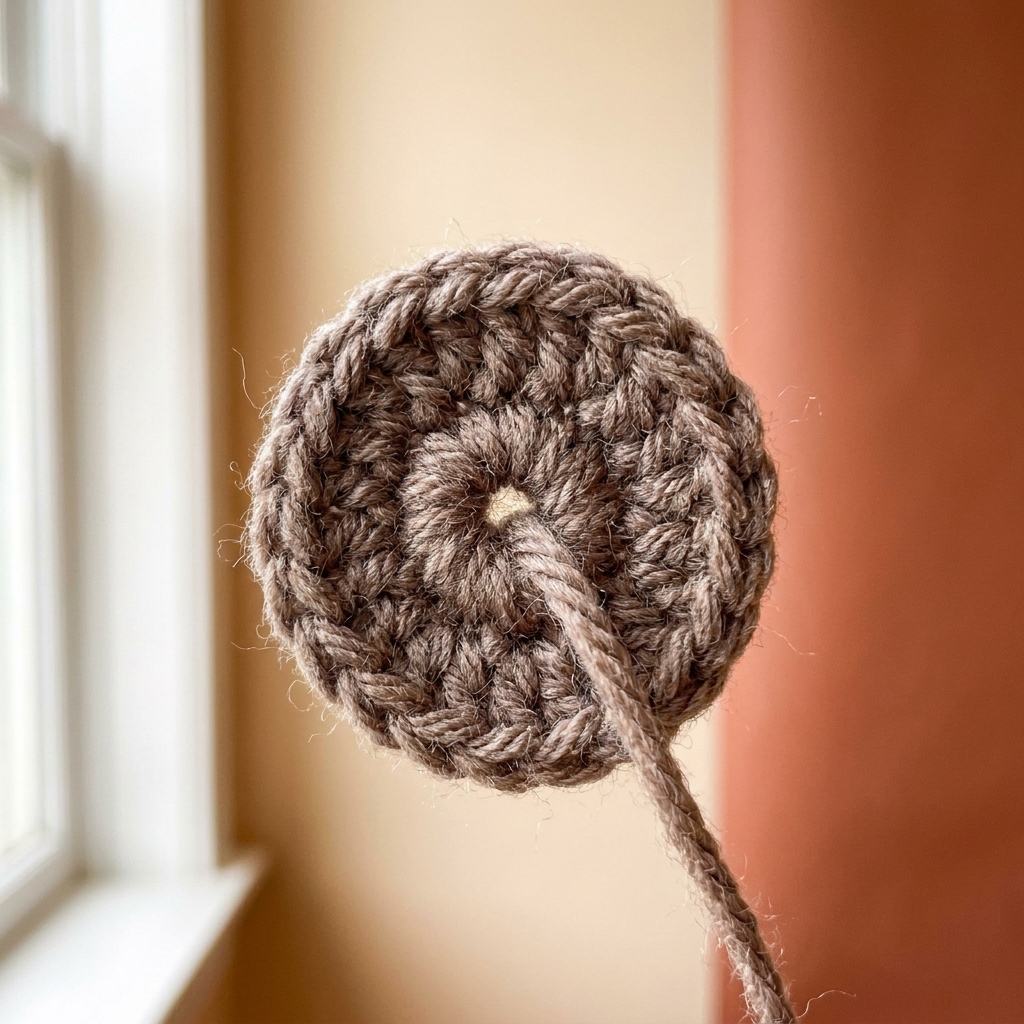
The magic ring is adjustable, which is wonderful. It also means it can loosen over time if the tail is not secured. After you close the ring and complete another round or two, do this:
- Weave the tail in with a yarn needle through several stitches.
- Change direction and weave back through a different path.
- For amigurumi: pull the tail through to the inside and weave there.
If you want extra insurance, you can tie a tiny knot around one strand of the first round before weaving. I do this for toys that will be handled a lot.
Extra note for slick fibers (bamboo, silk blends, super smooth acrylic): weave a little farther than you think you need to, and definitely change direction at least once. Those yarns love to wriggle free.
Troubleshooting
“My ring won’t close all the way.”
- Check that your stitches are worked around the ring loop strand, not around the tail only.
- Make sure you are pulling the actual tail end, not the working yarn.
- If it still resists, gently wiggle the stitches while pulling, one tiny tug at a time.
“My stitches feel too tight to work into the ring.”
- Use a slightly larger hook for practice.
- When you make the ring, do not choke it tight around your fingers. Leave a little breathing room.
- After each stitch into the ring, give the loop a tiny adjustment so everything stays movable.
“I lose track of where round 2 starts.”
- Use a stitch marker in the first stitch of round 1.
- If you do not have one, a small piece of scrap yarn works perfectly.
“My center hole reappears later.”
- Weave in the tail more securely, changing direction.
- For slippery yarn, consider the alternative start: chain 2 and work the first round into the second chain from the hook, or use a chain-ring start.
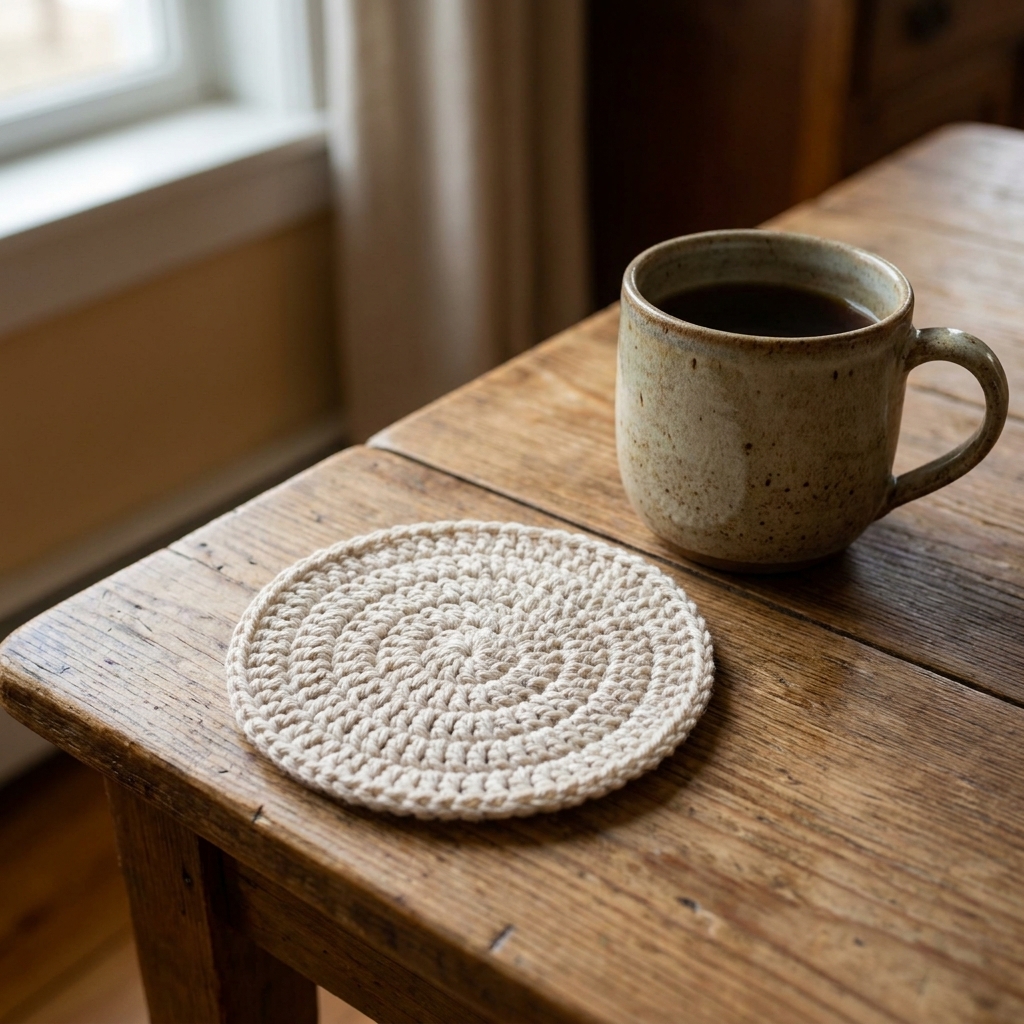
Practice Pattern 1: Tiny coaster
This quick coaster is my favorite “magic ring drill” because you get to close the ring, work increases, and see a flat circle form. Plus, it is actually useful, which makes my slow-fashion heart happy.
Materials
- Worsted-weight cotton or cotton blend yarn (scraps are great)
- 5.0 mm crochet hook (or size that gives you a firm fabric)
- Stitch marker (optional)
- Yarn needle
Abbreviations
- MR = magic ring
- ch = chain
- sl st = slip stitch
- sc = single crochet
- hdc = half double crochet
- inc = 2 sc in same stitch
Notes
- This pattern is worked in joined rounds. The ch-1 at the beginning of each round does not count as a stitch.
Pattern
Round 1: MR, ch 1, 8 sc into ring. Pull tail to close. Join with sl st to first sc. (8)
Round 2: ch 1, inc in each st around. Join with sl st to first sc. (16)
Round 3: ch 1, *sc, inc* repeat around. Join with sl st to first sc. (24)
Round 4: ch 1, *2 sc, inc* repeat around. Join with sl st to first sc. (32)
Round 5 (optional border): ch 1, hdc in each st around. Join with sl st to first hdc. (32)
Fasten off. Weave in ends, especially the magic ring tail securely.
Make it yours: Use hdc throughout for a slightly thicker coaster, or stop after Round 4 for a smaller one.
Practice Pattern 2: Mini scrubby
This one is my gentle nudge to use up those cotton odds and ends that multiply in the drawer when you are not looking. It is also a great way to practice making a ring, closing it tightly, and keeping tension consistent.

Materials
- Worsted-weight cotton yarn
- 5.0 mm crochet hook
- Yarn needle
Notes
- Worked in a continuous spiral. Use a stitch marker in the first stitch of each round.
Pattern
Round 1: MR, 6 sc into ring. Pull tight. (6)
Round 2: inc in each st around. (12)
Round 3: *sc, inc* repeat around. (18)
Round 4: *2 sc, inc* repeat around. (24)
Round 5: sc in each st around. (24)
Fasten off. Weave in ends thoroughly.
Optional hanging loop: Before fastening off, ch 10, sl st into the next stitch to form a loop, then fasten off.
Practice Pattern 3: Tiny amigurumi ball
If you want the magic ring to click forever, make one small amigurumi ball. This pattern forces the center to be tight and secure, and it gives you that satisfying “ohhh, that’s why people love this” moment.
Also, a tiny squishy crochet ball on your desk is surprisingly calming. Fiber arts are not just cute, they are excellent for nervous hands and busy brains.

Materials
- Worsted-weight yarn (smooth yarn is easiest for your first try)
- 4.0 mm to 4.5 mm hook (choose a smaller hook than usual for a tighter fabric)
- Stuffing
- Stitch marker
- Yarn needle
Abbreviations
- MR = magic ring
- sc = single crochet
- inc = 2 sc in same stitch
- dec = single crochet decrease (invisible decrease preferred)
Notes
- Worked in a continuous spiral.
- For the neatest decreases, use an invisible decrease: insert hook into front loop only of next st, then front loop only of following st, yarn over and pull through, yarn over and pull through both loops.
Pattern
Round 1: MR, 6 sc into ring. Pull tight. (6)
Round 2: inc in each st around. (12)
Round 3: *sc, inc* repeat around. (18)
Round 4: *2 sc, inc* repeat around. (24)
Rounds 5 to 7: sc in each st around. (24)
Round 8: *2 sc, dec* repeat around. (18)
Round 9: *sc, dec* repeat around. (12)
Stuff: Add stuffing firmly but do not overpack. Shape into a smooth sphere.
Round 10: dec around. (6)
Fasten off, leaving a tail. Thread tail onto a needle, weave through the front loops of the remaining 6 stitches, pull tight to close. Weave in securely.
Extra security tip: After closing the ring in Round 1, weave that starting tail into the stitches for several inches. Amigurumi gets handled, hugged, tossed, and occasionally “tested” by pets and toddlers. Better safe than sorry.
Alternatives (if you hate it)
If the magic ring makes you want to dramatically fling your hook onto the couch, you have options. They can leave a tiny center hole, but for some projects that is totally fine.
Chain-2 method
- Ch 2
- Work the required number of stitches into the second chain from the hook
- Continue in rounds as the pattern directs
Chain-ring method
- Ch 3 or ch 4
- Sl st to the first chain to form a ring
- Work the required number of stitches into the ring
For hats and coasters, a small hole is usually no big deal. For amigurumi, the magic ring is worth the practice because stuffing will try to escape any gap.
FAQ
Is the magic ring the same as a slip knot?
Not quite. A slip knot makes a loop on your hook. A magic ring makes an adjustable loop you crochet into, then cinch closed.
How many chains do I do after the ring?
Most patterns use ch 1 for single crochet starts, and ch 2 or ch 3 for taller stitches like hdc or dc. Follow your pattern’s instruction. If it says “MR, 6 sc,” you typically do not count the chain as a stitch, and some patterns omit the chain entirely.
My ring closes, but later the center loosens. What am I doing wrong?
Almost always it is tail security. Weave in the tail, change direction, and for high-wear items consider a small knot before weaving.
Can I use the magic ring for knitting?
The crochet magic ring itself is a crochet technique, but knitters solve the same “closed center” problem with a circular cast-on, like a pinhole cast-on or Emily Ocker’s Circular Cast-On. Same concept: start tiny, then increase outward.
Next steps
If you are brand new to the magic ring, do this in order:
- Make 5 magic rings in a row with scrap yarn (no pressure, just repetition)
- Crochet Practice Pattern 1 (the coaster) so you see a flat circle form
- Move to the amigurumi ball to learn what “tight and secure” really feels like
And if your first ring looks a little wonky, congratulations. That is the official sign you are learning. If you want to practice together, put the kettle on, grab a stitch marker, and meet me back here for round two.