If you are new to crochet, it can feel like everyone else is casually fluent in a secret yarn language. I promise you, it is not magic. It is just a handful of stitches, practiced slowly, one cozy swatch at a time.
Below are the 10 essential crochet stitches I want every beginner in the Purl Craft corner to learn. I am including exactly how to work each stitch, what it is good for, what tends to trip beginners up, and a simple project idea so you can practice with a purpose. And yes, you are allowed to frog. That is not failure. That is crocheting.
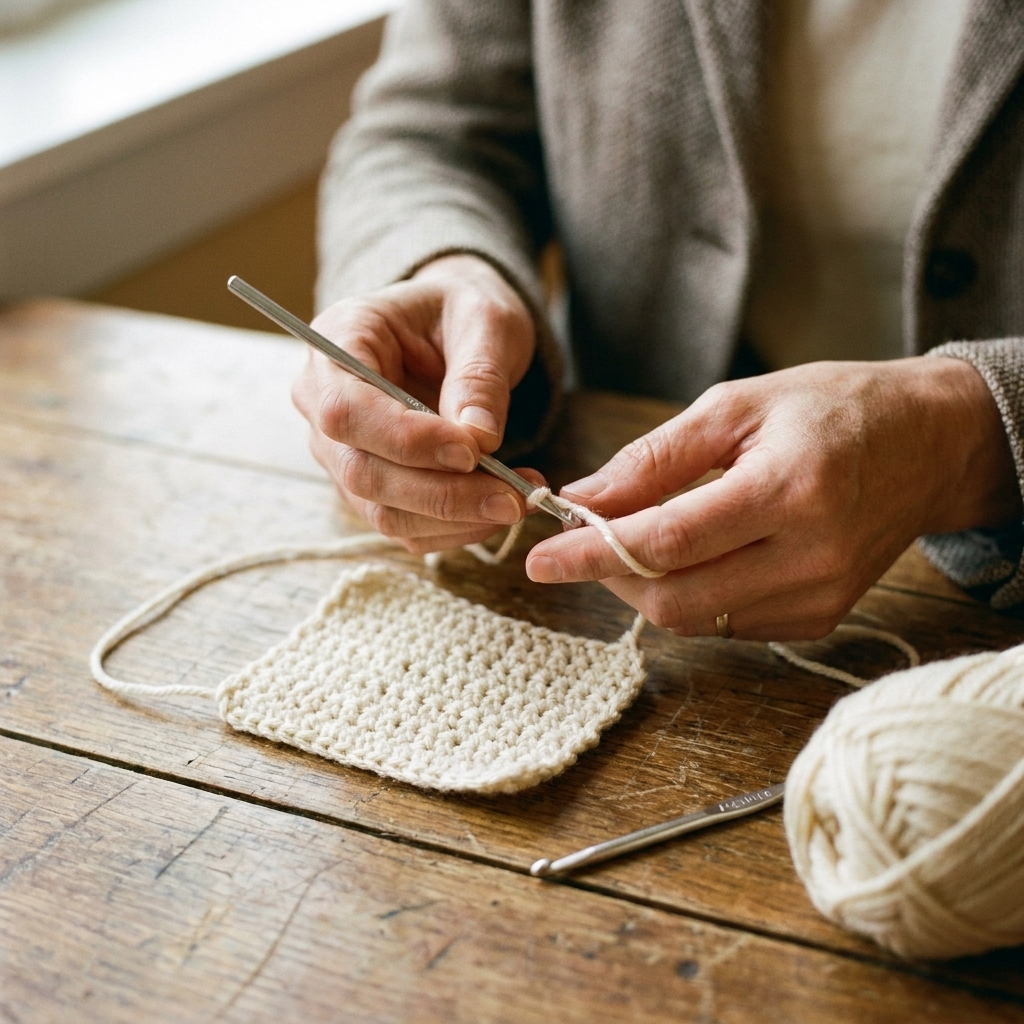
Before you start: tiny setup details that matter
Choose an easy yarn and hook
- Yarn: A smooth, light-colored worsted weight yarn (category 4) helps you see your stitches.
- Hook: Start with the hook size on the yarn label, often 5.0 mm or 5.5 mm.
Two beginner superpowers
- Count your stitches. Most beginner crochet “mysteries” are actually missing or extra stitches.
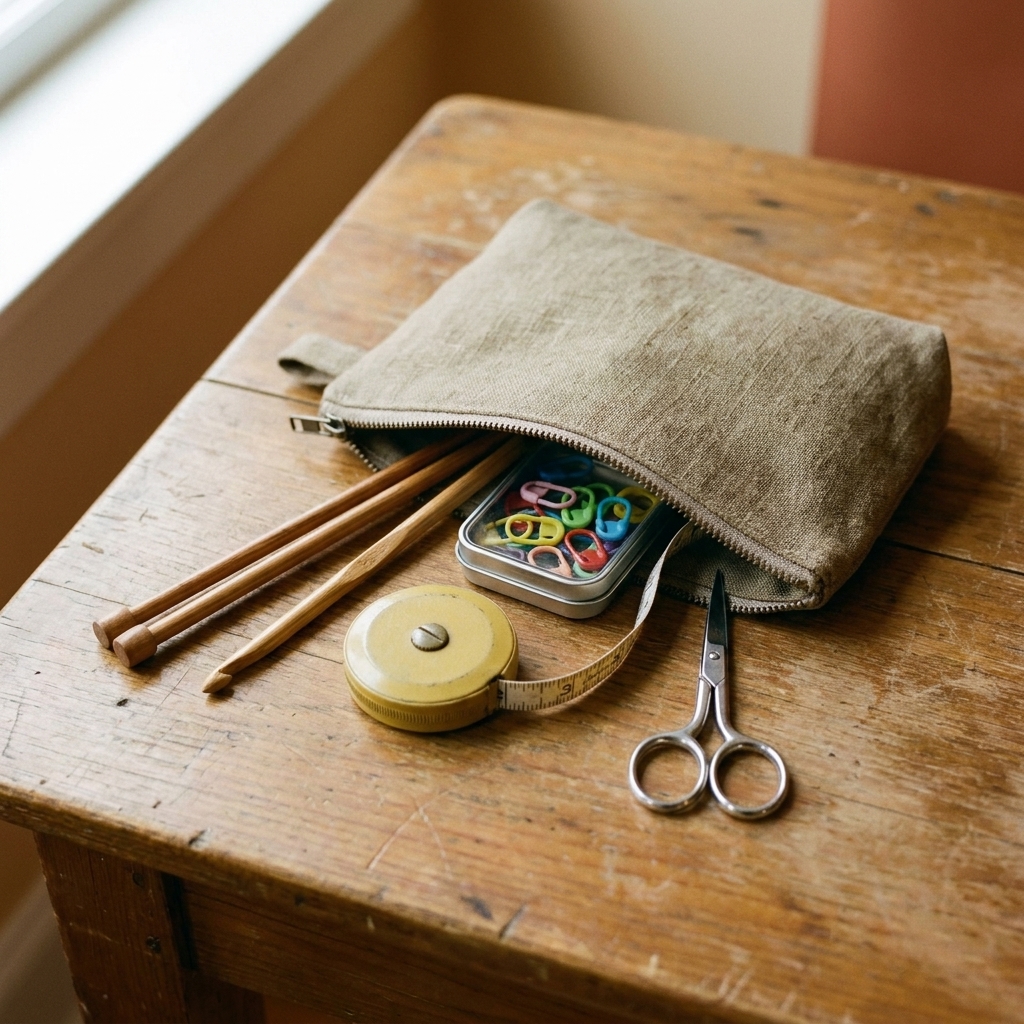
- Use a stitch marker. Pop one into the first stitch of the row or round so you always know where you are.
Helpful note on turning chains: Some patterns count the turning chain as a stitch and some do not. In this guide, I will tell you which approach is most common for that stitch, but always follow your pattern first.
1) Slip Knot
The slip knot is how you get yarn onto your hook. It is not fancy, but it is the front door to everything else.
How to make a slip knot
- Make a loop with the yarn tail crossing over the working yarn.
- Reach through the loop and pull up a new loop from the working yarn.
- Tighten gently around the hook by pulling the working yarn, not the tail.
Common beginner snag
Over-tightening. Your hook should be able to slide through the loop easily. Think “snug,” not “zip-tie.”
Practice idea
Make 20 slip knots in a row, sliding each one off the hook. It sounds silly, but your hands learn quickly.
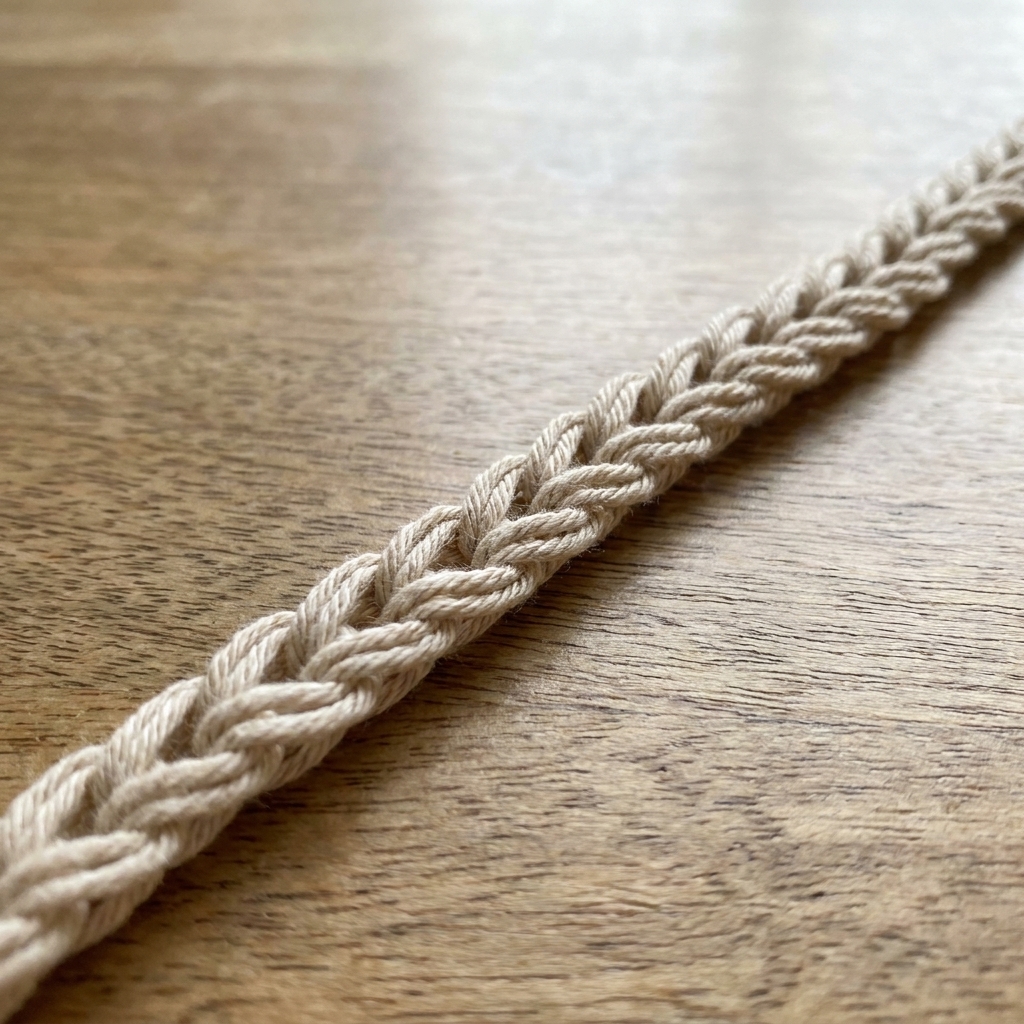
2) Chain Stitch (ch)
The chain stitch is the foundation of most crochet projects. If crochet had a warm-up stretch, this would be it.
How to chain
- Start with a slip knot on your hook.
- Yarn over (wrap yarn over the hook from back to front).
- Pull the yarn through the loop on your hook. That makes one chain.
- Repeat until you have the number of chains you need.
Common beginner snags
- Chains are too tight: Use a slightly larger hook for the chain only, or relax your grip.
- Twisted foundation chain: Before you work into it, lay the chain flat and make sure all the little “V” shapes face up.
Practice idea
Chain 50, then use it as a measuring tape: practice keeping the tension even so your chains look consistent.
3) Slip Stitch (sl st)
Slip stitch is the quiet helper stitch. It joins rounds, moves your yarn to a new spot, and creates clean edges.
How to work a slip stitch
- Insert your hook into the next stitch (or the stitch/space indicated).
- Yarn over.
- Pull through the stitch and the loop on your hook in one motion.
Common beginner snag
Accidentally making it too tight. Slip stitches love to tighten up. Keep your loop relaxed as you pull through.
Practice idea
Crochet a small chain ring and join with a slip stitch. Then practice slip stitching around the ring to make a neat little bracelet base.
4) Single Crochet (sc)
Single crochet is sturdy, simple, and shows up everywhere. If you want to make amigurumi, baskets, or warm winter accessories, single crochet is your best buddy.
How to single crochet
- Insert hook into the next stitch.
- Yarn over and pull up a loop. (2 loops on hook.)
- Yarn over and pull through both loops. (1 loop on hook.)
Turning chain: Usually ch 1 to turn. Often the turning chain does not count as a stitch in single crochet, but patterns vary.
Common beginner snags
- Missing the last stitch: The last stitch can hide. Use a stitch marker in the first stitch of each row and count at the end.
- Uneven edges: Make sure you work into the very last stitch of the row, not into the turning chain unless the pattern tells you to.
Practice idea
Make a simple washcloth: chain about 26, single crochet across until it is square. Instant useful practice.
5) Half Double Crochet (hdc)
Half double crochet is the cozy middle child: taller than single crochet, shorter than double crochet. It is fast, squishy, and fantastic for hats and scarves.
How to half double crochet
- Yarn over.
- Insert hook into the next stitch.
- Yarn over and pull up a loop. (3 loops on hook.)
- Yarn over and pull through all 3 loops.
Turning chain: Usually ch 2. Often counts as a stitch, but not always.
Common beginner snag
Confusing it with double crochet. If you yarn over and then pull through only two loops, you have started a double crochet. Hdc pulls through all three loops at the end.
Practice idea
Make a ribbed headband by working half double crochet in the back loop only (that technique is optional, but it is a fun upgrade once you are comfortable).
6) Double Crochet (dc)
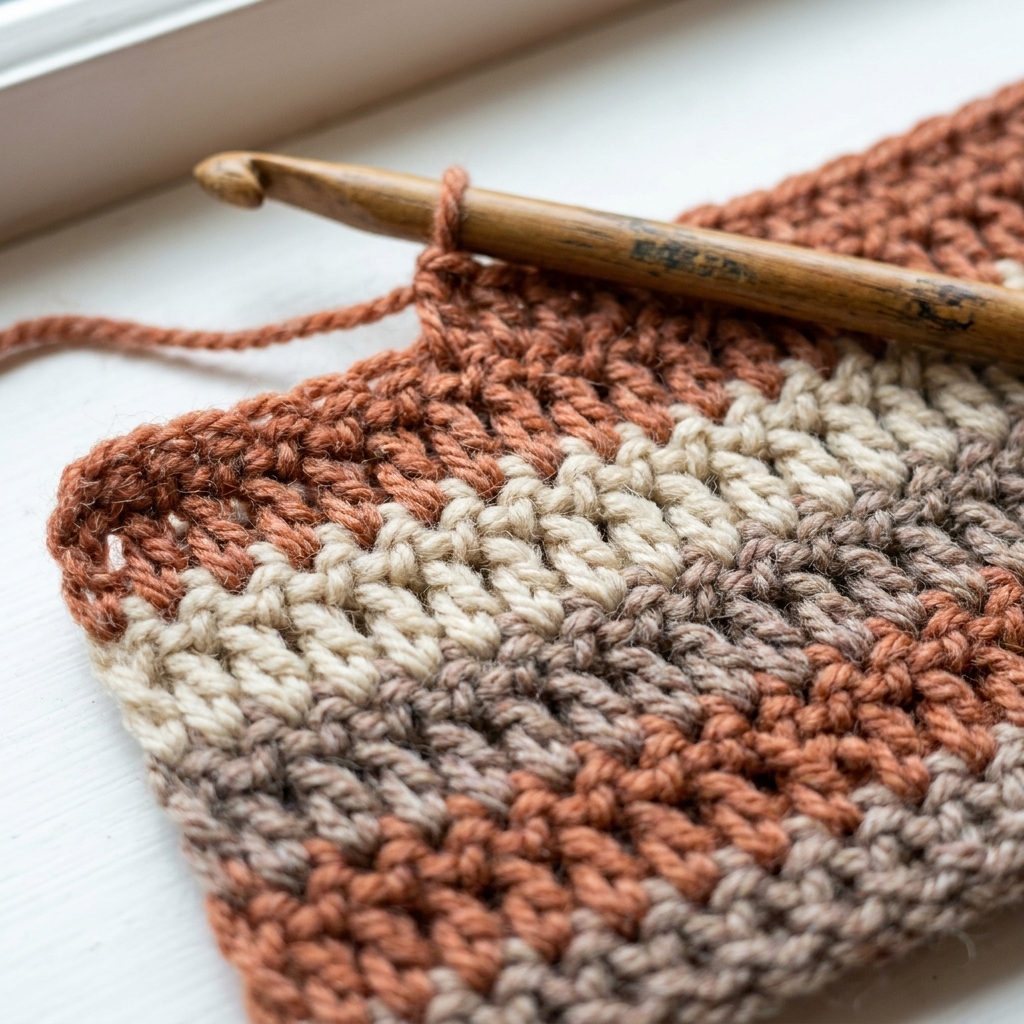
Double crochet is tall, drapey, and builds fabric quickly. It is a go-to for blankets, cardigans, and lots of classic stitch patterns.
How to double crochet
- Yarn over.
- Insert hook into the next stitch.
- Yarn over and pull up a loop. (3 loops on hook.)
- Yarn over and pull through 2 loops. (2 loops on hook.)
- Yarn over and pull through the last 2 loops.
Turning chain: Usually ch 3. Often counts as a stitch in traditional patterns.
Common beginner snags
- Gaps at the edges: If your turning chain counts as a stitch, be sure to work the last dc into the top of that chain on the next row.
- Leaning posts: Keep your yarn tension steady and make sure you complete both pull-through steps fully.
Practice idea
Make a “speed swatch”: chain 21, double crochet in rows for 10 minutes, focusing on even tension. You will be shocked how quickly fabric grows.
7) Treble Crochet (tr)
Treble crochet is even taller than double crochet, which means extra drape and a more open fabric. It is wonderful for lacy wraps, airy blankets, and elegant stitch patterns.
How to treble crochet
- Yarn over twice.
- Insert hook into the next stitch.
- Yarn over and pull up a loop. (4 loops on hook.)
- Yarn over and pull through 2 loops. (3 loops on hook.)
- Yarn over and pull through 2 loops. (2 loops on hook.)
- Yarn over and pull through the last 2 loops.
Turning chain: Usually ch 4.
Common beginner snag
Forgetting one of the pull-through steps. Treble crochet is basically three mini-finishes in a row. Go slowly and count them.
Practice idea
Make a light, drapey scarf swatch: alternate rows of double crochet and treble crochet to see the difference in height and fabric.
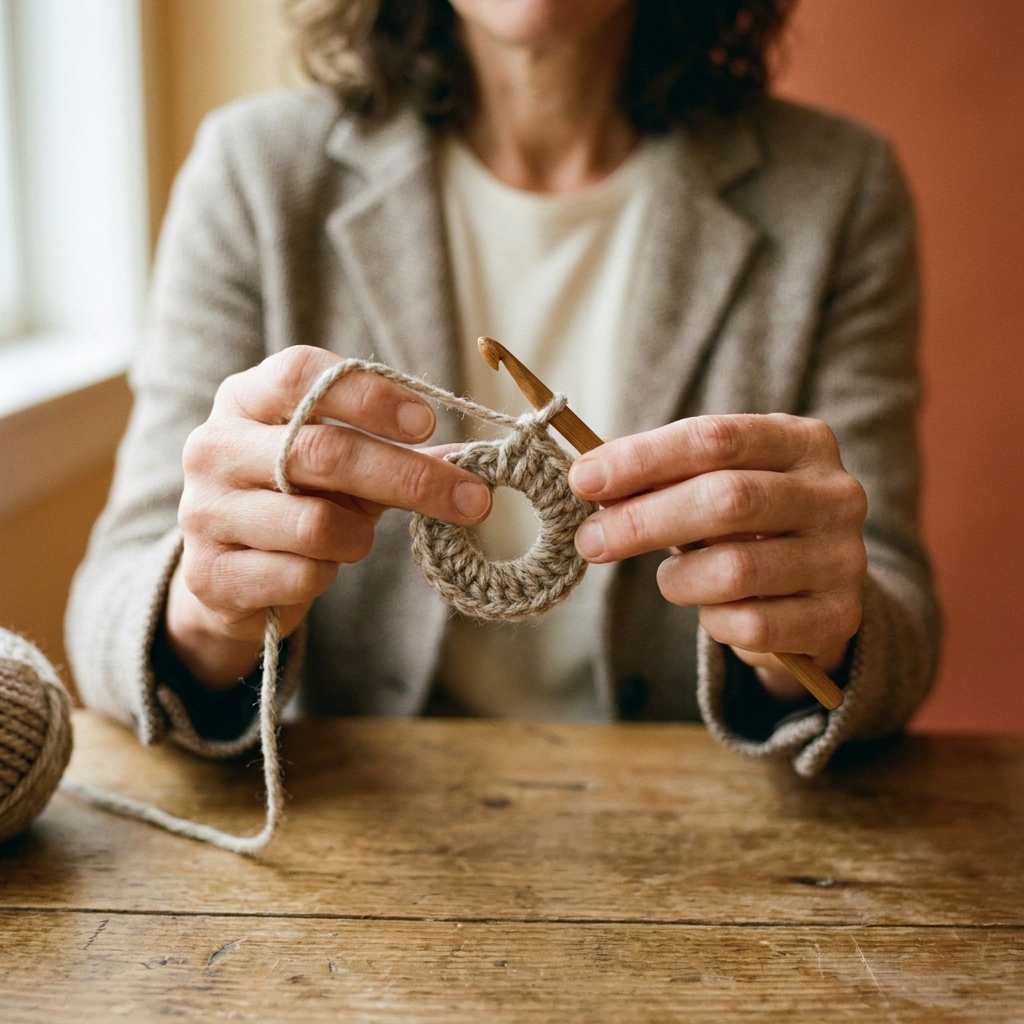
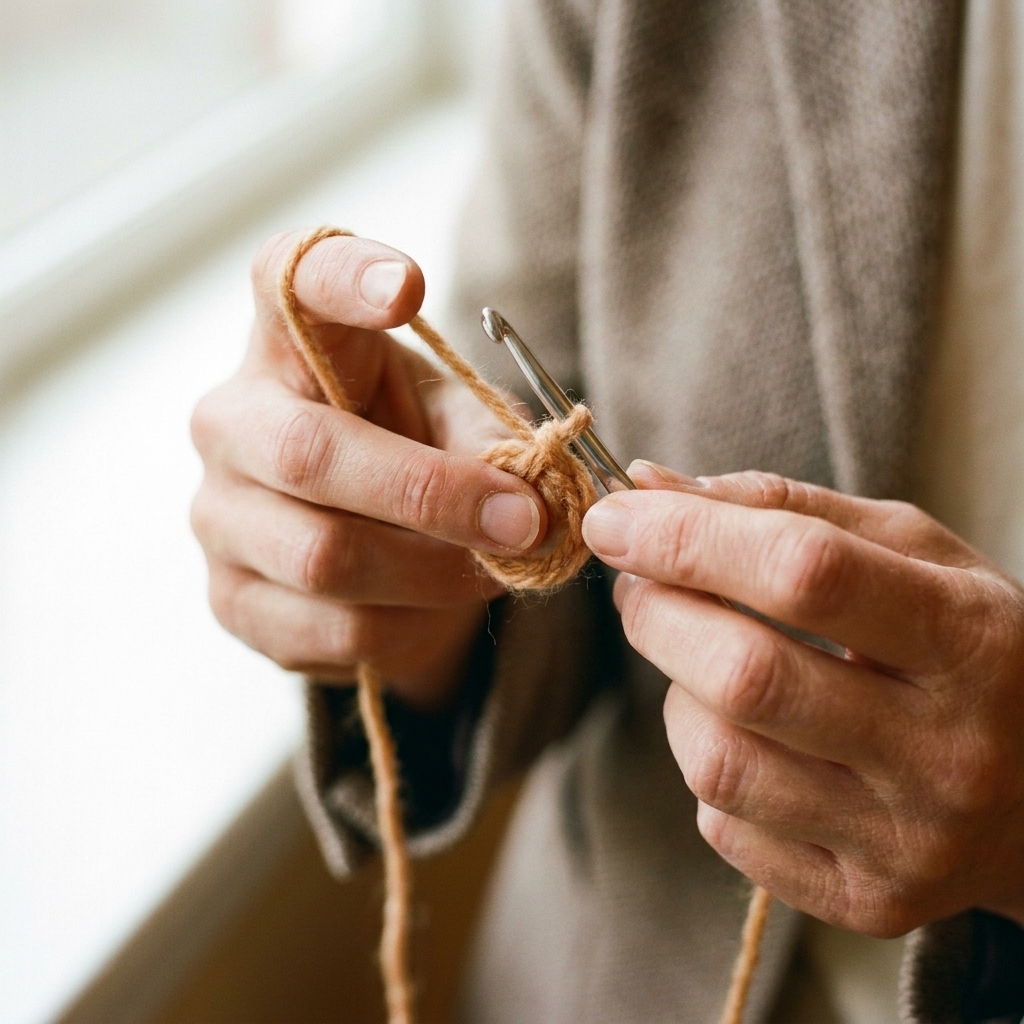
8) Magic Ring (Magic Circle)
If you want to crochet in the round and start with a tight center, the magic ring is a game-changer. It is especially loved in amigurumi, hats from the top down, and granny-style motifs.
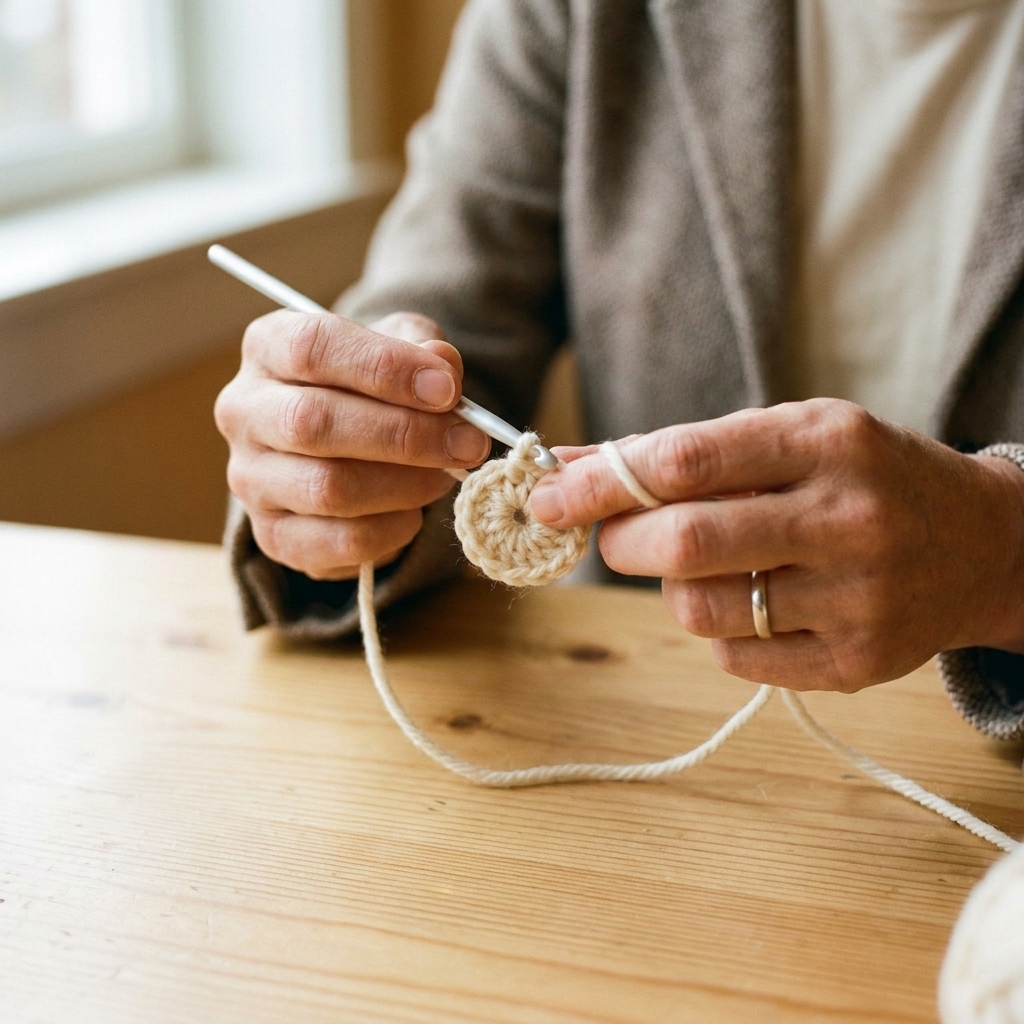
How to make a magic ring
- Wrap yarn around your fingers to form a loop, with the tail crossing over the working yarn.
- Insert hook under the first strand, grab the second strand (working yarn), and pull up a loop.
- Chain 1 (to secure) or follow your pattern’s starting chain.
- Work the required stitches into the ring, crocheting over the loop and the tail.
- Pull the tail to cinch the center closed.
Common beginner snags
- The ring will not close: Make sure you are pulling the tail end, not the working yarn.
- Center loosens later: After weaving in the tail, give it a final snug pull. For extra security, weave the tail in one direction, then back the other way.
Practice idea
Make five tiny circles: magic ring + 6 single crochet, then close. They are perfect for learning the motion without pressure.
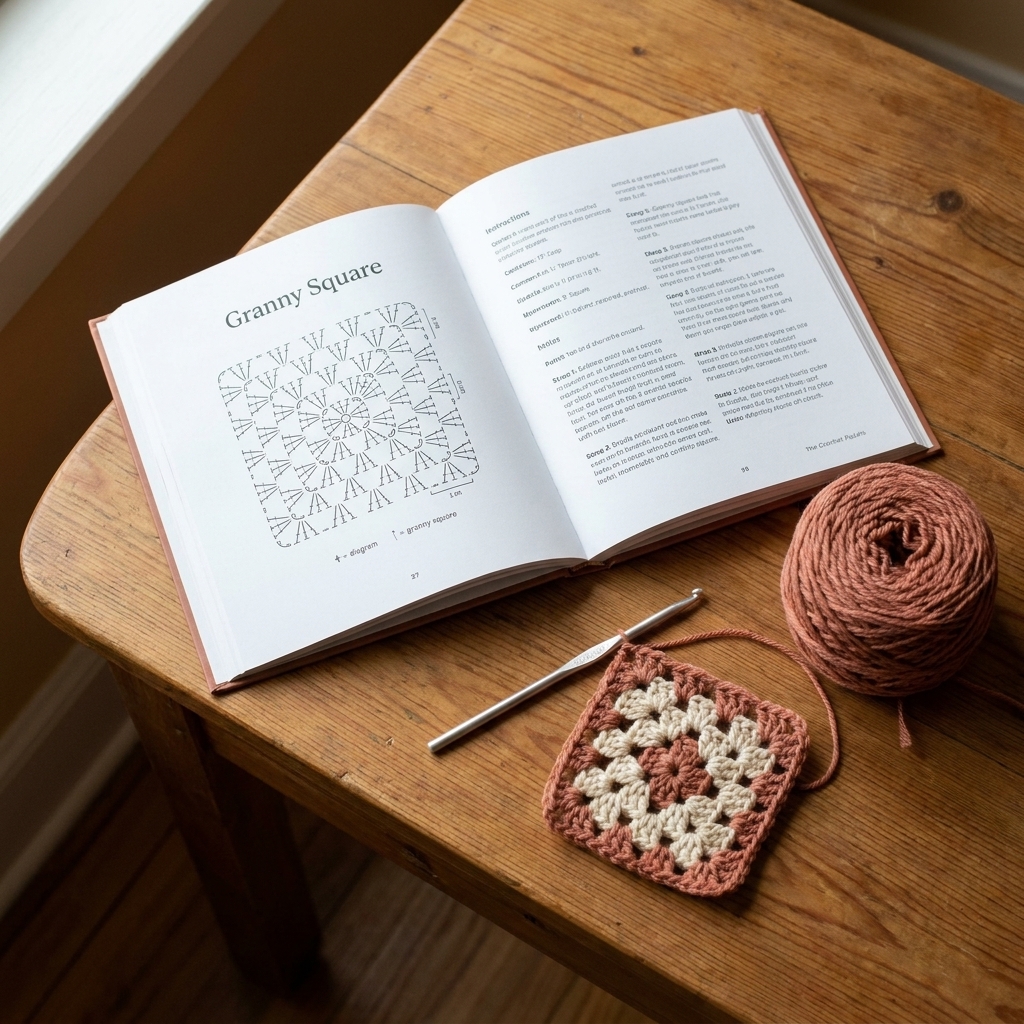
9) Granny Cluster (3 dc cluster)
The granny cluster is the heart of granny squares and many modern, wearable crochet designs. It is not one stitch exactly, but a repeating group you will use constantly.
How to make a granny cluster
- Work 3 double crochet into the same stitch or space.
- To create the classic granny-square rhythm, you usually add chain spaces between clusters (often
ch 1between side clusters andch 2at corners, but patterns vary).
Common beginner snag
Working into stitches instead of spaces. Traditional granny squares are mostly worked into chain spaces, not into the tops of stitches. Read the pattern carefully and look for “space” language.
Practice idea
Make one granny square. Just one. It is the crochet equivalent of learning a classic song on guitar, instantly recognizable and deeply satisfying.
10) Front Loop and Back Loop Only (FLO, BLO)
This is the technique that makes beginners feel like sorcerers. You work your usual stitch, but you choose which loop to crochet into. The result: texture, ribbing, and crisp lines with almost no extra effort.
How to find the loops
Look at the top of a stitch and you will see a little “V.” The strand closest to you is the front loop. The strand farthest from you is the back loop.
How to crochet FLO or BLO
- Identify the front or back loop of the next stitch.
- Insert your hook under only that loop.
- Complete the stitch as usual (sc, hdc, dc, etc.).
Common beginner snag
Accidentally catching both loops. Slow down and physically tilt your work toward you so you can see the V clearly.
Practice idea
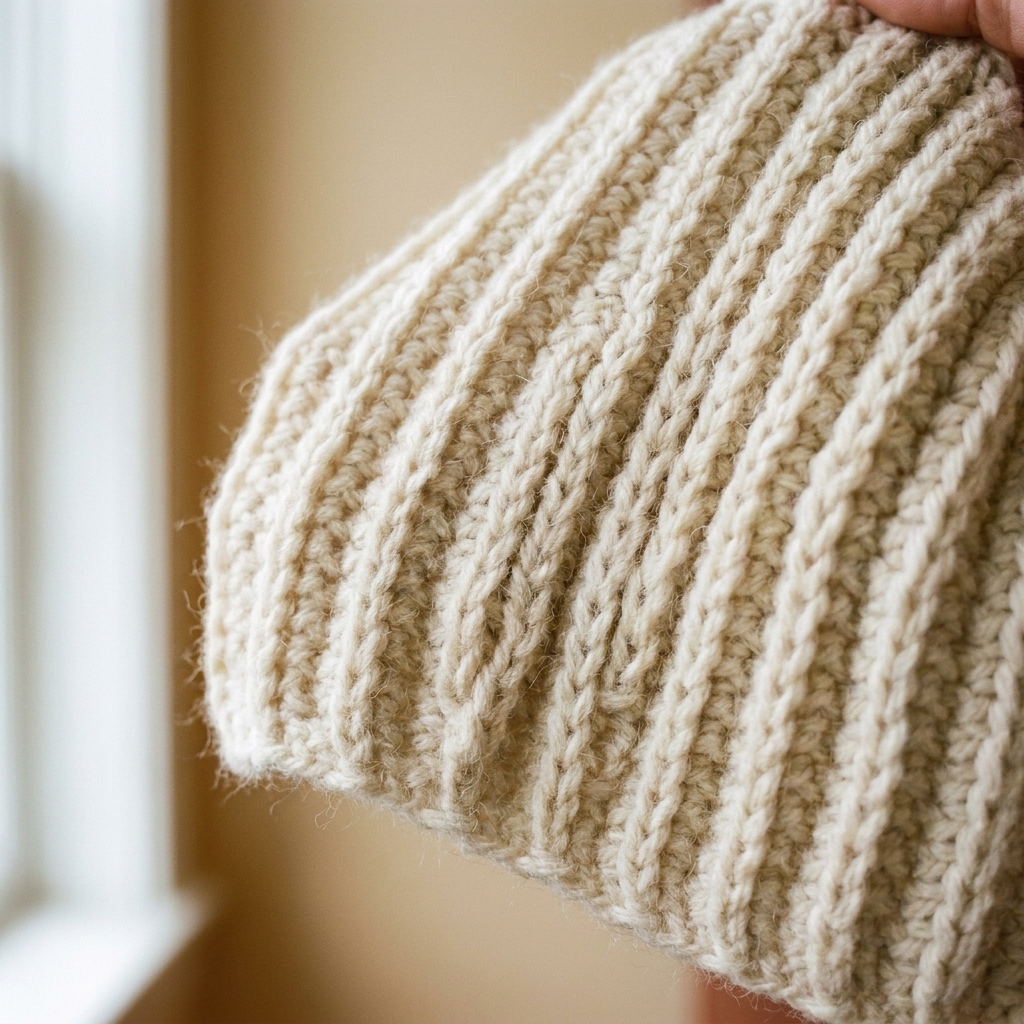
Crochet a small swatch in single crochet BLO. You will get a stretchy ribbed fabric that is perfect for cuffs, hat brims, and cozy headbands.
Beginner troubleshooting: quick fixes that save your sanity
My edges are getting wider or narrower
- Count stitches every row.
- Mark the first stitch of the row and make sure you reach it again on the way back.
- Check whether the turning chain counts as a stitch in your pattern.
My chains are tight and hard to work into
- Go up a hook size just for the foundation chain.
- Try making your chains with a looser grip, then resume normal tension on Row 1.
I cannot “see” where to insert my hook
- Use a lighter yarn and good lighting.
- Feel for the top V of the stitch with your fingertip.
- When in doubt, slow down and gently spread the fabric with your non-hook hand.
Friendly reminder from a former teacher: Skill comes from repetitions, not from perfection. Your first swatches are allowed to be a little wonky. That is how your hands learn.
Simple practice plan
If you want a low-stress path, here is my favorite order:
- Slip knot + chain
- Single crochet
- Slip stitch
- Half double crochet
- Double crochet
- Treble crochet
- FLO/BLO
- Magic ring
- Granny cluster
Give each stitch 15 minutes of focused practice, then make one tiny “real thing” with it. Your brain loves a win, and your yarn stash will feel slightly less… opinionated about its growth.
FAQ
What stitch should a beginner learn first?
Start with chain stitch and single crochet. Those two unlock most beginner patterns and teach the hand motions you need for everything else.
Is half double crochet easier than double crochet?
Many beginners find half double crochet easier because it has one final pull-through instead of two. If double crochet feels fiddly at first, practice hdc for a day and then return to dc.
Do I have to learn the magic ring?
No, but it is very useful. You can start in the round with a chain loop instead. That said, if you want amigurumi or a tight center, the magic ring is worth learning.
How do I know if my tension is “right”?
If your hook glides smoothly and your stitches are consistent, you are doing great. Tension varies from person to person. The goal is even, not “perfect.”