If you have ever looked at a granny square cardigan and thought, “That looks impossible,” I have wonderful news: it is absolutely possible. It is also one of the most forgiving first wearables you can make because it is built from repeatable little squares. One square at a time is basically the official motto of my (slightly out of control) yarn stash.
This guide walks you through the whole process, from planning and sizing to crocheting consistent squares, joining them neatly, and finishing your cardigan so it looks intentional, not accidental. Take it slow, make tea, and remember: every wearable is just a series of small steps pretending to be a big project.
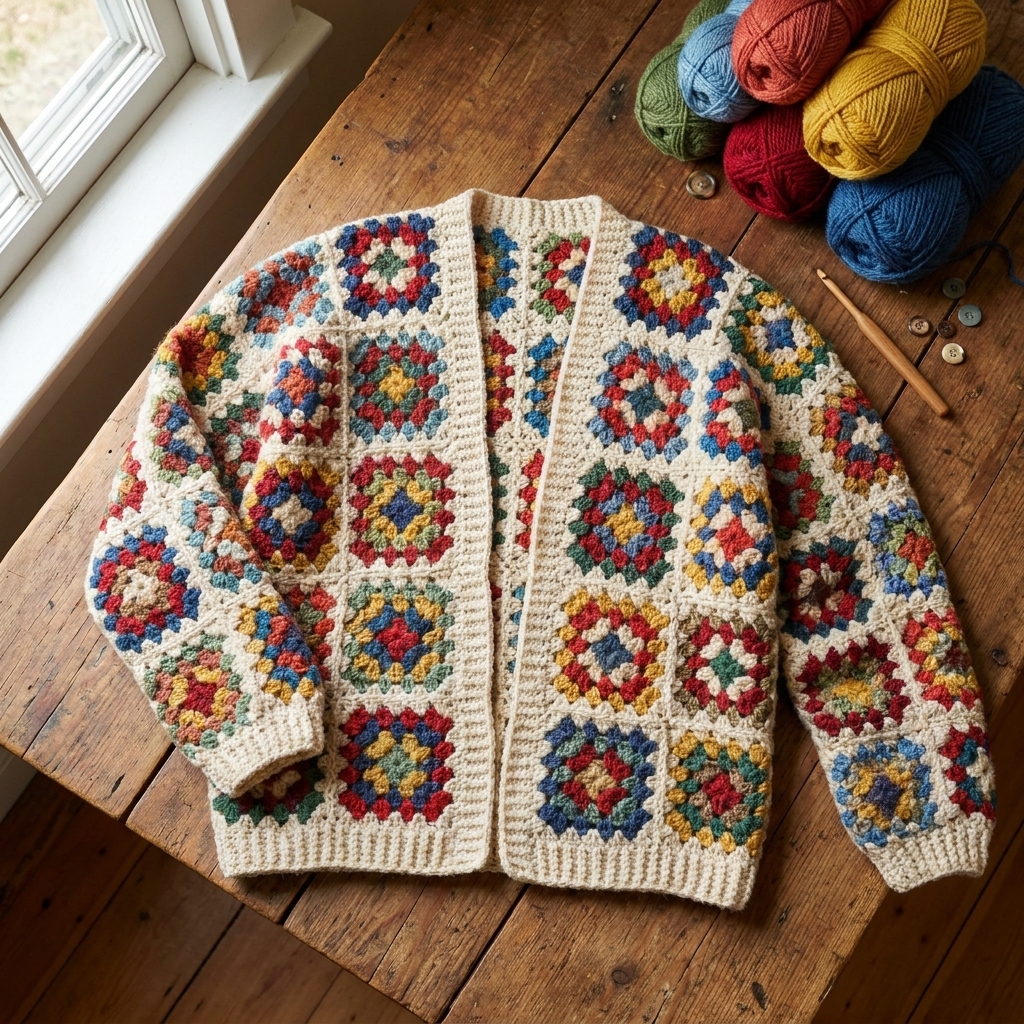
What you are making
We are making a classic, straight-bodied granny square cardigan with a comfy, slightly oversized fit. Construction is simple:
- Crochet a pile of classic granny squares in the same size.
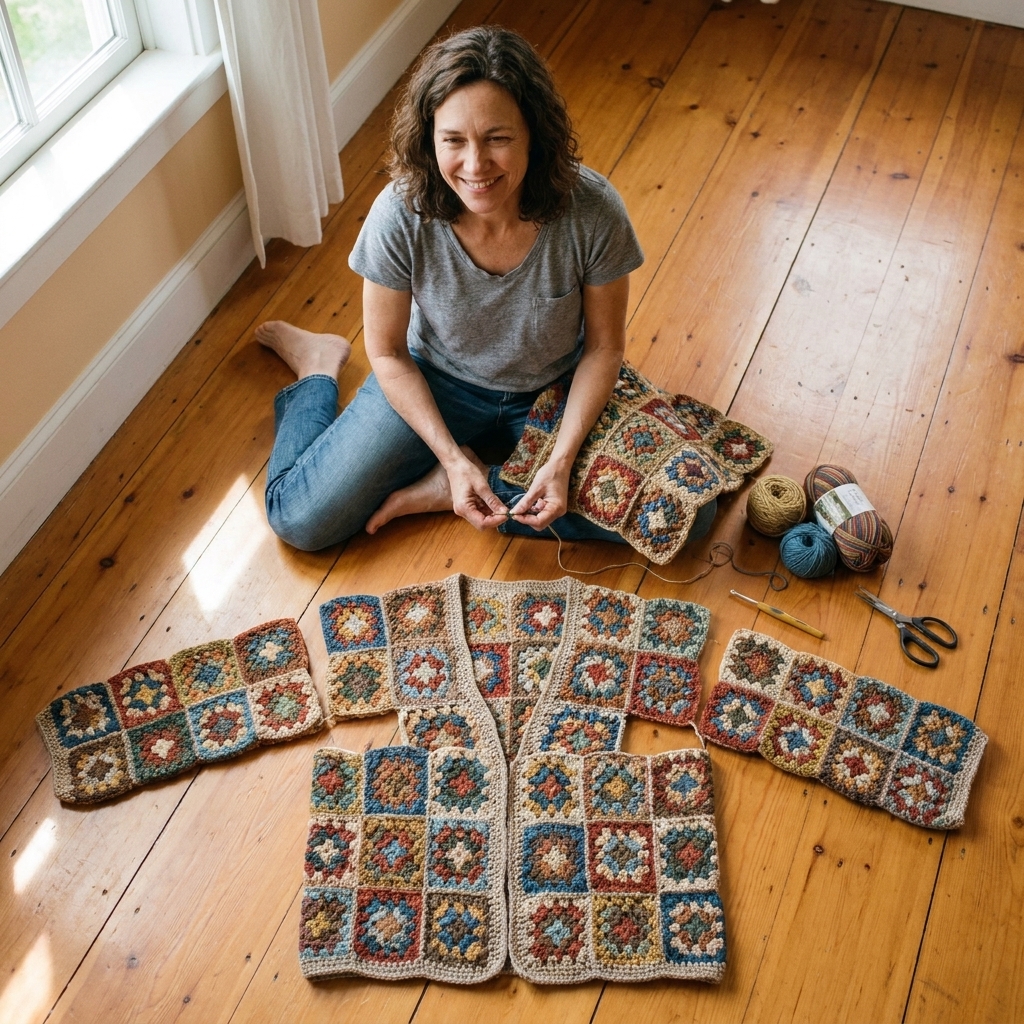
- Join squares into panels (back, two fronts, and sleeves).
- Seam panels together at shoulders and sides.
- Add sleeves, cuffs, and edging for a finished look.
You can do this with one color for a modern, minimalist cardigan or go full joyful-scrap-blanket energy. Both are valid life choices.
Supplies and yarn choices
Yarn
For a first cardigan, choose a yarn that is easy to frog (undo) and easy to see. Smooth, light-to-medium colored yarn helps you spot stitches.
- Best beginner pick: worsted weight (#4) acrylic or wool blend.
- Also great: DK (#3) for a slightly lighter drape.
- Proceed with caution: fuzzy mohair, eyelash, or super dark yarn. Gorgeous, yes. Beginner-friendly, not so much.
How much yarn? It depends on your size, length, sleeve style, square size, and how many extra rounds you add for bands and edging. For a hip-length cardigan in worsted weight, a very rough range is 1200 to 2000 yards. If you go oversized, add pockets, or do thick ribbed cuffs and a wide front band, plan on the higher end (or beyond).
If you like a more concrete starting point, here is a quick (still approximate) yardage guide for a hip-length cardigan in worsted weight:
- XS to S: ~1200 to 1500 yards
- M to L: ~1500 to 1800 yards
- XL to 2X: ~1800 to 2200 yards
- 3X to 5X: ~2200 to 2800 yards
Not a law of physics, just a planning tool. Your square count is the real boss here.
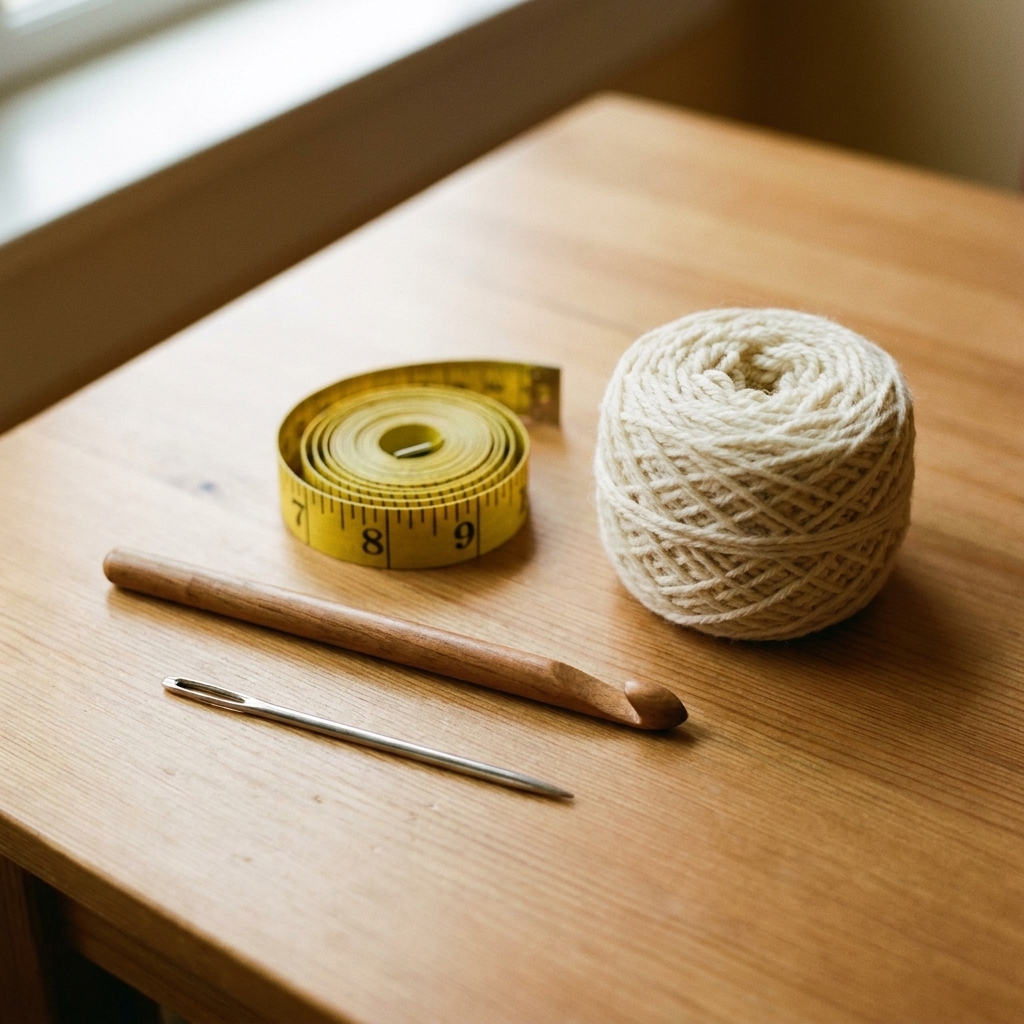
Hook and tools
- Crochet hook in the size suggested on your yarn label (often 5.0 mm to 6.0 mm for worsted)
- Tapestry needle for weaving in ends
- Scissors
- Measuring tape
- Locking stitch markers or safety pins
- Optional but helpful: blocking mats and rust-proof pins
Plan your fit
Planning is what turns “a bunch of squares” into “a cardigan that fits your body.” You can get very detailed if you love measuring (no judgment), but for a solid beginner plan you really need two must-have measurements and one blocked test square.
Step 1: Pick your vibe
- Length: cropped (hits high hip), standard (hip length), long (mid-thigh)
- Ease: fitted (0 to 2 inches), relaxed (3 to 6 inches), oversized (7+ inches)
- Sleeves: straight, balloon-ish, or tapered with cuffs
Step 2: Measure
Must-have:
- Bust or chest circumference at the fullest part
- Upper arm circumference (bicep) for comfy sleeves
Nice-to-have (helps you get exactly what you want):
- Cardigan length from shoulder to where you want hem
- Sleeve length from shoulder to wrist
- Cross-back width (optional but helpful)
Step 3: Make one test square
Make a classic granny square in your chosen yarn and hook. Block it (even a quick steam or gentle wet block) and measure it. Your blocked square size is what counts because blocking changes everything.
Your key number: blocked square width (for example, 6 inches).
Beginner sanity saver: If your squares vary, your cardigan will still be cute. But your seaming will be much easier if you aim for consistent size. Blocking helps a ton.
Choose a layout
There are many ways to lay out squares. Here is a beginner-friendly layout that makes a classic cardigan shape with minimal shaping.
Panel idea
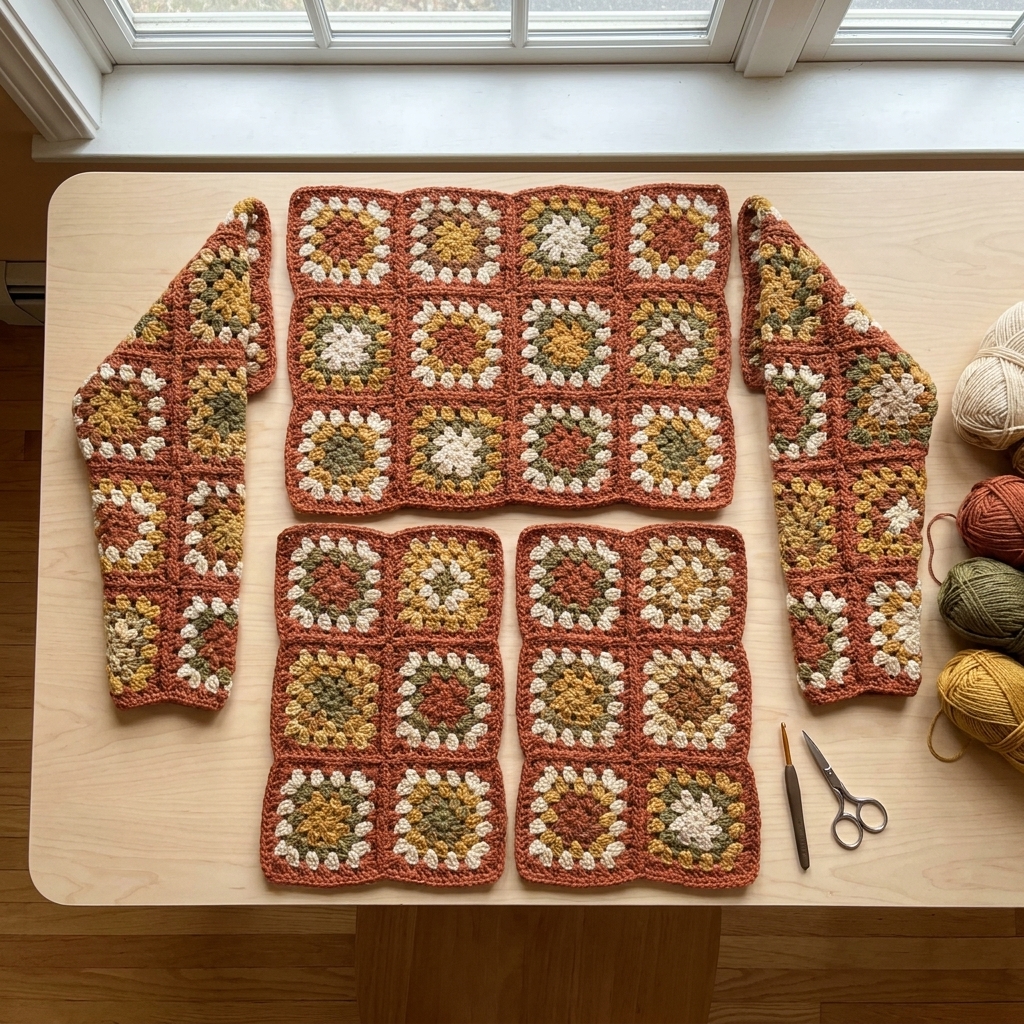
Think in panels:
- Back panel: a rectangle of squares
- Front panels: two narrower rectangles
- Sleeves: rectangles that fold into tubes
Count the squares
Use your blocked square width.
- Finished body circumference goal = your bust measurement + desired ease
- Squares around body = (finished body circumference) ÷ (blocked square width)
Round to a whole number that makes sense for symmetry. If you land between sizes, go up for cozy and down for neat.
Important: your front bands and edging can add width. Depending on how many rounds you add, that can be roughly 1 to 3 inches total (sometimes more). If you plan a chunky ribbed front band, factor that in before committing to your square count.
Example: Bust 40 inches, ease 6 inches, goal 46 inches. If squares are 6 inches wide: 46 ÷ 6 = 7.6, so you might choose 8 squares around the body.
Simple layout recipes
Here are common, easy-to-plan “around the body” layouts. They assume you want the front panels to be the same width.
- 6 squares around: Back 3 wide, Front left 1.5 wide, Front right 1.5 wide (this only works nicely if you are willing to make the fronts slightly uneven or adjust with a wider band). Beginner-friendly alternative: choose 4 or 8 around instead.
- 8 squares around: Back 4 wide, Front left 2 wide, Front right 2 wide
- 10 squares around: Back 5 wide, Front left 2.5 wide, Front right 2.5 wide (same note as 6 around). Beginner-friendly alternative: do Back 6 wide and Fronts 2 wide each for a roomier overlap, or choose 12 around for easy symmetry.
- 12 squares around: Back 6 wide, Front left 3 wide, Front right 3 wide
Then decide how many squares tall based on your desired length.
Sleeve planning tip: your sleeve “around” number works the same way as the body. Sleeve circumference goal = bicep + ease, then divide by square width.
Sleeve example: If your bicep is 14 inches and you want 4 inches of ease, your sleeve goal is 18 inches. With 6-inch squares: 18 ÷ 6 = 3 squares around.
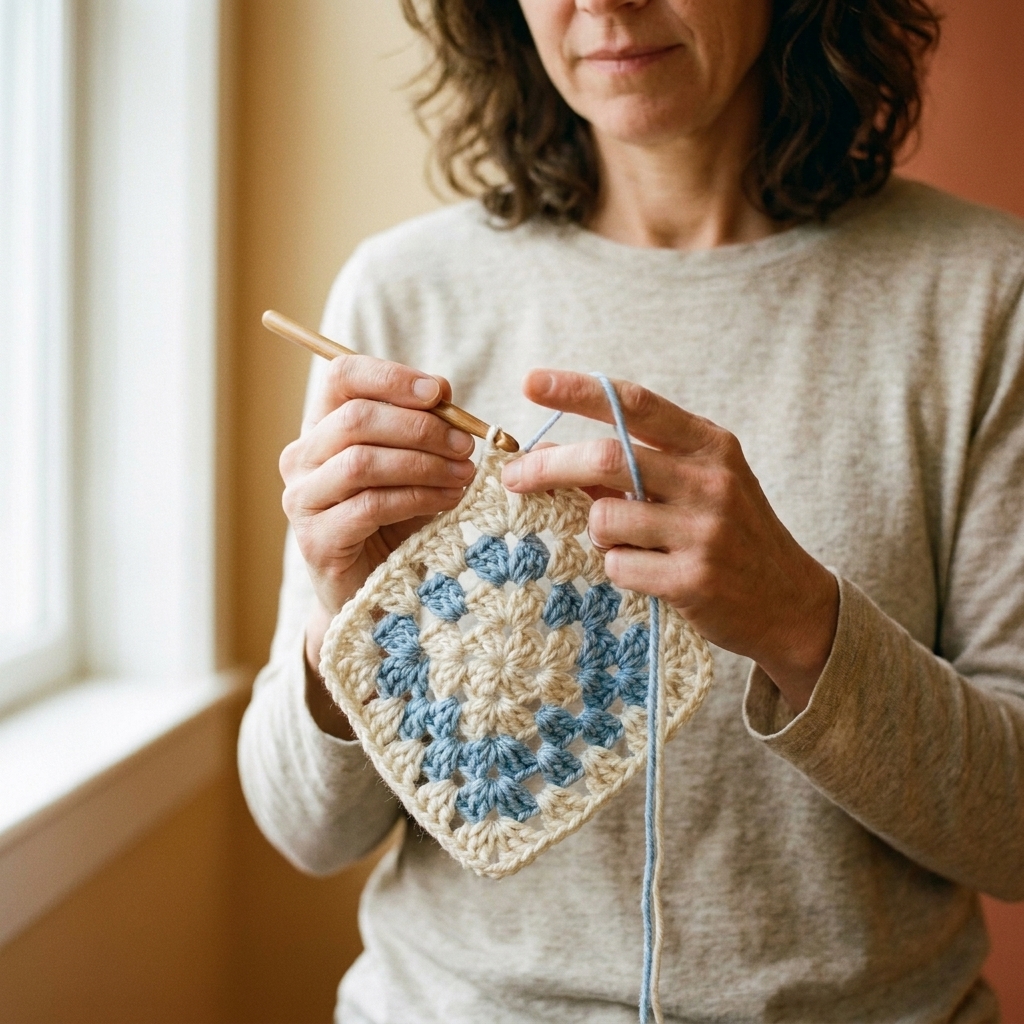
Crochet a classic square
I am going to write this in plain-language crochet steps. If you already know your favorite granny square method, feel free to use it, just keep the corner structure consistent.
Stitches used
- ch = chain
- sl st = slip stitch
- sc = single crochet
- hdc = half double crochet
- dc = double crochet (US terms)
Classic granny square pattern (basic)
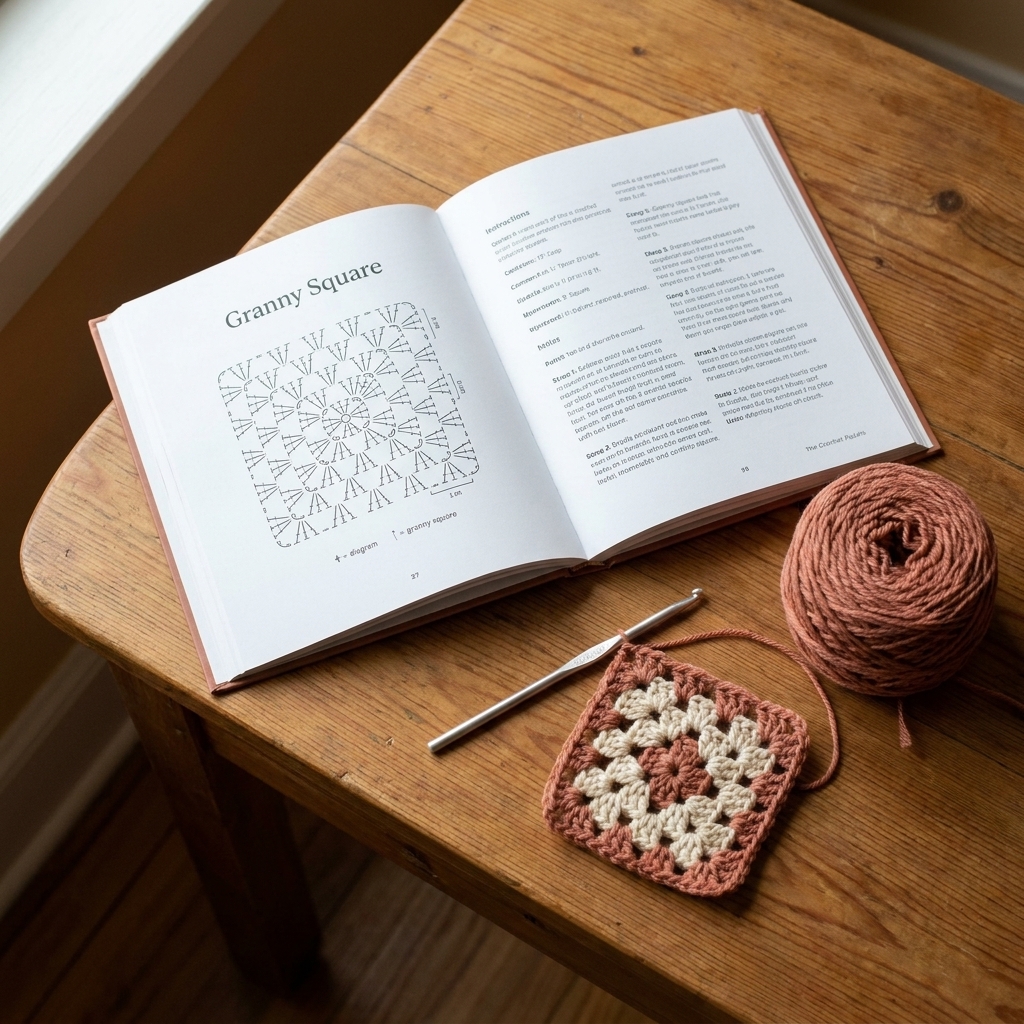
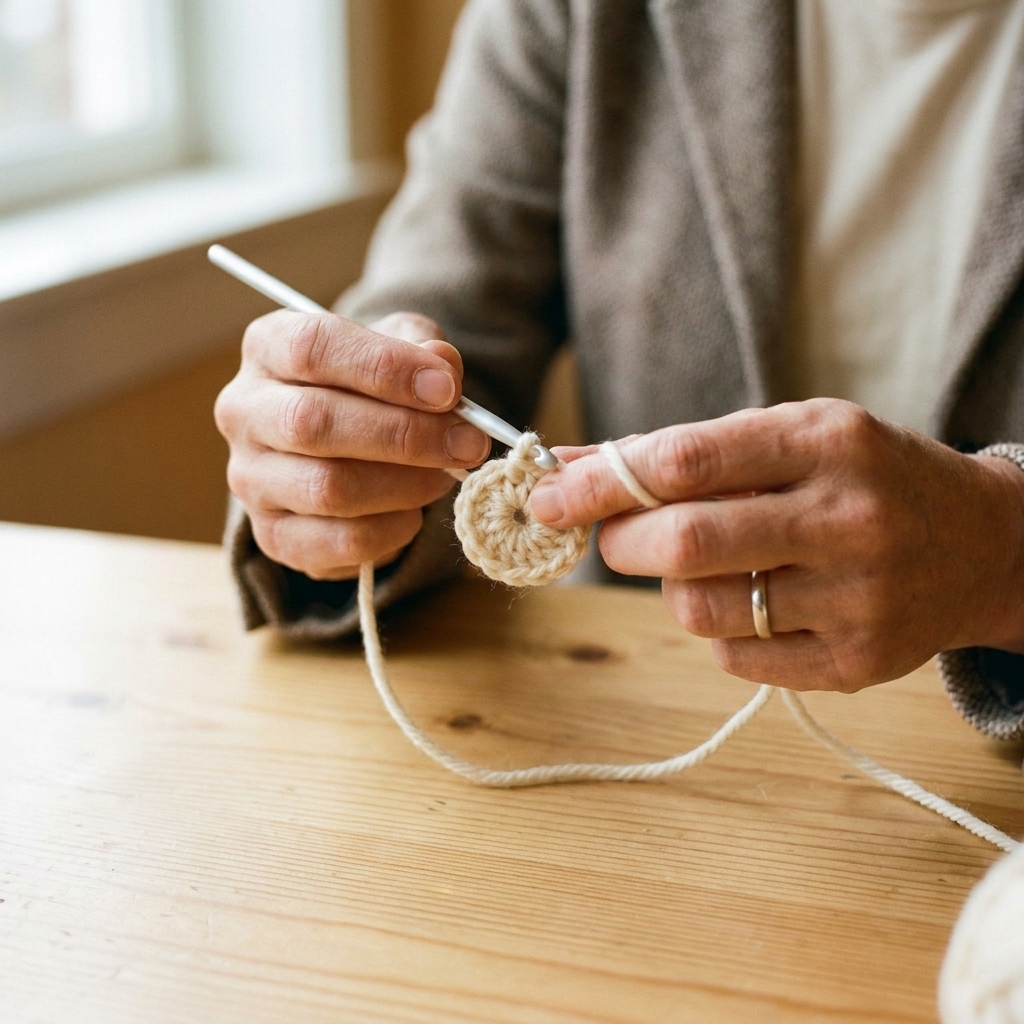
Round 1: Make a magic ring (or ch 4 and join into a ring with sl st). Ch 3 (counts as dc). Work 2 dc into ring. Ch 2. Work 3 dc into ring. Ch 2. Repeat the “3 dc, ch 2” two more times (4 clusters total). Join with sl st to the top of the starting ch 3.
Round 2: Sl st into the next space until you are in a corner space. Ch 3, 2 dc, ch 2, 3 dc in the same corner. In the next corner space: 3 dc, ch 2, 3 dc. Repeat for all corners. Join with sl st to top of starting ch 3.
Round 3 and beyond: In each corner space, work (3 dc, ch 2, 3 dc). In each side space between clusters, work 3 dc. Join at end of each round.
How many rounds?
Add rounds until your square measures your target size after blocking. Once you love the size, write down your round count and repeat that exact number of rounds for every square. Consistency is the secret sauce.
Color changes (no confusion, I promise)
There are two clean ways to do color changes. Pick one and stick with it.
Option A: Fasten off each round (very tidy, more ends)
- Finish your last dc of the round normally, join with sl st.
- Fasten off the old color.
- Join the new color with a sl st into any corner space.
- Ch 3 and continue the next round.
Option B: Change color on the last stitch (fewer steps, still tidy)
- On the last dc of the round, do the final yarn-over with the new color and pull through to finish the stitch in the new color.
- Join the round with sl st (now in the new color), then continue crocheting the next round in that new color.
- Fasten off the old color tail when you are ready, or carry it a tiny bit if you are comfortable.
Clara confession: My first granny square cardigan had about 900 ends. I survived. You will too. But choosing fewer color changes is a totally reasonable act of self-care.
Keep squares consistent
Consistency matters more for wearables than for blankets. Here is how to keep your squares playing nicely together.
Use a repeatable routine
- Use the same hook for all squares
- Count rounds carefully (same number of rounds on every square)
- End each square in the same corner (or at least the same side) so joining looks tidy
Block as you go
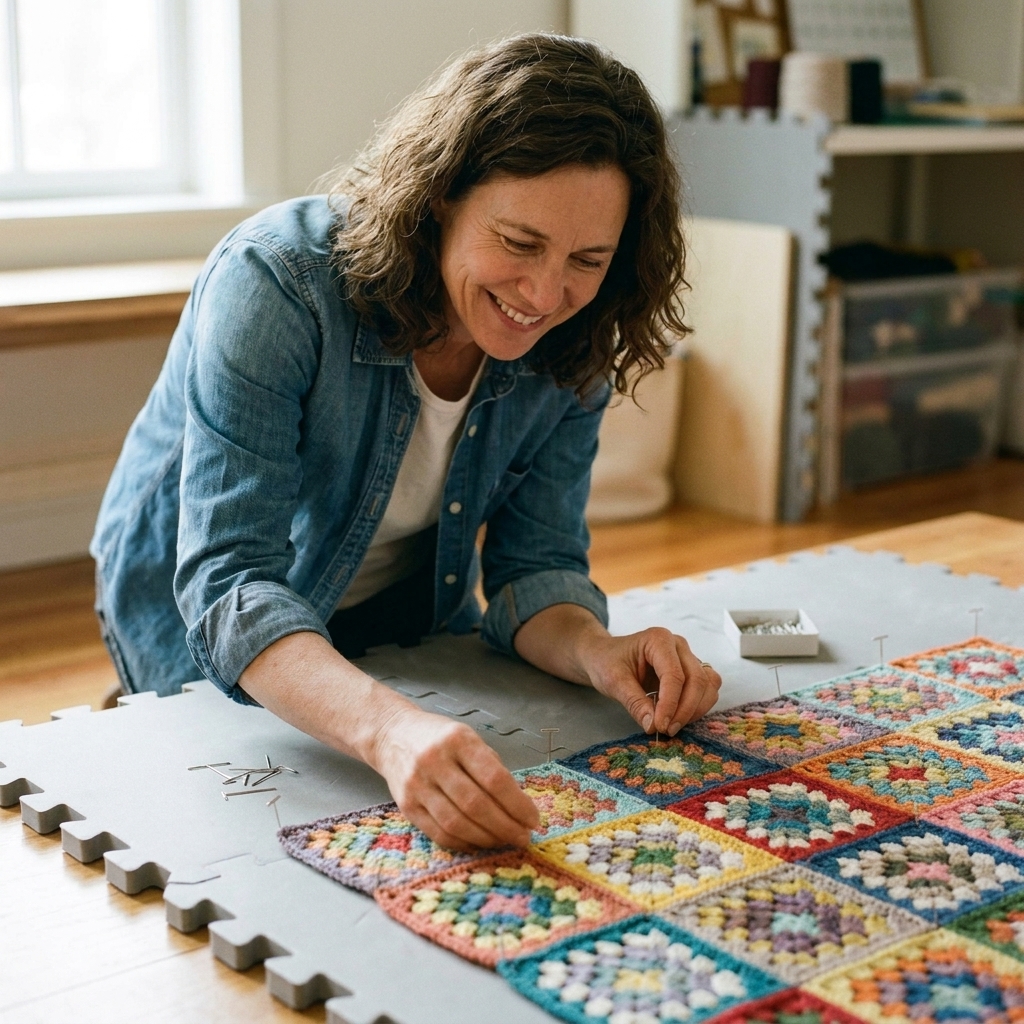
Blocking is the secret weapon that makes granny squares look grown-up and polished. You can block in batches.
- Wet block: Soak, gently squeeze out water, pin to measurements, let dry.
- Steam block: Pin dry squares, hover steam iron above (do not squish acrylic with high heat), let cool.
Fiber note: Wool often relaxes and drapes beautifully after wet blocking and may “grow” a bit. Acrylic does not respond the same way. Steam can help acrylic settle, but too much heat can flatten it permanently. When in doubt, test blocking on your swatch square first.
Aim for square corners and equal side lengths. Even “almost square” squares become truly square with blocking.
Joining methods
Joining is where your cardigan starts looking like a cardigan. Choose a method that matches your style and your patience level.
Whipstitch join
This is my go-to for a first cardigan because it is simple and lies flat.
- Place squares right sides together.
- Thread tapestry needle with yarn.
- Whipstitch through the outer loops (or both loops for sturdier seams) across the edge.
- Do not yank. Snug is good. Puckered is not.
Slip stitch join
Great if you want a visible join line.
- Hold squares with wrong sides together (or right sides together depending on the ridge you want).
- Insert hook through matching loops and sl st across.
Join-as-you-go
Efficient, fewer finishing steps, but it can feel fiddly on a first wearable. If you love a challenge, go for it. If you want calm, join after.
Pro tip: Make two test squares and join them before committing to the whole cardigan. That tiny test saves a lot of unpicking later.
Build the panels
Lay your blocked squares out on a bed or clean floor. Move them around until you love the color balance. Take a quick photo so you can remember the arrangement.
Step 1: Join back panel
Join squares into rows, then join rows together. Keep seams consistent in direction for a tidy look.
Step 2: Join two front panels
Front panels are usually the same height as the back, but narrower in width. If you are adding a wide front band, you can make the fronts slightly narrower and let the band do the work.
Step 3: Join sleeve panels
Sleeves can be made as rectangles that fold into tubes.
- Sleeve width goal: your upper arm measurement + 2 to 6 inches ease
- Sleeve length goal: shoulder to wrist (or desired length)
Seam it up
This is the cozy origami part.
Step 1: Shoulder seams
- Lay back panel flat.
- Place front panels on top, aligned at the top edges.
- Seam shoulders from the outer edge toward the neckline, leaving a neck opening that feels comfortable.
Step 2: Attach sleeves
With the body laid flat, find the shoulder seam. Center the top of the sleeve along that seam and pin in place. Seam the sleeve to the armhole edge.
Step 3: Side seams and sleeve seams
Fold the cardigan so right sides face each other. Seam from the bottom hem up to the underarm, then continue down the sleeve to the cuff.
Try-on moment: After shoulder seams and one sleeve are attached, pause and try it on. This is the easiest time to adjust sleeve placement or body width before everything is closed up.
Finish the edges
Edging turns a square-based project into a cohesive garment.
Bottom hem and cuffs
You can leave edges as-is for a very granny look, or add a few rounds for polish.
- Simple option: 1 round of sc evenly around.
- Cozy option: 3 to 8 rounds of sc or hdc for thicker hems and cuffs.
- Ribbed option: work ribbing with back-loop-only sc or slip stitches for a knit-like texture.
Front bands and neckline
Work rounds along the front opening and around the neck. Place a stitch marker at corners so you do not accidentally add extra stitches there and create ruffles.
Keeping bands from flaring: If your edge starts to wave, you are adding too many stitches. If it puckers, you need more stitches. Adjust by skipping or adding a stitch every few inches until it lies flat.
Optional closures
- Buttons: add a button band and sew buttons on the opposite side
- Ties: crochet chains or i-cords and attach inside the fronts
- Belt: crochet a long belt and add belt loops at side seams
Weave in ends
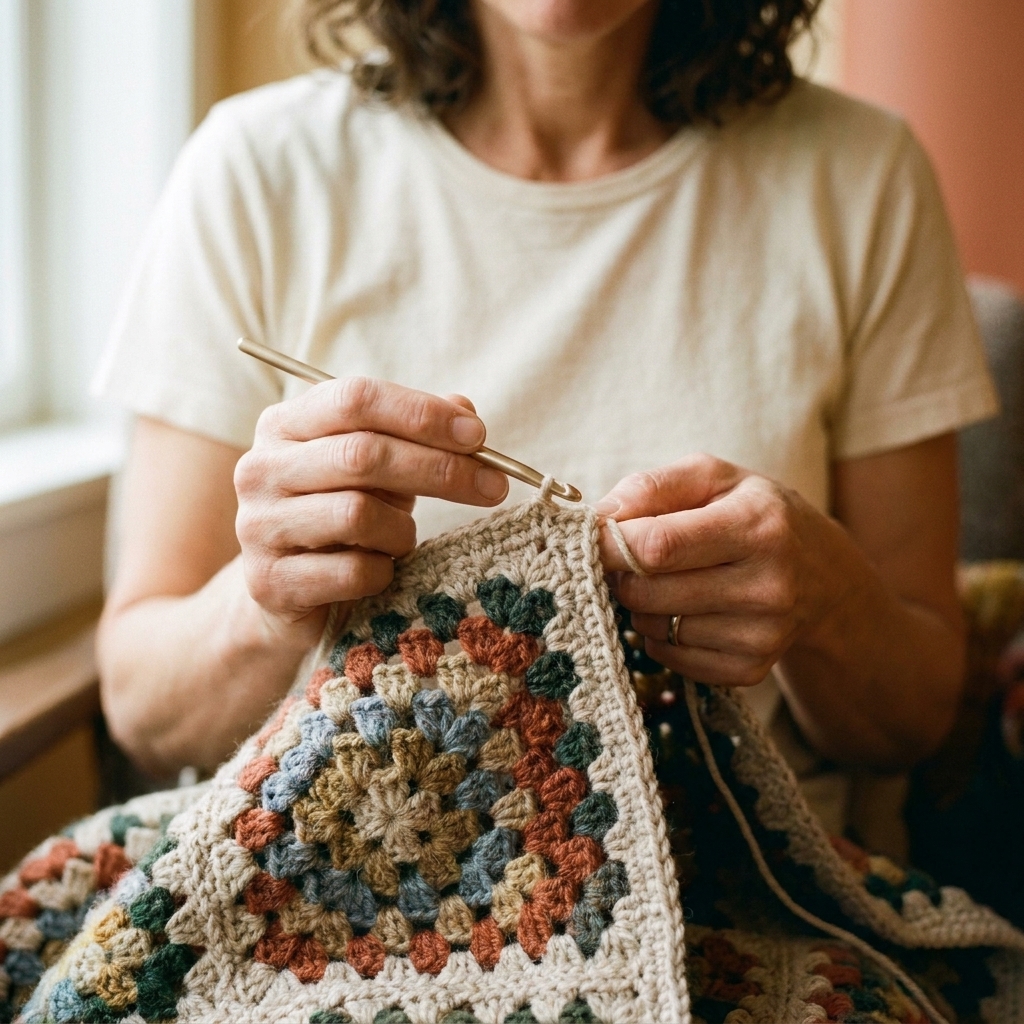
If your cardigan is colorful, you will have ends. Many ends. It is okay.
- Weave ends on the wrong side, following the path of stitches for at least 2 to 3 inches.
- Change direction once, then trim.
- Avoid weaving only in a straight line. That can wiggle loose with wear.
My favorite approach: weave ends after every 5 to 10 squares. It keeps the end pile from becoming a whole separate emotional journey.
Final block and fit
Give your cardigan a final block after seaming and edging. This helps seams relax and edges lay smoothly.
- Gently wet or steam block (based on fiber).
- Lay flat to measurements.
- Let it dry completely before wearing.
Try it on and check:
- Shoulders sitting where you like
- Sleeve length and width
- Front opening drape
- Overall length
If something feels off, small tweaks like adding a few hem rounds, adjusting cuffs, or adding a sturdier front band can make a big difference.
Troubleshooting
My squares are different sizes
Block them to the same measurement. If one is dramatically larger, it may have an extra round or looser tension. You can frog back a round and redo with slightly tighter tension.
My cardigan feels boxy
Boxy is not wrong, it is a style. If you want less box, add sleeves with a bit more length, add ribbed cuffs and hem for shaping, or add a longer front band that creates vertical lines.
The front edges flare out
Too many stitches in the edging. Frog that round and redo with fewer stitches, especially at corners.
The neckline feels tight
Enlarge the neck opening by unseaming a bit at the top center or by working fewer stitches around the neckline so it relaxes more.
My seams feel bulky
Try joining through outer loops only, or switch from crocheted slip stitch join to whipstitch. Also consider a slightly thinner joining yarn (same fiber, lighter weight) if you have it.
Make it your own
- Modern monochrome: one color for squares, a contrasting edging
- Soft gradient: shift colors every round or every few squares
- Statement sleeves: add one extra square in sleeve width for a drapier sleeve
- Pockets: seam a square onto each front panel at hip height
- Longline cardigan: add an extra row of squares to the body height
This is slow fashion at its most joyful: you get a garment that fits your body and your taste, and you learn skills you will use forever.
FAQ
Do I need a pattern?
No, not strictly. A pattern can remove decision fatigue, but you can absolutely plan your own using your square size and body measurements. This guide is designed to help you do exactly that.
What square size works best?
For a first cardigan, common square sizes are in the 5 to 7 inch range after blocking. Smaller squares mean more joins (more time, more ends). Bigger squares mean faster construction but less flexibility in sizing.
Can I mix granny square designs?
Yes, as long as all squares block to the same finished measurement and have the same number of stitches along each side where they will join.
How do I make it less holey?
Use a smaller hook for a denser fabric, choose yarn with better “fill” (like wool), add extra rounds of edging, and consider lining only if you truly want a non-lacy effect.
How do I wash it?
Follow the yarn label. When in doubt, hand wash cool, press out water with a towel, and lay flat to dry. Your future self will thank you.
Finishing pep talk
Your first granny square cardigan does not have to be perfect to be fantastic. You are learning garment construction, tension control, seaming, and finishing all in one project. That is a lot. Go slow. Celebrate every square. And when you put it on for the first time, do a little twirl for me, ideally while telling your yarn stash it is totally under control.