Amigurumi is one of those magical crochet rabbit holes where you start by making “just one tiny plush” and suddenly you’re giving everyone in your life a crocheted emotional support creature. The good news: you do not need advanced skills to begin. You need a hook, some yarn, and a willingness to redo Round 2 once or twice because you lost count. That’s not failure. That’s tradition.
This list is packed with projects that are genuinely beginner-friendly: simple shapes, basic stitches, and minimal fuss. I’ll also tell you exactly what to look for in a good first amigurumi pattern so you can confidently pick your next project, too.
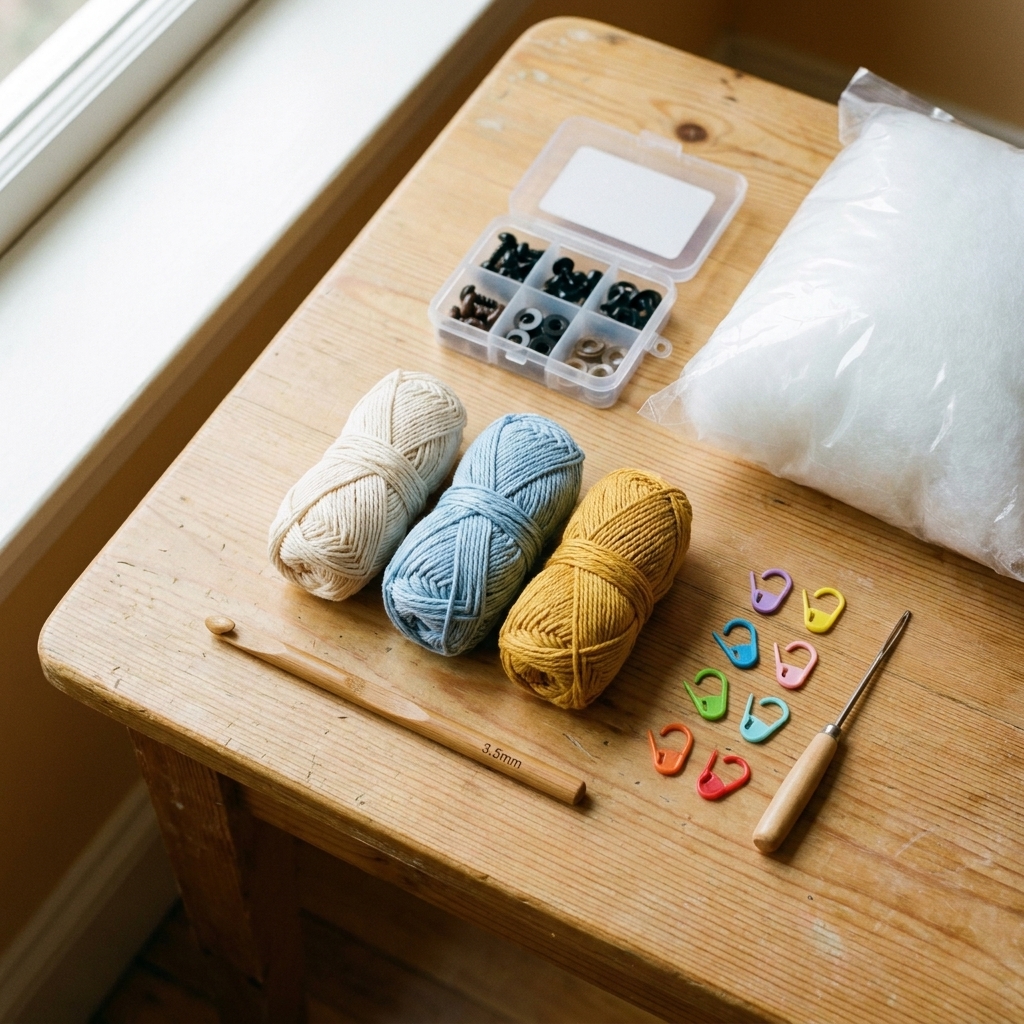
Before you start: 6 things that help
1) Pick the right yarn (smooth beats fuzzy)
For your first plush, choose a smooth, light-colored yarn. Worsted weight acrylic or cotton is ideal. Skip eyelash yarn and super fuzzy chenille until you feel confident, because it’s harder to see stitches and count rounds.
2) Use a smaller hook (but keep it comfy)
Amigurumi likes a tight fabric so stuffing doesn’t peek through. Many crocheters often start about 0.5 to 1.0 mm smaller than the yarn label suggests, then adjust from there based on your tension, yarn, and hands. Your real goal is a firm fabric where you can’t see daylight through the stitches.
Quick test: Gently stretch your work. If you can see big gaps (or stuffing later), try a smaller hook or use a bit less stuffing.
3) Learn these three skills first
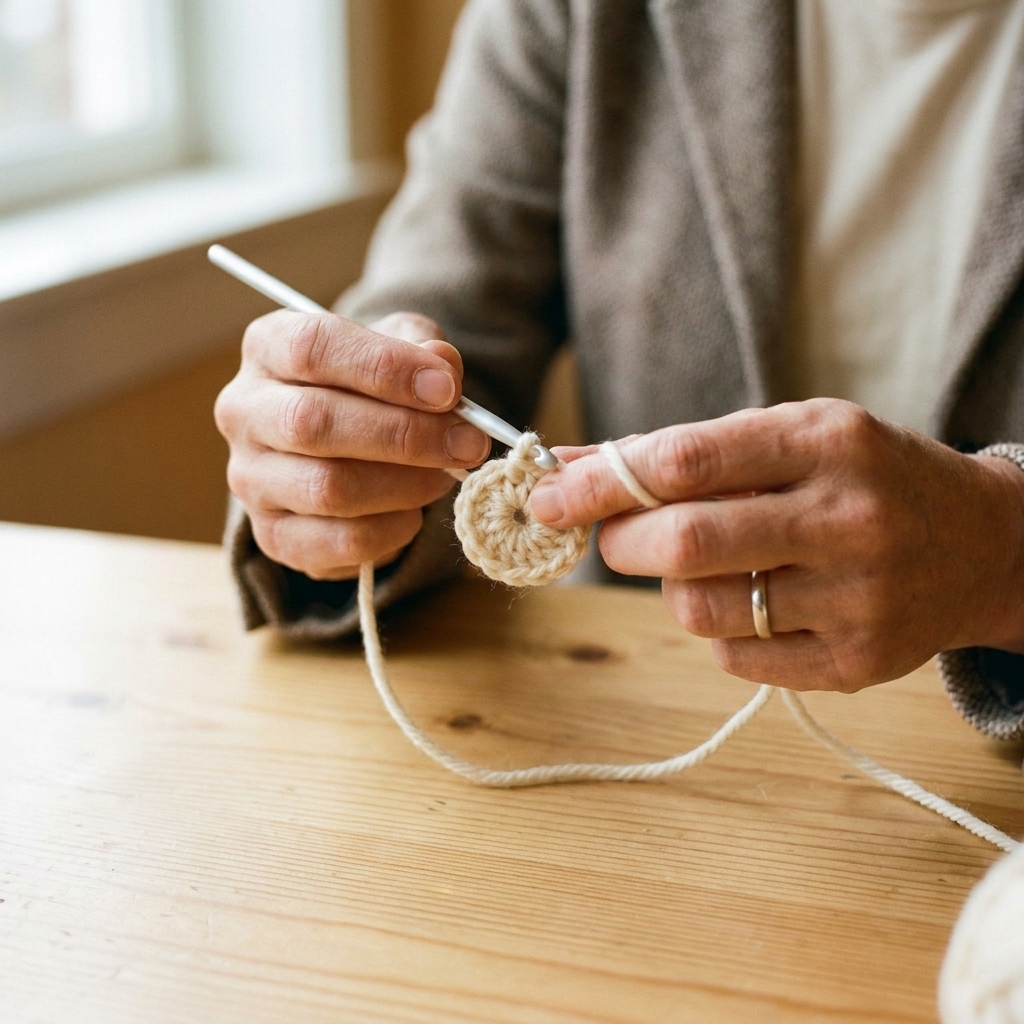
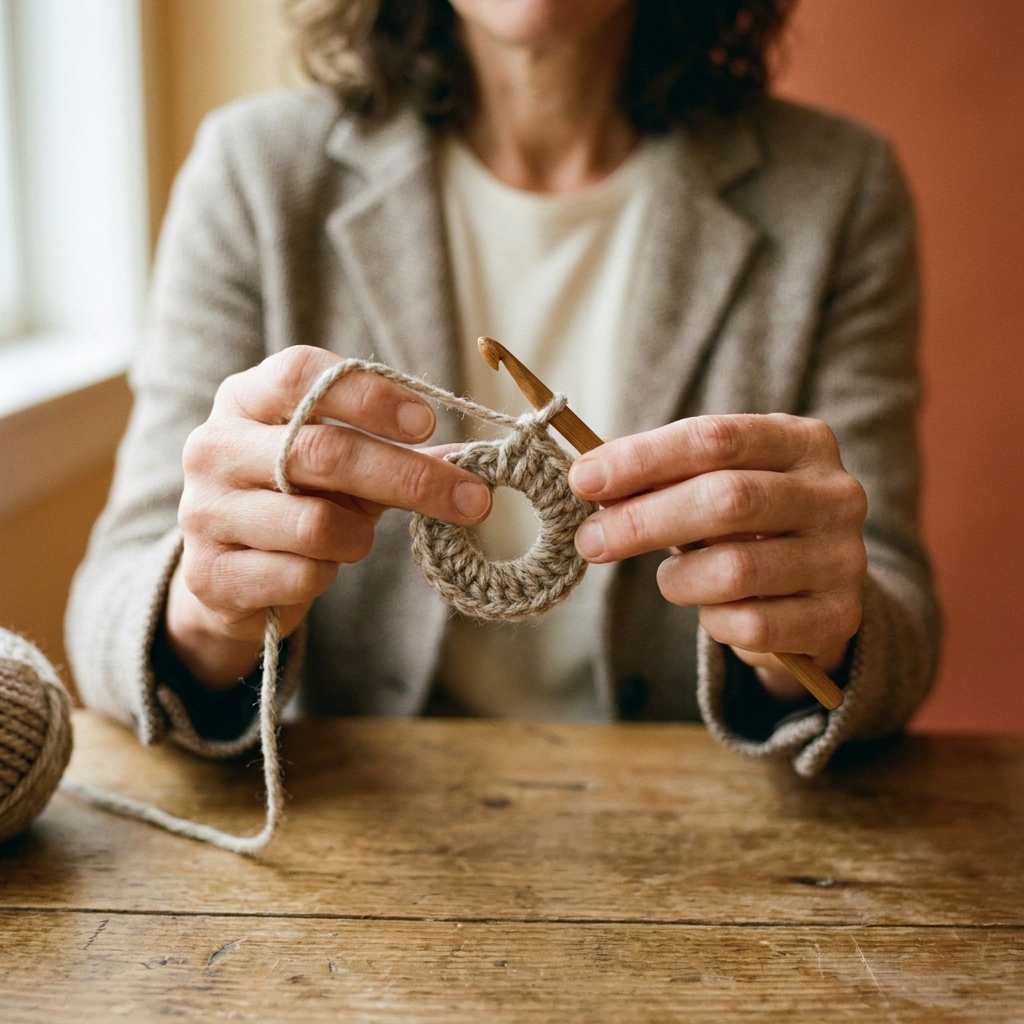
- Magic ring (or magic circle), plus a backup option: chain 2, then work your first round’s stitches into the second chain from the hook (for example, if your pattern starts with 6 sc, you’d do “6 sc into 2nd ch from hook”)
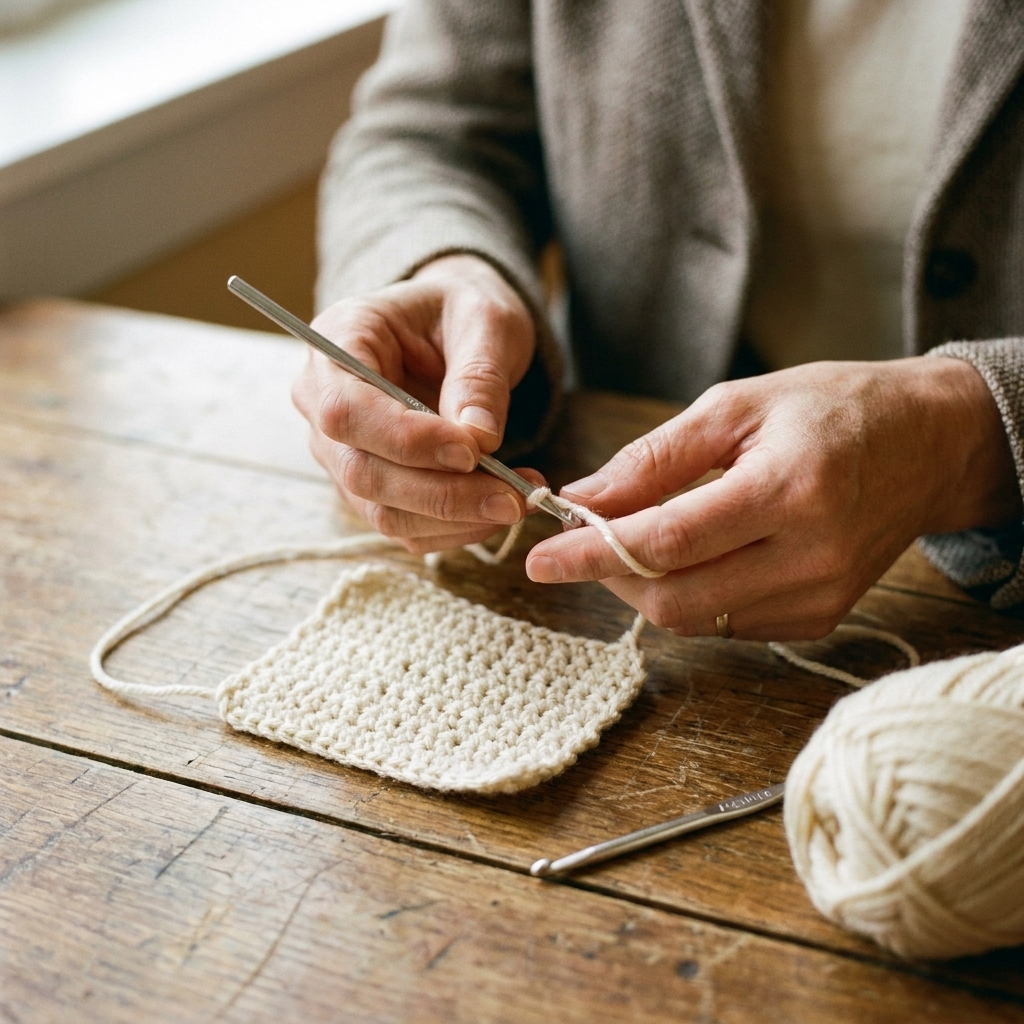
- Single crochet in continuous rounds (usually no joining)
- Increase and decrease (sc inc, and invisible decrease if you want extra neat shaping)
4) Count rounds with stitch markers
Put a stitch marker in the first stitch of every round. Future you will feel so cared for.
5) Quick language check: US vs UK terms
Most amigurumi patterns use US crochet terms. In US terms, single crochet (sc) is the main stitch. In UK terms, that same stitch is called double crochet (dc). If a pattern doesn’t say which system it uses, check the stitch key before you start.
6) Stuff in stages
Stuff lightly as you go, then top up right before closing. Overstuffing can stretch stitches. Understuffing can make your plush look a little deflated, like it pulled an all-nighter.
10 easy beginner ideas
These are beginner-friendly builds you’ll see over and over in beginner books and pattern collections. Each idea includes what makes it easy, how it’s usually built, and one small tip to make it look extra polished.
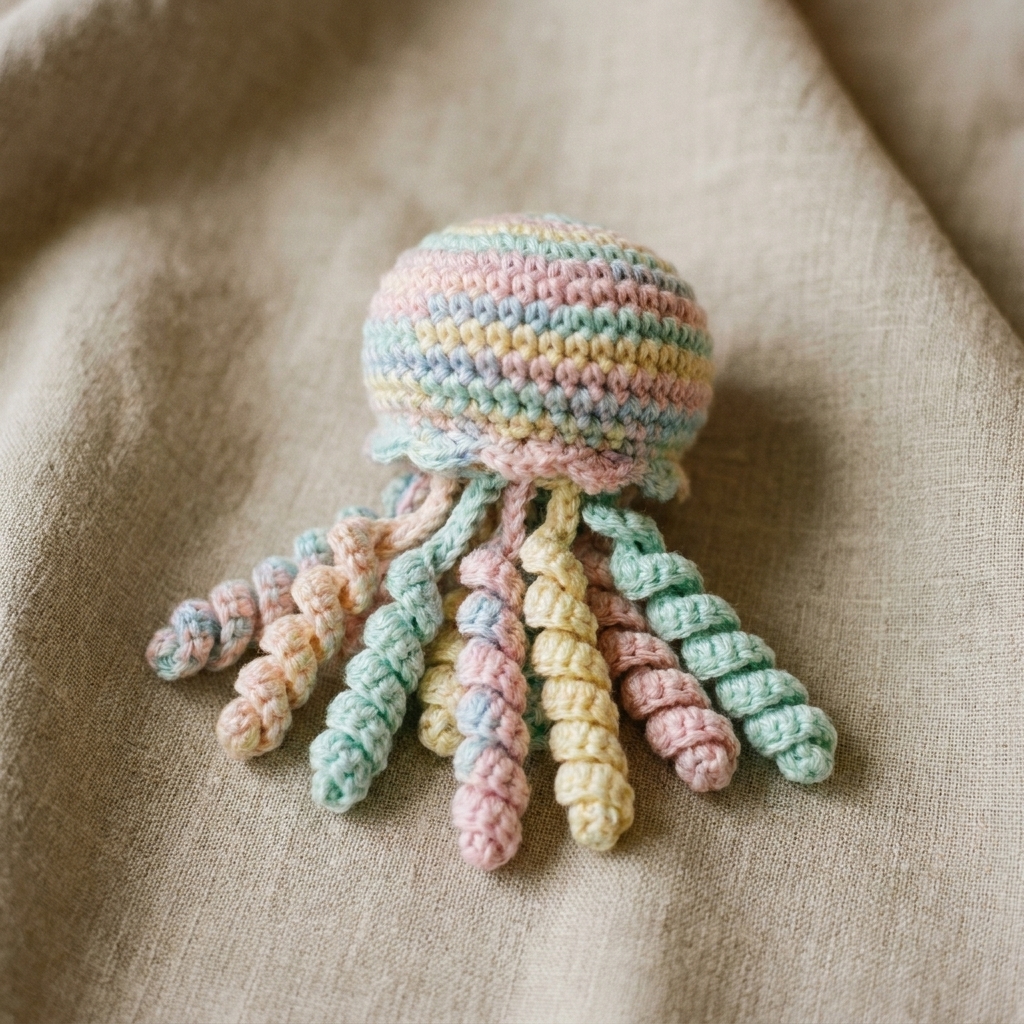
1) No-sew mini jellyfish
Why it’s beginner-friendly: One main shape, no fiddly limbs, and you can keep the face optional.
How it’s usually built: A simple dome (increase rounds, then even rounds) with chain tentacles or spiral curls attached to the edge.
My tip: Use mixed tentacle lengths so it looks intentionally wiggly instead of “I ran out of patience.”
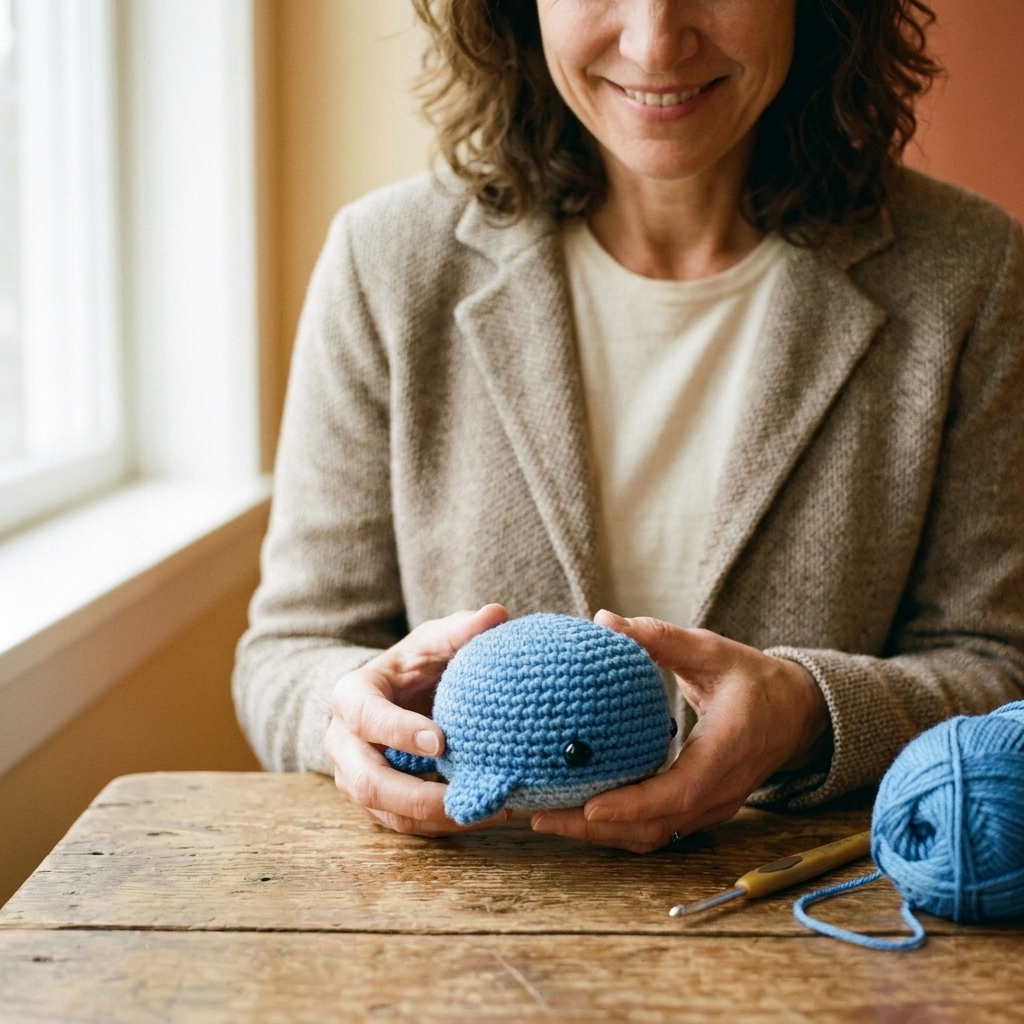
2) Two-piece whale (body + tail)
Why it’s beginner-friendly: The whale body is basically an oval sphere, and the tail fin is one small add-on.
How it’s usually built: Crochet an oval-ish body in continuous rounds, then sew on a flat tail piece. Add tiny side fins if you want, but you can skip them.
My tip: Place safety eyes before you fully close the body. If you wait until the end, you’ll learn new yoga poses trying to squeeze washers into place.
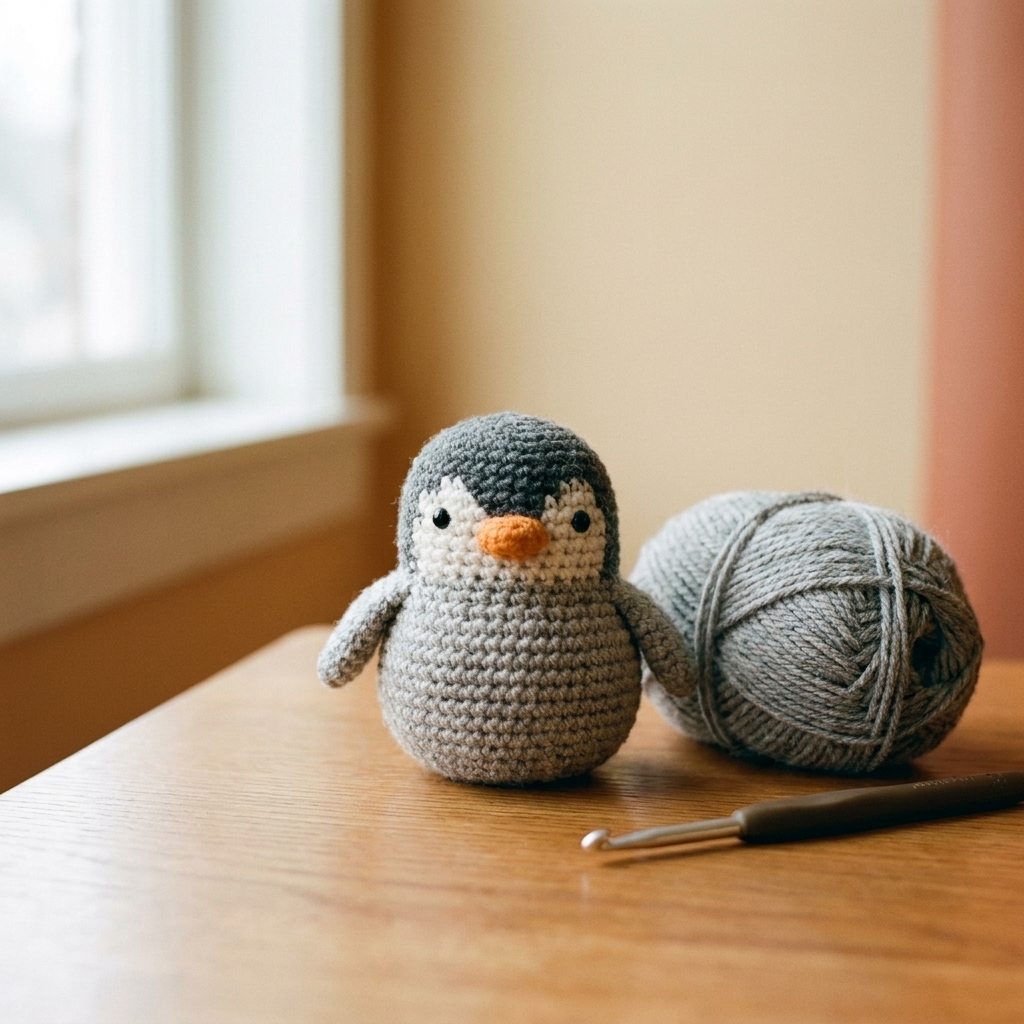
3) Chubby penguin
Why it’s beginner-friendly: Mostly one round body with two flappy wings and a tiny beak.
How it’s usually built: A sphere-ish body, two simple oval wings, and either a felt or crocheted beak.
My tip: Embroider the eye shine with a dot of white yarn. It instantly makes your penguin look alive in the best way.
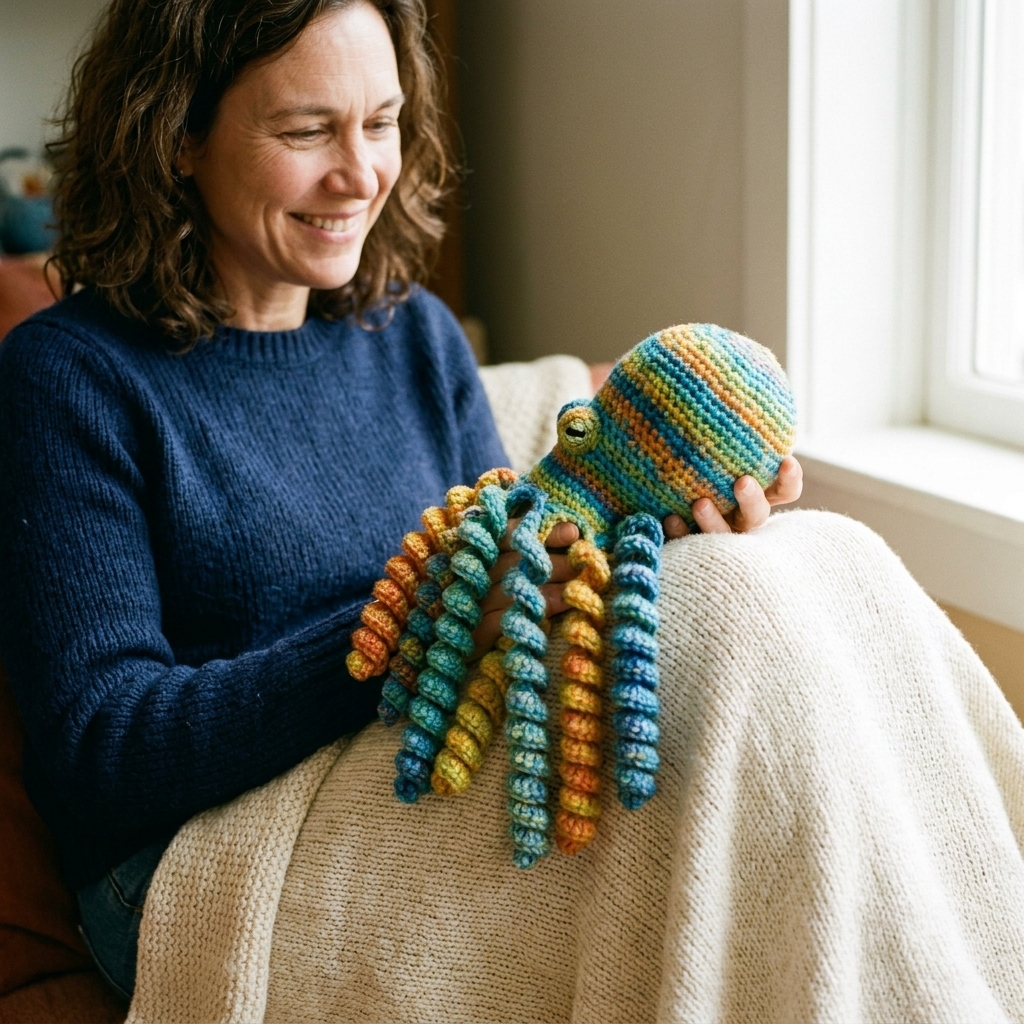
4) Tiny octopus with spiral tentacles
Why it’s beginner-friendly: The body is simple and the tentacles can be made by chaining and working back. Spirals are super forgiving.
How it’s usually built: A round body with a ruffled edge where tentacles attach, often worked as chain spirals.
My tip: If your spirals twist too tightly, go up half a hook size just for the tentacles.
5) Bunny head keychain
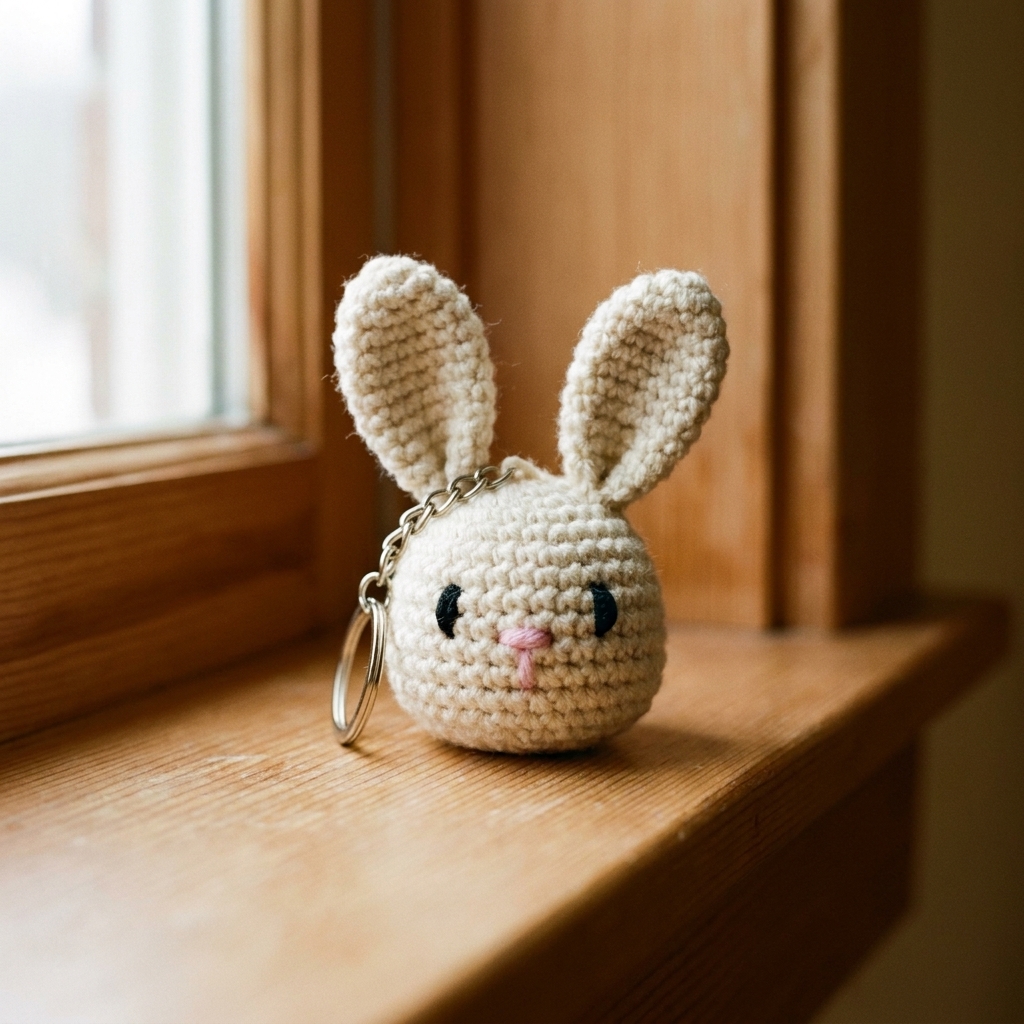
Why it’s beginner-friendly: Small, fast, and you only need one main sphere plus two ears.
How it’s usually built: Crochet a small ball for the head, add two flat ears, and optionally a tiny embroidered nose.
My tip: Use embroidery for the face instead of safety eyes if the keychain might go to a little kiddo. Keychains can be choking hazards, so keep them away from babies and toddlers.
6) Easy turtle with a big shell
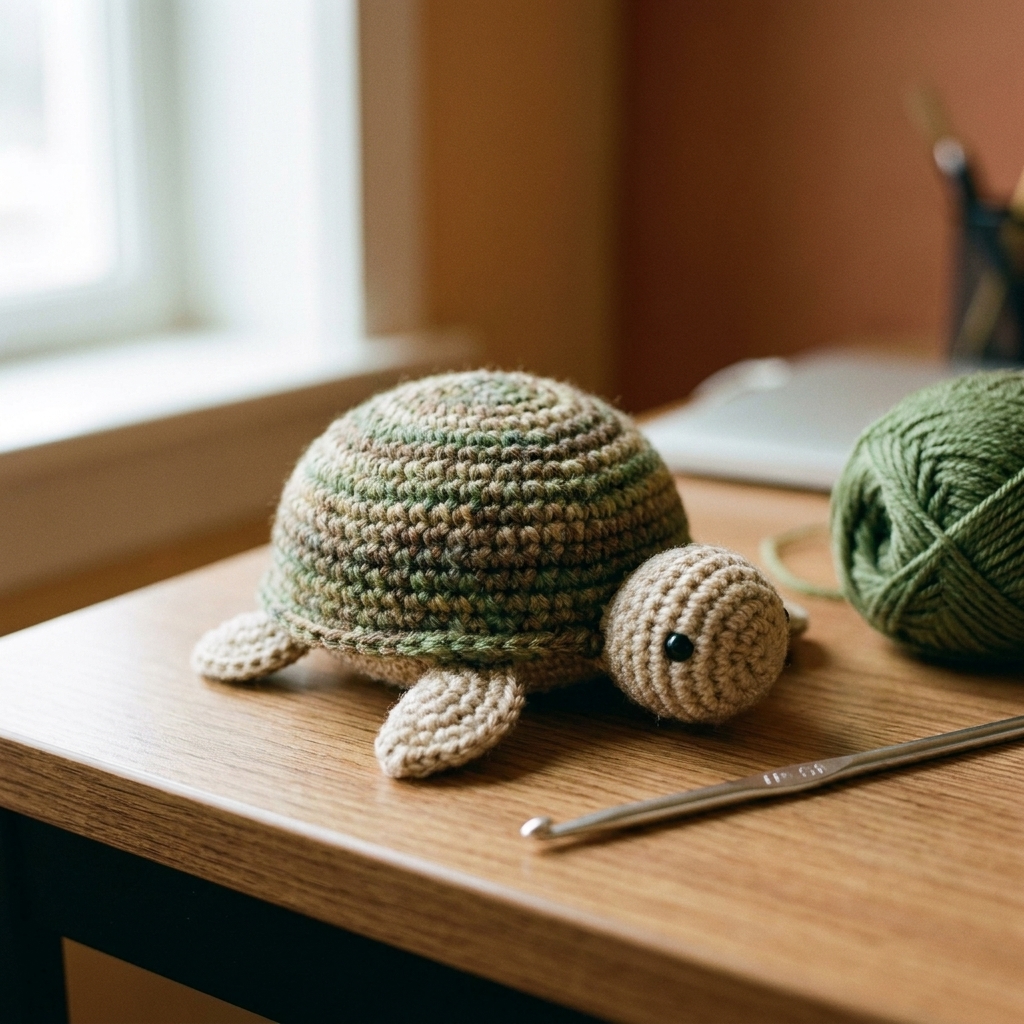
Why it’s beginner-friendly: You get a cute result with simple pieces: a domed shell, a smaller body, and flat flippers.
How it’s usually built: Two domes (shell and belly) stitched together with stuffing between, plus four flippers and a head.
My tip: When joining shell to belly, pin with stitch markers first. It keeps the edges aligned so your turtle doesn’t end up… abstract.
7) Pocket-sized heart plush
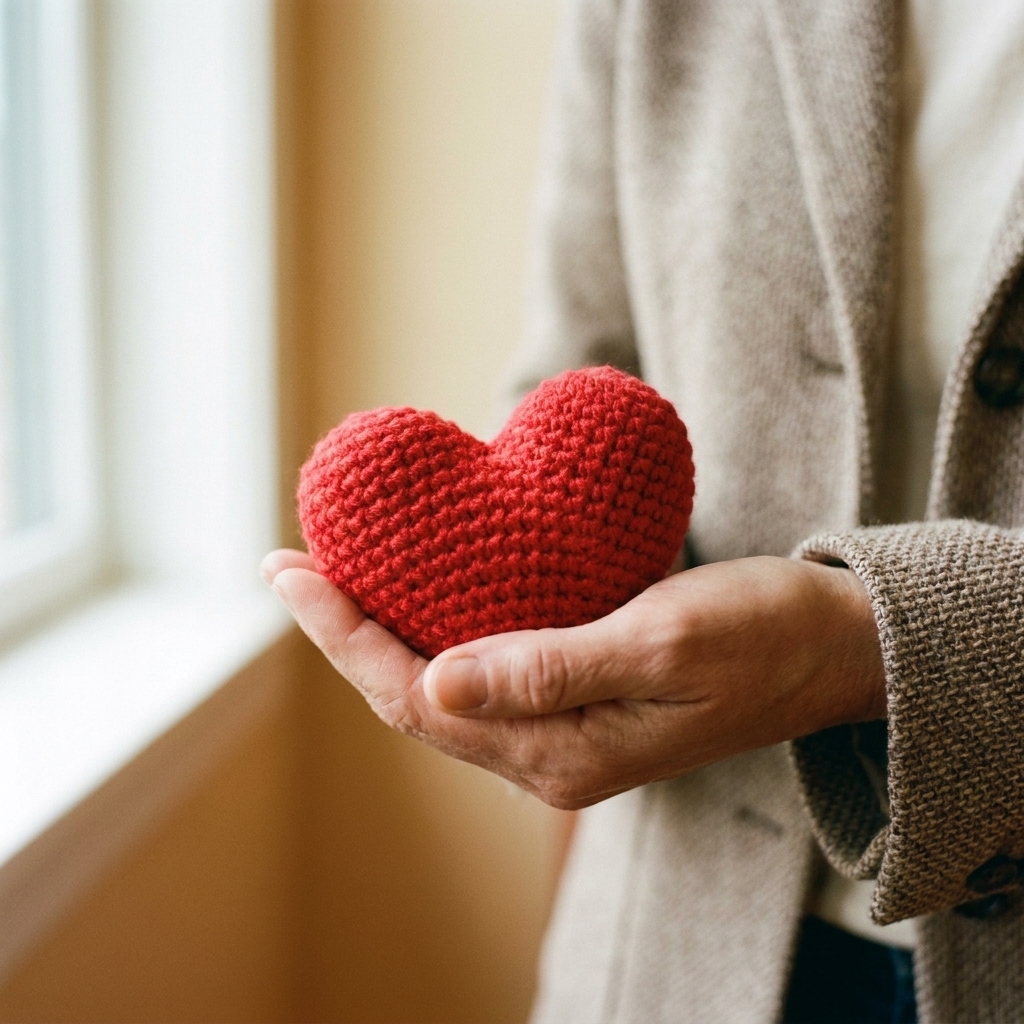
Why it’s beginner-friendly: Quick project, great stitch practice, and shaping is simple.
How it’s usually built: Two small bumps (mini circles) merged into one shape, then decreased to a point.
My tip: For crisp heart curves, stuff the top bumps firmly, then the lower point more lightly.
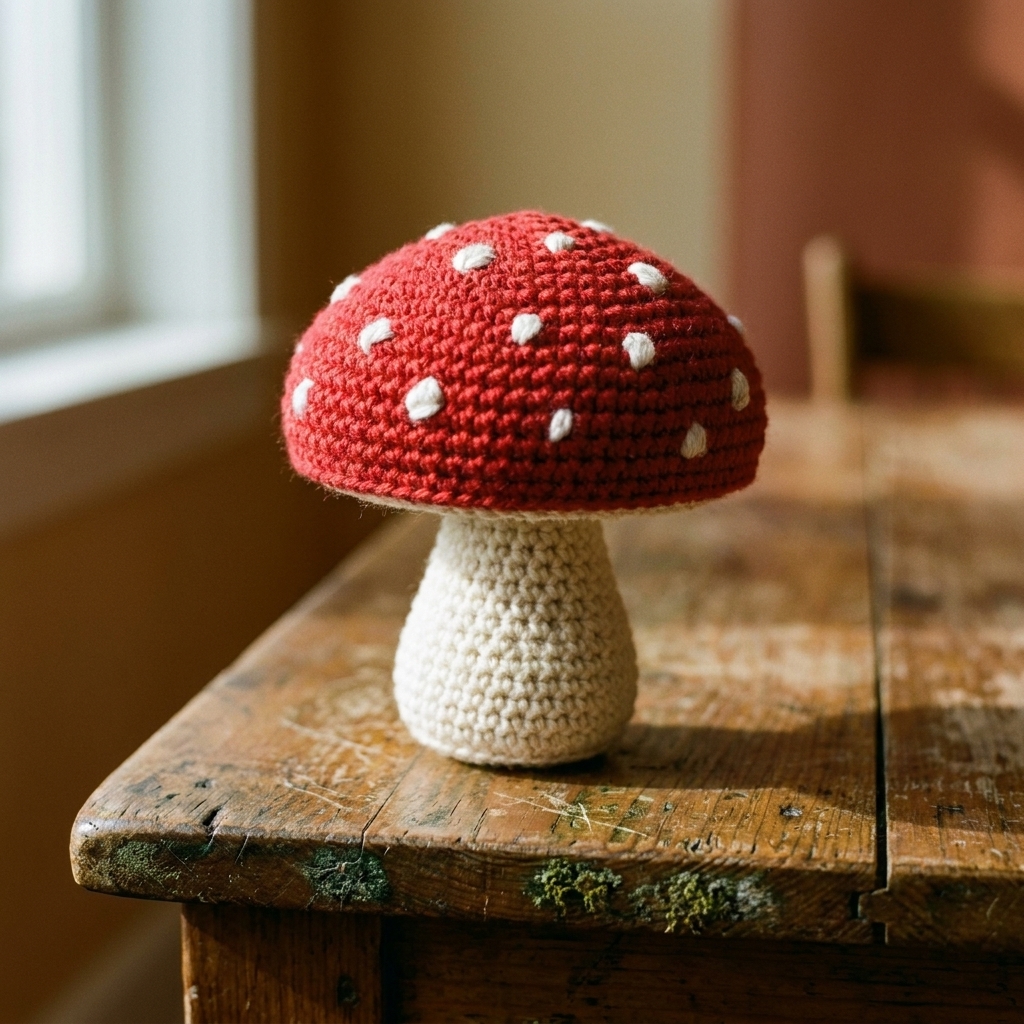
8) Simple mushroom buddy
Why it’s beginner-friendly: The cap and stem are easy shapes, and the face is simple embroidery.
How it’s usually built: A mushroom cap (half sphere) and a stem (cylinder), sewn together, with optional spots.
My tip: Make the spots from small embroidered French knots if sewing circles feels annoying. Tiny knots look adorable and they’re very forgiving.
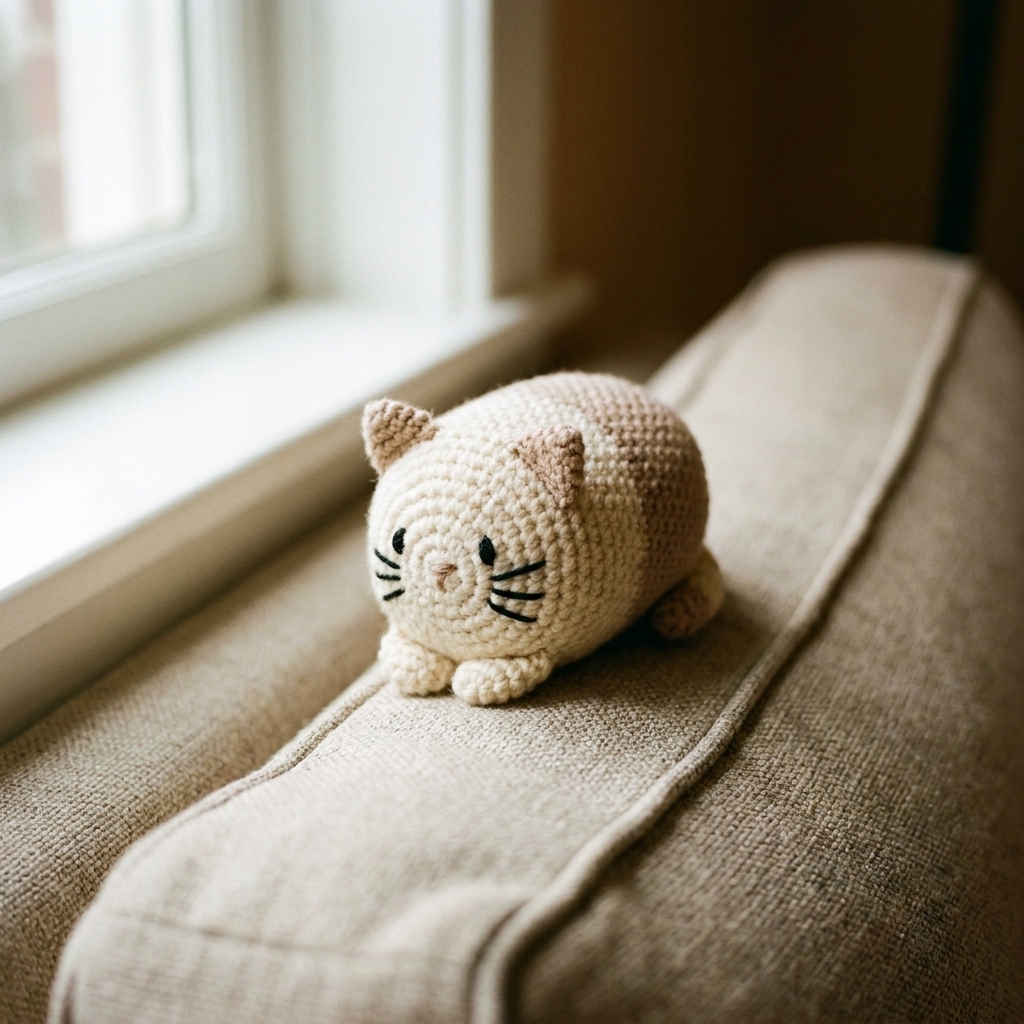
9) Tiny cat loaf
Why it’s beginner-friendly: The shape is basically a rounded rectangle, and details are minimal.
How it’s usually built: An oval base worked upward into a loaf shape, with small triangle ears and embroidered whiskers.
My tip: For a smooth loaf, use an invisible decrease. It keeps the shaping from looking bumpy, especially in solid colors.
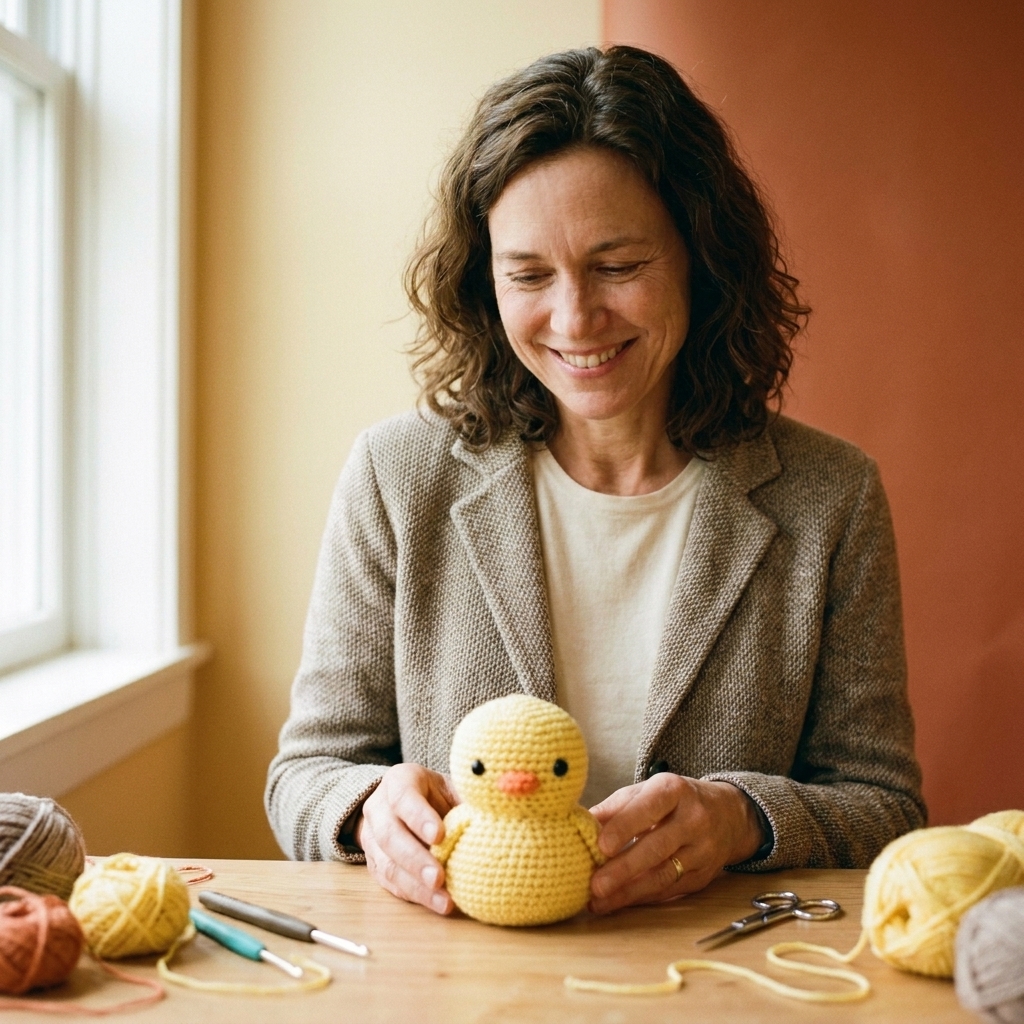
10) One-piece chick (no separate wings)
Why it’s beginner-friendly: Minimal sewing. Many chick patterns crochet the wings as little bobbles or small protrusions right on the body.
How it’s usually built: A round body with a small beak and optional tuft on top, with wings made in place.
My tip: If your chick looks slightly lopsided after stuffing, roll it gently between your palms to redistribute stuffing before closing.
Stitches you need
Most beginner patterns stick to:
- Magic ring (or chain 2 start)
- Single crochet (US terms)
- Increase (2 sc in one stitch)
- Decrease (sc2tog, ideally invisible decrease)
- Slip stitch and chain for small details
If a pattern uses something like bobbles, front loop only, or color changes, it can still be beginner-friendly. It just means you’ll learn one new trick instead of ten.
Optional nerdy note: Some amigurumi makers use yarn under instead of yarn over for single crochet because it can make tighter, more stacked stitches. You don’t have to do this to get great results, but if you keep seeing little gaps, it’s a fun technique to try later.
Beginner troubleshooting
My stuffing is showing through
- Try a smaller hook.
- Use a smoother yarn.
- Stuff a little less firmly, especially near increases.
My rounds are drifting and the seam is slanted
That’s normal in continuous rounds. It won’t hurt your plush. If it bugs you, look for patterns that use joined rounds, or learn a jogless join later on.
I keep losing my place
- Use a stitch marker for the first stitch of every round.
- Count out loud. It helps more than you think.
- Write down your round number on a sticky note.
My pieces look wobbly and uneven
Welcome to the first few projects. Tension evens out with practice, and stuffing helps smooth things. Also, most amigurumi looks cuter once the face is on, so don’t judge a faceless blob too harshly.
Choosing your first pattern
- Look for: one main body piece, fewer than 4 add-ons, and simple sewn seams
- Avoid at first: lots of tiny fingers, complex colorwork, or patterns that require exact gauge
- Best first yarn: worsted weight acrylic or cotton in a light color
- Best first size: palm-sized. Tiny pieces are harder to handle, and giant plushies can get tedious fast.
FAQ
Is amigurumi OK for total crochet beginners?
Yes. If you can make a single crochet and you’re willing to practice counting stitches, you can absolutely make amigurumi. Your first project might be a little lumpy. Mine was. It still lives in my yarn cabinet like a proud little potato.
Should I use safety eyes?
Safety eyes are great for a clean look, but they’re not considered safe for babies and toddlers (and they’re not safety-tested for under-3 play). They can still come loose if pulled. For children under 3, embroidered eyes are the safest choice. If you do use safety eyes for an older child, make sure the washers are fully secured inside the toy and always supervise play.
What’s the easiest animal to crochet?
Anything that’s basically a ball plus tiny details. Whales, octopi, chicks, penguins, and cats are all excellent first choices because the shaping is simple and the cuteness payoff is immediate.
Do I need to know how to read crochet patterns?
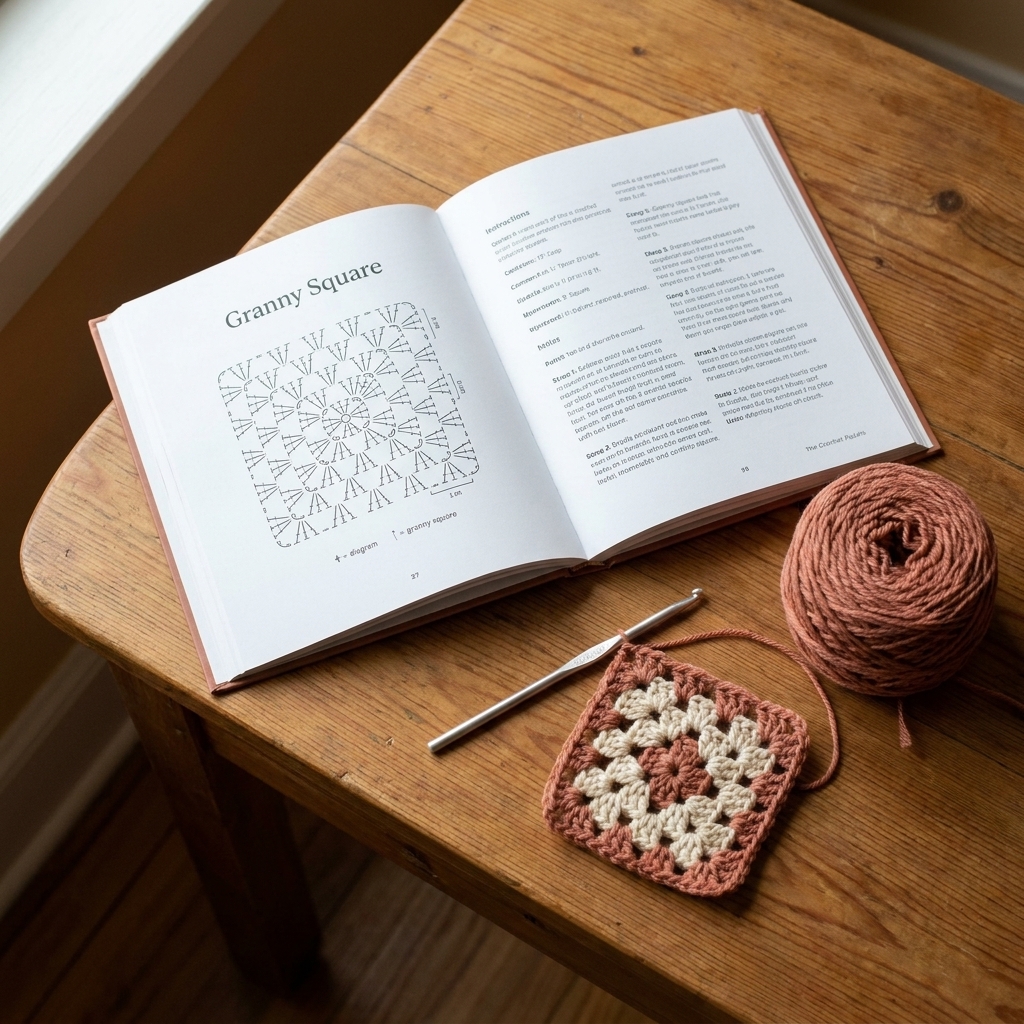
It helps, but you can start with photo-heavy tutorials too. If abbreviations stress you out, pick a pattern that spells out stitches in words, then gradually learn common shorthand like sc, inc, and dec.
Your next step
If you’re not sure which one to start with, pick the jellyfish or the heart plush. They’re fast, forgiving, and they teach you the core rhythm of amigurumi: increase, even rounds, decrease, stuff, celebrate.
And if you drop a stitch, lose count, or sew an eye in the wrong spot, congratulations. You’re officially crocheting.