If finishing is the part you “save for later” (and later becomes never), hi. Welcome. I have been there. Weaving in ends is the vegetables of fiber arts: not always thrilling, absolutely good for you, and surprisingly satisfying once you learn a few reliable tricks.
This guide is your one-stop toolkit for secure and nearly invisible ends in both knitting and crochet, with stitch-specific approaches for lace, ribbing, and bulky yarns. You will also get my “how to choose” rules so you are not guessing every time you pick up a tapestry needle.
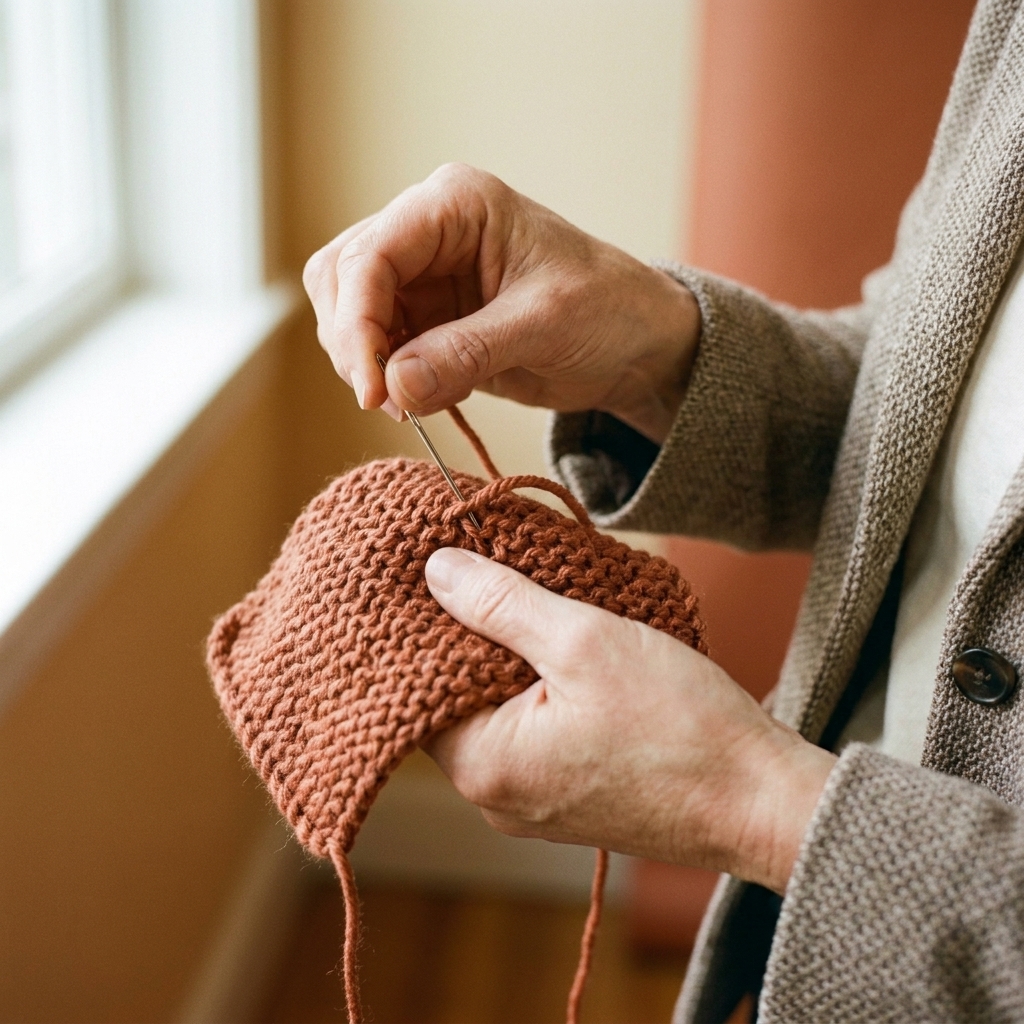
The goal (and why ends pop out)
Weaving in ends is really about three things:
- Friction: the tail needs enough contact with surrounding fibers to grab and stay.
- Direction changes: a tail that travels in one straight line can work itself loose. Tiny turns help lock it in.
- Matching the fabric’s stretch: if your fabric stretches (hello, ribbing), the tail must be anchored in a way that stretches too, or it will either pop out or pucker the fabric.
Most “my ends came out” situations happen when the tail is too short, woven only in one direction, or anchored across a stretchy area with a non-stretchy path.
Tools that make this easier
- Tapestry needle (blunt tip) in a size that fits your yarn. For laceweight or sock yarn, a smaller needle helps you avoid splitting plies. For bulky yarn, a larger eye saves your sanity.
- Sharp needle (optional) for very dense knitting when you need extra control. Use sparingly and try to slide between strands, not pierce or split the yarn in the fabric.
- Small scissors for clean snips.
- Blocking tools (optional) because blocking often makes ends settle and vanish even more.
Tail length rule of thumb: 4 to 6 inches (10 to 15 cm) is a good starting point. For slippery fibers, high-wear items, and frequent washing, go closer to 6 to 8 inches (15 to 20 cm). If you are working super chunky yarn, you may want longer simply because there are fewer stitches per inch to travel through.
Before you weave: three questions
1) Is this area stretchy?
If yes (ribbing, cuffs, hats, waistbands), weave along the direction of stretch and avoid locking the tail across the stretch in a straight, tight line.
2) Is the yarn slippery or smooth?
Plant fibers (cotton, bamboo, linen), superwash wool, silk blends, and many acrylics can be slick. Use longer tails, more direction changes, and techniques that add extra friction like splitting plies or weaving through purl bumps. Wooly, grabby yarns tend to “cling” more on their own, but they still deserve a proper path.
3) Is the fabric open?
Open fabrics need a path that hides the tail without creating a visible travel line. In lace, anchoring along edges, within a seam, or inside denser columns works beautifully.
Knitting methods
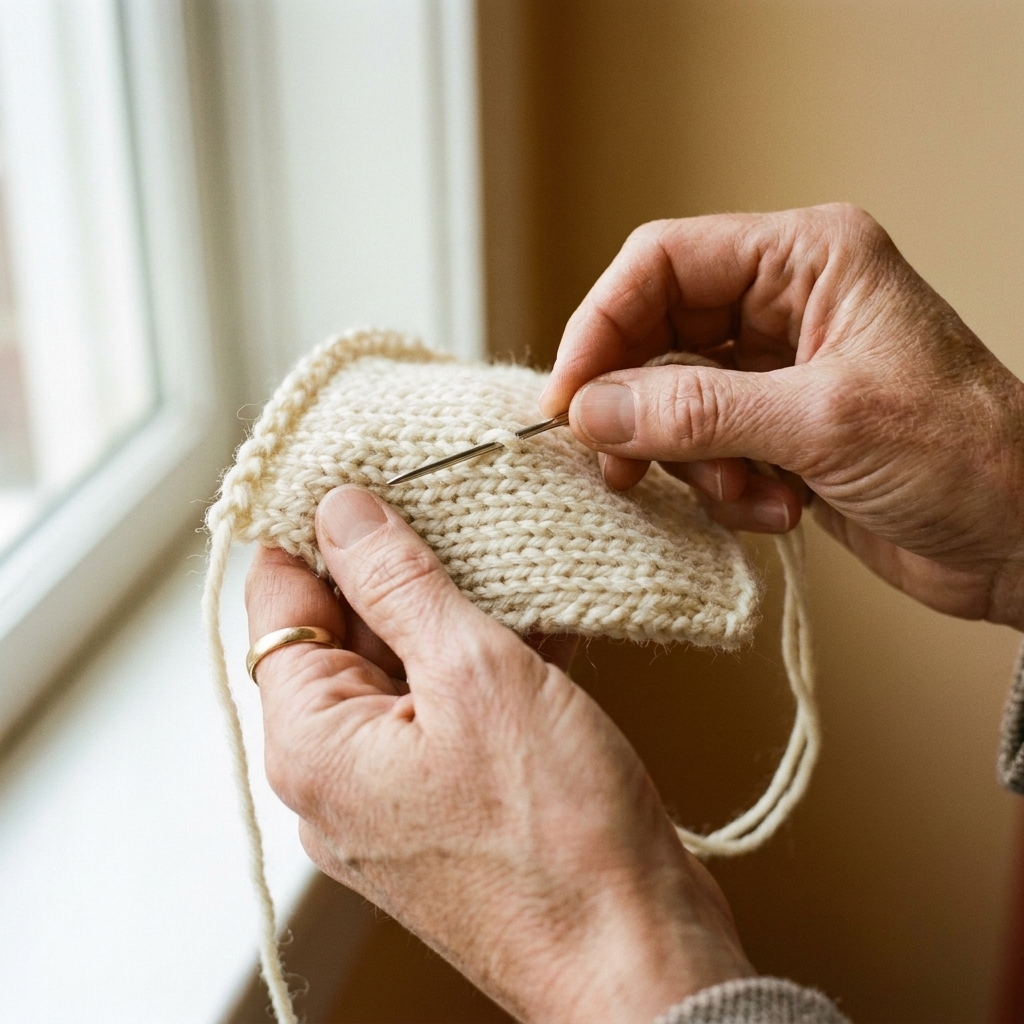
Method 1: Duplicate-stitch style (stockinette)
This is the classic invisible method for stockinette and many smooth knit fabrics. Some knitters use “duplicate stitch” to mean adding color on the right side. Here, we are doing the same follow-the-stitch idea on the wrong side to hide a tail.
- Turn your work to the wrong side. Thread your tail onto a tapestry needle.
- Choose a path that follows existing stitches. You are going to trace the stitch shape through the backs of stitches.
- Work through 4 to 6 stitches, then change direction and work through 3 to 5 more.
- Gently snug the tail so it sits flat, but do not cinch the fabric.
- Trim close but not flush, leaving a tiny nub that will settle in after blocking or washing.
Where beginners get tripped up: pulling too tight. Think “lay the yarn in place” rather than “tie it down.”
Method 2: Purl bumps (garter stitch)
Garter stitch can swallow ends like a champ if you use the ridges.
- On the wrong side, identify the little horizontal bumps that form each garter ridge.
- Run your needle under 4 to 6 bumps in one ridge.
- Change to the next ridge up or down and weave under 4 to 6 bumps again.
- For extra security, make a small turn and travel under a few bumps one more time.
Tip: If your garter fabric is reversible, weave into the thickest interior area (not the outermost edge) so you do not see a shadow on the right side.
Method 3: Split-the-plies weaving (slippery yarn)
When yarn is slick, I like to weave in a way that physically tangles fibers together.
- Thread the tail.
- Weave through the backs of stitches as usual, but every few stitches (or about 1/2 inch or 1 to 2 cm), pass the needle between the plies of a stitch (not through the hole between stitches).
- Change direction at least once.
Good to know: This works beautifully with plied wool and many acrylics. It is less effective with single-ply yarns that fuzz easily, and it is usually a no for tape yarns or fragile novelty yarns. Be gentle. If splitting makes the tail look shredded, skip this method and rely on longer paths with more turns.
Method 4: Seam-hiding (edges)
If your project has seams (mattress stitch in knitting, or a crocheted seam), you have a hiding place built in.
- Before seaming, leave tails on the wrong side at the edge.
- After seaming, use the tail to run up inside the seam allowance for 2 to 3 inches.
- Turn and run back down a slightly different path inside the seam.
This method is wonderfully invisible and very secure because seams are dense and low-stretch.
Crochet methods
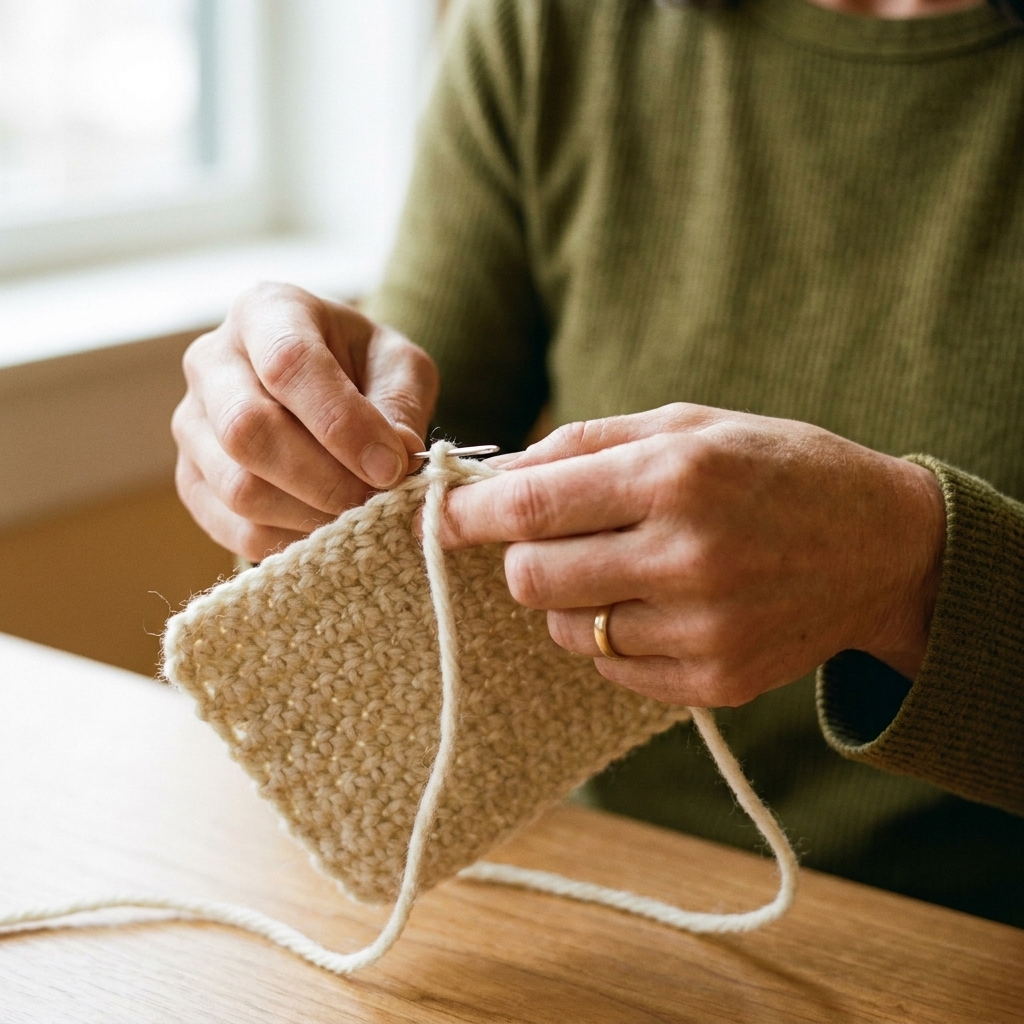
Method 1: Three directions (the workhorse)
Crochet fabric has natural gaps, so direction changes are your best friend.
- Thread the tail on a tapestry needle.
- Weave through the posts or dense parts of stitches for 1 to 2 inches, following the stitch structure.
- Turn and weave back through a neighboring row for 1 to 2 inches.
- Turn again and weave a final short path, aiming to stay inside the thickest parts of the fabric.
- Snip close, then gently stretch the fabric so the cut end disappears inside. For lace or delicate fibers, keep the stretch gentle so you do not distort the fabric.
Where beginners get tripped up: weaving only through loops at the edge of holes. Instead, aim for stitch posts and the meatier sections of the fabric.
Method 2: Crochet over the tail (during construction)
If you know you will not need that tail for seaming, you can bury it as you go.
- Lay the tail along the top of the row you are working into.
- Work stitches over the tail, trapping it inside the stitch bodies.
- After an inch or two, tug the tail gently to remove slack, then keep stitching over it.
Important: I still recommend weaving a little at the end for super smooth yarns, plant fibers, or anything that will be washed often.
Method 3: Split and bury (bulky crochet)
Bulky yarn tails can create lumps if you weave them like thin yarn. Splitting helps when the yarn structure can handle it.
- Split the tail into two thinner sections (if the yarn construction allows and it does not weaken the yarn).
- Weave each half in a different direction through stitch posts.
- Trim both ends, then massage the fabric to hide them.
This reduces bulk and helps the tail grip more securely.
Pattern-specific tips
Lace
Lace is gorgeous and also very good at tattling if you weave ends through open holes. Here is how to keep things discreet:
- Target denser zones: weave into sections with more stitches close together, like a lace panel border, a garter edge, or a stockinette column between eyelets.
- Use longer tails: aim for 6 to 8 inches so you can travel farther without relying on one tight spot.
- Follow the structure: in knitted lace, use duplicate-stitch style weaving along a stockinette column when possible. In crochet lace, weave through stitch posts rather than chains.
- Block timing: for very open lace, a gentle block first can help you see where the fabric is stable enough to hide a tail. Then weave in gently and do your final block.
Ribbing
Ribbing stretches, so your end needs to stretch with it.
- Weave vertically: run the tail up and down inside a knit column or purl channel instead of across the ribs.
- Use a U-turn path: go up 1 to 2 inches, turn, then go back down in a neighboring column.
- Avoid tight diagonal pulls: those can restrict stretch and cause rippling.
Extra tip for cuff edges: if the tail begins at a cast-on or bind-off edge, hide it inside the edge structure first, then travel into the ribbing columns.
Bulky yarn
Bulky yarn is cozy, quick, and very honest about lumps. Your priorities are low bulk and high friction.
- Split the tail into plies or sections if possible, and weave each separately. If splitting makes the yarn fragile (chenille, some single-ply, tape yarn), skip it.
- Weave fewer passes but through thicker, denser areas like seams, under stitch bars, and between plies.
- Trim thoughtfully: leave a tiny cushion of tail rather than cutting so close that the end can poke out.
Colorwork and stripes
Color changes create a lot of tails, and also lots of opportunities to hide them.
- Stay within the same color zone when weaving in. Dark tails can shadow through light fabric.
- In stranded knitting, weave into the floats on the wrong side, but do not bind floats so tightly that you lose stretch. Make small direction changes.
- In crochet stripes, weave ends inside the stripe color blocks, following stitch posts. If you carried yarn up the side, seam or edge finishing can hide that entire situation beautifully.
High-wear spots
Socks, mitten thumbs, sweater underarms, and bag bottoms get rubbed. Treat ends there like they have to survive a tiny apocalypse.
- Longer tails (6 to 8 inches).
- More direction changes (two or three turns).
- Weave into multiple layers if you have them, like seam allowances or folded hems.
Lofty fabrics (brioche and friends)
Extra lofty stitches (brioche, fisherman’s rib, super squishy rib textures) can hide ends well, but they can also shift more in wear. Use longer tails, weave gently so you do not compress the fabric, and add at least one direction change for security.
Quick fixes
- Tail is showing on the right side: reweave slightly deeper into the fabric (one or two stitches inward) and follow the stitch structure instead of traveling through open gaps.
- Fabric puckers: you pulled too tight. Reweave with a lighter touch and let the tail lie flat.
- Lump at the join: split the tail (if safe for that yarn), or choose a longer, flatter path inside seam allowances or dense columns.
What not to do
- Do not knot your ends in the middle of fabric unless a pattern explicitly calls for it and you understand the consequences. Knots can pop through to the right side, and very smooth yarns (including some superwash-treated yarns) can slip more than you would expect.
- Do not weave only one straight line. It is the fastest route to a tail worming its way out.
- Do not cut the tail flush without giving it a chance to settle into the fabric. Trim close but not flush, then stretch gently or block so it tucks in.
- Do not weave into the very edge loops where tension shifts the most. Travel slightly inward whenever possible.
Choose your method
- Stockinette knitting: duplicate-stitch style on the wrong side.
- Garter knitting: purl bumps along ridges.
- Ribbing: weave vertically in columns with a U-turn.
- Lace: denser borders or columns, longer tails, gentle tension.
- Bulky yarn: split and bury if the yarn allows, or use seam-hiding for a flatter finish.
- Crochet (most fabrics): three directions through stitch posts.
- Seamed items: hide tails in seam allowances whenever you can.
FAQ
How long should yarn tails be?
Most of the time, 4 to 6 inches is enough. For slippery fibers, lace, socks, and anything that will be washed a lot, use 6 to 8 inches. For super chunky yarns, you may need longer just to get a secure path.
Weave in ends before or after blocking?
Either can work, but here is my practical rule: weave in before blocking for most projects so the tails settle as the fabric relaxes. For very open lace, a light block first can help you see the fabric structure, then weave in gently, then do your final block.
Can I use fabric glue or fray check?
I do not recommend it for wearables. It can dry stiff, feel scratchy, and behave unpredictably in the wash. If you are making something decorative that will not be laundered, it can be an option, but weaving in properly is usually more comfortable and longer-lasting.
Why do my ends peek out after washing?
Common culprits are tails that are too short, woven in only one direction, or woven across a stretchy area. Try a longer tail, add at least one direction change, and match your weaving path to the fabric stretch. If you used a very smooth fiber (cotton, bamboo, superwash, silk), add another turn and a bit more travel length.
What about magic knots?
Magic knots can hold in some yarns, but they can also slip in smooth fibers and they can create a noticeable hard spot. For garments and anything that touches skin, I prefer weaving techniques that distribute bulk across the fabric.
A finishing pep talk
If weaving in ends has felt like punishment for daring to enjoy yarn crafts, I promise it gets easier with repetition. Put on a comfort show, make a cup of tea, and do just five ends. Future-you will feel absurdly proud when you pull on a sweater hem and nothing wiggles loose.
And if you are reading this with a basket of half-finished projects staring at you, know that I say this with love and the lived experience of a truly heroic yarn stash: you are in excellent company.