If you can knit and you can purl, you can knit just about anything. Truly. Socks, sweaters, scarves, cozy beanies, that modern cardigan you have bookmarked and feel mildly intimidated by. The knit stitch and the purl stitch are the two building blocks that create nearly every texture you see in knitting.
In this lesson, I will walk you through both stitches slowly, with the exact hand and needle movements to look for, plus the little beginner snags I see all the time (from my years teaching kiddos and grownups alike). Grab your yarn, make a cup of tea if that is your vibe, and let’s get you comfortable with the basics.
What knit and purl do
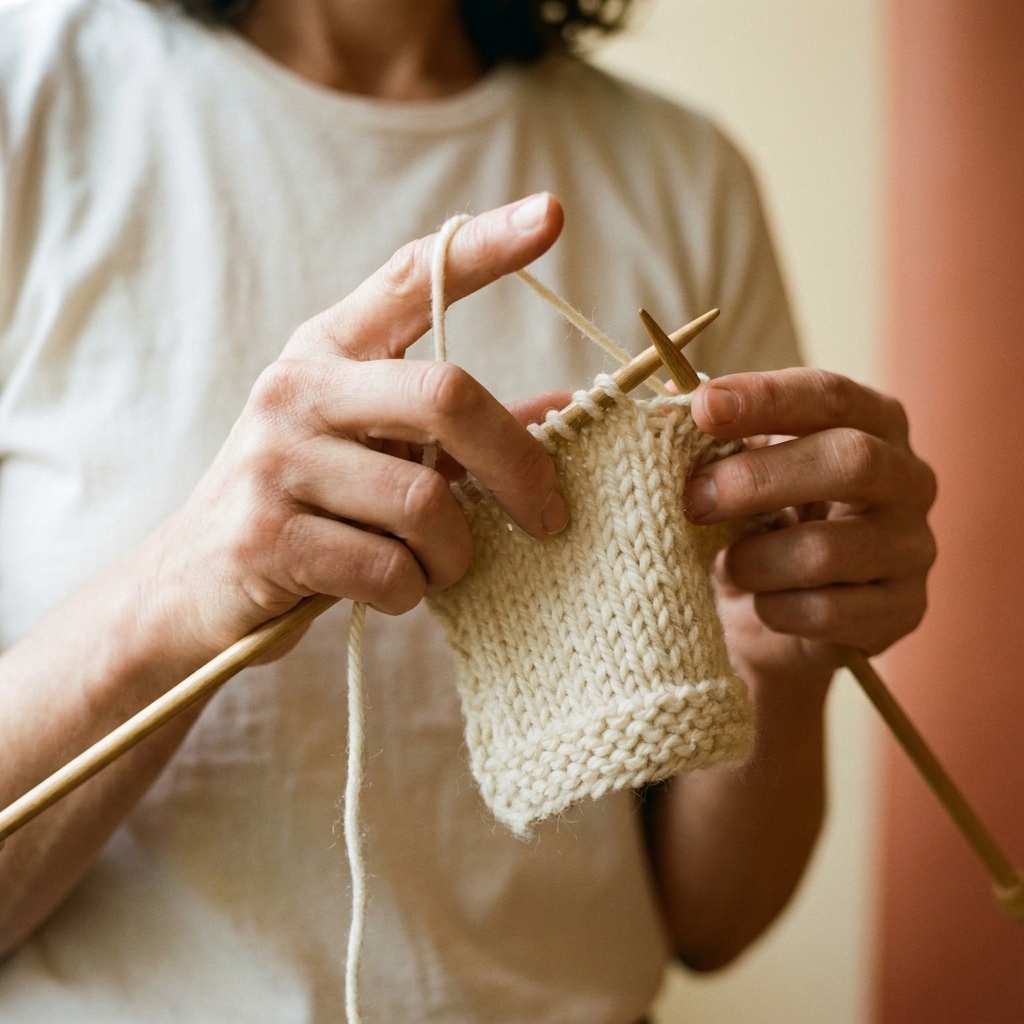
Knit and purl are like mirror images. They create the same stitch, just viewed from different sides of the fabric.
- Knit stitch (k): On the side facing you, it looks like little stacked V shapes.
- Purl stitch (p): On the side facing you, it looks like little bumps (often called garter bumps when you see them in certain fabrics).
Here is the “aha” moment: a knit on one side is a purl on the other side. So when a pattern says “stockinette stitch,” what it really means is you are arranging knits and purls so the fabric has Vs on one side and bumps on the other.
Before you start
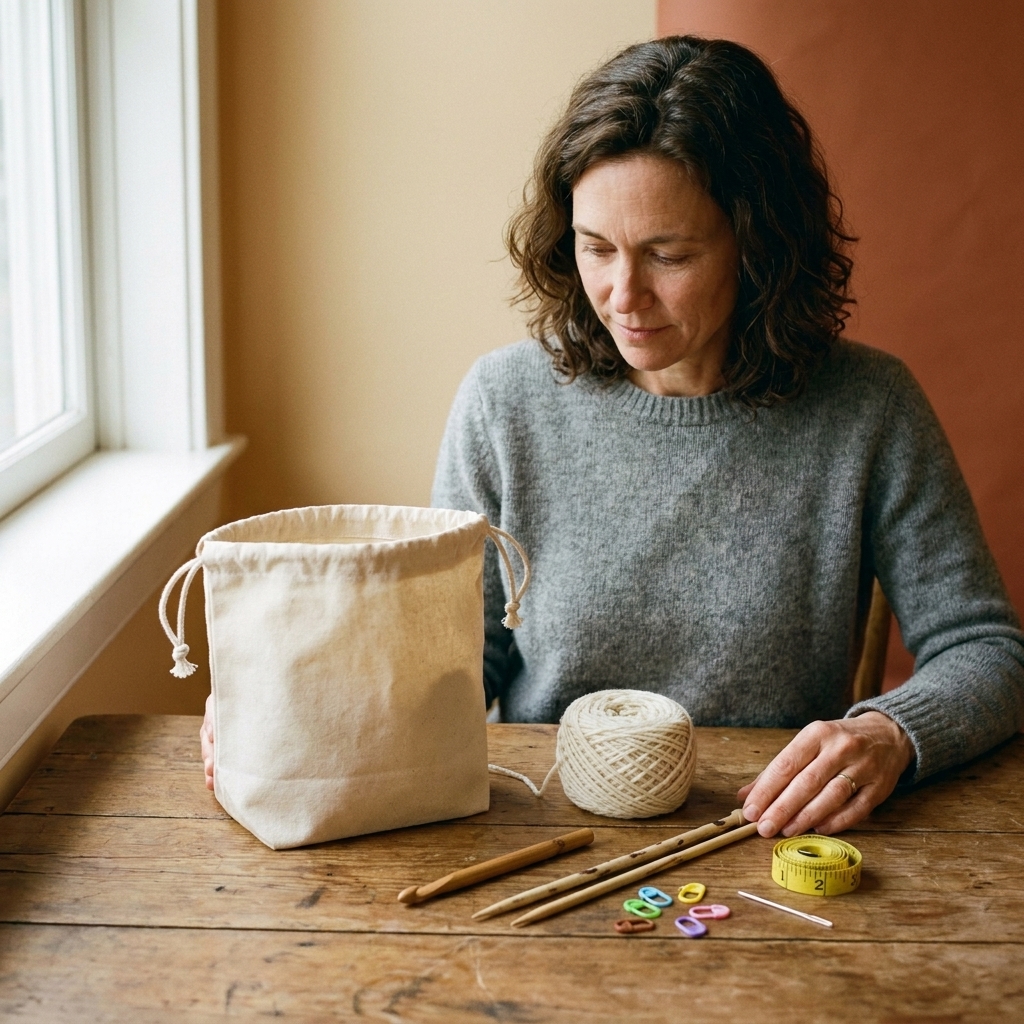
Beginner-friendly tools
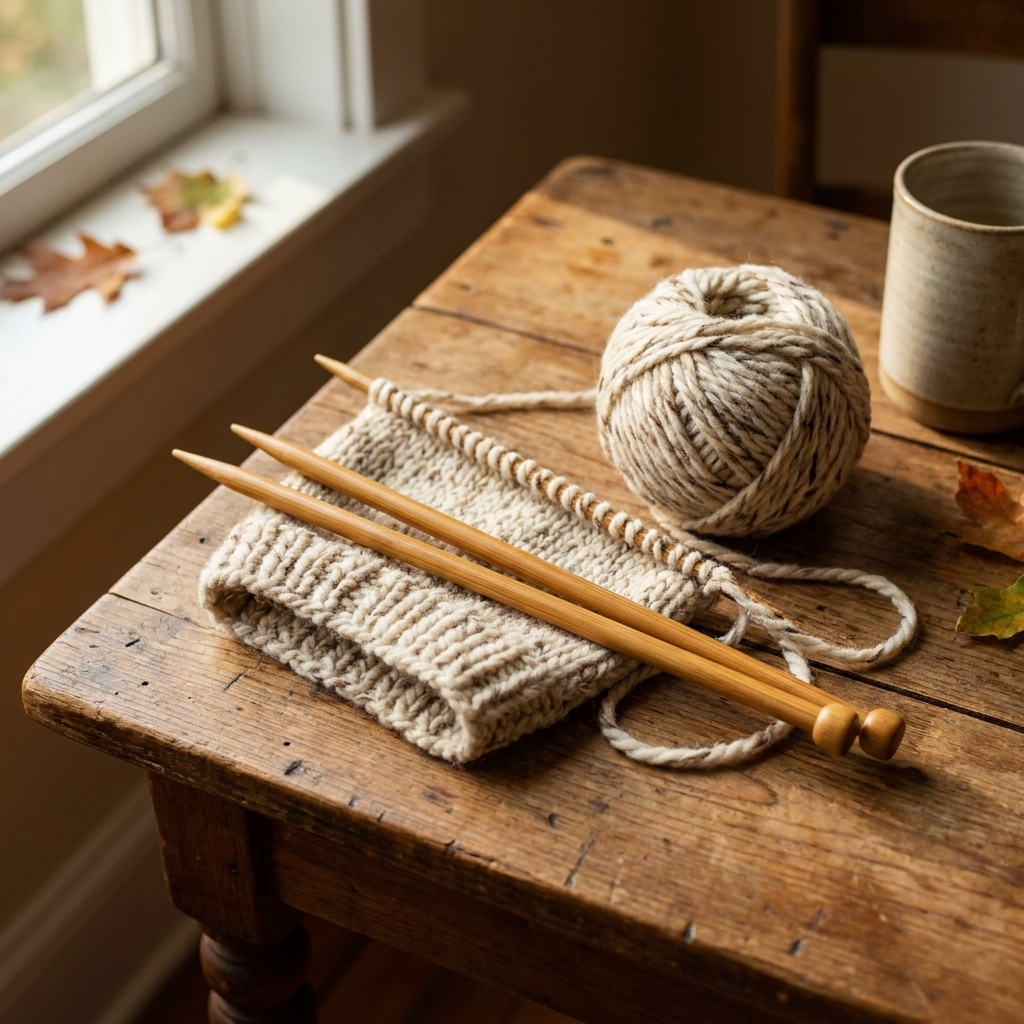
- Yarn: A light color, smooth, medium weight yarn (often labeled worsted or aran) is the easiest to read. Fuzzy yarn is charming but it hides your stitches like it is playing peekaboo.
- Needles: Try US 7 to US 9 straight needles or a 16 to 24 inch circular (circulars are great even for flat practice). Wooden or bamboo needles are a little grippier and can feel less slippery.
How to hold your yarn
There are two common styles:
- English style: Yarn in your right hand, you “throw” the yarn around the needle.
- Continental style: Yarn in your left hand, you “pick” the yarn with the right needle tip.
Either is perfect. Pick what feels less like wrestling an octopus. The stitch result is the same.
Knit stitch (k)
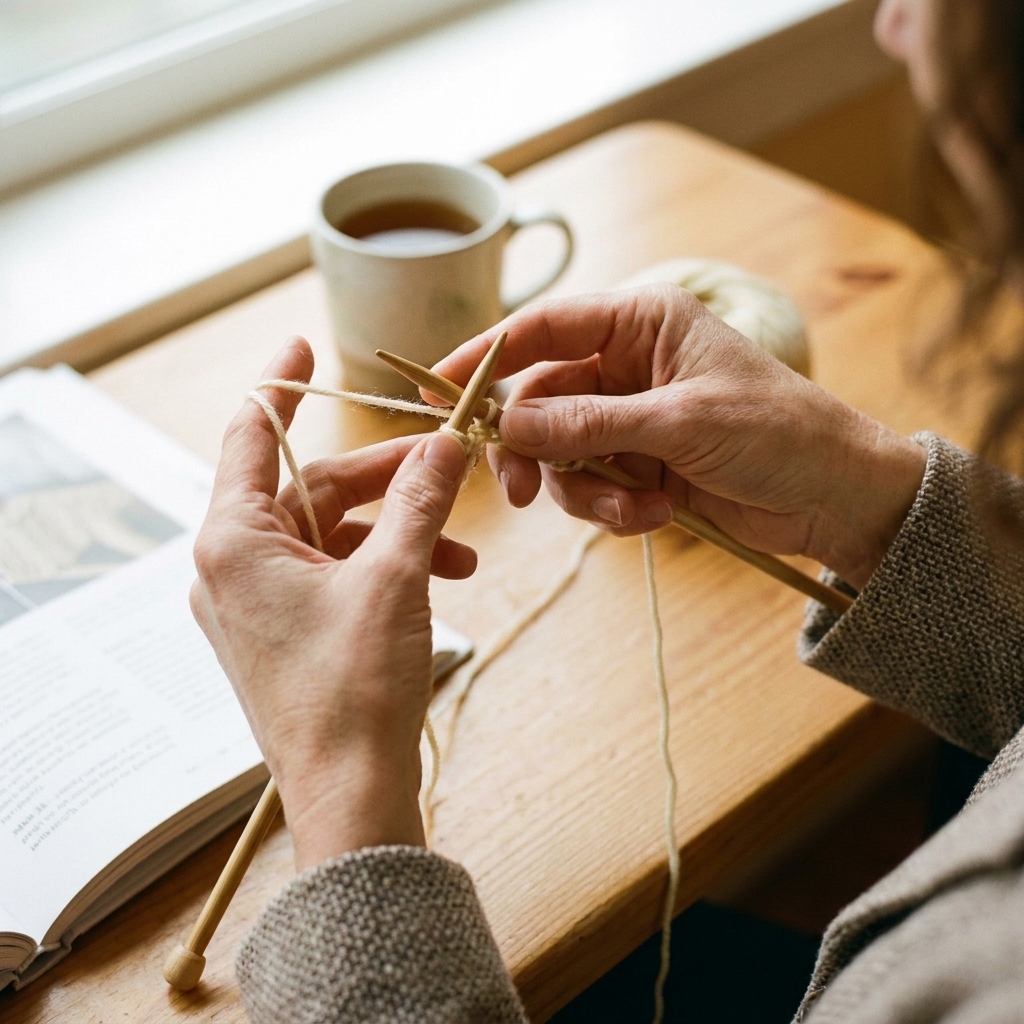
We will assume you have already cast on and your cast-on stitches are sitting on your left needle. Your working yarn (the yarn attached to the ball) should be coming from the last stitch you cast on.
1) Check yarn position
For a knit stitch, the yarn should be at the back of your work.
2) Insert the right needle
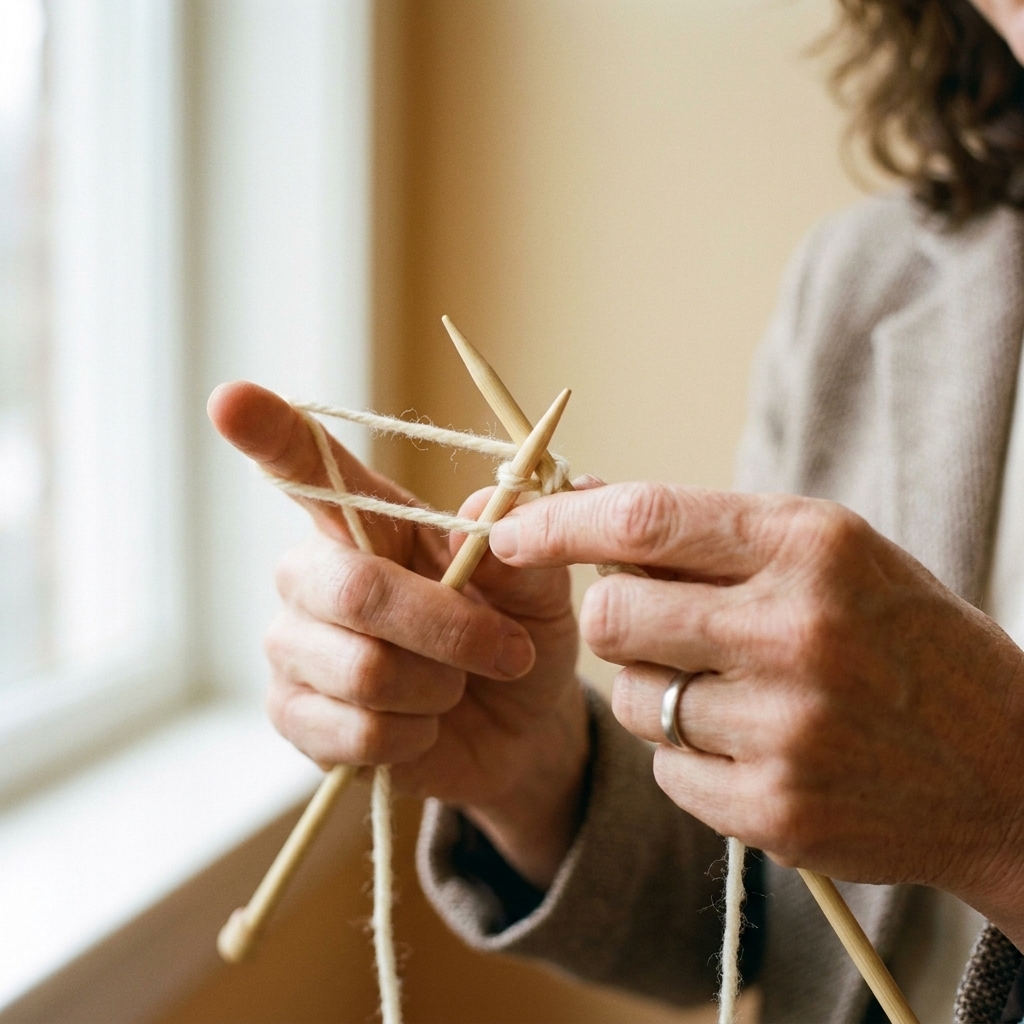
Insert the tip of the right needle into the first stitch on the left needle from front to back. Your needles will form a little X.
3) Wrap the yarn
Bring the working yarn around the right needle counterclockwise (this is the most common direction in standard Western-style knitting).
4) Pull through
Use the right needle tip to pull that wrapped yarn through the stitch, making a new loop on the right needle.
5) Slide the old stitch off
Let the old stitch fall off the left needle. You have made one knit stitch.
Repeat across the row.
Purl stitch (p)
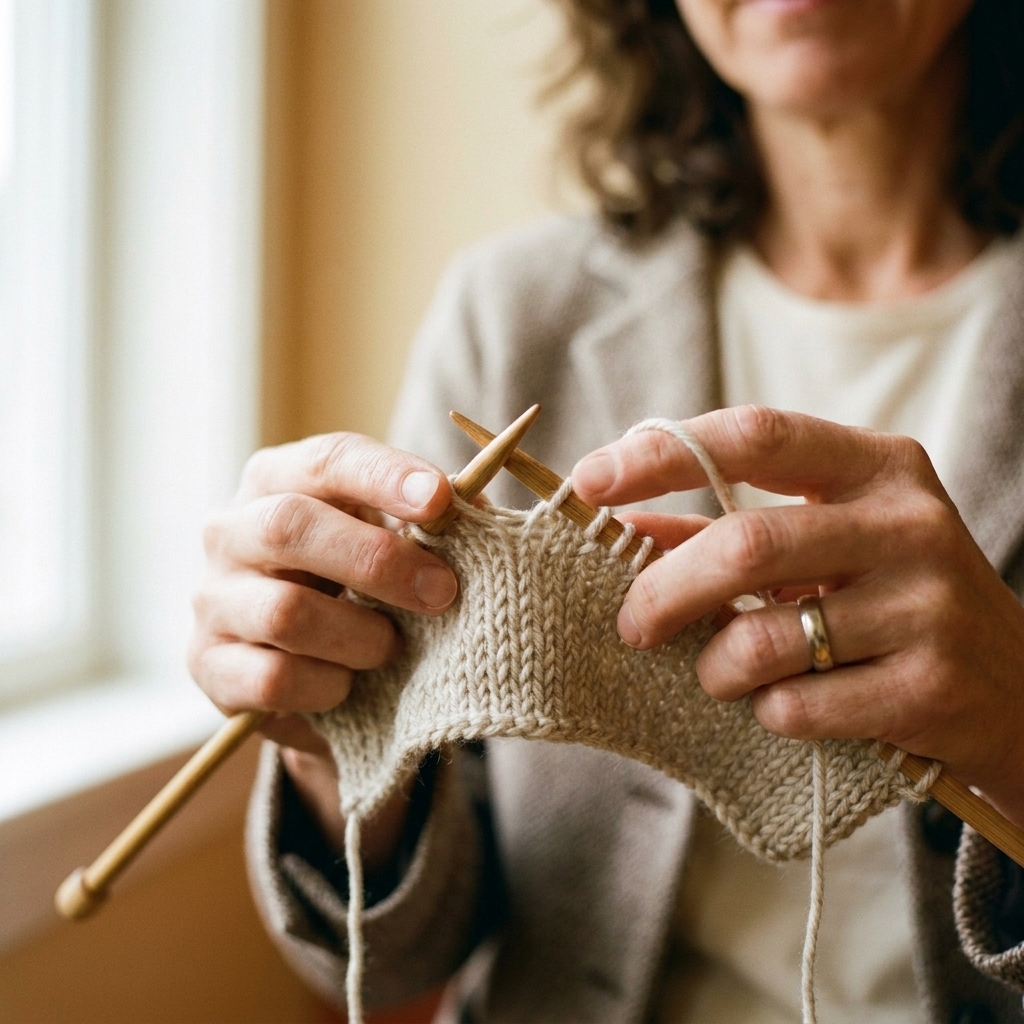
The purl is the knit’s best friend and occasional troublemaker, mostly because the yarn moves to the front. Once you do it a few times, it becomes second nature.
1) Move the yarn to the front
For a purl stitch, the yarn should be at the front of your work, between you and the needles.
2) Insert the right needle
Insert the right needle into the first stitch on the left needle from back to front. Your needles still form an X, but the entry is different than a knit.
3) Wrap the yarn
Wrap the yarn around the right needle counterclockwise.
4) Pull through
Pull the wrapped yarn through to the back, creating a new loop on the right needle.
5) Slide the old stitch off
Let the old stitch fall off the left needle. You have made one purl stitch.
Read your knitting
If you learn to recognize what you already made, you will become calmer, faster, and way less likely to accidentally knit when you meant to purl.
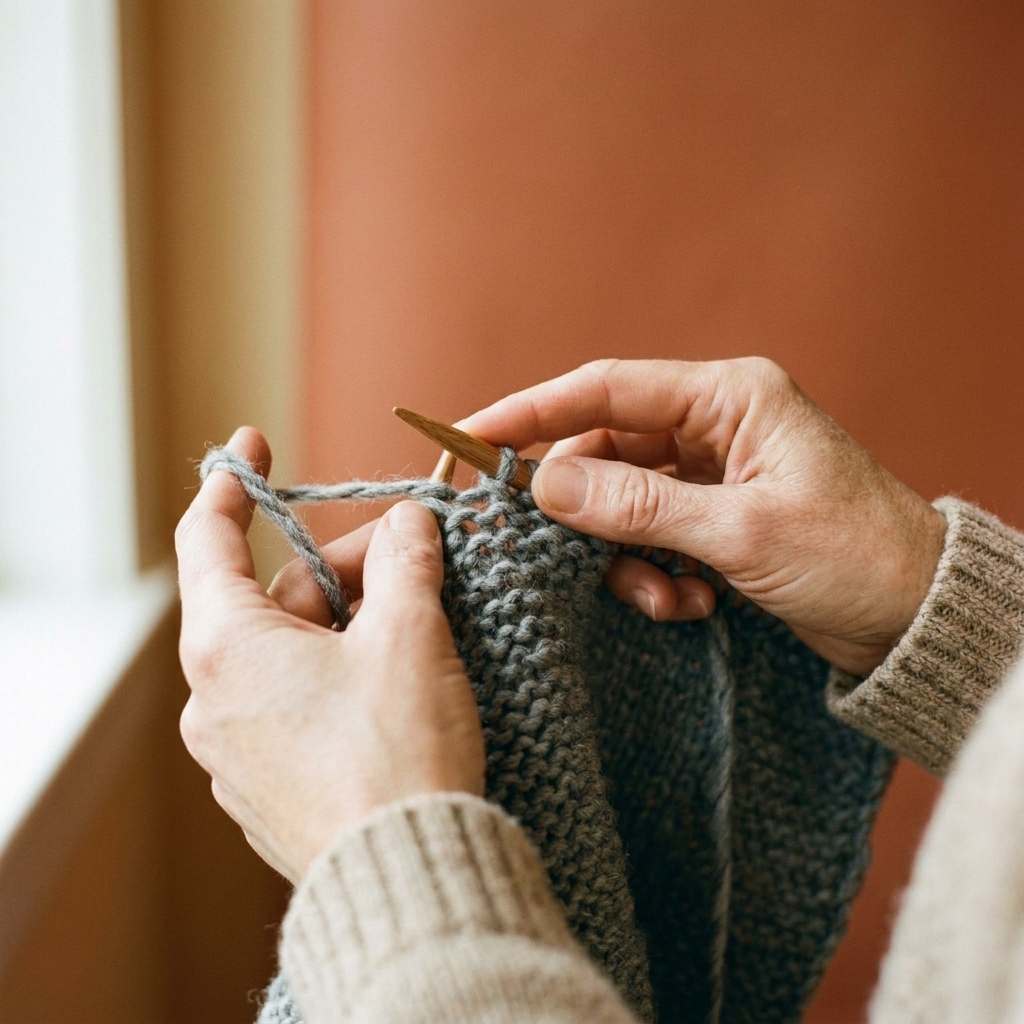
Look for Vs and bumps
- V shapes facing you: You are looking at the knit side of those stitches.
- Bumps facing you: You are looking at the purl side of those stitches.
Check the next stitch
Before you make a stitch, look at the stitch right below it on the needle:
- If you see a V, you are about to knit into a stitch that presents as knit on this side.
- If you see a bump, you are about to purl into a stitch that presents as purl on this side.
This is how knitters follow patterns like k1, p1 without constantly losing their place.
Practice swatches
Swatching is not just for sweater gauge. It is also your low-pressure training ground where mistakes are just… data. Lovely, yarny data.
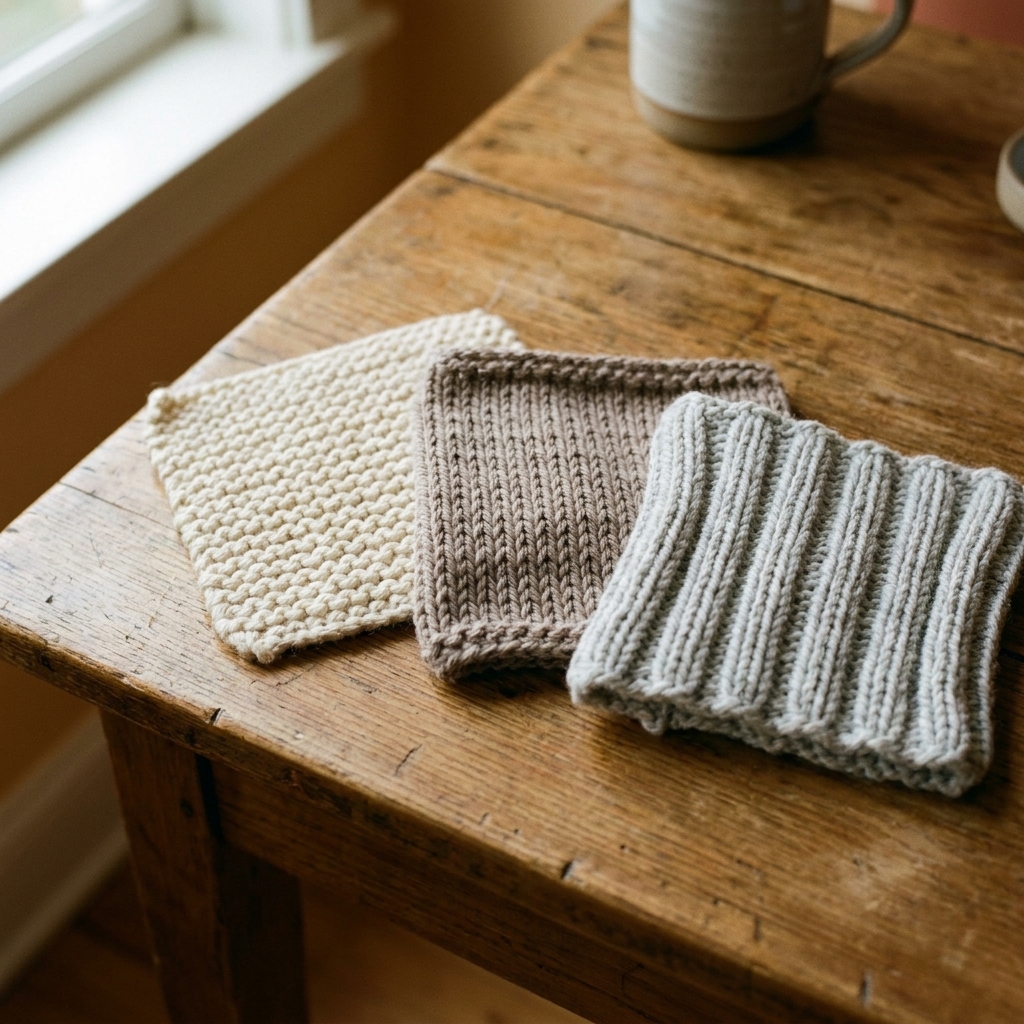
Swatch 1: garter stitch
Cast on 20 stitches. Knit every row for about 20 rows.
- You will get a squishy fabric with ridges.
- This teaches you the knit stitch and helps your tension even out.
Swatch 2: stockinette stitch
Cast on 20 stitches.
- Row 1: Knit across.
- Row 2: Purl across.
- Repeat rows 1 and 2 for about 20 rows.
You will see Vs on one side and bumps on the other. Your swatch will probably curl at the edges. That is normal for stockinette and not a personal failing.
Swatch 3: ribbing (k1, p1)
Cast on an even number of stitches, like 20.
- Row 1: *K1, P1* repeat across.
- Row 2: Knit the knits and purl the purls (use stitch reading).
Ribbing is what you see on cuffs and sweater hems. It stretches and snaps back, very satisfying.
Troubleshooting
My stitches are too tight
- Try using the tips of the needles, not the thickest part, to enter the stitch.
- After each stitch, let it sit on the needle shaft without yanking the yarn snug.
- If it is still painfully tight, go up one needle size for practice. Learning is hard enough without a hand workout.
I keep making accidental yarn overs
This usually happens when the yarn travels between knit and purl incorrectly.
- When switching from knit to purl, bring the yarn between the needle tips to the front.
- When switching from purl to knit, bring the yarn between the needle tips to the back.
If the yarn goes over the needle instead of between them, you can accidentally add a loop.
My purls look messier than my knits
Very common. Many knitters have slightly different tension between knit and purl.
- Keep going. It often evens out after a few inches.
- Try to wrap the yarn the same way each time, and avoid pulling extra tight after purls.
- Blocking (a gentle wash and shape) can also help your stitches relax and look more even.
I dropped a stitch
First, breathe. This is a rite of passage.
- If the dropped stitch is right at the edge, you can usually pick it back up by inserting the needle into the loose loop.
- If it dropped several rows down, you may see a vertical ladder of loose yarn. That can be fixed with a crochet hook, but for now, it is okay to put in a lifeline or gently unravel back to the problem if you are practicing.
Friendly reminder from someone with a slightly out-of-control yarn stash: you do not need perfect stitches to make something wonderful. You just need consistent ones, and that comes with time.
Knit and purl in crochet
This is a Purl Craft home, so yes, we are knitting today, but my crochet heart is still here with you.
In crochet, we do not make knit and purl stitches in the same way, but we can create knit-like and purl-like textures using techniques like:
- Front loop only (FLO) and back loop only (BLO) crochet
- Front post and back post stitches (great for ribbing)
- Tunisian crochet, which creates a fabric that can look wonderfully knit-adjacent
If you are a crocheter learning to knit, you already have the patience and hand coordination. You are simply learning a new tool language.
Pattern shorthand
Most patterns use abbreviations:
k= knitp= purlk2= knit 2 stitchesp2= purl 2 stitchesrep= repeat* *= repeat the instructions between the asterisks
Example: *k1, p1* rep to end means knit one, purl one, then keep repeating that sequence across the row.
FAQ
Is purling just knitting backwards?
In a way, yes. They are mirror stitches. The hand motions are different, but the fabric result is the same stitch viewed from opposite sides.
Why does stockinette curl?
Knit stitches and purl stitches have different natural tension, so stockinette pulls in on itself. Most garments use borders like ribbing, seed stitch, or garter stitch to help edges lie flat.
Should I learn knit or purl first?
Most people learn knit first because it feels more straightforward, then add purl. If you already know crochet, you may find purling clicks quickly too. Either order is fine.
How long does it take to get even stitches?
Usually a few practice swatches. Your hands are learning new muscle memory. Expect your first 30 minutes to feel clumsy. That is not you being “bad at knitting.” That is you being new.
Next steps
Once knit and purl feel comfortable, the next big leap is learning how to switch between them cleanly and how to fix small mistakes without unraveling everything. For now, your homework is delightfully simple: knit a garter swatch, then a stockinette swatch, and let your hands learn the rhythm.
If you want a little permission slip: you are allowed to be a beginner. Every knitter you admire has made lumpy swatches, accidental yarn overs, and at least one scarf that looked like a confused trapezoid. You are in excellent company.