If you have ever walked into a yarn shop (or clicked into an online cart) and felt personally attacked by how many “must-have” tools exist, welcome. I have been making things with yarn for more than 15 years and I still have to remind myself that you do not need a craft store aisle to start. You need a few reliable basics that help you learn comfortably, fix small mistakes, and keep your place.
This checklist covers what I consider the true essentials for beginner knitters and crocheters, with quick notes on sizing, choosing beginner-friendly options, and what can wait until later.
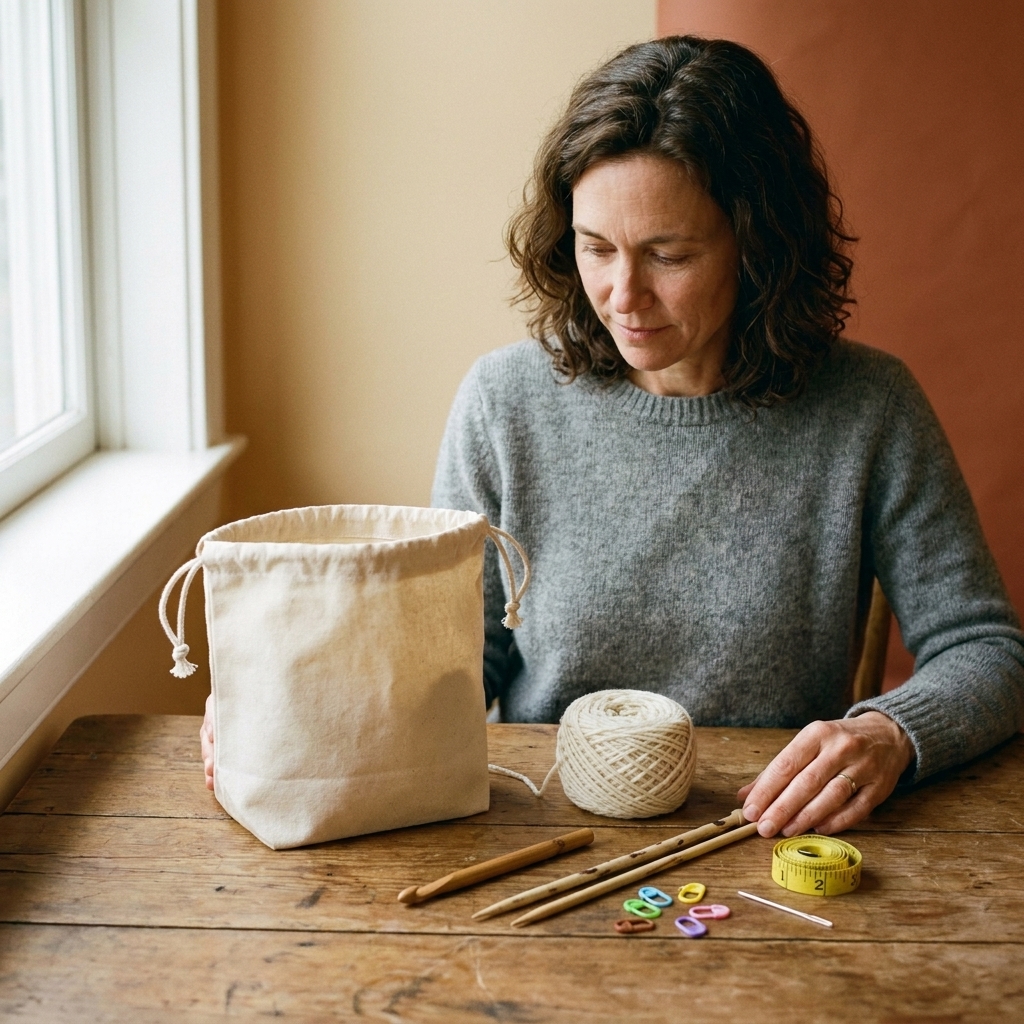
Your kit at a glance
If you want the short version, here is the core bag that will carry you through your first few projects, plus a couple nice-to-haves.
Core essentials
- Yarn (smooth, light color, medium weight)
- One crochet hook that matches your yarn label or pattern
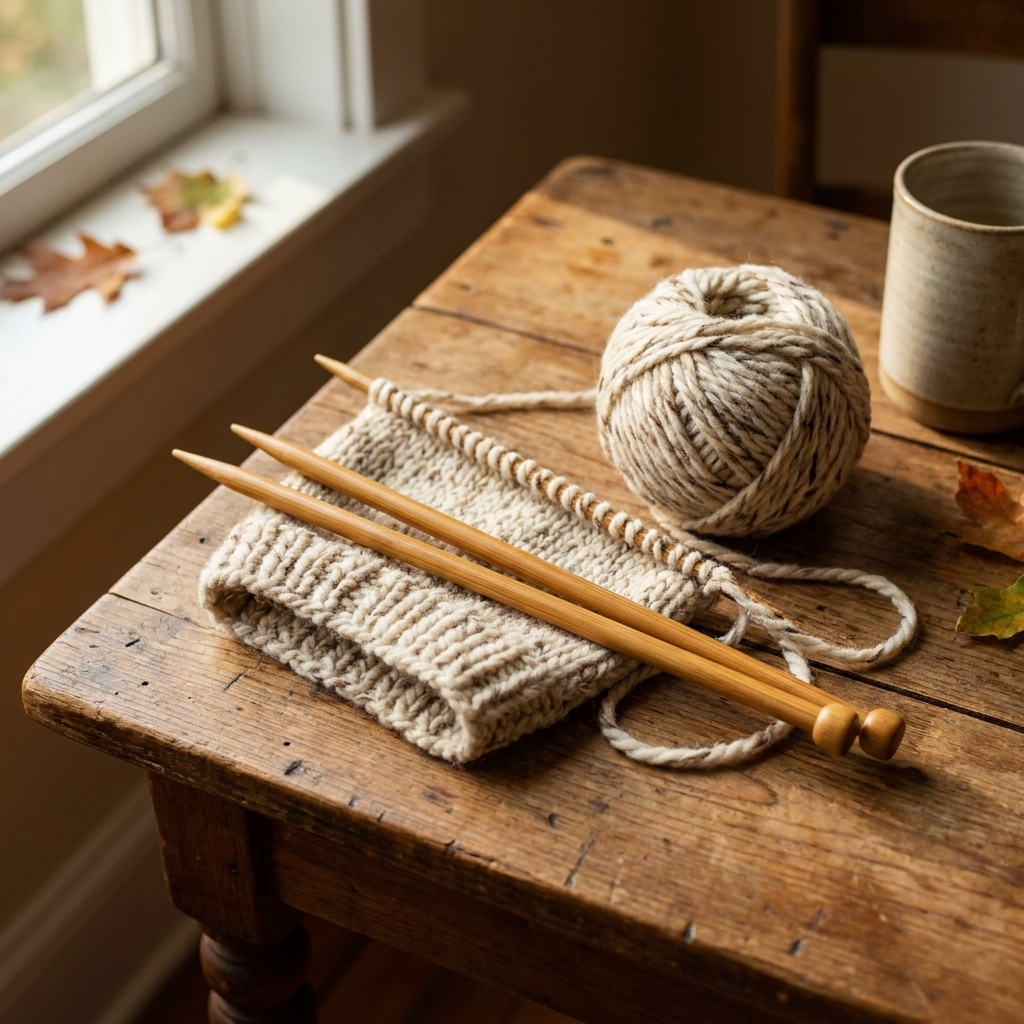
- One pair of knitting needles that matches your yarn label or pattern
- Stitch markers (a few, not fifty)
- Tapestry needle for weaving in ends
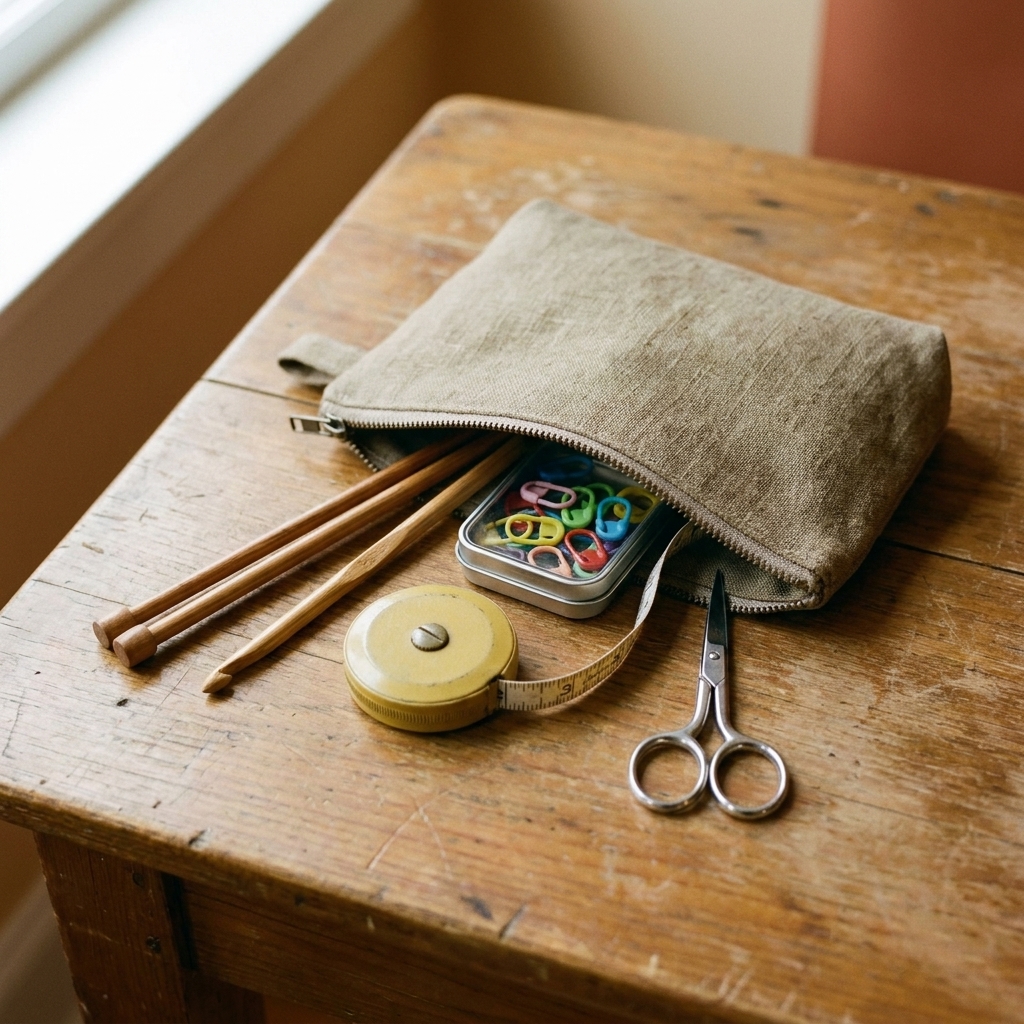
- Small scissors (or yarn snips)
- Tape measure
Nice-to-haves
- Row counter (optional, but sanity-saving for many beginners)
- Small zip pouch to keep notions from disappearing into the bag void
Yarn: the tool beginners underestimate
I know, I know. You came for hooks and needles. But yarn choice can make learning feel either delightfully doable or weirdly impossible.
What to look for
- Medium weight yarn (often labeled worsted or #4) is a sweet spot for learning because it is easy to see and handle.
- Smooth plies (not fuzzy, not novelty, not eyelash) so your hook or needle does not snag.
- Light, solid colors so you can see stitches clearly. Dark yarn is beautiful and also… not a beginner friend.
- A little spring helps. Many beginners like a basic acrylic or a wool blend because it is forgiving.
Also beginner-friendly
If you are having trouble seeing stitches or keeping tension even, bulky (#5) yarn can be an easier on-ramp. It works up faster, and bigger stitches are simpler to read.
Nice-to-know (not required)
If you are sensitive to scratchy wool, choose acrylic, cotton, or a soft wool blend. You can absolutely learn on cotton, but it has less stretch, so tension can feel trickier at first.
Crochet essentials
1) Crochet hooks
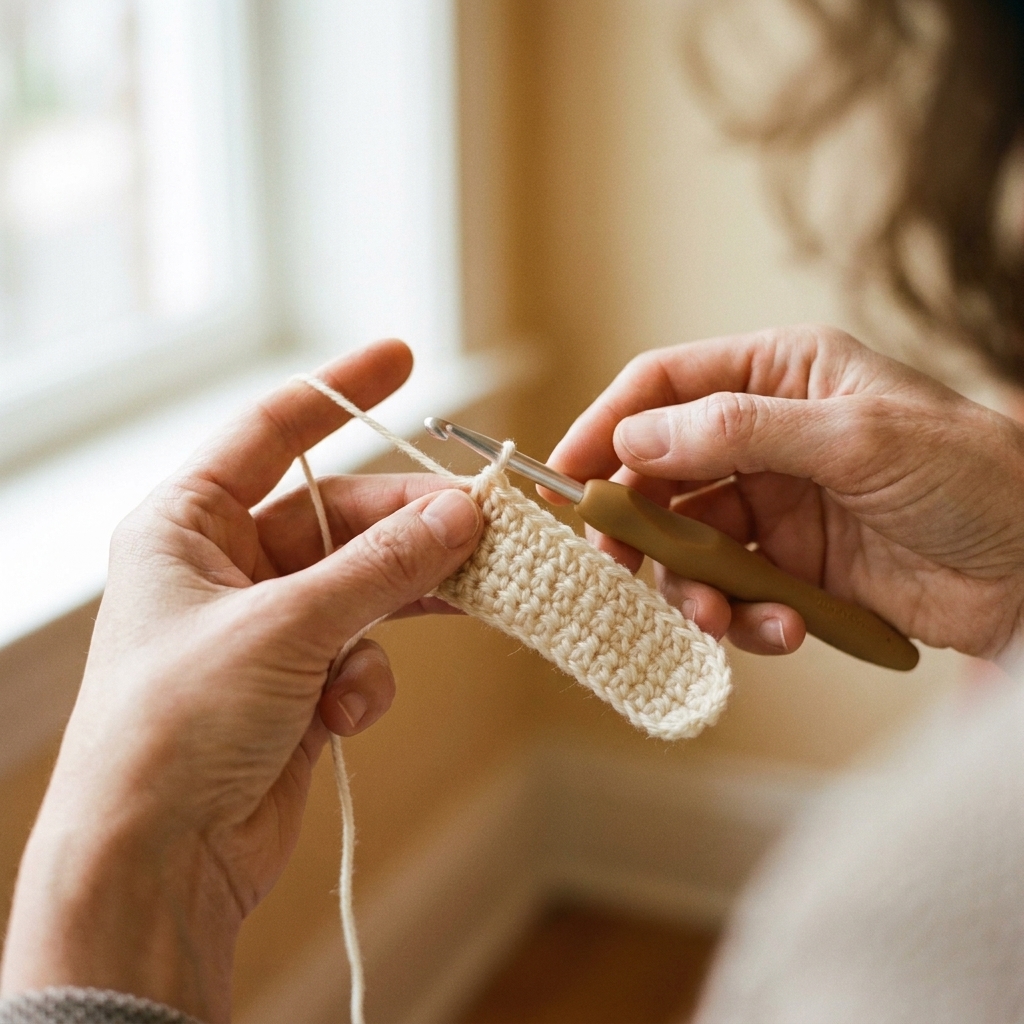
For crochet, your hook is your main tool. Most beginner projects using worsted weight yarn often pair well with something in the 5.0 to 5.5 mm range, but always check the yarn label and your pattern first.
- A common starting point: 5.0 mm, often sold as H/8. Quick heads up: letter sizes can vary slightly by manufacturer, so the millimeter size is the one to trust.
- Best beginner material: aluminum or smooth resin, because yarn glides easily.
- Best beginner shape: an ergonomic handle can reduce hand fatigue, especially if you tend to grip tightly when you are learning.
- How many do you need? Truly, one hook that matches your yarn is enough to start.
2) Stitch markers
In crochet, stitch markers do two very important jobs: they mark your first stitch of the round, and they help you count repeats without losing your mind.
- For crochet, choose: locking or clip style markers, because you can open and move them easily.
- Beginner tip: put a marker in the first stitch of every row or round until you feel confident finding it on your own.
3) Tapestry needle
When you finish a project, you will have yarn tails. A blunt-tip tapestry needle helps you weave those tails into the fabric neatly and helps avoid splitting fibers (some yarns are determined to be splitty anyway).
- Get two sizes if you can: one with a larger eye for thicker yarn and one smaller for smoother, tighter fabric.
- Metal or plastic? Either can work. What matters most is a smooth finish and a sturdy needle that will not bend or snag.
4) Scissors or yarn snips
Any small sharp scissors work. If you travel with your project bag, choose something compact and keep it in a little pouch so it does not poke holes in your yarn (ask me how I know). If you fly, check your airline and airport rules, or swap in something travel-friendly like nail clippers.
Knitting essentials
1) Knitting needles
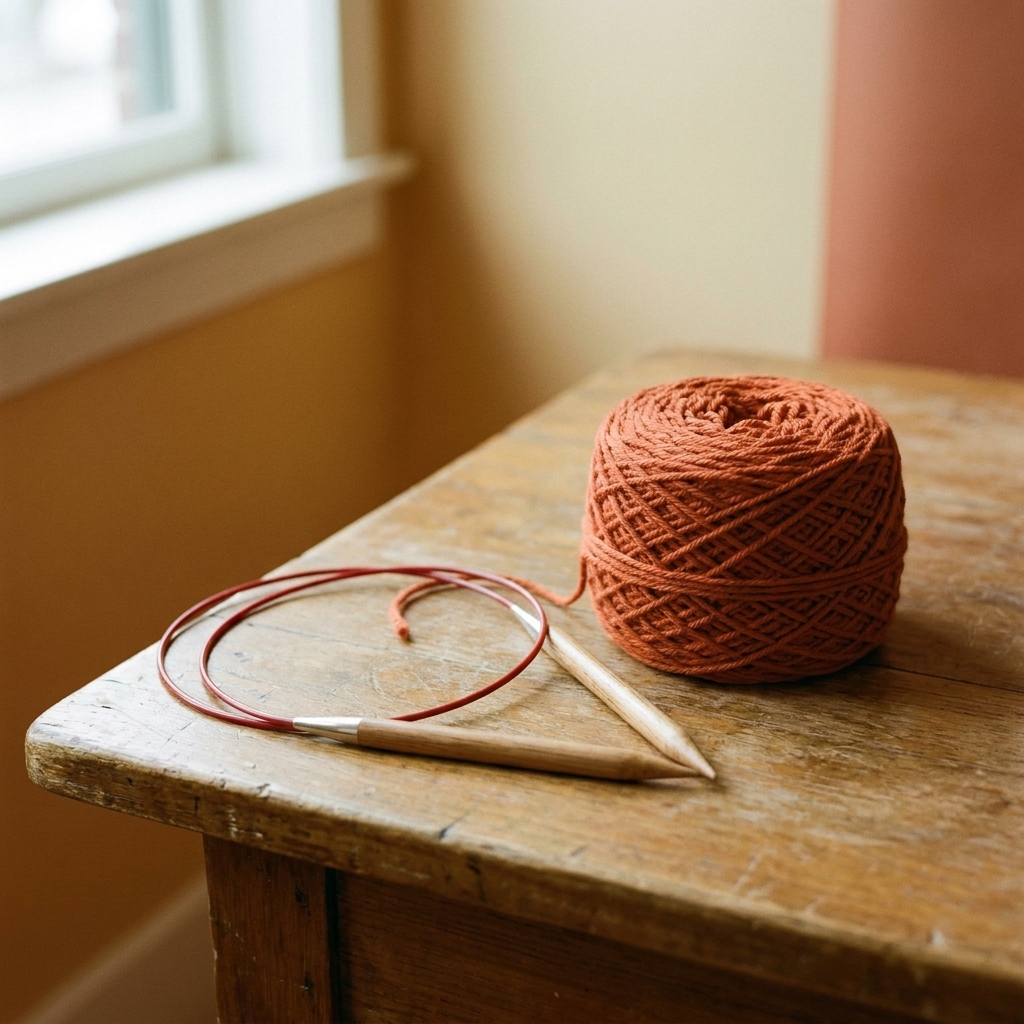
Needles come in straight, circular, and double-pointed. Beginners often do best with either straight needles for simple flat pieces or circular needles because they hold stitches securely and can be used flat or in the round.
- A great beginner size: US 8 (5.0 mm) is common for worsted weight yarn, but follow your yarn label and pattern.
- Best beginner material: bamboo or wood can feel less slippery and help prevent stitches from sliding off. Metal is speedy, but can feel “too fast” at first.
- Circular needle tip: choose a smooth cable join. A snaggy join is a frustrating way to spend an evening.
2) Stitch markers
In knitting, stitch markers help you track repeats, mark raglan lines, separate pattern sections, and keep your place when life interrupts your stitching (which it will, because laundry exists).
- For knitting needles: use closed ring markers that slip onto the needle.
- For quick fixes: keep a couple locking markers too. They are handy for pinning a spot in your fabric.
3) Tapestry needle
Same tool, same purpose. Knitting also requires weaving in ends, and you will be so glad you have a tapestry needle the first time you bind off and realize you have two tails waving at you.
4) A simple way to keep count
Knitting has a lot of “do this 24 more times” energy. Counting tools help.
- Row counter: a clicker counter is easiest.
- Low-tech option: a scrap of paper and a pencil, or a notes app. Zero shame. I still do this when I cannot find my clicker, which is often because my yarn stash has strong hiding skills.
Tools both crafts share
1) Tape measure
Even if you are making something small, measuring is how you learn fit and sizing. A soft tape measure is best for wearables and gauge swatches.
2) A small notebook
Beginners learn faster when they jot down what worked. Record things like hook or needle size, yarn used, and any pattern changes you made. Future-you will be thrilled.
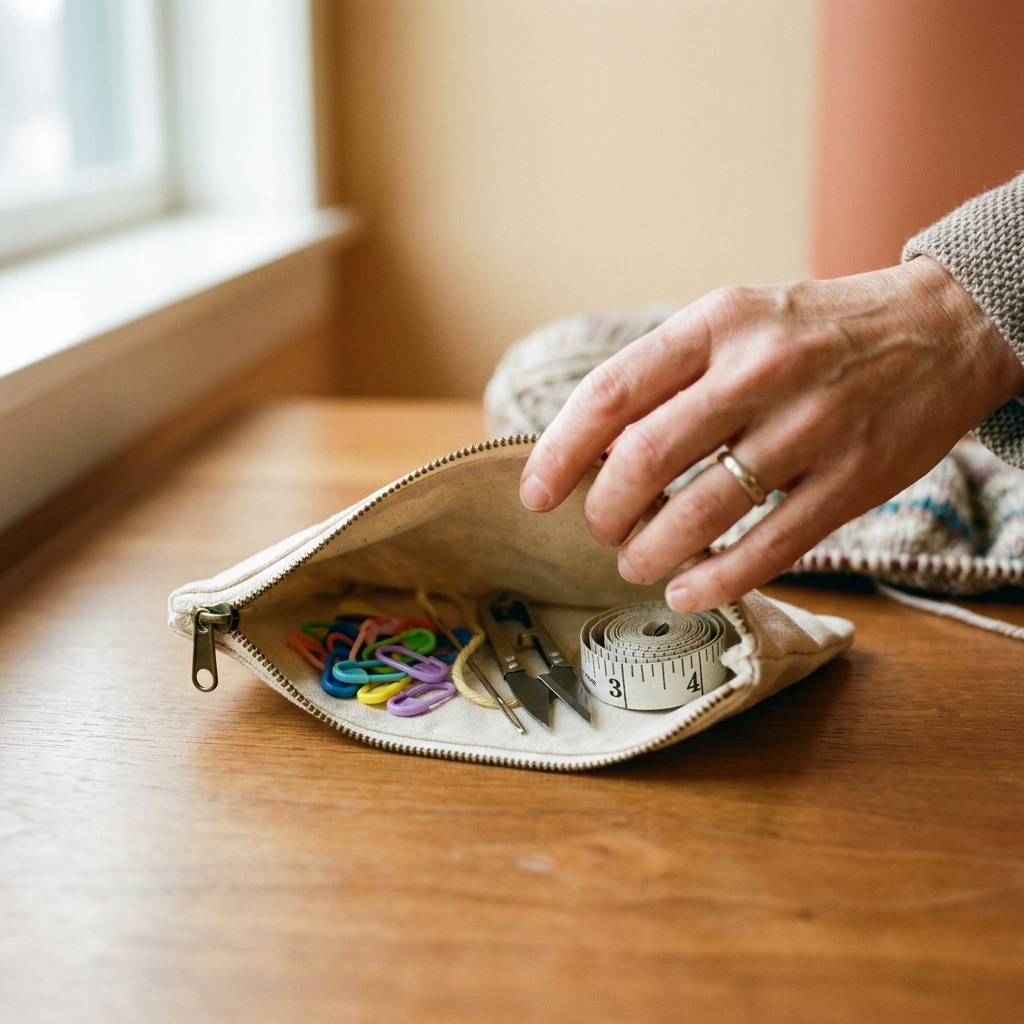
3) A notions pouch
This is the secret weapon that keeps tiny tools from vanishing. A simple zip pouch is perfect for stitch markers, needles, and snips.
4) Optional: a gauge tool
If you knit or crochet often, a little needle gauge or hook gauge can help you identify mystery tools that lose their size markings over time. This is not required on day one, but it is a nice upgrade.
Beginner-friendly extras
Small rescue helpers
- Crochet: a second hook one size smaller can help you pick up stitches or fix edges.
- Knitting: a small crochet hook is amazing for rescuing dropped stitches. Knitters, you are allowed to borrow crochet tools. I give you full permission.
- Waste yarn: keep a short length of smooth scrap yarn on hand. It can act as a simple “lifeline” to hold stitches if you need to rip back without panic.
- Point protectors: little caps that keep stitches from sliding off knitting needles in your bag.
Comfort items
- Hand cream (non-greasy) if your hands get dry from yarn friction.
- A good light at home, especially if you find it hard to see stitch definition.
What to skip at first
It is easy to overbuy when you are excited. Save your budget for yarn you love and tools you will actually use.
- Huge hook and needle sets: wonderful later, overwhelming at the start.
- Blocking mats and wires: helpful for lace and polished finishes, not necessary for your first scarf, hat, or dishcloth. If you want to try blocking anyway, you can often get a big improvement with a towel and a few pins.
- Fancy project bags: a tote you already own works perfectly.
- Every gadget labeled “time-saving”: if it confuses you, it is not saving time.
Choosing hook and needle sizes
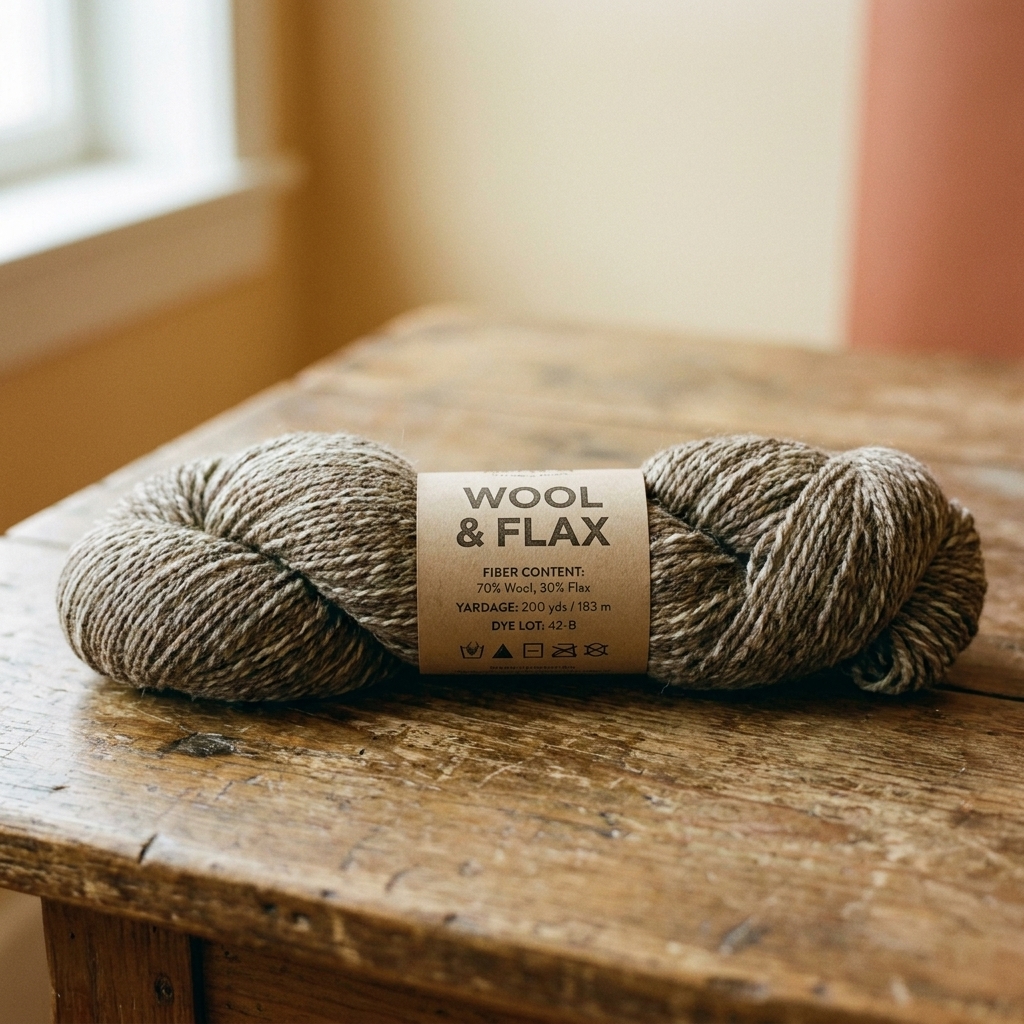
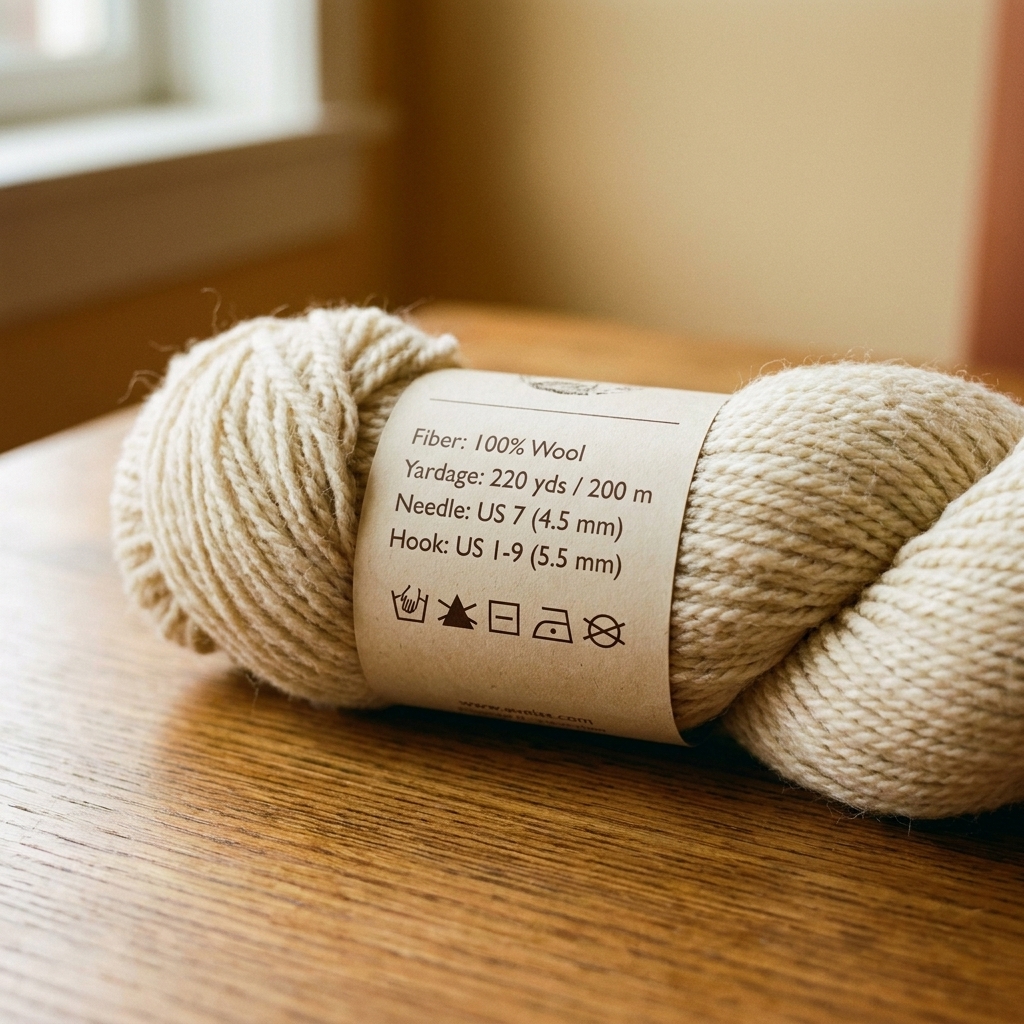
If you are following a pattern, use the size it recommends. If you are just starting without a pattern, use the yarn label as your guide.
- Crochet: the label suggests a hook size range. Start in the middle of that range.
- Knitting: the label suggests a needle size range. Start in the middle of that range.
Then remember the most freeing truth in yarn craft: those sizes are a suggestion. If your fabric feels stiff and tight, go up a size. If it looks holey and loose, go down a size. That is not you “doing it wrong”. That is you learning your personal tension.
One more term you will see everywhere: gauge. It simply means how many stitches and rows you get in a set measurement (often 4 inches/10 cm). Gauge matters most for wearables and anything that needs to fit. For scarves, dishcloths, and practice swatches, it is mostly a learning tool.
Quick FAQ
Do I need different stitch markers for knitting vs crochet?
Ideally, yes. Knitting markers often need to slide onto the needle, so closed rings are great. Crochet markers are best when they clip on and off, so locking markers shine. If you only buy one type first, get locking markers. They work for both, even if they are not perfect for every knitting situation.
What is the difference between a tapestry needle and a sewing needle?
A tapestry needle is usually blunt with a bigger eye, designed for yarn. A sewing needle is sharp and can split yarn fibers and snag your fabric.
Do beginners need circular needles?
No, but they are very versatile. You can knit flat on circular needles, and they hold stitches securely, which is comforting when you are learning.
What is the most important “tool” for beginners?
A smooth, medium weight yarn in a light color (or bulky if you need bigger stitches), plus a hook or needles that match. If you can see your stitches clearly, everything gets easier.
Pack your bag and start
If you take nothing else from this list, take this: you are allowed to start small. One hook or one pair of needles, a tapestry needle, a few markers, scissors, and yarn that makes you happy is more than enough.
And if you drop a stitch, miscount a row, or accidentally crochet a shape that looks suspiciously like a potato, you are in excellent company. Every maker you admire started exactly where you are, with a little pile of tools and a big pile of curiosity.