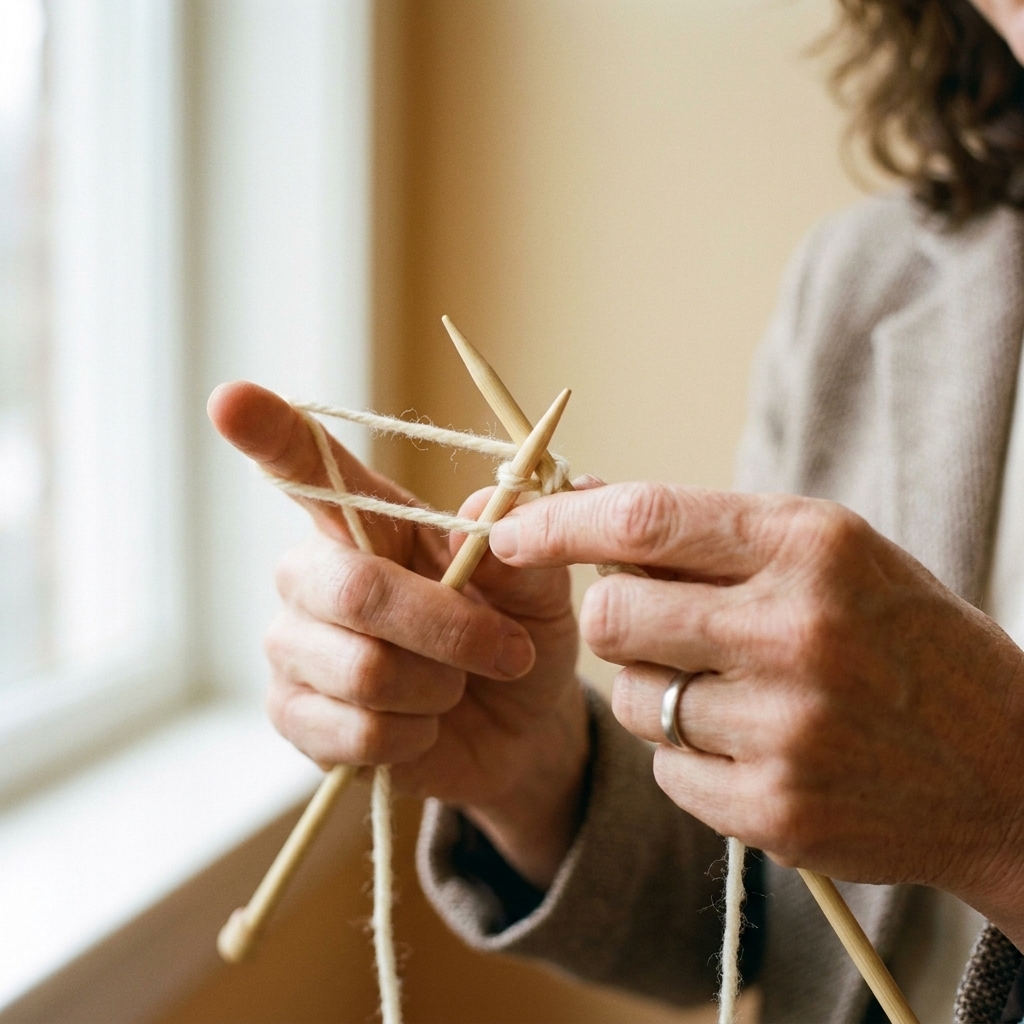
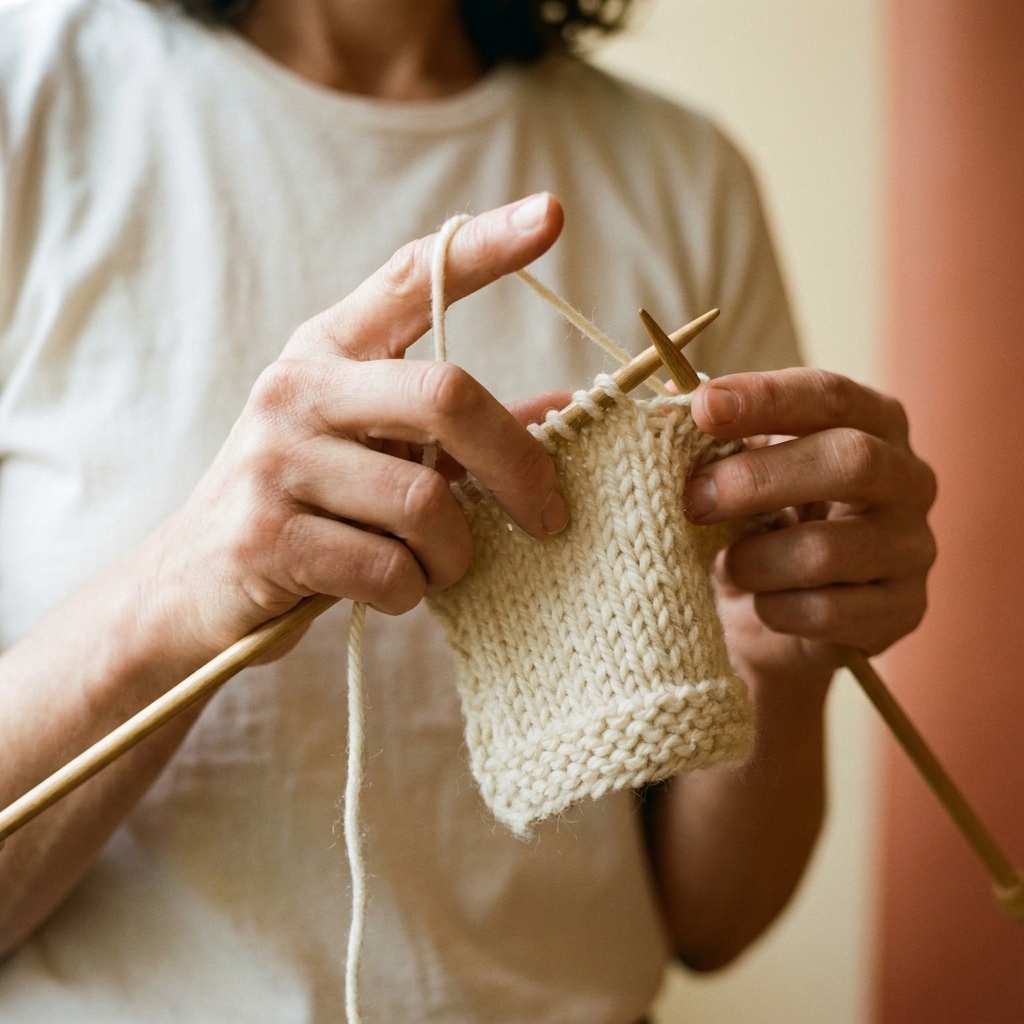
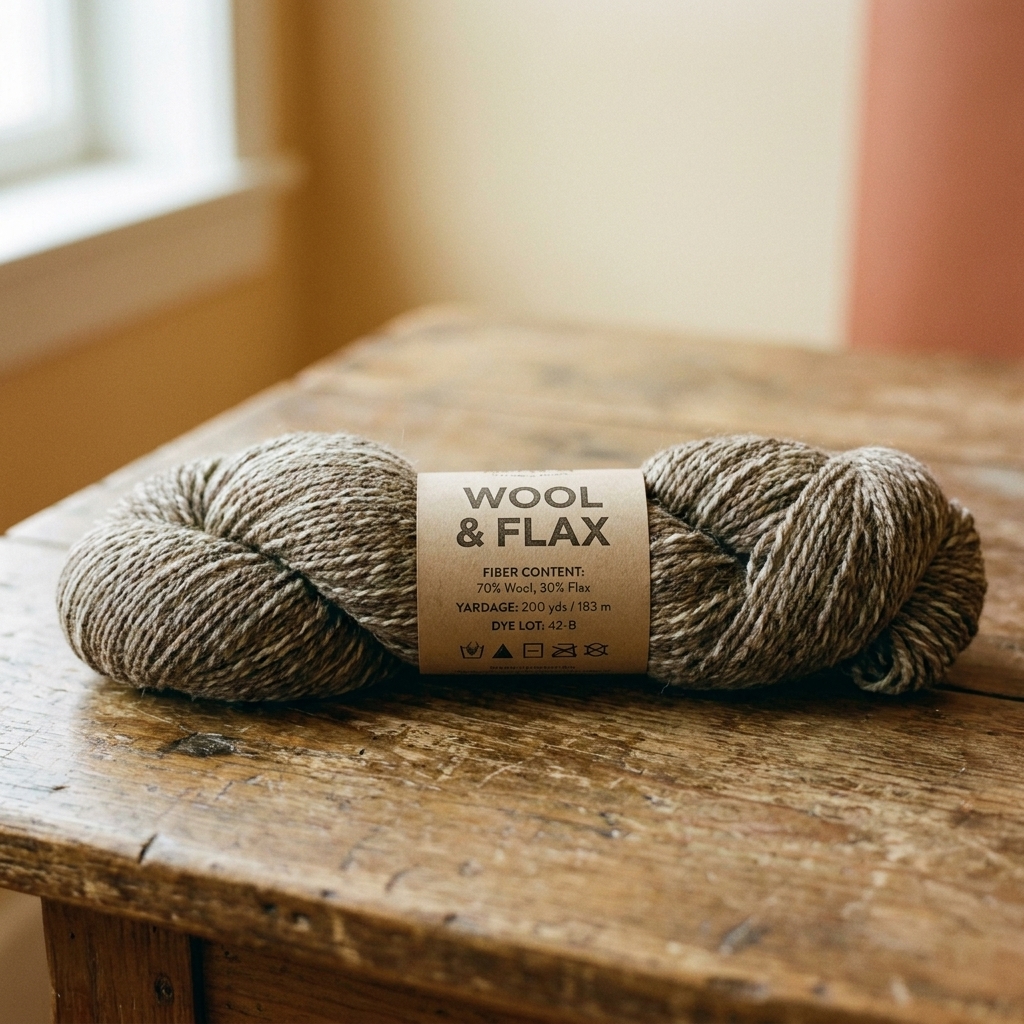
There is a moment in every new knitter’s journey when you have the yarn, the needles, the big cozy dream… and then you hit the first hurdle: getting those very first loops onto the needle. If cast-on feels like a secret handshake you somehow missed, you are in excellent company. I taught elementary school for years, and I can tell you this with total confidence: if the first step feels confusing, it is the instructions, not you.
In this guide, we are going to walk through the three easiest cast-on methods for beginners. I will show you exactly how to do each one, when to choose it, and how to avoid the most common “why is this so tight” frustrations.

Quick picking guide
If you want the short answer before we dive into the steps, here is how I suggest choosing:
- Backward loop cast-on: Fastest to learn, great for very first practice and quick starts, but can be uneven and tight.
- Knitted cast-on: Super beginner-friendly, tidy edge, no measuring a tail, and it teaches you the knit motion right away.
- Long-tail cast-on: My go-to for most projects. Neat, widely used, and moderately stretchy. The only tricky part is estimating tail length.
Now let’s make friends with each one.
Before you cast on
What you need
- Yarn (smooth, light color is easiest for learning)
- Knitting needles that match the yarn label recommendation
- Scissors
- A little patience and maybe a warm drink
Two tips that prevent most cast-on drama
- Relax your grip. Most tight cast-ons come from gripping the yarn like it is trying to escape your house. It is not.
- Cast on over two needles if you cast on tightly. Hold two needles together as if they are one, cast on around both, then slide one needle out. This creates more room in each loop.
Teacher tip: When something feels fiddly, slow down and exaggerate the motions. Big movements are easier to understand. Speed comes later.
How to count cast-on stitches
Count the loops sitting on your needle, not the tail. Each stitch looks like a little V wrapping over the needle. If your count seems off by one right away, the slip knot is usually why (more on that below).
1) Backward loop cast-on
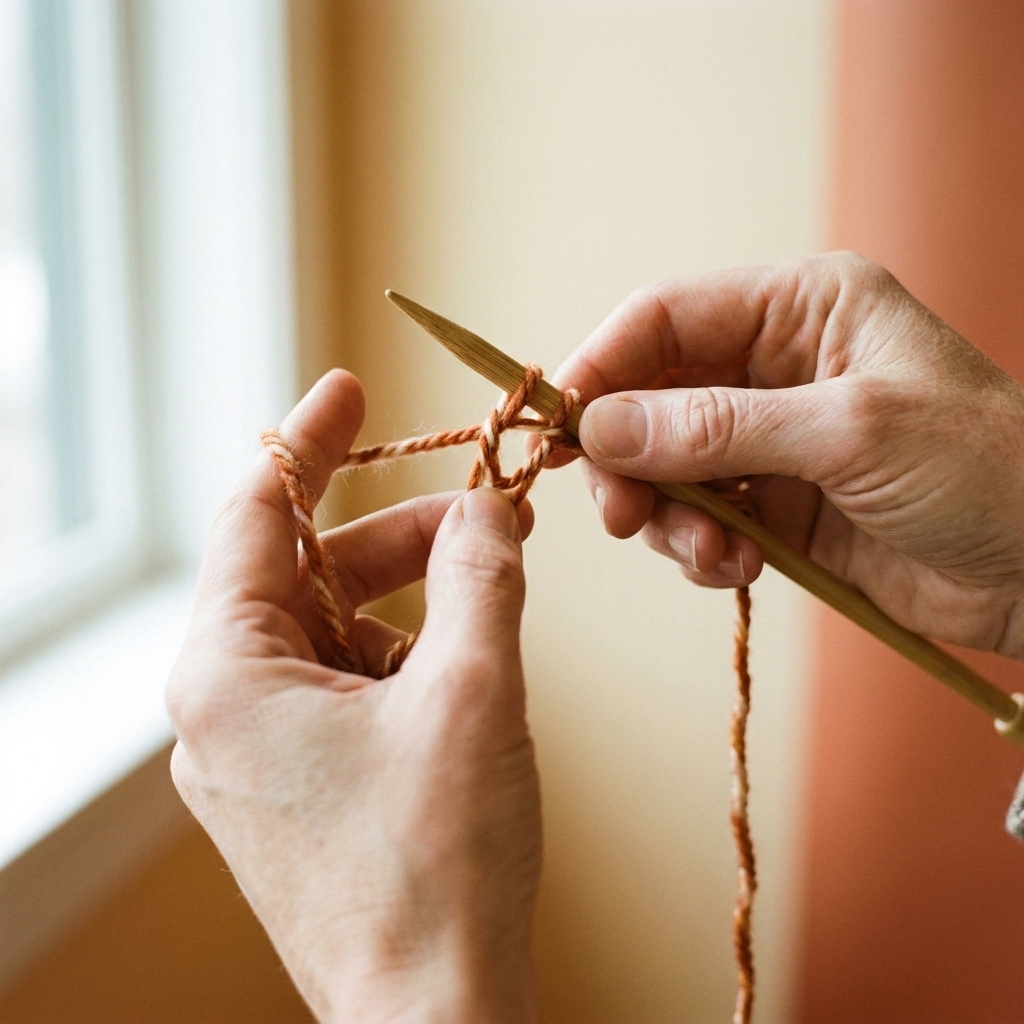
You may also see this called the e-loop or thumb cast-on. It is often the first cast-on beginners learn because it is quick and uses only your hands and one needle. It is totally fine for practice swatches or projects where the cast-on edge will not be under stress. The tradeoff is that it can create uneven stitches and it tends to tighten up on the needle if you pull too hard.
Best for
- First-time practice
- Quickly adding a few stitches mid-project (in a pinch, but knitted or cable cast-on often looks cleaner)
- Simple scarves where perfection is not the goal
Not my first choice for
- Hat brims, cuffs, or anything that needs a consistently stretchy edge
- Projects where a neat, even edge really matters
Step-by-step
1. Make a slip knot. Leave a tail of about 6 to 8 inches. Place the slip knot on your needle and snug it gently. Do not crank it down.
2. Hold the needle in your right hand. Let the working yarn (the yarn attached to the ball) fall over your left hand.
3. Make a loop with the working yarn. Use your left hand to bring the yarn around to form a loop, like a pretzel shape without the drama.
4. Place the loop on the needle. Put that new loop onto the needle so it sits like a normal stitch, with the strand that continues to the ball running along the back of the needle.
5. Tighten gently. Pull the working yarn just enough that the loop hugs the needle, then stop. Repeat until you have the number of stitches you need.
Quick check: If your new stitch looks twisted or feels weirdly tight, flip the loop on the needle so the running strand sits at the back, then try again with a softer tug.
2) Knitted cast-on
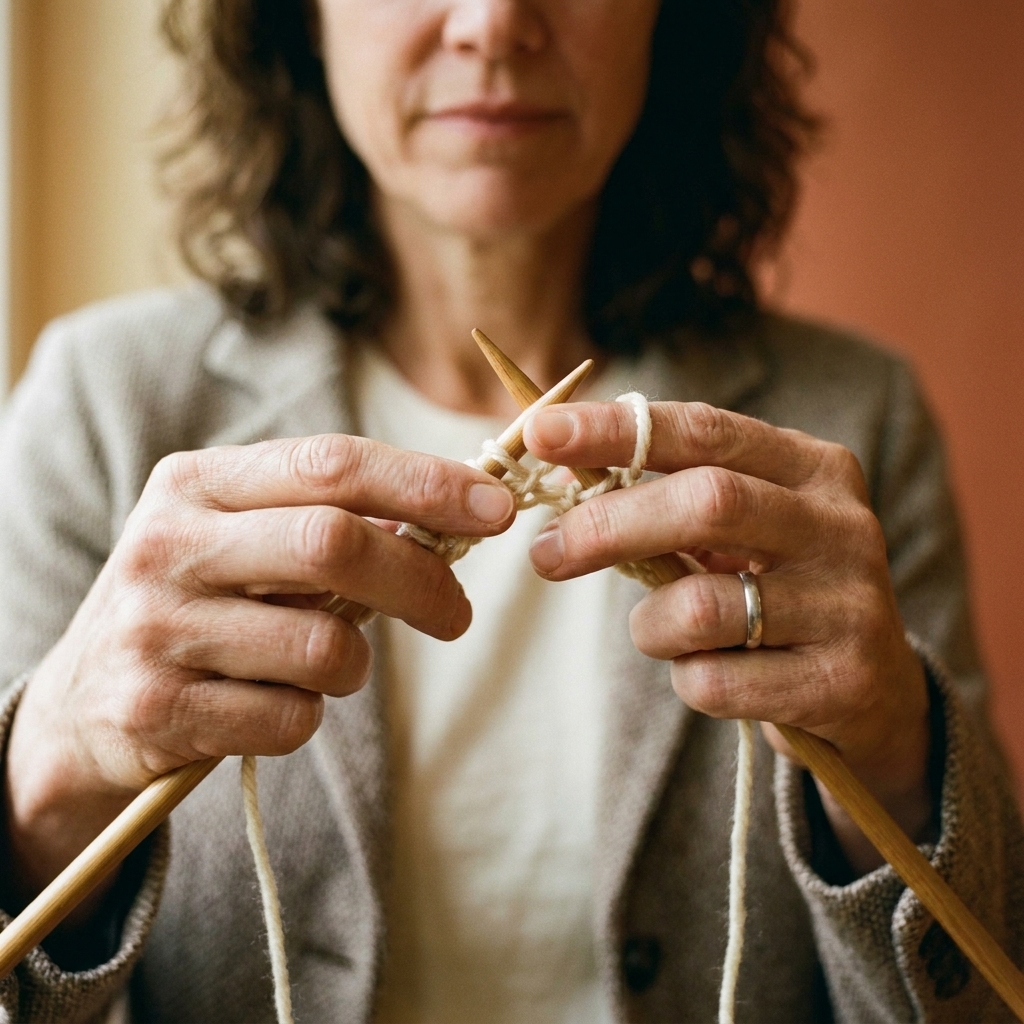
You may also see this called the single cast-on. If you can learn one cast-on that feels logical, this is it. The knitted cast-on uses the same motion as making a knit stitch, so you are learning two foundational skills at once. It creates a tidy edge and the tension is usually more even than backward loop.
Best for
- Beginners who want something stable and simple
- When you do not want to estimate tail length
- Adding stitches at the beginning of a row
Step-by-step
1. Make a slip knot. Put it on your left needle.
2. Insert the right needle knitwise. Put the right needle into the slip knot as if you are going to knit.
3. Wrap the yarn as for a knit stitch. Bring the working yarn between the needles and over the right needle tip, the same way you would to make a knit stitch.
4. Pull up a loop. Draw the loop through, but do not slide the old stitch off the left needle.
5. Transfer the new loop to the left needle. Move that new loop onto the left needle by inserting the left needle tip into it from front to back. Now you have one more cast-on stitch.
6. Repeat. Keep inserting the right needle into the last stitch on the left needle, wrap, pull up a loop, and transfer.
Left-handed note: If you knit left-handed, swap the hand directions. The idea stays the same.
3) Long-tail cast-on
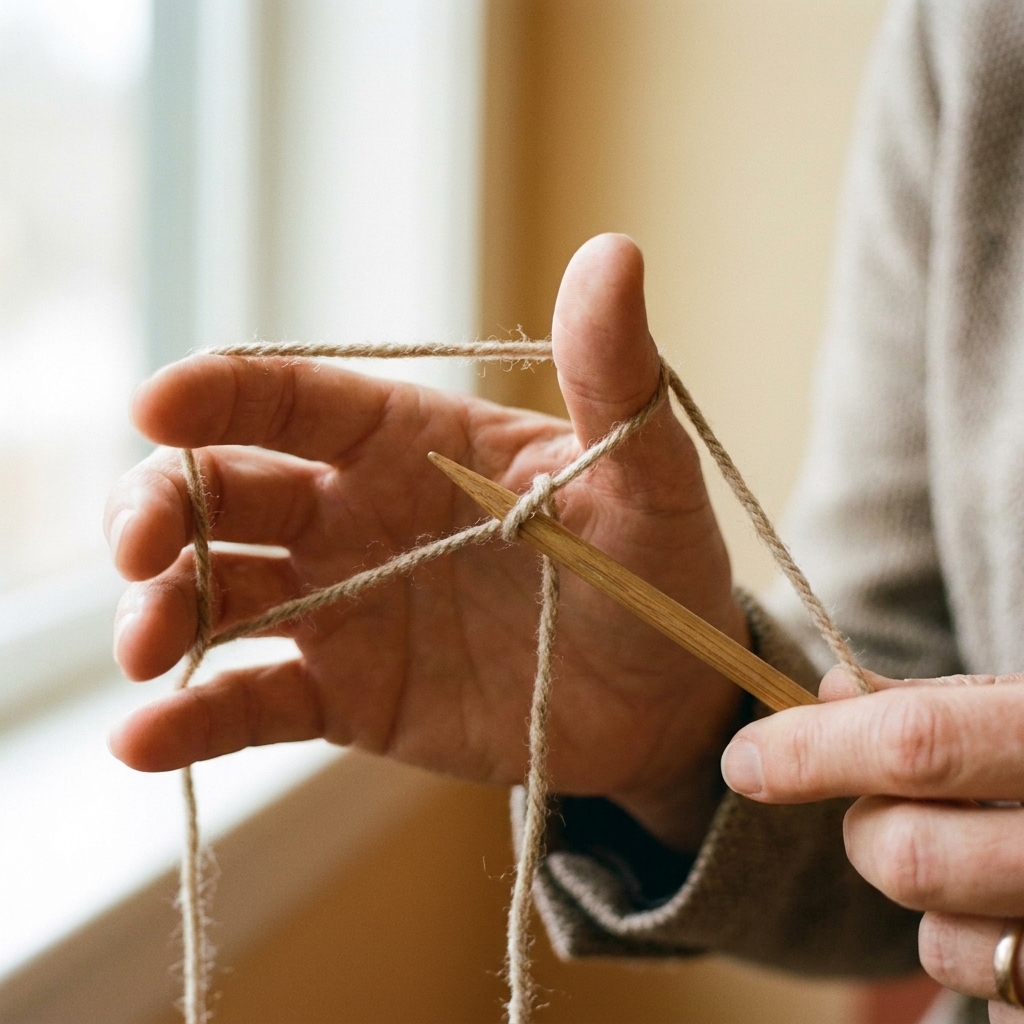
Long-tail cast-on is popular for a reason. It is neat, it has a nice balance of stretch and structure, and it looks great. The only beginner-unfriendly part is the setup, because you need to leave a tail that is long enough to cast on all your stitches.
Best for
- Most first projects: scarves, blankets, dishcloths, simple garments
- Edges that need a balance of stretch and structure
- A clean, professional-looking start
How to estimate tail length
- The wrap method: Wrap yarn around your needle about one wrap per stitch, then add an extra 6 to 8 inches. Unwrap and cast on using that length as your tail.
- Very rough rule of thumb: Many worsted-weight yarns use roughly 3 to 4 inches per 10 stitches, plus extra for weaving in. Needle size and your cast-on tension can change this a lot, so treat it like a starting guess, not a promise.
Step-by-step
1. Make a slip knot. Leave your estimated long tail. Place the slip knot on your needle and snug it gently.
2. Position your hands. For right-handed knitting: hold the needle in your right hand. With your left hand, drape the tail over your thumb and the working yarn over your index finger, creating a V shape. Hold both yarn ends in your palm with your other fingers. Lefties: swap hands.
3. Scoop the thumb strand. Bring the needle tip down and under the strand on your thumb, moving from front to back inside that thumb loop.
4. Catch the index strand. Swing the needle up and over the strand on your index finger, catching it.
5. Return through the thumb loop. Pull that caught yarn back down through the thumb loop.
6. Drop the thumb loop and tighten. Let the loop slip off your thumb, then gently pull the tail to snug the stitch against the needle. Aim for “hugging the needle,” not “strangling the needle.”
7. Repeat. Keep the V shape consistent as you work.
Tension help
The most common beginner issue is a cast-on edge that is too tight to knit into. If that is happening, try these fixes:
- Cast on with a larger needle size. Use one needle size larger for the cast-on, then switch back for row 1.
- Cast on over two needles. Especially helpful for backward loop and long-tail.
- Do not “set” each stitch by yanking. Snug is enough. Your needle is the size template for the loop.
- Spread your stitches out occasionally. After every 10 stitches, slide them along the needle and check that they move freely.
Common questions
Does the slip knot count as a stitch?
It depends on the pattern and the knitter. Some instructions count it, some do not, and both camps have reasons. The safest move is this: after you cast on, count the loops on your needle and make sure it matches the pattern’s number. If your stitch count is off by one, the slip knot is usually the culprit.
My stitches look uneven. Is that normal?
Completely. Your hands are learning new movements, and consistency comes with repetition. Long-tail and knitted cast-on usually even out faster than backward loop.
Which cast-on is stretchiest?
Among these three, long-tail usually gives the best combination of stretch and structure. If you eventually knit hats and socks, you might explore even stretchier options later, but long-tail is a wonderful everyday cast-on.
What if I run out of tail during long-tail cast-on?
It happens. To keep your sanity intact, pull it out and try again with a longer tail using the wrap method. There are ways to join yarn mid-cast-on, but for beginners, restarting is often faster and neater.
Practice plan
If you want a simple way to build confidence, here is a low-pressure practice routine:
- Cast on 20 stitches with backward loop, then pull it out.
- Cast on 20 stitches with knitted cast-on, knit 2 rows, then pull it out.
- Cast on 20 stitches with long-tail cast-on, knit 4 rows, then bind off.
Keep that tiny swatch. It is proof that you are learning. Also, it is a great little “before” piece to look back on when you are cranking out your first wearable and wondering if you have improved. You have.
My recommendation
If you are choosing just one to start with, learn the knitted cast-on first because it reinforces the knit stitch and does not require tail estimation. Then add long-tail as your everyday “most patterns use this” cast-on. Keep backward loop in your toolbox as the quick-and-simple option, especially for early practice.
And if your first cast-on looks a little lumpy or your tension is wonky, welcome to the club. That is not failure. That is literally what learning looks like. Your yarn and I are both on your side.