Consistent crochet tension is not about having “naturally perfect hands” (mine absolutely did not come that way, and my yarn stash can confirm I practiced a lot). It comes from two things you can control right now: how you hold the hook and how you feed the yarn. In this guide, I will walk you through a few beginner-friendly holds, how to set your yarn path, and the tiny adjustments that make your stitches look calm and even.
What good tension means
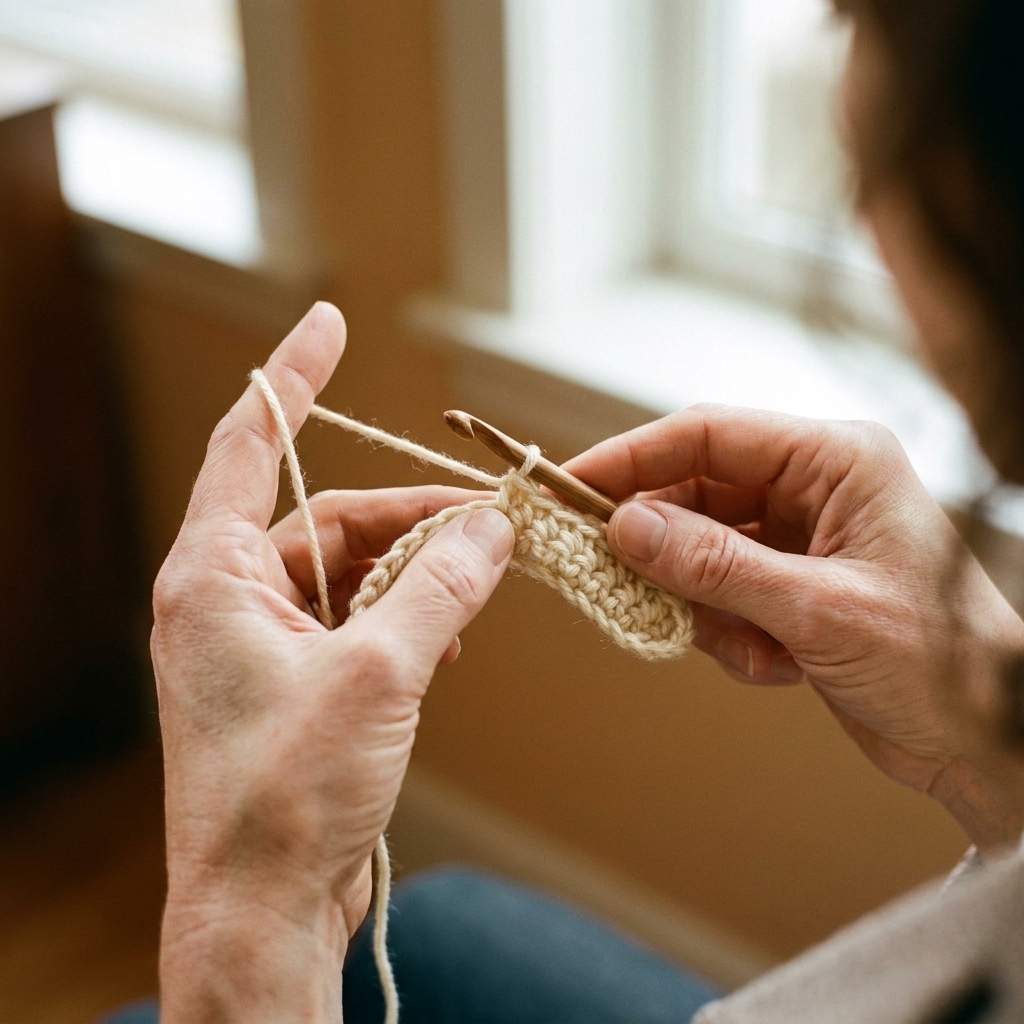
When crocheters say “tension,” we are talking about how tightly you pull the working yarn as you form each loop. “Perfect” tension is not one exact tightness. It is consistent tension that matches your pattern’s gauge and creates even stitches.
- Too tight: the hook fights you, stitches look pinched, your hands tire quickly, and it is hard to insert the hook into the next stitch.
- Too loose: stitches look lacy or uneven when they should not, the fabric feels floppy, and your loops may slide up the hook shaft unpredictably.
- Just right: the hook glides, each loop is similar in size, and the fabric drapes the way the pattern intends.
The goal is not “death grip” control. The goal is a repeatable routine your hands can do for 20 minutes or two hours without drama.
Quick setup
In my experience, a small setup check fixes most beginner tension issues before they start.
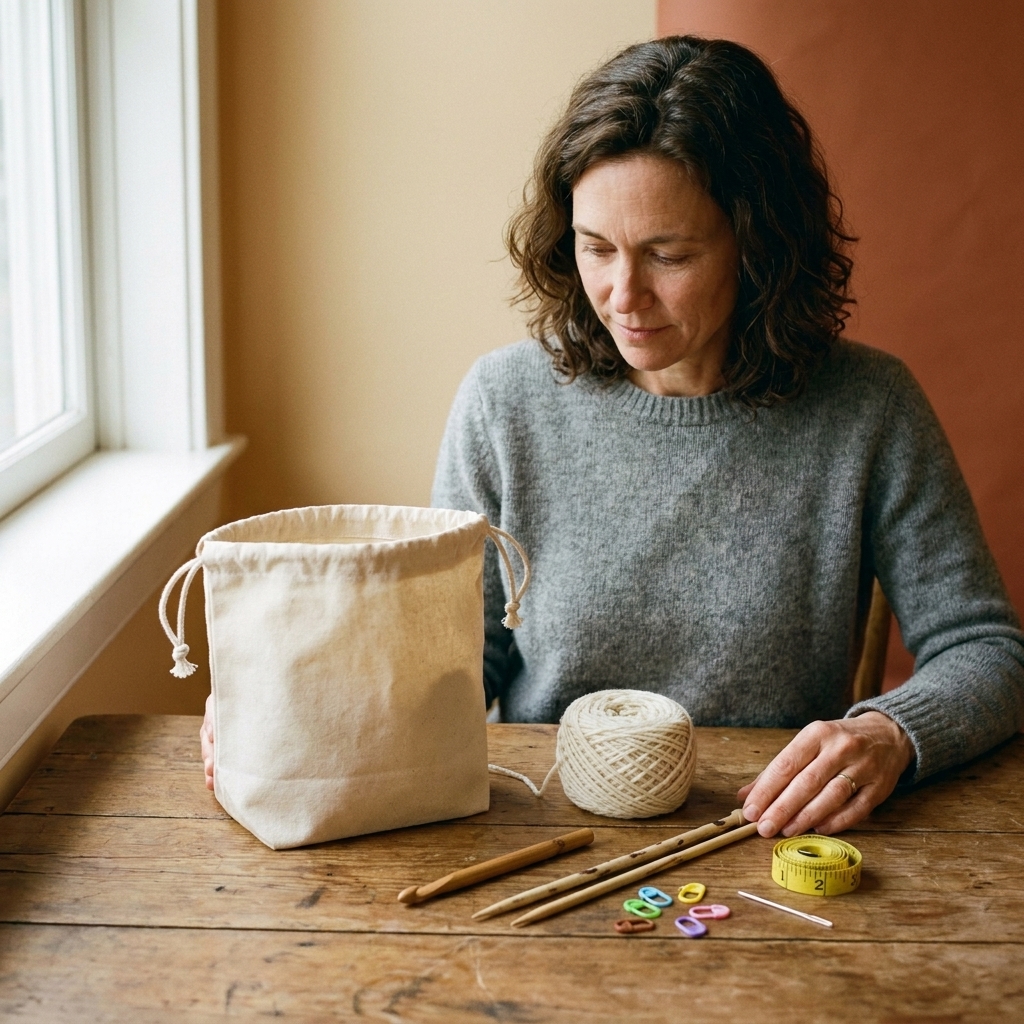
Pick a friendly hook and yarn
If you are brand new (or rebuilding your tension), practice with:
- Medium yarn (worsted weight) in a light color so you can see stitches.
- A slightly larger hook than you think you need, especially if you crochet tight. Many people find they relax quickly when they size up by 0.5 mm to 1 mm. Just remember: changing hook size also changes gauge.
- A comfortable hook material: many people find ergonomic or soft-grip hooks reduce strain and make it easier to loosen their hold.
Let the hook shaft size the loop
A very common cause of uneven tension is sizing loops on the tip of the hook instead of the shaft. After every yarn over and pull-up, gently slide the loop back to the thickest part of the hook before you pull through. That widest part is what matches the hook size printed on your handle, and it helps your loops stay consistent.
Make yarn feed smooth
If your yarn jerks and stops, your tension will, too. If you can, pull from a center-pull ball or cake, or let the skein unwind freely from the outside. A yarn bowl or project bag can help the yarn feed steadily (and keep it from rolling under the couch at the worst possible moment).
How to hold the hook
There is no single “correct” hold. The best hold is the one that gives you control without pain. Try these two classic options for a few minutes each and see what feels natural.
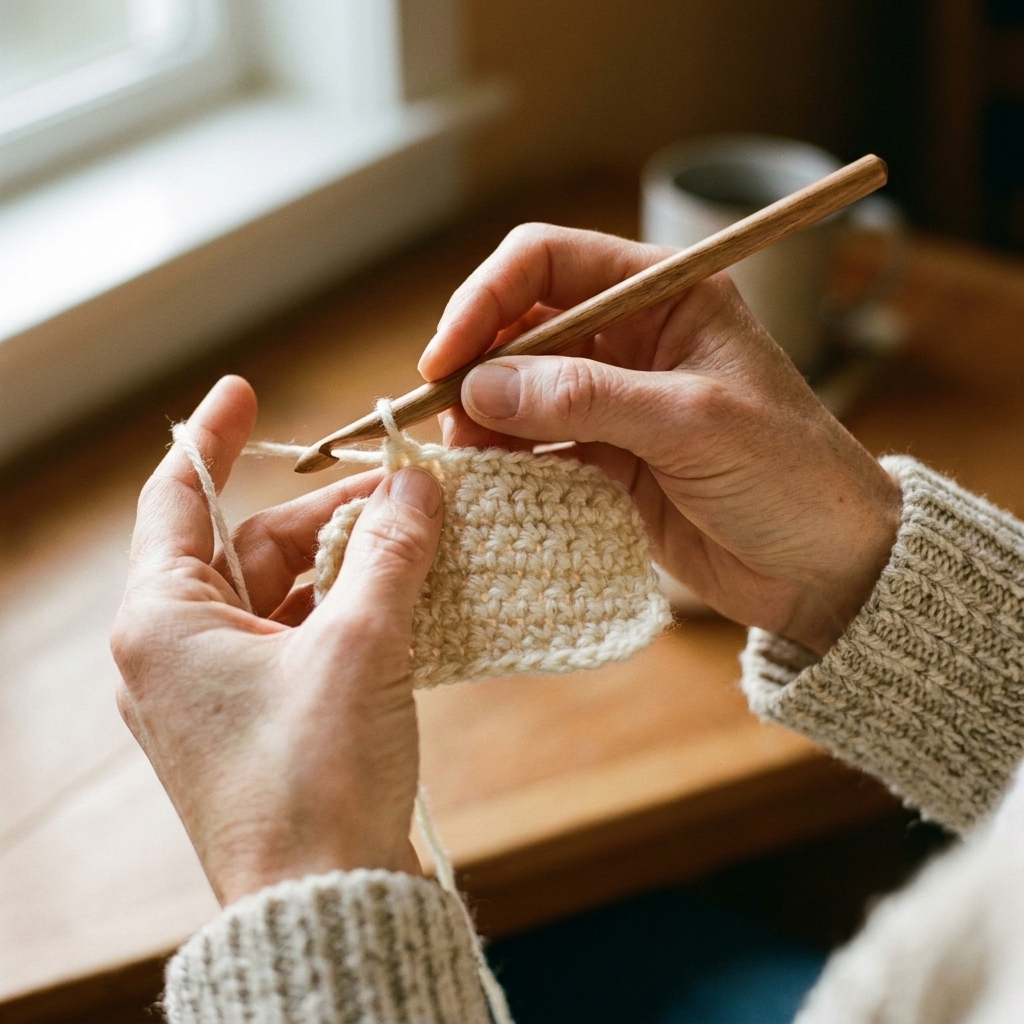
Pencil grip
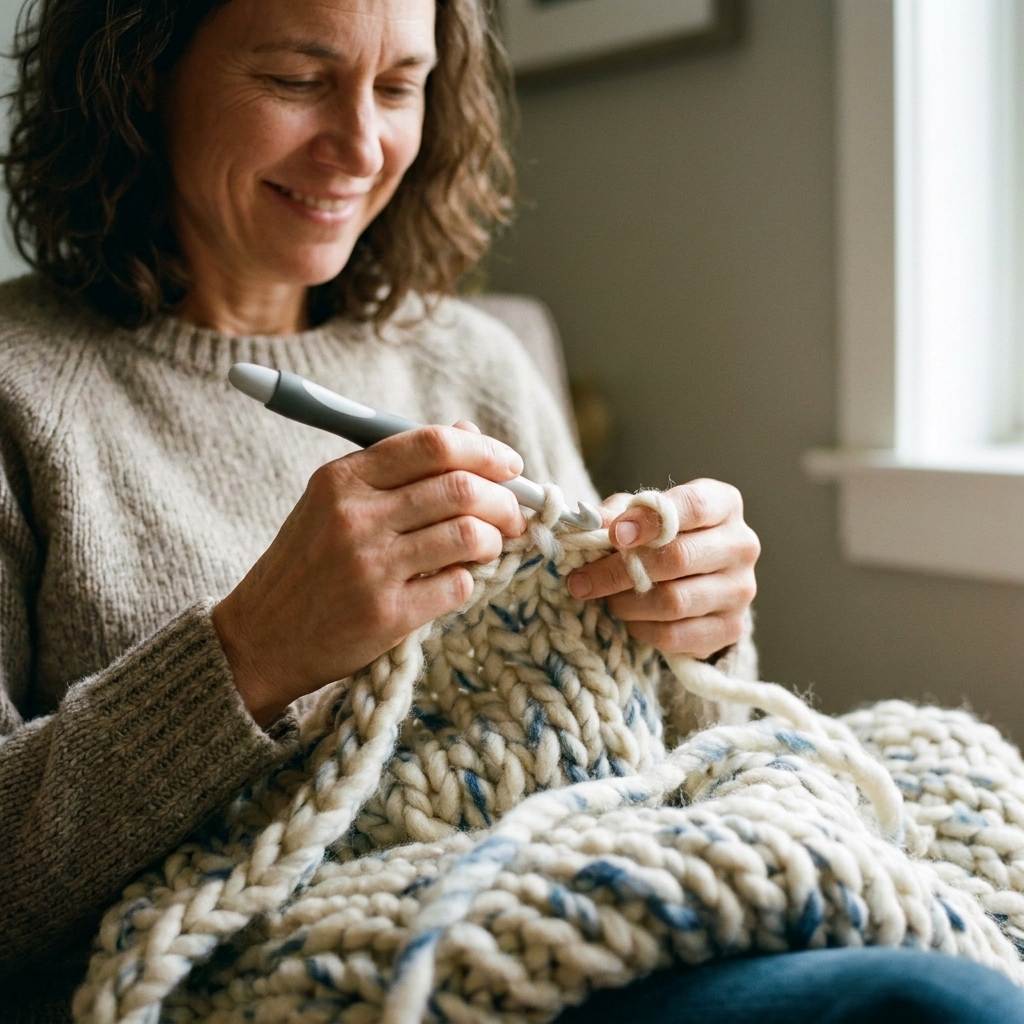
This looks like holding a pencil for writing.
- Rest the hook handle against your palm.
- Pinch the hook gently with your thumb and index finger.
- Let the middle finger support underneath for stability.
Why beginners like it: it can feel precise, especially for smaller stitches and amigurumi.
Watch for: clenching. A quick cue: you should be able to wiggle your fingers, and your knuckles should not be turning white.
Knife grip
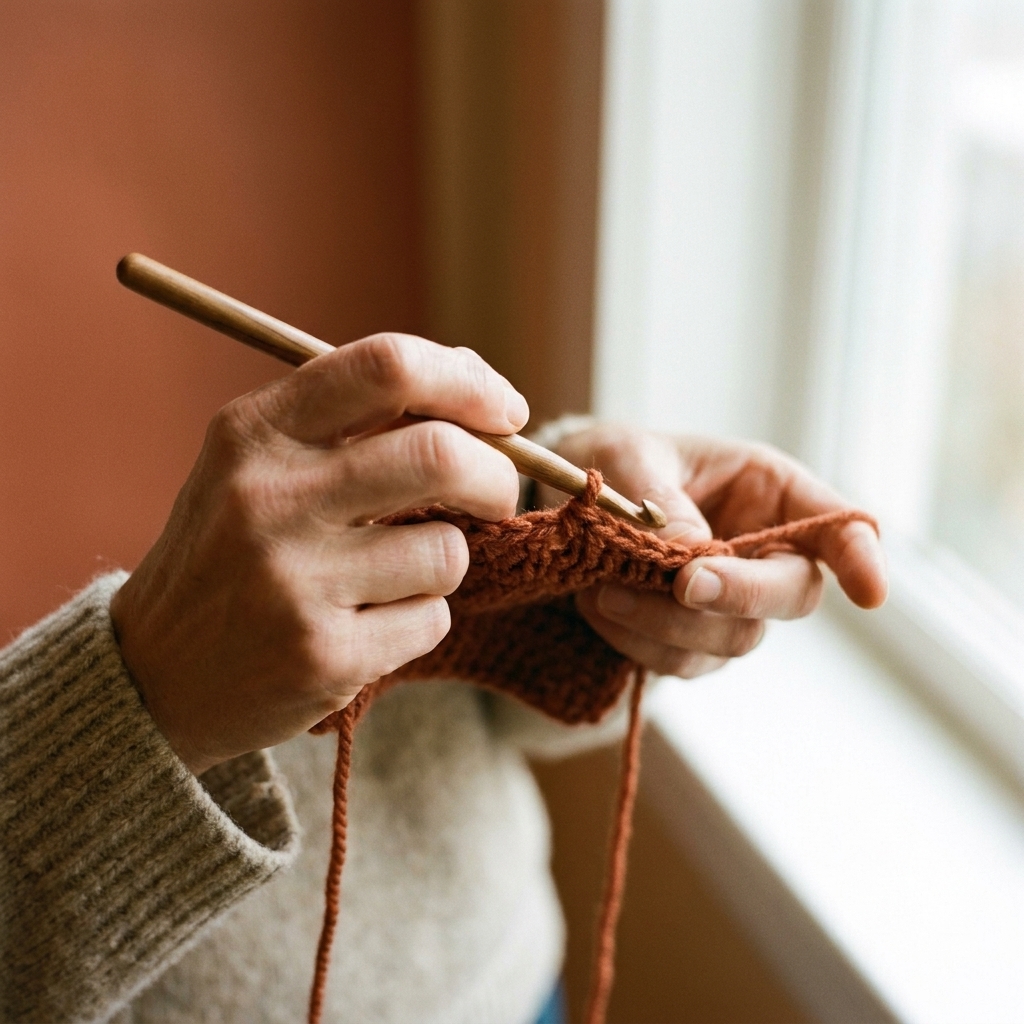
This looks like holding a butter knife for spreading toast.
- Wrap your fingers around the hook handle.
- Rest your thumb along the top or slightly to the side for guidance.
- Keep your wrist neutral, letting your fingers and forearm do most of the motion.
Why beginners like it: it often feels powerful and relaxed for longer sessions, especially with thicker yarns.
Watch for: over-rotating your wrist. If your wrist is doing big “stirring” motions, try making smaller movements from your fingers instead.
A small tweak
Where you place your thumb and index finger matters. For better control, pinch closer to the flat thumb rest (if your hook has one) or closer to the hook’s throat, not way back on the handle.
Then, soften your grip by one level. Another easy cue: your hook should not feel like it is trying to escape, but it also should not feel locked in a fist.
How to hold and feed the yarn
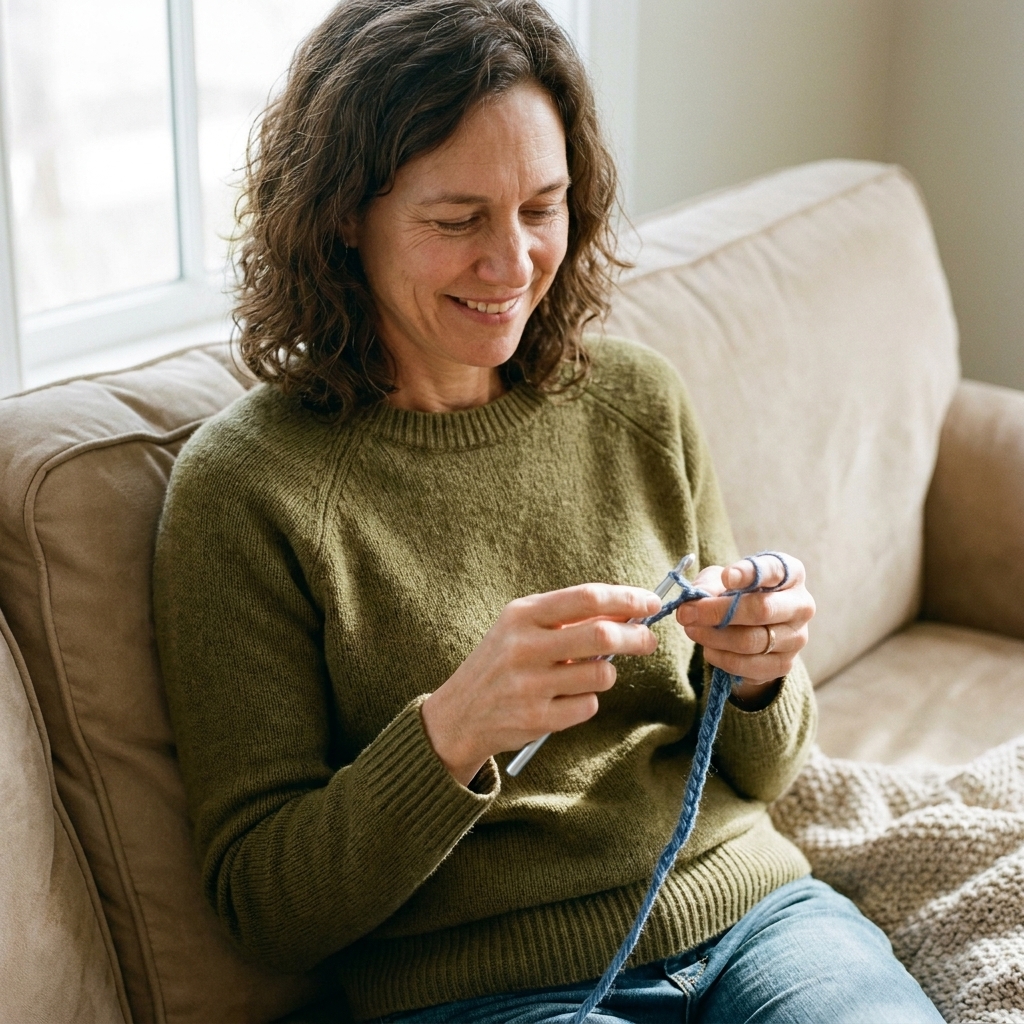
Your hook hand forms the stitch. Your yarn hand controls the flow. If your yarn hand is inconsistent, your stitches will be inconsistent, even if your hook technique is strong.
Pick your yarn hand
If you are right-handed, you usually hold the hook in your right hand and tension yarn with your left. If you are left-handed, you will likely do the opposite. Everything below works either way. Just swap sides.
Build a yarn path
You want the yarn to travel the same route every time so it feeds smoothly. Here are three beginner-friendly paths, from least controlled to most controlled.
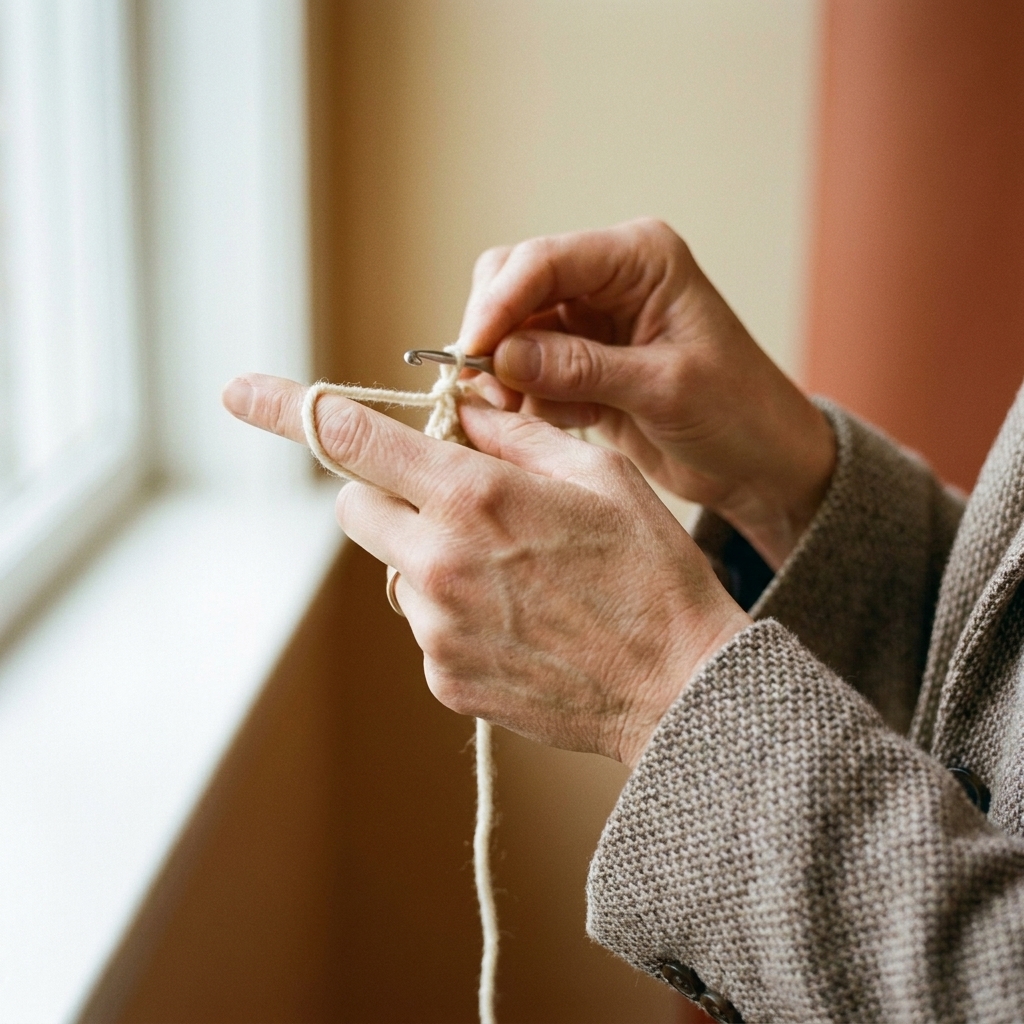
Path A: Over the index finger
- Lay the working yarn across your non-dominant palm.
- Bring it up and over your index finger.
- Hold the project lightly with your thumb and middle finger.
Best for: brand-new crocheters who tense up easily.
Path B: Under one finger, over the index
- Bring the yarn under your pinky or ring finger. Pick one and use it consistently.
- Then bring it over your index finger.
- Pinch the fabric with your thumb and middle finger.
Best for: a little more control without feeling “trapped” by yarn wraps.
Path C: Under two fingers, over the index
- Weave the yarn under your pinky and ring finger.
- Bring it across the palm and up over the index finger.
- Pinch the fabric with thumb and middle finger.
Best for: slippery yarns and anyone whose tension tends to run loose.
Index finger tip: aim for “slightly lifted, not rigid.” Think of it as a smooth little bridge that stays about the same height as you work.
Pinch and pivot
If tension had a best friend, it would be the pinch point. This is where your yarn hand holds the fabric right under the stitch you are working into.
How to do it
- Use your thumb and middle finger to pinch the fabric just below the active stitch.
- After you complete a stitch or two, slide your pinch fingers forward.
- Keep your index finger acting like a “yarn bridge” that the yarn glides over.
Why it works: your fabric is stable, so your hook can enter stitches at the same angle each time, and your yarn feeds with less tugging.
Gauge basics
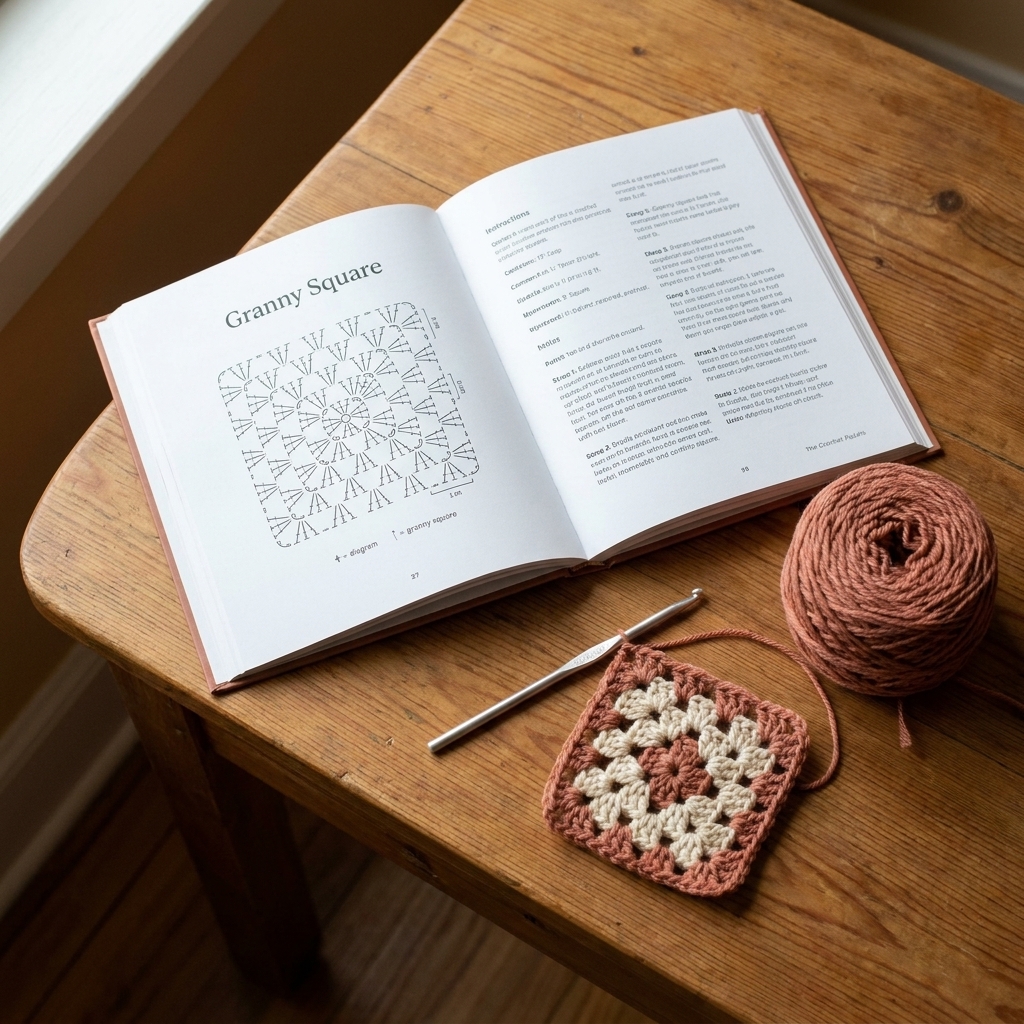
Tension is not just about pretty stitches. It affects size. That is why patterns list a gauge, usually something like “X stitches and Y rows = 4 inches.”
- Make a small swatch in the stitch pattern the project uses (not just a chain).
- Measure after the fabric relaxes. For wearables or anything that will be washed, it helps to wash and dry the swatch the same way you will treat the finished item, then measure.
- If you have more stitches per inch than the pattern, your tension is tighter. Try a larger hook.
- If you have fewer stitches per inch than the pattern, your tension is looser. Try a smaller hook.
This is not a personal failing. It is normal. Hook size is a tool, not a test.
Ergonomic tips
Tension problems often show up when your body is uncomfortable. The fix is not always “try harder.” Sometimes it is “sit nicer.”
Posture that helps
- Support your elbows: rest them on chair arms or a pillow in your lap to reduce shoulder tension.
- Bring work up: lift your project closer to chest height instead of hunching your neck down.
- Keep wrists neutral: avoid sharp bends. Think “straight line” from forearm to knuckles.
- Relax your shoulders: check in every few minutes. If your shoulders are creeping toward your ears, shake it out.
Micro-breaks
Every 10 to 20 minutes, pause for 15 seconds:
- Open and close your hands 10 times.
- Roll shoulders back slowly.
- Gently circle wrists in both directions.
If you feel tingling, numbness, sharp pain, or burning, stop and rest. If symptoms keep coming back or do not improve, it is worth checking in with a clinician. Crochet should feel soothing, not like you are arm wrestling your hook.
Common problems
“My stitches start neat, then get tighter”
- Check for a creeping death grip. Loosen your hook hand by one notch.
- Make sure you are pulling up loops to the shaft of the hook each time.
- Try Path A or B for yarn feeding so the yarn is not locked down too firmly.
“My edges are tighter”
- When turning, give yourself an intentional turning chain that is not yanked tight.
- Pause at the first and last stitch and consciously pull the loop to the hook shaft before finishing.
- Consider sizing up your hook just for the first and last stitch until your hands learn the rhythm.
“Some stitches are tall and some are short”
- Make sure each yarn over and pull-through is done with the loop seated on the hook shaft.
- Use pinch and pivot so the fabric is stable.
- Slow down for five stitches. Yes, five. It is amazingly effective.
“My yarn squeaks or drags”
- Try a different hook material. Some yarns glide better on aluminum than on plastic, and vice versa.
- Wash hands and moisturize lightly, then let lotion fully absorb before crocheting.
- If your yarn is splitty, move up a hook size and focus on gentle movements.
Practice drills
When I taught kids (and later, adults) to crochet, I learned that tension improves fastest when you practice something simple enough to repeat without thinking.
Drill 1: Chains
- Chain 30.
- Every 5 chains, stop and check: are the chain links the same size?
- Reset your grip and yarn path if you notice them shrinking or growing.
Tip: If chains are consistently tight, go up a hook size and try again. Chains should feel easy to slide the hook into.
Drill 2: Single crochet rows
- Chain 21.
- Single crochet across for 10 rows.
- After each row, lay it flat and check if it is curling or trapezoid-shaped.
Curling often points to tight tension. Trapezoids usually mean edge tension changes or missed stitches.
Drill 3: Same-loop training
Make 10 half double crochets, focusing on pulling each loop to the hook shaft before completing the stitch. This trains your hands to stop sizing loops on the hook tip.
Special cases
If you crochet tight
- Size up your hook by 0.5 mm to 1 mm for practice.
- Use a yarn path with less wrap, like Path A.
- Try an ergonomic hook handle so your grip can soften without feeling unstable.
If you crochet loose
- Add a bit more yarn control with Path B or C.
- Focus on keeping your index finger bridge at about the same height. Lifted, not rigid.
- Pause to snug each stitch slightly before moving on, but avoid pulling hard.
If tension changes by project
It is normal for tension to shift when you change stitch type (single crochet versus double crochet), switch from flat rows to working in the round, or start textured stitches. When something feels suddenly “off,” treat it like a mini reset: check your yarn path, seat loops on the hook shaft, and do five slow stitches to get your rhythm back.
If you are also learning to knit
Knitting tension and crochet tension are cousins, not twins. Knitting tension is often set by how yarn moves between needles; crochet tension is heavily influenced by how you size each loop on the hook shaft. The good news is that building relaxed hands and consistent yarn feeding helps both crafts.
FAQ
Should I wrap yarn around my finger?
You can, as long as it feels comfortable and does not restrict circulation. Start with one wrap at most, and keep it loose. If your finger goes numb or your skin turns red quickly, unwrap and choose a gentler yarn path.
Why does my tension change when I switch yarn?
Different fibers glide differently. Cotton can feel grippy, acrylic can vary by brand, and some wools have more grab. When you change yarn, treat it like changing shoes. You might need a small hook size adjustment and a few minutes of re-learning how it flows through your fingers.
Do I need to match the way other people hold their hook?
No. If your stitches are consistent, your hands feel good, and you can crochet for a reasonable stretch of time without pain, you are doing it right.
How long does it take to get consistent tension?
With short daily practice, many beginners notice improvement within a week or two, but the timeline varies. The “click” moment often comes when your yarn path stays the same and you start sizing loops on the hook shaft automatically.
Final reminder
If your tension is messy right now, you are not behind. You are learning. Pick one hook hold, pick one yarn path, and give your hands a few calm practice sessions to settle in. Consistency grows quietly, one stitch at a time. And if you happen to buy a “practice yarn” skein or three along the way, I will not tell anyone.