If you are brand new to crochet, welcome. You are about to learn the five stitches that quietly run the whole show. Master these, and suddenly patterns stop feeling like secret code and start feeling like a friendly set of directions.
Quick pep talk from a former elementary school teacher with a yarn stash that is, frankly, unwell: you do not need “natural talent.” You need repetition, good lighting, and permission to be a little wobbly at first.
Note on terminology: This article uses standard US crochet terms. If you pick up a UK pattern later, some stitch names mean different things (for example, UK “double crochet” is US “single crochet”).
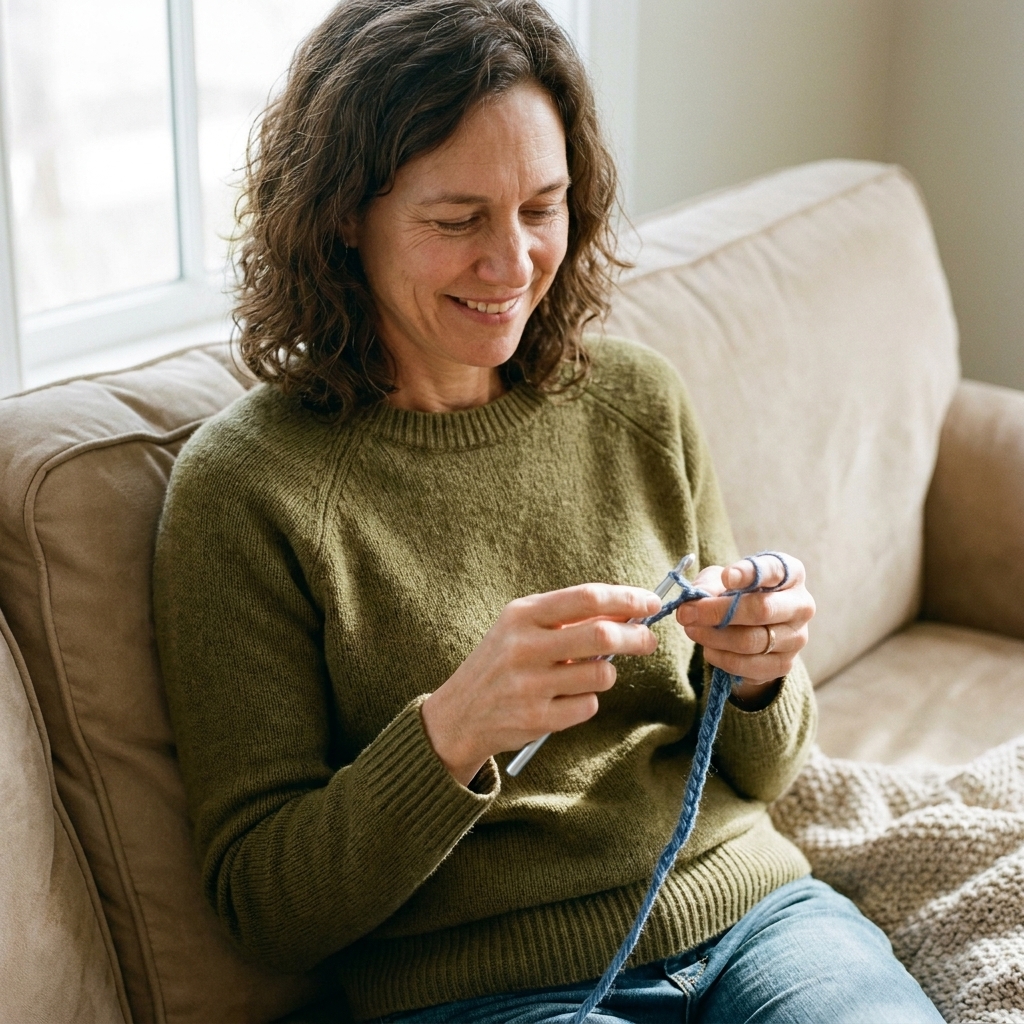
Before you start: what to grab
- Yarn: A smooth, light-colored worsted weight yarn (category 4). Avoid fuzzy or very dark yarn at first because it hides your stitches.
- Hook: Start with the size recommended on the yarn label (often 5.0 mm or 5.5 mm for worsted). Bigger hooks make it easier to see what is happening.
- Extras that help: A pair of scissors, a yarn needle for weaving ends, and 2 to 4 stitch markers (or paper clips in a pinch).
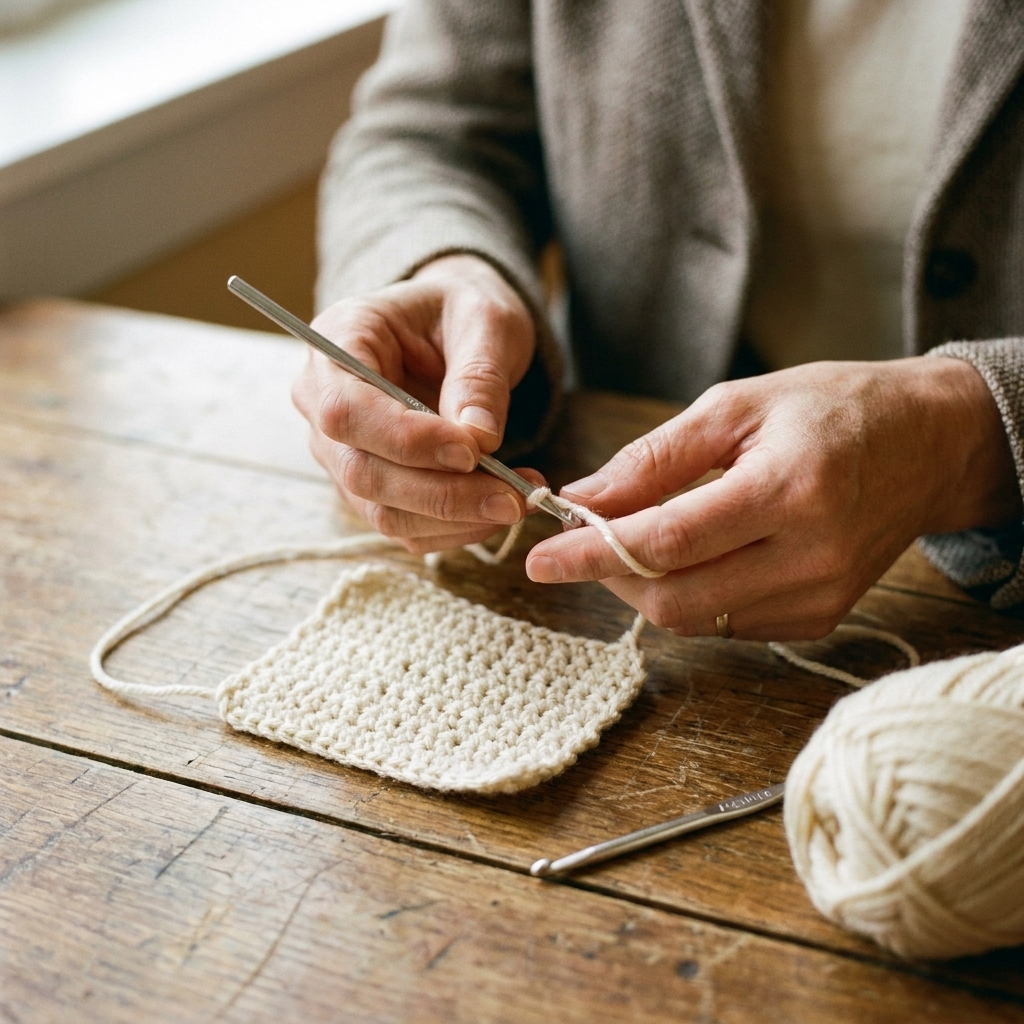
How to hold everything: There is no crochet police. Hold the hook like a pencil or like a knife, and wrap yarn around your fingers in whatever way lets it feed smoothly.
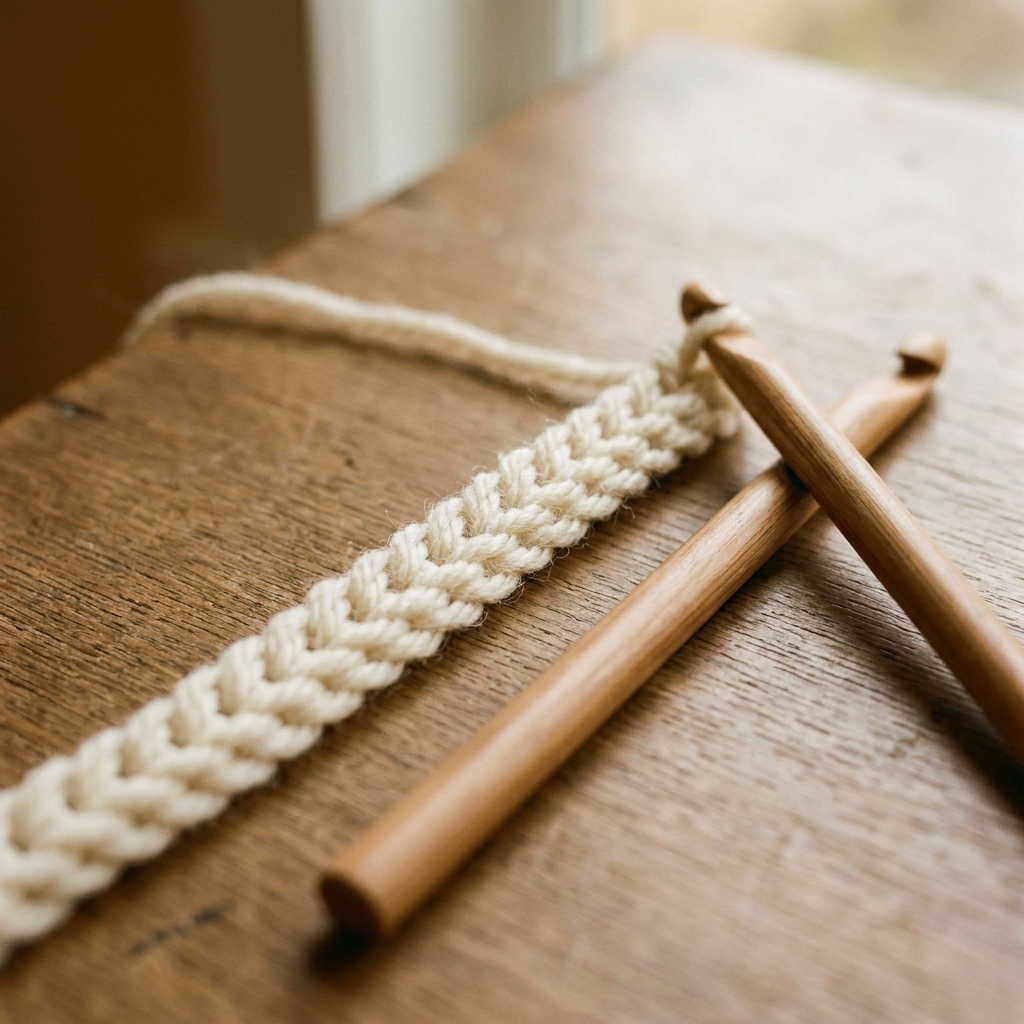
Stitch 1: Foundation Chain (ch)
The foundation chain is the starting edge for most crochet projects. Think of it as the “cast on” of crochet. It is simple, but it can feel oddly tricky because beginners tend to make chains too tight.
How to make a foundation chain
- Make a slip knot and place it on your hook. Tighten until it hugs the hook but still slides easily.
- Leave a tail you can actually weave in later, about 4 to 6 inches (10 to 15 cm).
- Yarn over (bring the yarn over the hook).
- Pull the yarn through the loop on your hook. That is 1 chain.
- Repeat steps 3 and 4 until you have the number of chains you need.
Beginner tips for nicer chains
- Keep it relaxed: If you have to wrestle the hook through the loop, loosen up.
- Count the V shapes: Each chain looks like a little V. Do not count the slip knot.
- Size check: If your chain looks thin and tight, try going up 0.5 to 1.0 mm in hook size just for the chain.
Stitch 2: Single Crochet (sc)
Single crochet is the smallest of the main building-block stitches you will use all the time. It makes a sturdy fabric that is great for amigurumi, borders, dishcloths, and tighter sweaters and bags.
How to single crochet
- Insert your hook into the stitch.
- Yarn over.
- Pull up a loop. You now have 2 loops on your hook.
- Yarn over again.
- Pull through both loops. Single crochet complete.
Where do I insert the hook?
For most patterns, insert under the top two loops of the stitch (the little V on top). In the foundation chain for your first row, many beginners find it easiest to work into the back bump of the chain (the ridge on the back). It creates a cleaner bottom edge, but do whatever helps you stay sane. Also, the first row into a chain is the hardest one. Row two usually feels magically easier.
Common single crochet hiccups
- Edges shrinking: You are probably skipping the last stitch. Mark the first and last stitch of each row until counting feels automatic.
- It is really hard to insert the hook: Your foundation chain is too tight or your tension is too firm. Go up a hook size for the chain, or consciously relax your yarn hand.
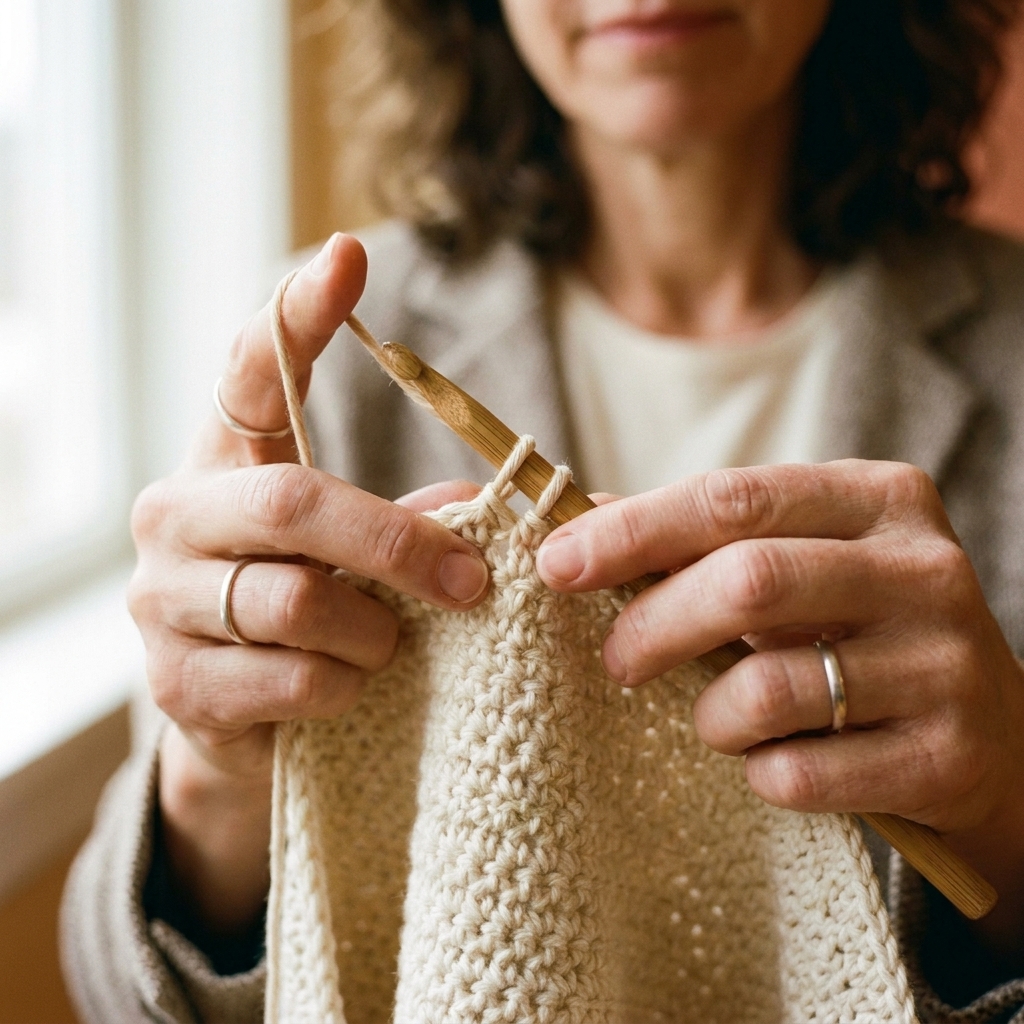
Stitch 3: Half-Double Crochet (hdc)
Half-double crochet is the cozy middle child. It works up faster than single crochet, is taller and drapier, but still feels solid and warm. I love it for beanies, scarves, and modern textured wearables.
How to half-double crochet
- Yarn over before inserting the hook.
- Insert hook into the stitch.
- Yarn over.
- Pull up a loop. You now have 3 loops on your hook.
- Yarn over.
- Pull through all 3 loops.
Why it sometimes looks messy at first
Because you pull through three loops at once, beginners often tug too hard and tighten the stitch. Aim for smooth, even motion. If you feel like you are yanking a stubborn shoelace, loosen your grip and let the hook do the work.
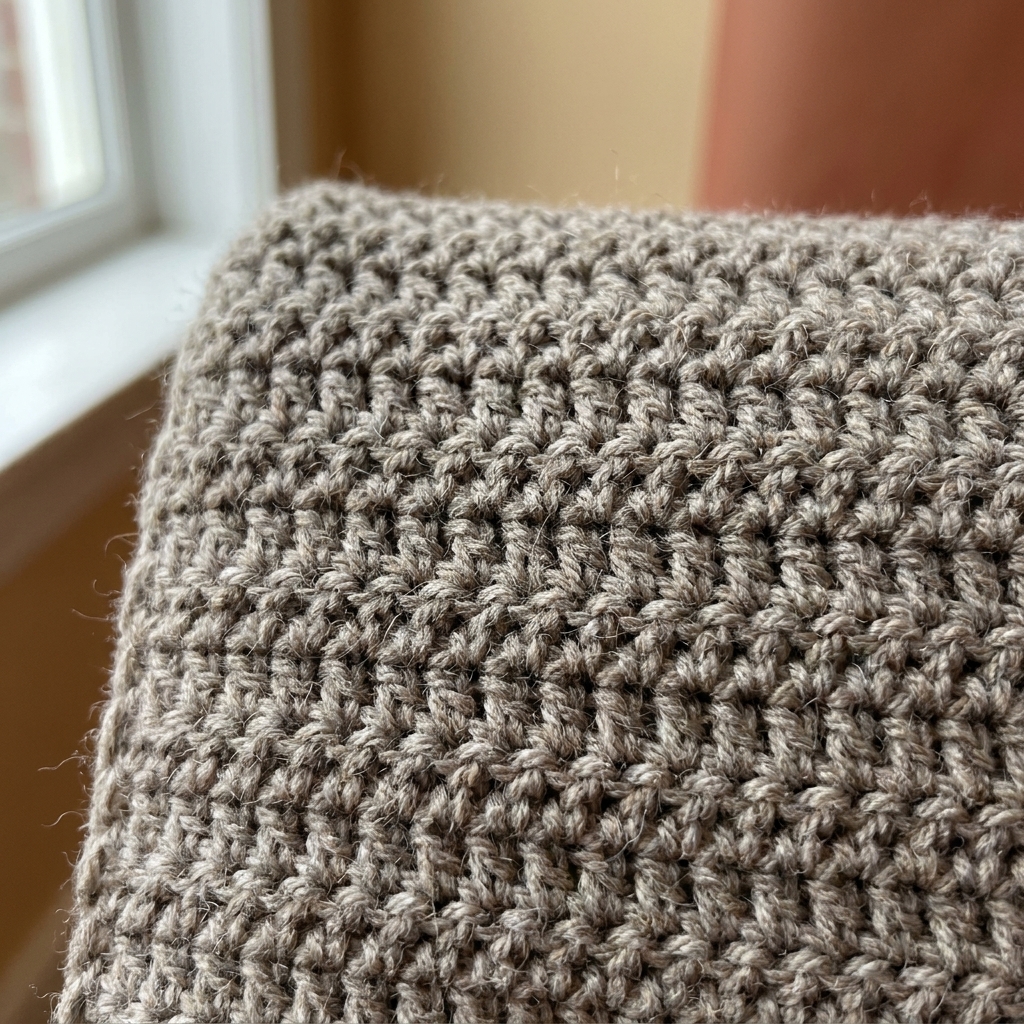
Stitch 4: Double Crochet (dc)
Double crochet is taller and airier. It is a staple in granny squares, blankets, shawls, and garments where you want drape. Once you get the rhythm, it feels wonderfully efficient.
How to double crochet
- Yarn over.
- Insert hook into the stitch.
- Yarn over.
- Pull up a loop. You now have 3 loops on your hook.
- Yarn over.
- Pull through 2 loops. You now have 2 loops left.
- Yarn over.
- Pull through the last 2 loops.
Turning chains
When you crochet rows, you usually add a few chains at the start to bring the yarn up to the height of the next row. Many patterns use:
- Single crochet: chain 1, then turn
- Half-double crochet: chain 2, then turn
- Double crochet: chain 3, then turn
These rules vary by designer, so always follow your pattern. One big beginner gotcha: some patterns count the turning chain as a stitch, and some do not. If your edges look gappy or your stitch count keeps drifting, this is often the reason.
Stitch 5: Slip Stitch (sl st)
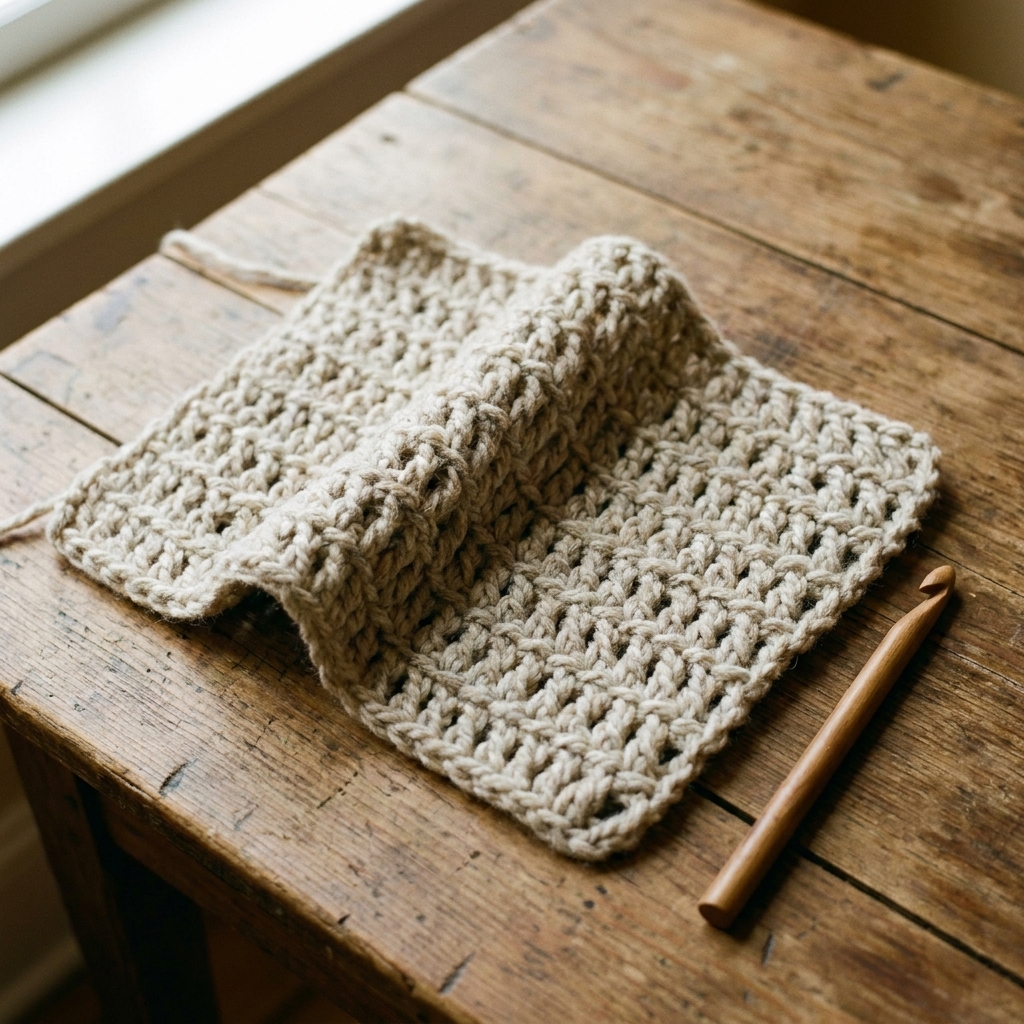
Slip stitch is the quiet helper stitch. It is used to join rounds, move yarn across a row without adding height, and create neat finishes. It is also the stitch that will make you mutter “Why is this so fiddly?” at least once. Completely normal.
How to slip stitch
- Insert hook into the stitch.
- Yarn over.
- Pull through the stitch and the loop on your hook in one motion.
Joining in the round
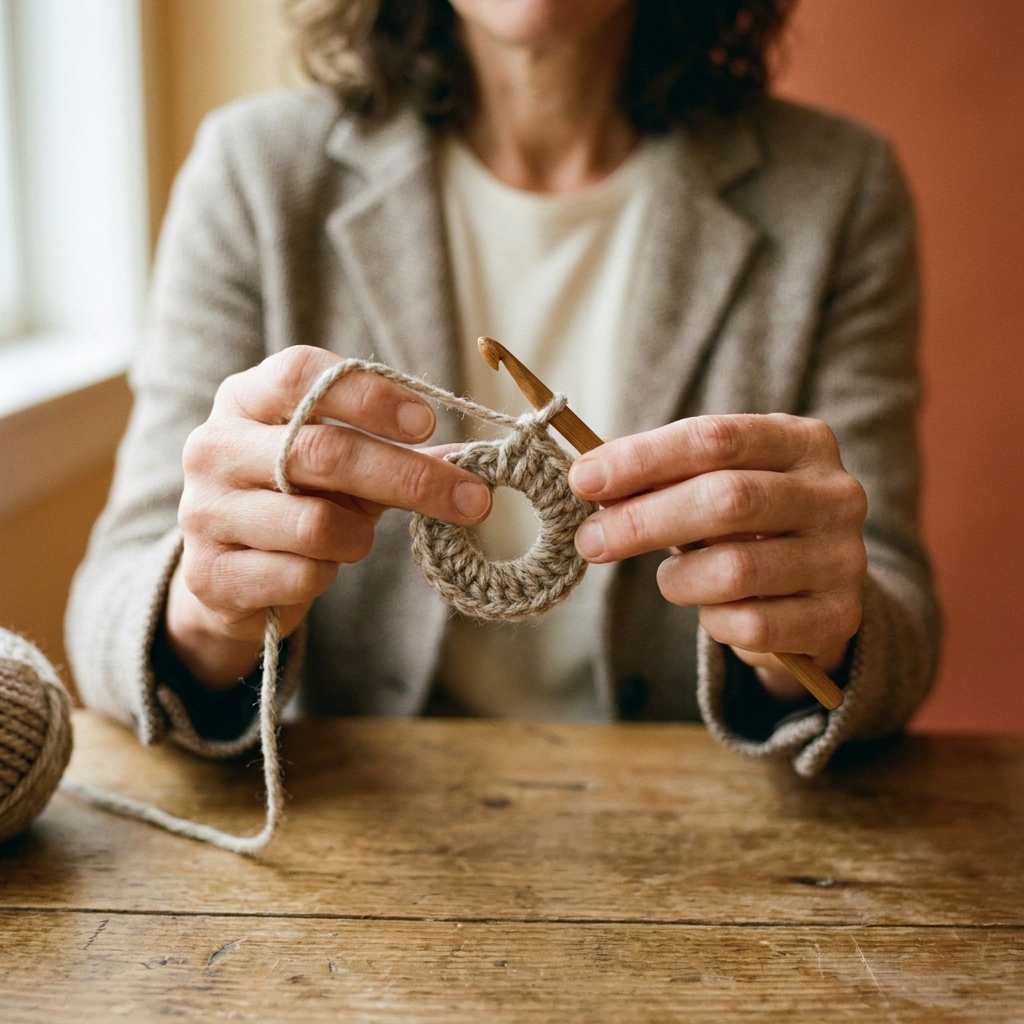
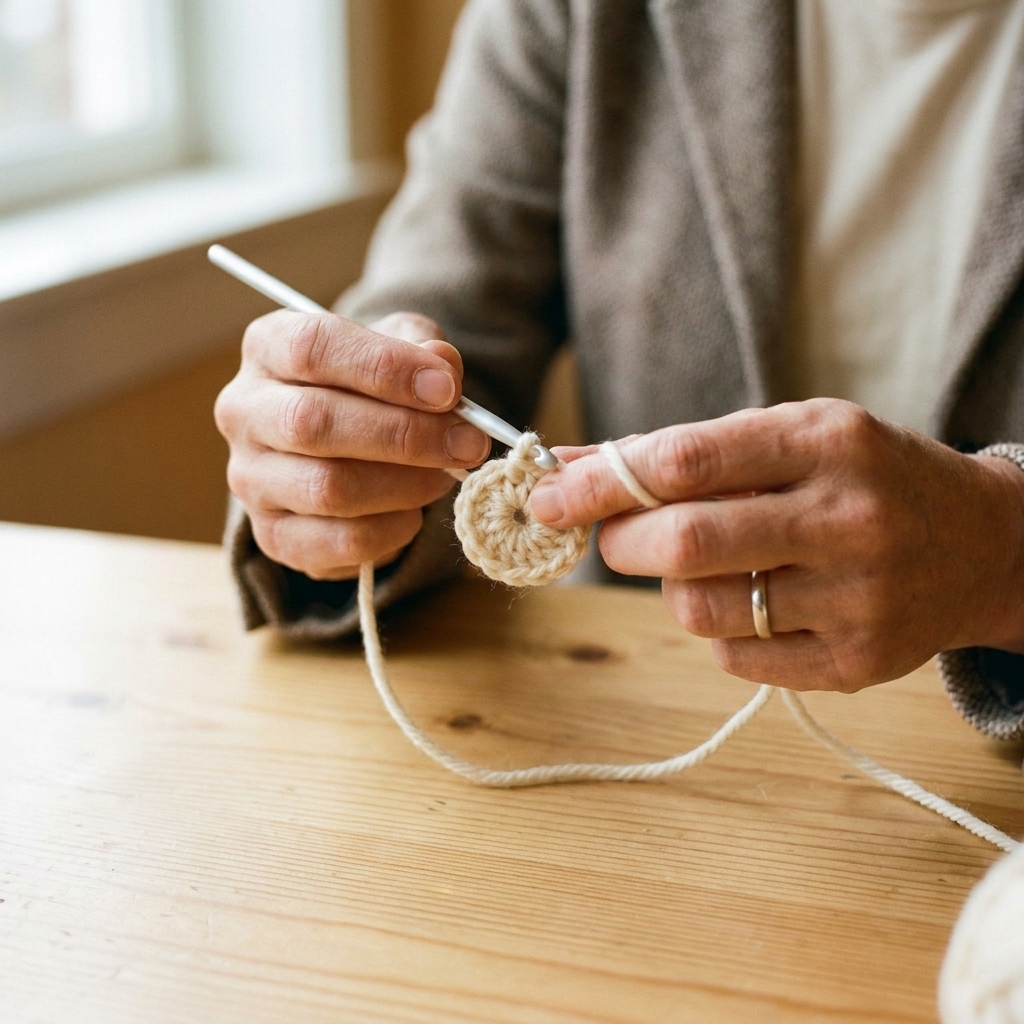
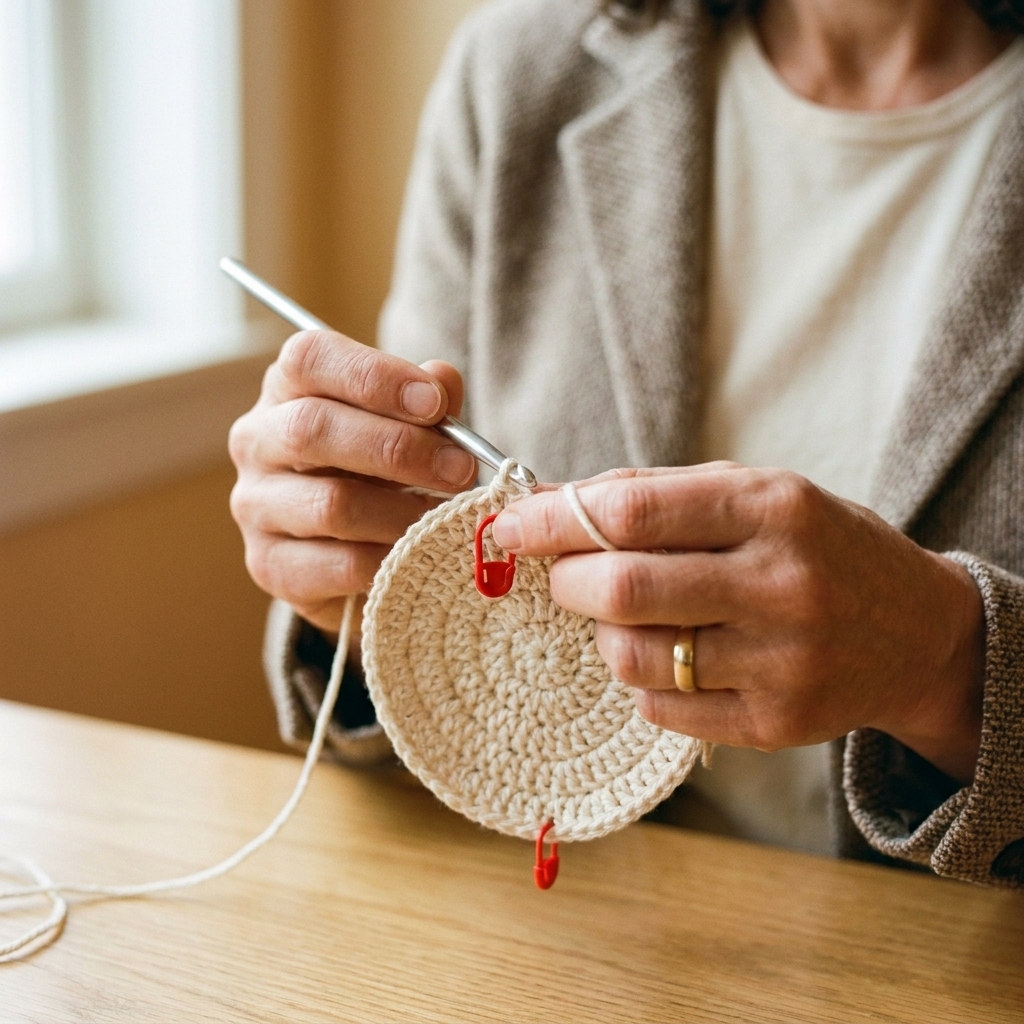
If you are working in joined rounds, you will often slip stitch into the first stitch of the round to close the circle. Tip: place a stitch marker in that first stitch so you always know exactly where to join.
A simple practice plan
If you want these stitches to stick, practice them in tiny, focused swatches. I promise you will learn faster with 15 calm minutes a day than with a single marathon session where your hands forget how to be hands.
- Day 1: Chain 30. Then chain 30 again, a little looser.
- Day 2: Single crochet across a row for 10 rows. Count stitches each row.
- Day 3: Half-double crochet swatch, 10 rows.
- Day 4: Double crochet swatch, 10 rows.
- Day 5: Make a small ring and practice slip stitching to join rounds.
Keep the swatches. They are not “failed attempts.” They are proof your hands are learning.
Quick troubleshooting
My edges are wavy
This is usually a stitch count issue. Use stitch markers in the first and last stitch of every row, and count at the end of each row until your eyes get trained.
My fabric is curling
Light curling is normal in some stitches, especially single crochet. Blocking helps later, but for now, focus on even tension and not pulling stitches too tight.
I keep splitting the yarn
Try a hook with a smoother head, slow down, and make sure you are inserting under the top two loops cleanly. Some yarns split more than others. It is not you.
My hands hurt
Pause. Shake out your hands. Check your grip and consciously soften it. Crochet should feel relaxing, not like a competitive sport. If pain persists, take a longer break and consider ergonomic hooks.
Cozy reminder: The goal is not perfect stitches. The goal is a fabric you made with your own two hands. Perfection is overrated, and honestly, it is not very cuddly.
Mini glossary
- ch: chain
- sc: single crochet
- hdc: half-double crochet
- dc: double crochet
- sl st: slip stitch
- yo: yarn over
What to make next
With just these five stitches, you can make a surprising amount:
- A simple scarf (hdc or dc for drape)
- A dishcloth (sc for sturdiness)
- A basic beanie (hdc in the round, joined with sl st)
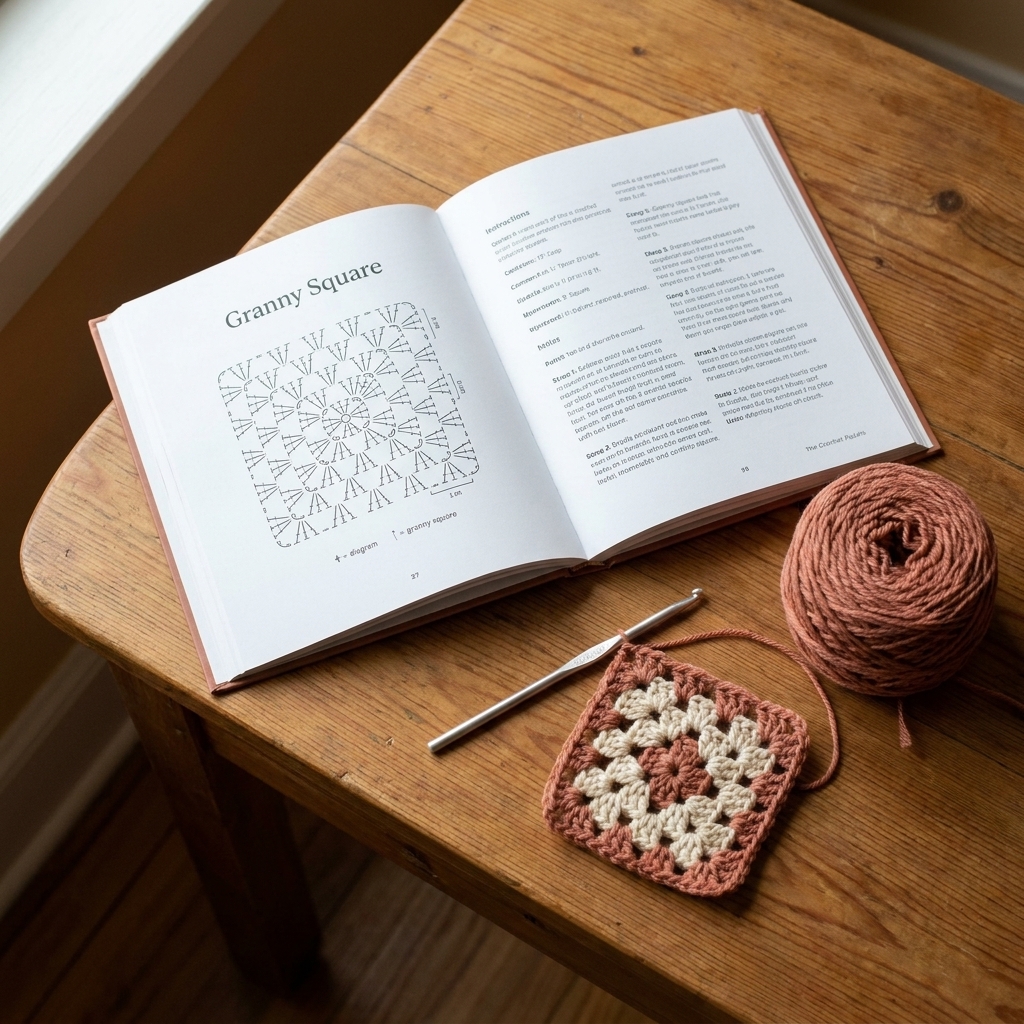
- Granny squares (dc is the star, plus chains and slip stitches for joining)
- Clean edges and seams on almost anything (hello, slip stitch)
One more quick heads-up for later: you will see the term magic ring in a lot of amigurumi patterns. You do not need it for everything, but it is a handy next skill once these stitches feel comfortable.
And if your first scarf looks a little like a charming wonky trapezoid, congratulations. You are officially a crocheter.