Every winter I swear I will start holiday gifting in October… and every winter my yarn stash gently laughs at me from the closet while I panic-crochet in December. If you are in a similar season of life, welcome. Let’s make it cozy.
Below are five beginner-friendly, heavily textured crochet beanie patterns that work up fast in bulky or super bulky yarn. They look polished, feel plush, and they are forgiving if your tension is not perfectly consistent. Texture is very kind like that.
Quick note on timing: crochet speed varies wildly. The time estimates below assume an average adult size in bulky or super bulky yarn with a comfortable, steady pace. Your mileage may vary, especially with slip stitches.
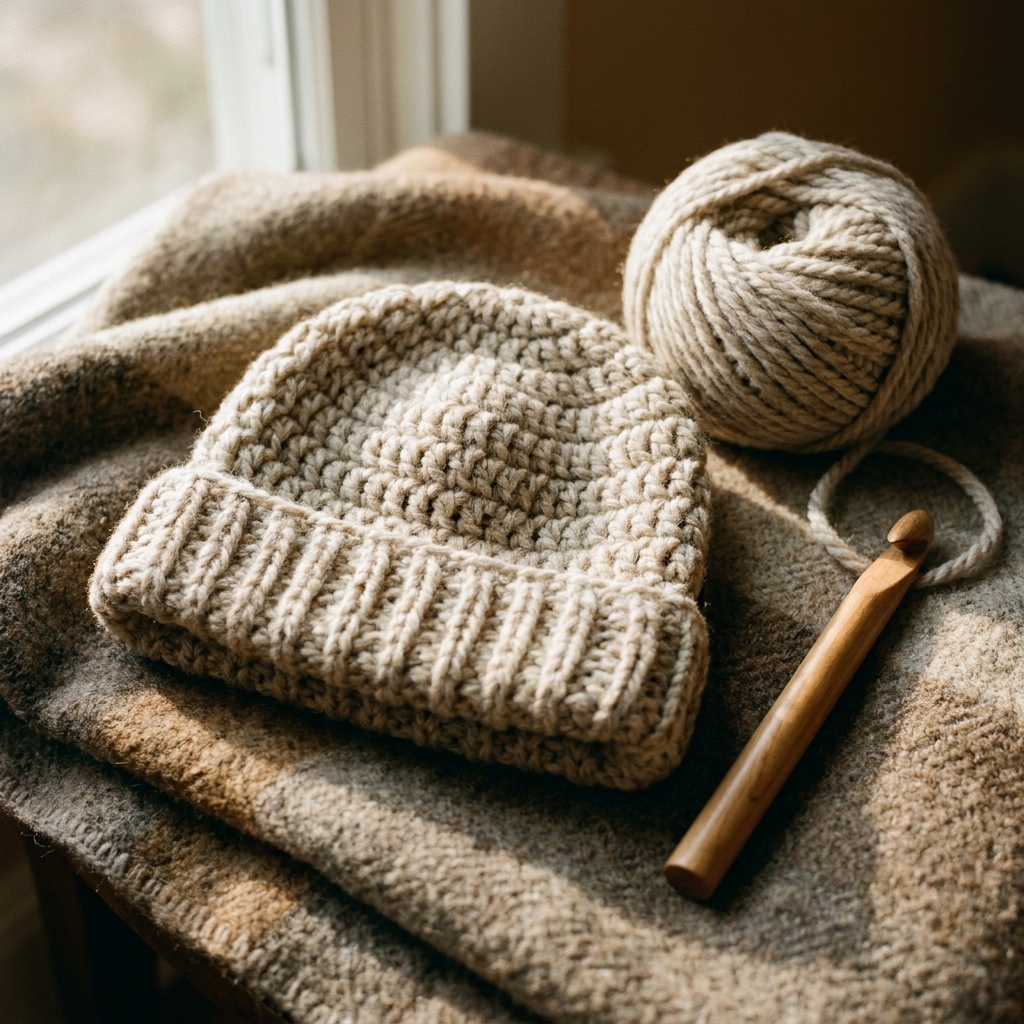
Before you start
If you want a beanie that finishes quickly and feels gift-worthy, here’s the simple formula I use:
- Yarn: Bulky (#5) or super bulky (#6) for speed and squish.
- Hook: Usually 6.0 mm to 9.0 mm, but always follow your label and the pattern gauge.
- Construction: Either bottom-up in rounds (classic) or a rectangle seamed into a hat (very beginner-friendly).
- Texture stitches: Post stitches, slip stitch ribbing, moss stitch, or working in the back loop only.
- Finish: A snug brim + tidy seam + optional pom-pom = instant “boutique” vibes.
Gift tip: If you are not sure about sizing, aim for an adult small to medium and make the brim a little deeper. A fold-up brim is basically adjustable sizing in disguise.
Quick glossary
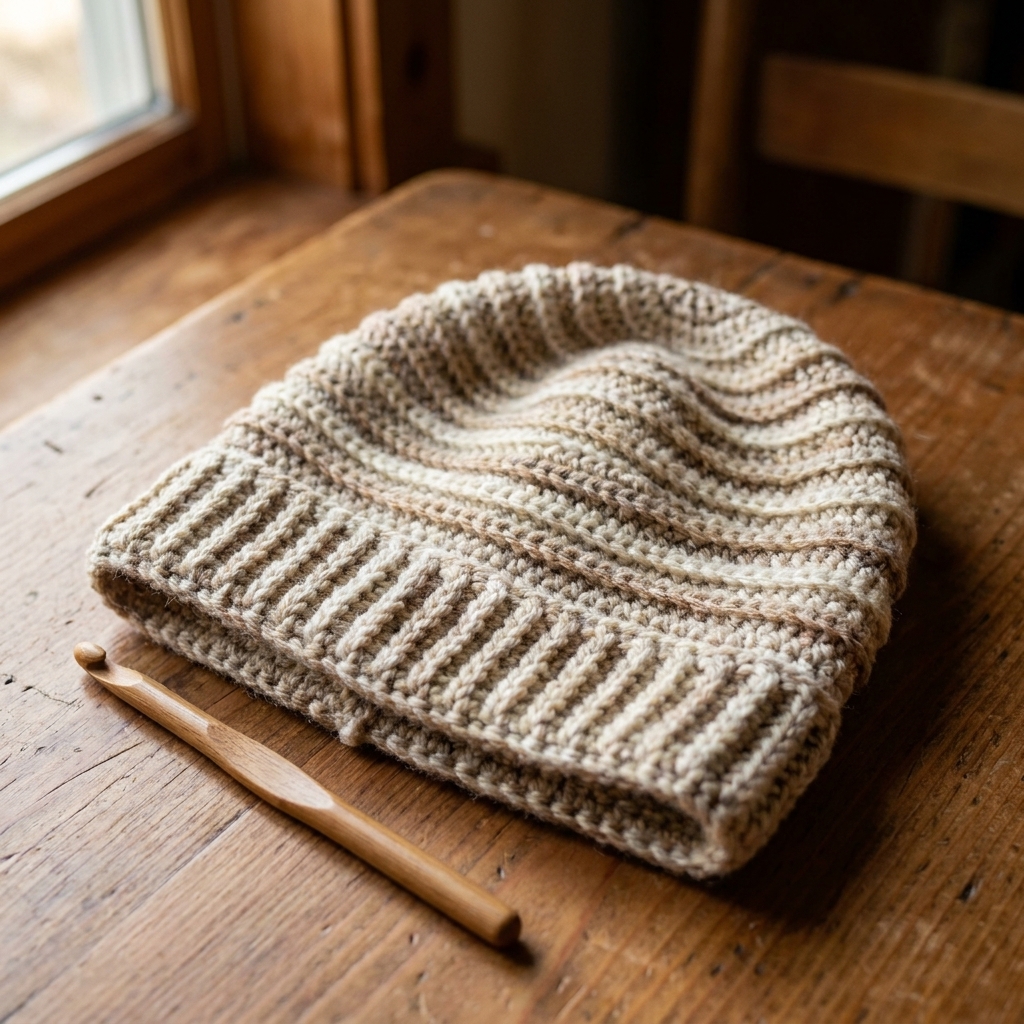
- HDC in the third loop: Half double crochet worked into the extra loop behind the stitch. It creates tidy horizontal ridges and a knit-like look.
- FPDC/BPDC: Front post and back post double crochet, made by crocheting around the post of a stitch instead of into the top loops.
- Negative ease: A hat that measures a bit smaller than the head so it stays on comfortably.
Pattern 1: HDC Third Loop Beanie
If you love the look of knit ribbing but want to stay firmly in crochet-land, this is your beanie. Working half double crochet in the third loop creates a clean, modern texture with comfortable give.
Why it gifts well
- Texture looks elevated even in a solid, inexpensive yarn.
- Fabric is warm without being stiff for many crocheters.
- Easy to make matching sets (hat + cowl) later.
Skill level
Beginner-friendly if you are comfortable finding the third loop. If that phrase makes you squint, do not worry. After two rounds, your hands will go, “Ohhh, that loop.”
Mini specs
- Construction: Bottom-up in rounds or made flat and seamed.
- Multiple: Any stitch count works, but hats are easiest if you pick a count that divides evenly into your decrease plan later.
- Fit: Aim for 1 to 2 inches (2.5 to 5 cm) of negative ease.
- Finished height (typical): About 8 to 10 inches (20 to 25 cm), depending on brim and slouch.
- Yarn amount (typical): About 80 to 120 g bulky (roughly 110 to 180 yd / 100 to 165 m, depending on the yarn).
- Gauge (helpful range): Approximately 9 to 12 HDC per 4 inches (10 cm) in bulky yarn for many hats, but follow your pattern and adjust hook size for fabric you like.
- Crown finish (typical): Decrease in evenly spaced rounds (or work HDC2tog) until you can close the top neatly, then cinch.
Time estimate
Often 1 to 2 evenings for many crocheters.
Pattern 2: Basketweave Beanie
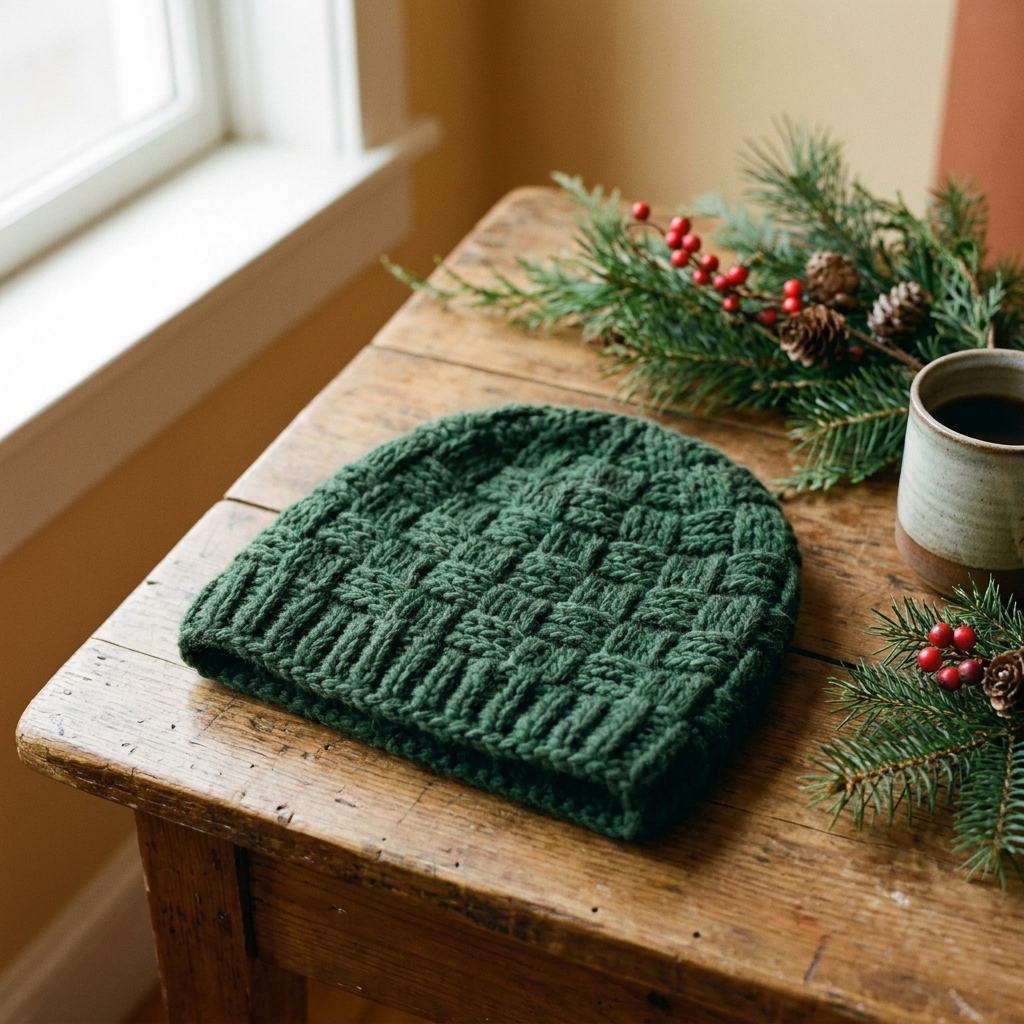
Post stitches look fancy, but they are just crochet stitches wearing cute boots. A basketweave texture uses front post and back post double crochet to build cushy blocks that feel like a hug for your head.
Why it gifts well
- Thick and warm, perfect for truly cold mornings.
- High texture makes it look intentional.
- Works beautifully in solids, marls, or tweeds.
Skill level
Advanced beginner. You need to be comfortable with double crochet and willing to try front post and back post stitches. If you can crochet around a post, you can do this.
Mini specs
- Construction: Bottom-up in rounds is the classic approach.
- Multiple: Basketweave is typically worked in blocks, so choose a stitch count that fits your block repeat (common repeats are 4, 6, or 8 stitches, depending on the exact basketweave pattern).
- Stretch note: Basketweave can run thicker and less stretchy than ribbing, so a quick swatch is your friend.
- Finished height (typical): About 8 to 10.5 inches (20 to 27 cm).
- Yarn amount (typical): About 90 to 140 g bulky (roughly 120 to 220 yd / 110 to 200 m).
- Gauge (helpful range): Approximately 8 to 11 DC per 4 inches (10 cm), depending on post-stitch density.
- Crown finish (typical): Switch to plain DC (or HDC) for the last inch or two, then decrease in evenly spaced rounds so the top closes without bulky blocks bunching.
Time estimate
Often 2 to 6 hours once the post-stitch rhythm clicks.
Pattern 3: Slip Stitch Rib Beanie
If you want a beanie that is hard to derail, this is it. You crochet a rectangle in back loop only slip stitches, seam the short edges, cinch the top, and suddenly you are a hat wizard.
Why it gifts well
- Ribbing has excellent stretch for many crocheters, so sizing is forgiving.
- Made flat, so it is relaxing and portable.
- Perfect for adding a pom-pom without needing extra structure.
Skill level
True beginner. Slip stitch can feel slow at first, but bulky or super bulky yarn makes it much speedier than you might expect.
Mini specs
- Construction: Flat rectangle, then seamed and cinched.
- Multiple: Any row count works. Your rectangle width becomes hat height; your rectangle length becomes hat circumference.
- Finished height (typical): About 8 to 11 inches (20 to 28 cm), depending on how deep you make the ribbing and whether you plan a fold-up brim.
- Yarn amount (typical): About 60 to 100 g super bulky (roughly 50 to 90 yd / 45 to 82 m), or 80 to 130 g bulky (roughly 110 to 200 yd / 100 to 183 m).
- Gauge (helpful range): Slip stitch ribbing varies a lot by hook and tension, so judge by fabric feel: you want it stretchy, not board-stiff.
- Fit tip: If the ribbing feels stiff, go up a hook size for a softer, stretchier fabric.
- Crown finish (typical): After seaming, weave yarn through the top edge, cinch closed, and knot securely. Add a pom-pom if you want the gather to disappear.
Time estimate
Often 3 to 8 hours, but this is the most variable of the bunch. Slip stitches are small and can be deceptively time-consuming.

Pattern 4: Seed Stitch Beanie
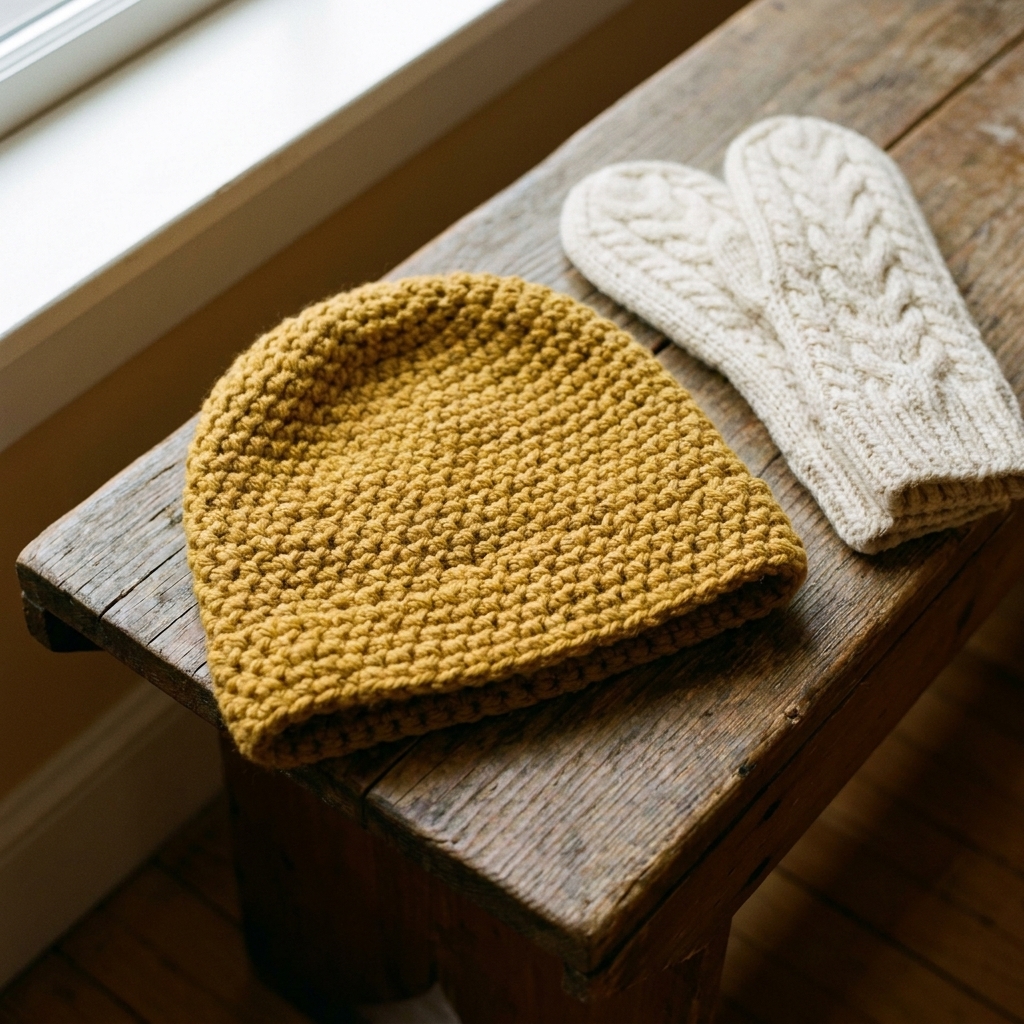
Do not let the words “seed stitch” intimidate you. In crochet, this name is often taught as alternating single crochet and double crochet to create a bumpy, cozy texture that looks great in any color. (Some designers call similar textures by other names, so follow the stitch instructions more than the label.)
Why it gifts well
- Uses basic stitches you likely already know.
- Texture is bold but not lacey, so it can block wind better than openwork stitches when worked at a firm gauge.
- Looks fantastic in both neutrals and bright winter colors.
Skill level
Beginner. The main trick is keeping track of your stitch pattern. If you lose your place, look at the fabric: you want the bumps to stagger, not stack.
Mini specs
- Construction: Bottom-up in rounds, or top-down with increases and decreases.
- Multiple: Typically an even stitch count makes the alternating pattern easy to maintain in the round.
- Finished height (typical): About 8 to 10 inches (20 to 25 cm).
- Yarn amount (typical): About 80 to 120 g bulky (roughly 110 to 180 yd / 100 to 165 m).
- Yarn note: Choose something with good stitch definition so the texture shows up.
- Gauge (helpful range): Approximately 9 to 12 stitches per 4 inches (10 cm) in bulky yarn for many dense SC/DC textures, depending on hook size and how firm you like the fabric.
- Crown finish (typical): When you reach height, start decrease rounds by pairing stitches (for example, SC2tog or DC2tog as the pattern dictates) evenly around until you can cinch closed.
Time estimate
Often 2 to 5 hours for many crocheters for an adult hat in bulky yarn.
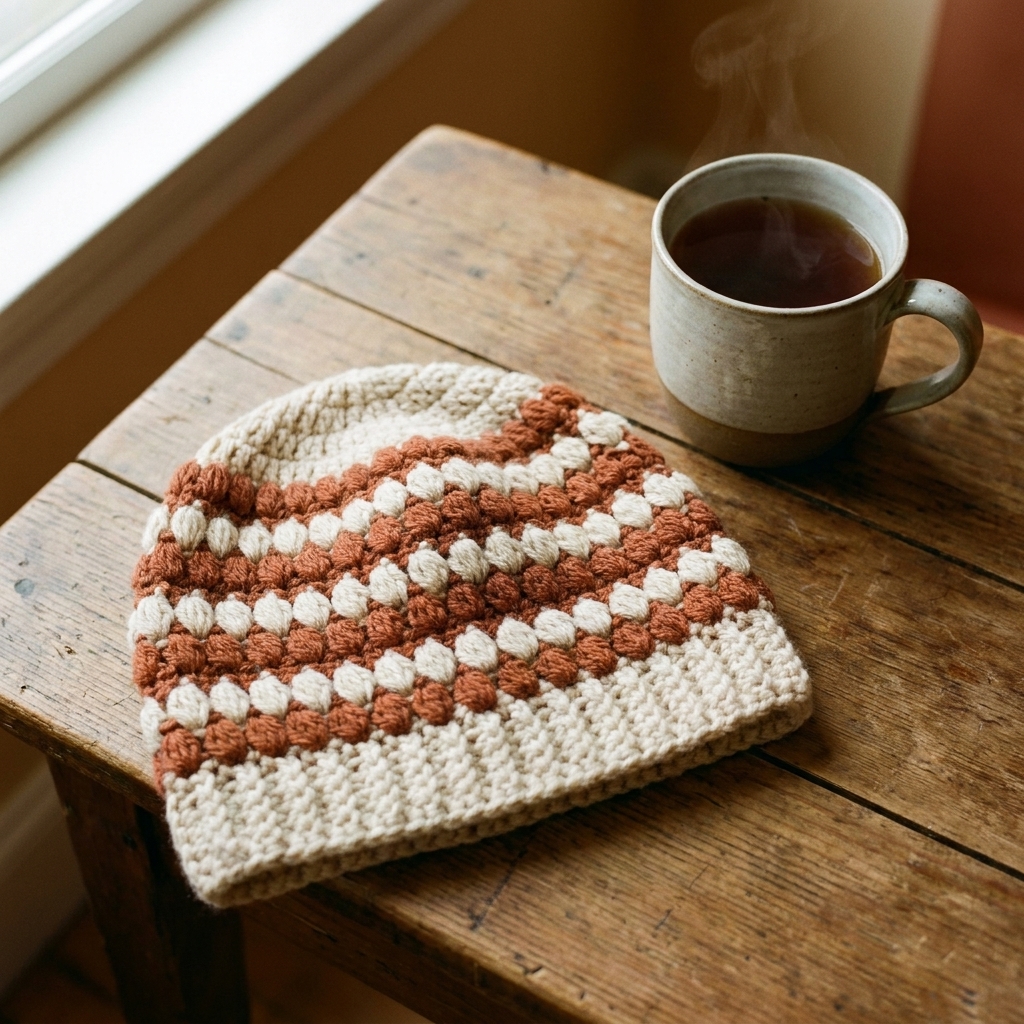
Pattern 5: Puff Stripe Beanie
Want a “wow” hat that still works up quickly? Add a few rounds of puff stitches or puff stripes between simpler rounds. You get a playful, squishy texture without committing to puffs for the entire hat.
Why it gifts well
- Puffs add instant personality and plushness.
- Looks adorable with a fold-up brim.
- Great stash-buster if you have two coordinating colors.
Skill level
Beginner to advanced beginner. Puff stitches are just repeated yarn overs that you pull through together. The first puff always looks a little weird. The second looks better. By the tenth you will be making them like you were born doing it.
Mini specs
- Construction: Bottom-up in rounds is easiest for clean stripes.
- Multiple: Choose a stitch count that makes your stripe plan easy, especially if you want puffs evenly spaced (common spacing is every 2 to 4 stitches).
- Finished height (typical): About 8 to 10.5 inches (20 to 27 cm).
- Yarn amount (typical): About 90 to 140 g bulky total (roughly 120 to 220 yd / 110 to 200 m), depending on brim and how puff-happy you get.
- Yarn note: Smooth, slightly elastic yarn helps puffs look full and tidy.
- Gauge (helpful range): Puff rounds eat yarn and can tighten the fabric, so you may like a slightly larger hook for puff sections if your hat starts feeling stiff.
- Crown finish (typical): Keep the crown simple by doing your decreases in plain stitches between puff rounds, then cinch or close with a final decrease round.
Time estimate
Often 2 to 6 hours, depending on how many puff rounds you add.
Yarn and sizing
Choose yarn for real life
- Machine washable: Great for kids, teens, and busy adults. Acrylic and acrylic blends can be wonderfully soft now.
- Wool or wool blend: One of the warmest common choices for outdoorsy friends. Check for softness if they are sensitive.
- Alpaca blends: Very warm and drapey, but can stretch. Use a snug brim and consider a slightly smaller finished circumference.
Yardage reality check: Grams-to-yards conversions vary widely by yarn, fiber, and brand. Treat yardage as a rough guide and always check the label yardage for your specific skein.
Simple adult sizing targets
- Adult small (typical): 20 to 21 inches (51 to 53 cm) head circumference
- Adult medium (typical): 22 to 23 inches (56 to 58 cm)
- Adult large (typical): 24 inches (61 cm)
Fit rule: Hats usually need about 1 to 2 inches (2.5 to 5 cm) of negative ease, meaning the finished hat circumference should be slightly smaller than the head measurement so it stays put.
Best practice: If you can, measure the recipient’s head or compare to a hat they already love. Heads vary and so does preferred fit.
Finishing touches
- Weave in ends twice: Once along the inside and once back the other direction. Bulky hats get tugged a lot.
- Block with care: Wet blocking is the safest default. Steam can help some fibers relax, but keep the iron away from the fabric, and be especially cautious with acrylic since too much heat can permanently change the texture.
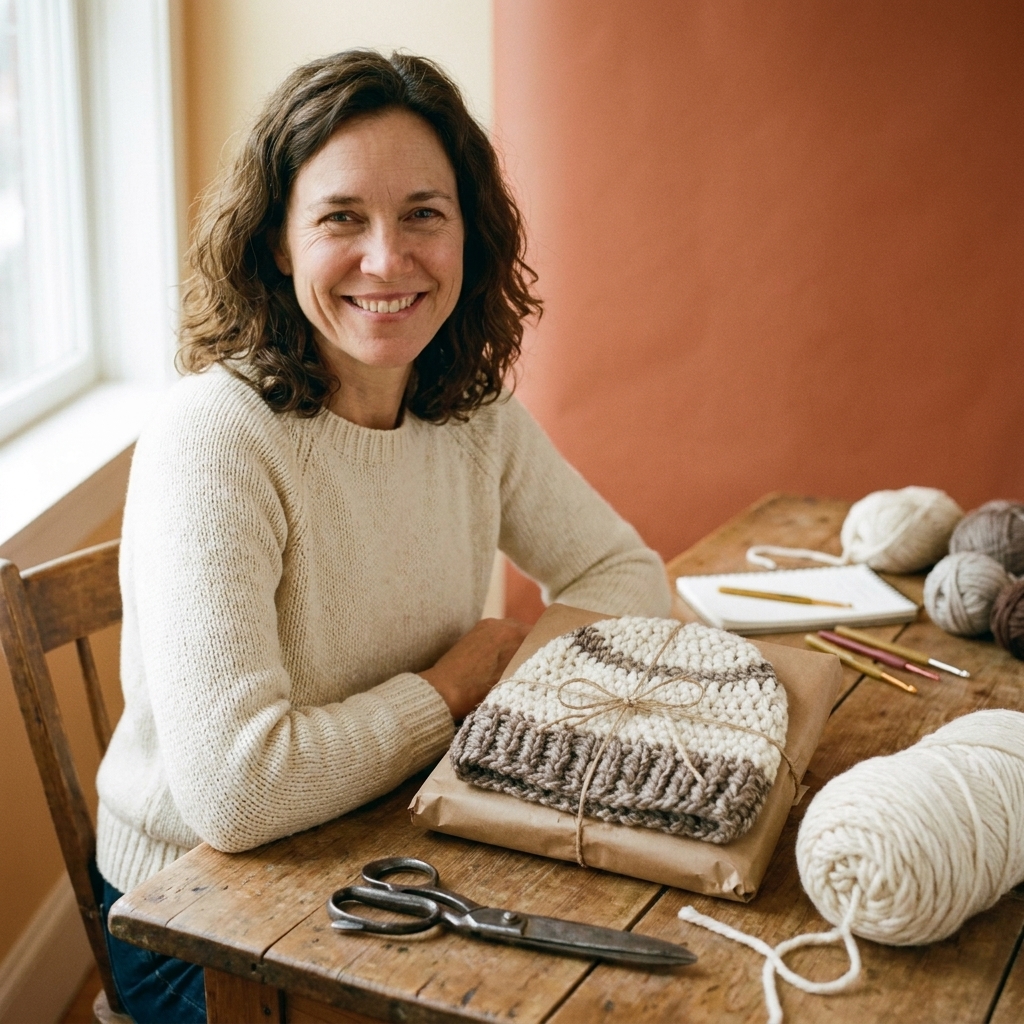
- Add a label: A small handmade tag or a neat loop of contrasting yarn at the back seam helps the wearer know which way is “front.”
- Pom-pom tip: Use a snap-on pom or tie-on style so it can be removed for washing.
Troubleshooting
My hat is too tall
Fold up the brim deeper, or remove a couple of rounds from the body. For flat-made rib hats, reduce the rectangle height.
My hat is too tight
Go up one hook size, or add repeats if the pattern allows. For post-stitch or ribbed hats, a slightly looser brim makes a huge difference.
My hat is too loose
Go down one hook size, or add a few decrease rounds near the crown. You can also thread a strand of yarn through the inside of the brim like a gentle drawstring and tie it invisibly at the back.
The seam looks bulky
Try a slip stitch seam through both loops, or mattress stitch for a flatter finish. And remember, most people will never stare at your seam as lovingly as you do.
Make it a set
If you have enough yarn left after the beanie, these add-ons turn one gift into a whole cozy moment:
- Matching ear warmer: Same stitch pattern, half the commitment.
- Simple cowl: Work in the round with the same texture stitch for an easy coordinate.
- Scrunchie: Great for using up small amounts of bulky yarn.
Last thing
A handmade beanie is not just a hat. It is time, warmth, and quiet care stitched into something useful. If you are squeezing in a few rows between work, school pickups, or end-of-year chaos, I see you. Pick one texture, pick one cozy yarn, and let “good enough and finished” be the goal.