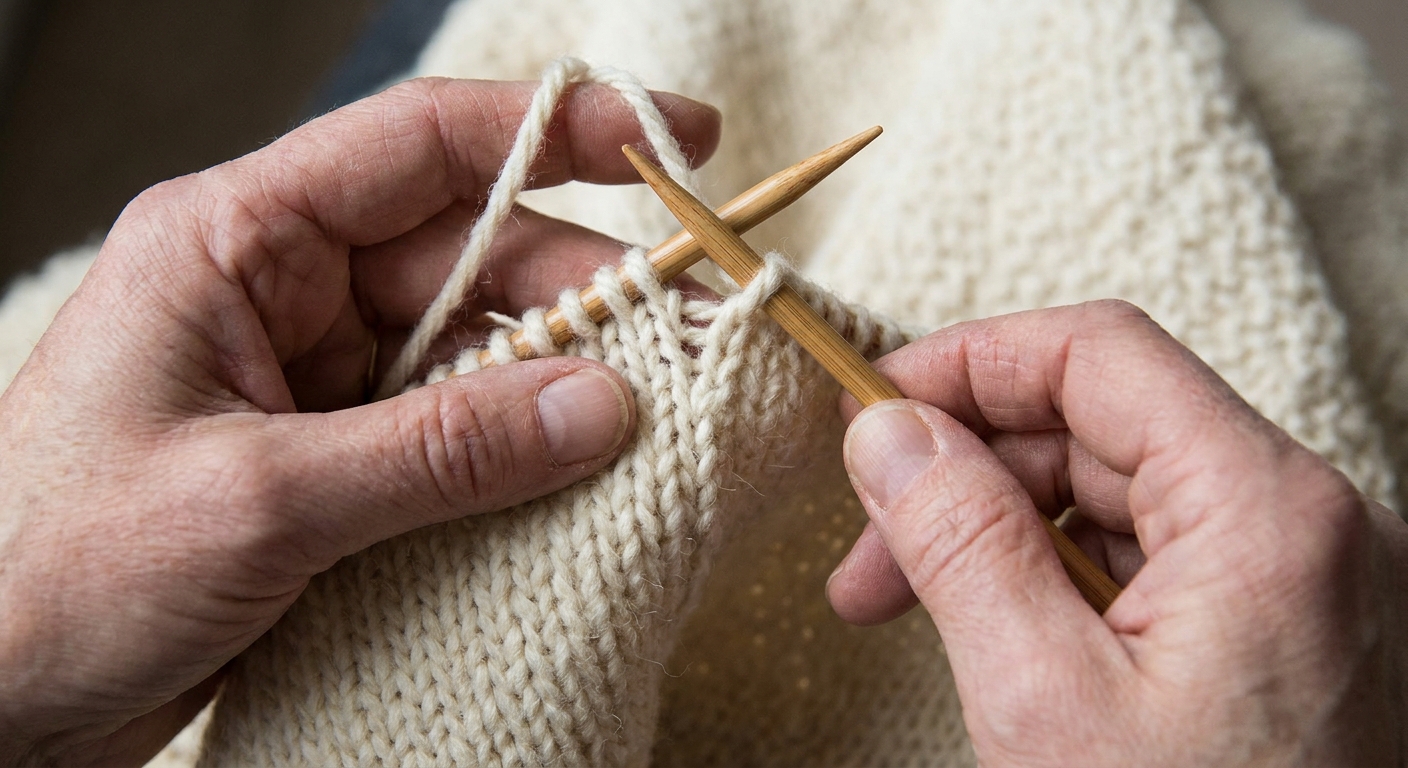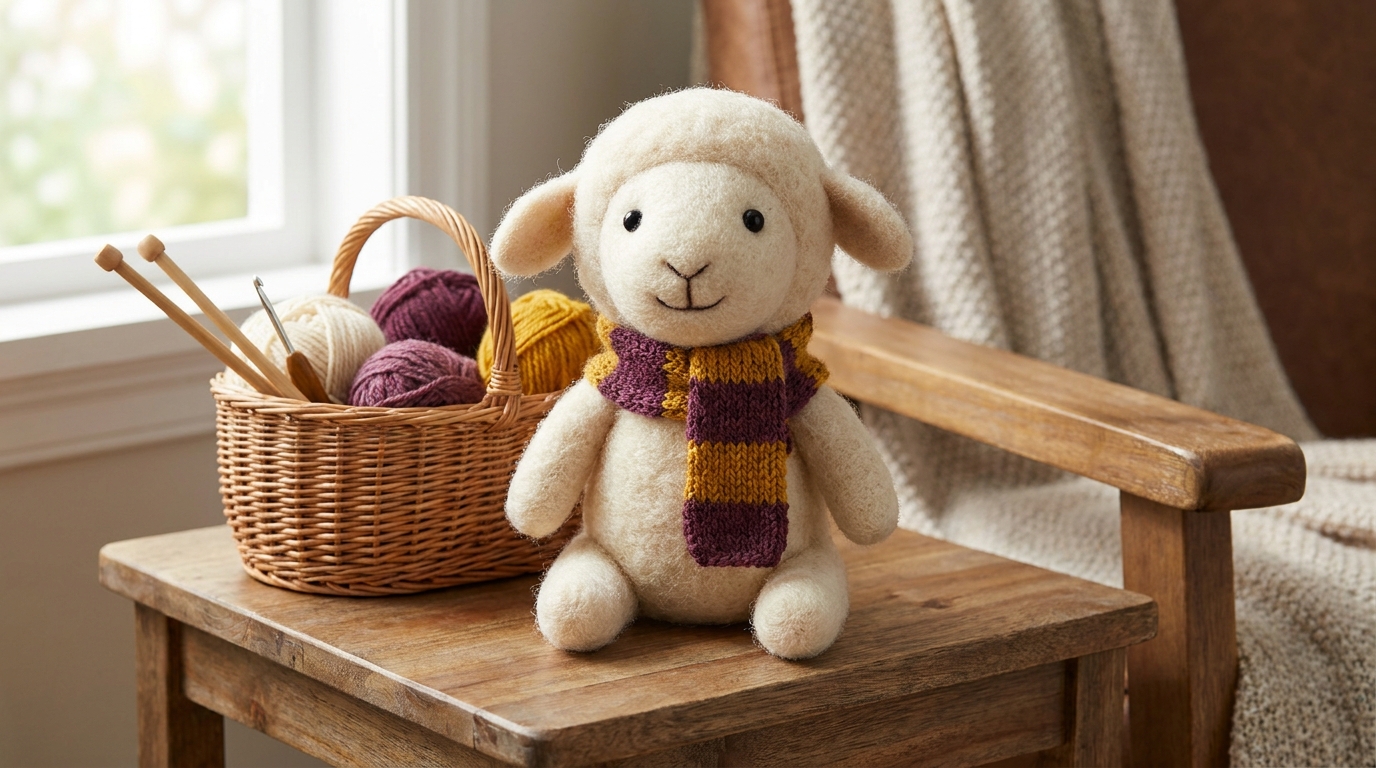
One more row. Then just one more.
And then, suddenly, you are holding two finished pieces that want to be a sweater (or a pillow, or a vest, or a tiny knit lamb friend). This is where mattress stitch shines. It is tidy, it is strong, and when you tug the yarn just so, the seam zips up like it was always meant to be one fabric.
What mattress stitch does (and why it looks so good)
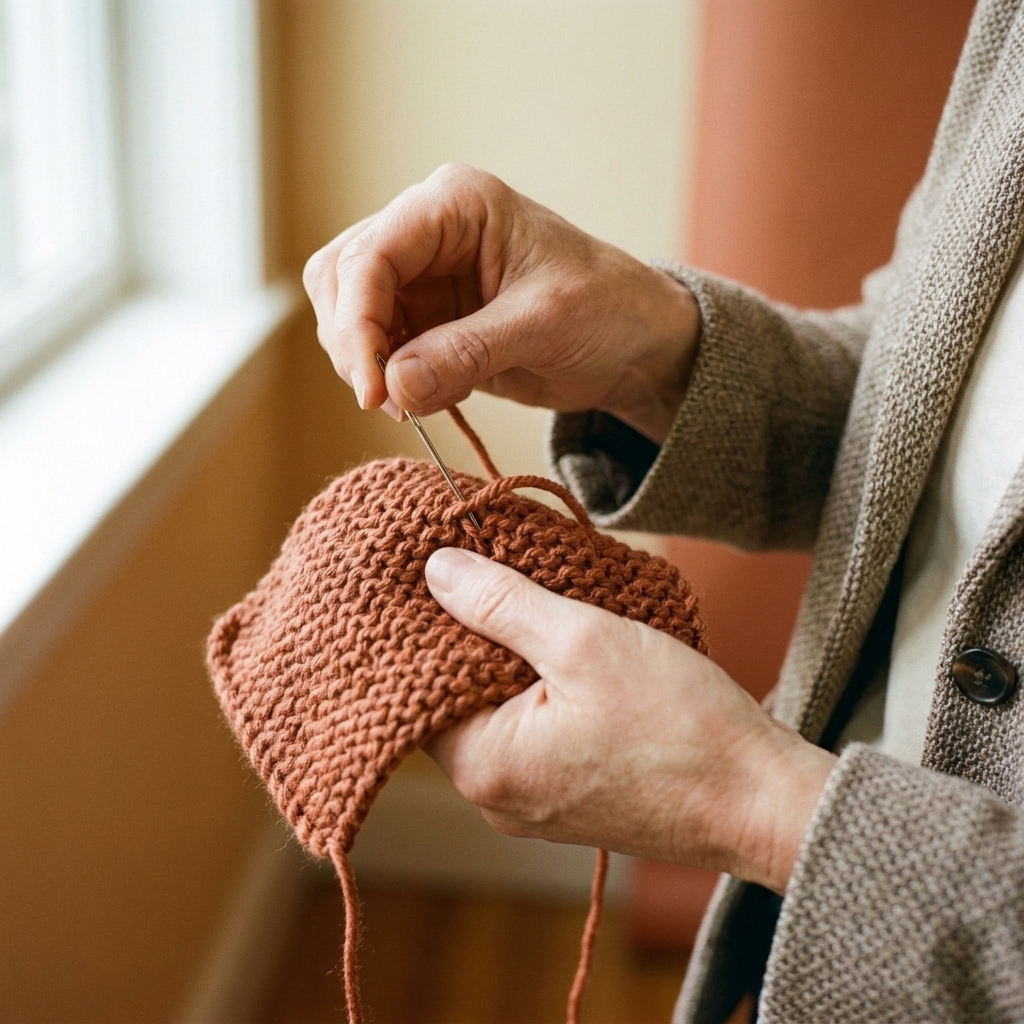
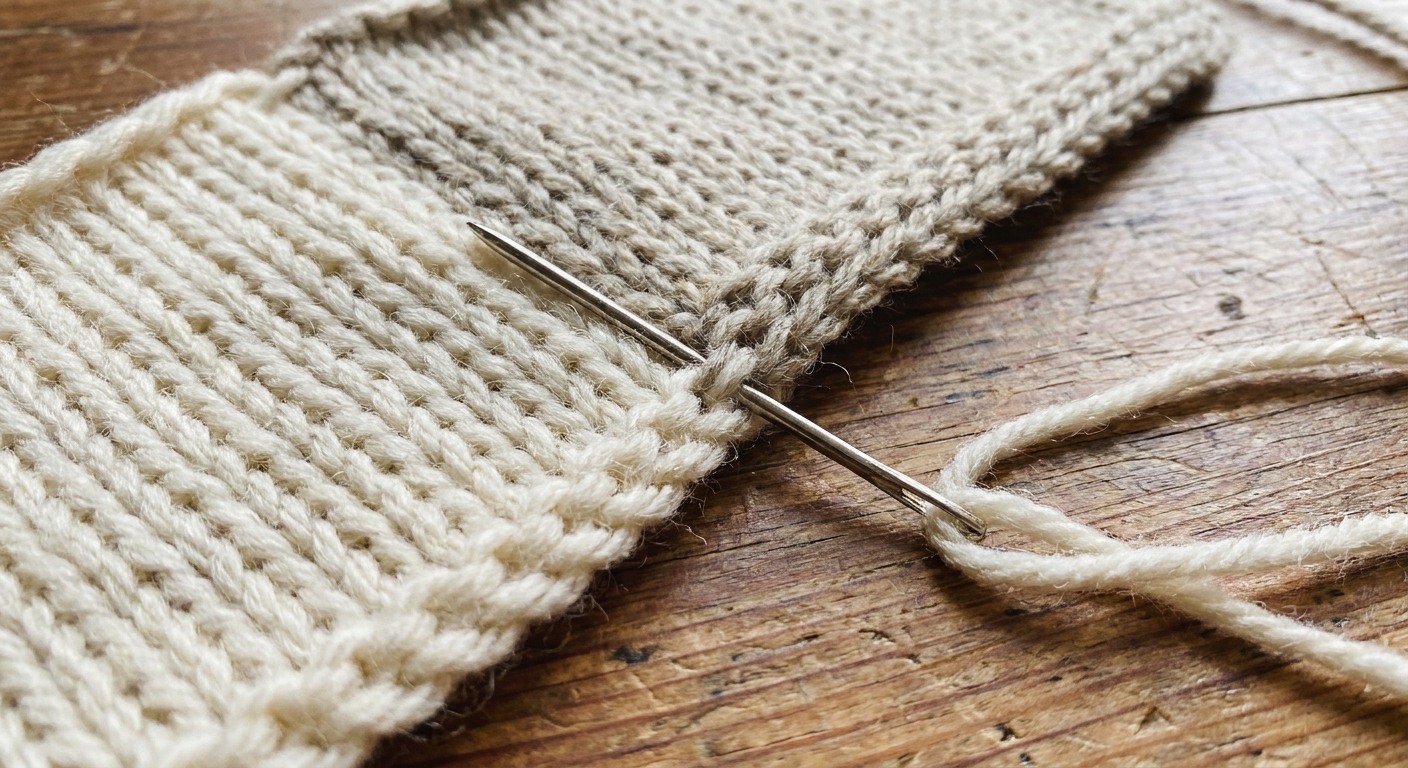
Mattress stitch is a seaming method for knitting that joins two finished edges from the right side of the fabric. The magic is that you are not stitching through the front of the fabric. Instead, you catch the edge bars just inside each edge, then tighten the yarn so those bars pull together and hide the seam inside.
Use mattress stitch when you want:
- A nearly invisible vertical seam (classic for sweater side seams and sleeve seams)
- A seam with a little flexibility (more forgiving than a tight whipstitch)
- Clean matching at stripes, colorwork blocks, or textured panels
It works best when both pieces have the same row count along the seam. If your edges are a little different, you can still seam them, you just do a bit of gentle easing in as you go.
Before you start: quick setup for a smooth seam
Tools
- Blunt tapestry needle
- The same yarn as your project, or a matching yarn of similar weight and fiber
- Optional: locking stitch markers or safety pins to hold alignment points
Leave enough yarn
If you are using a tail, aim for a long one. A common rule is about 3 times the length of the seam. If you already wove in tails, no worries. Just cut a new strand that is comfortably long, leave tails at both ends, and weave them in on the inside of the seam later so the finish stays comfortable against your skin.
Block first if you can
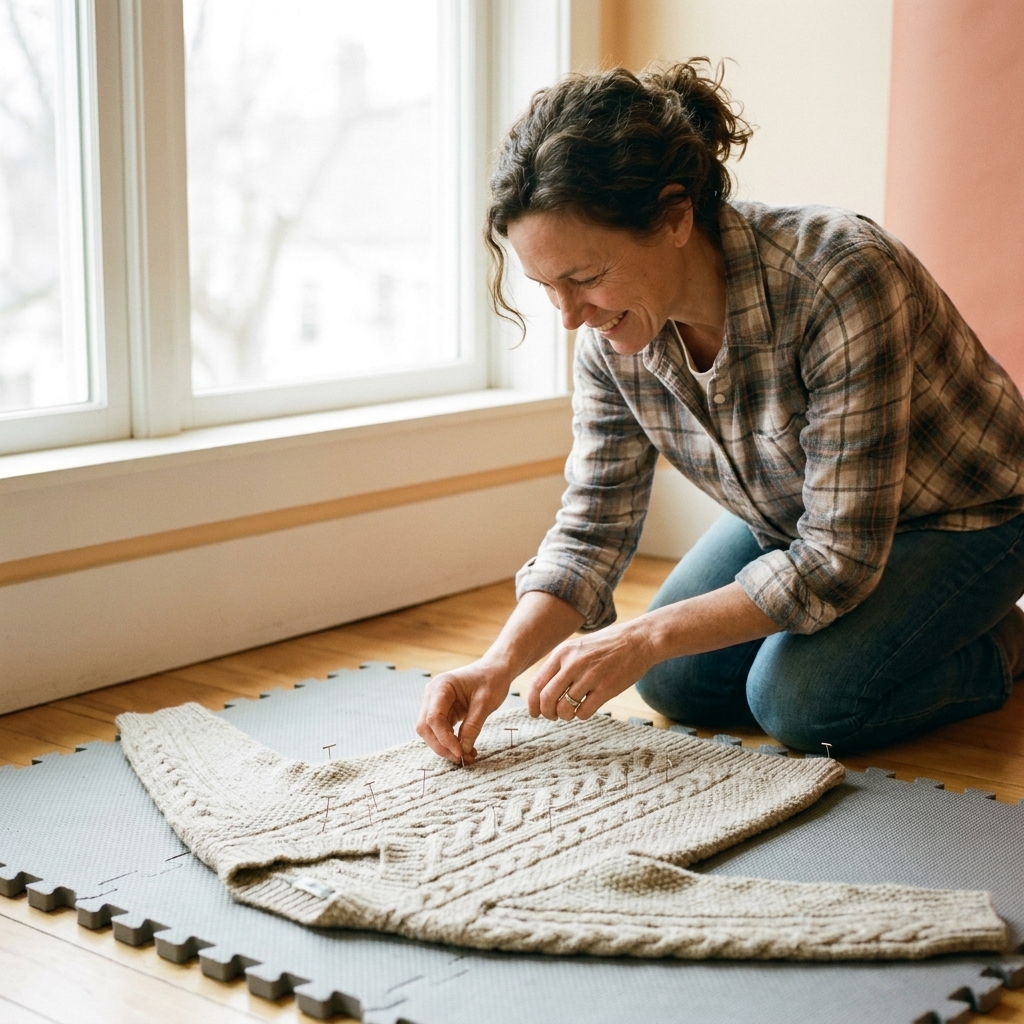
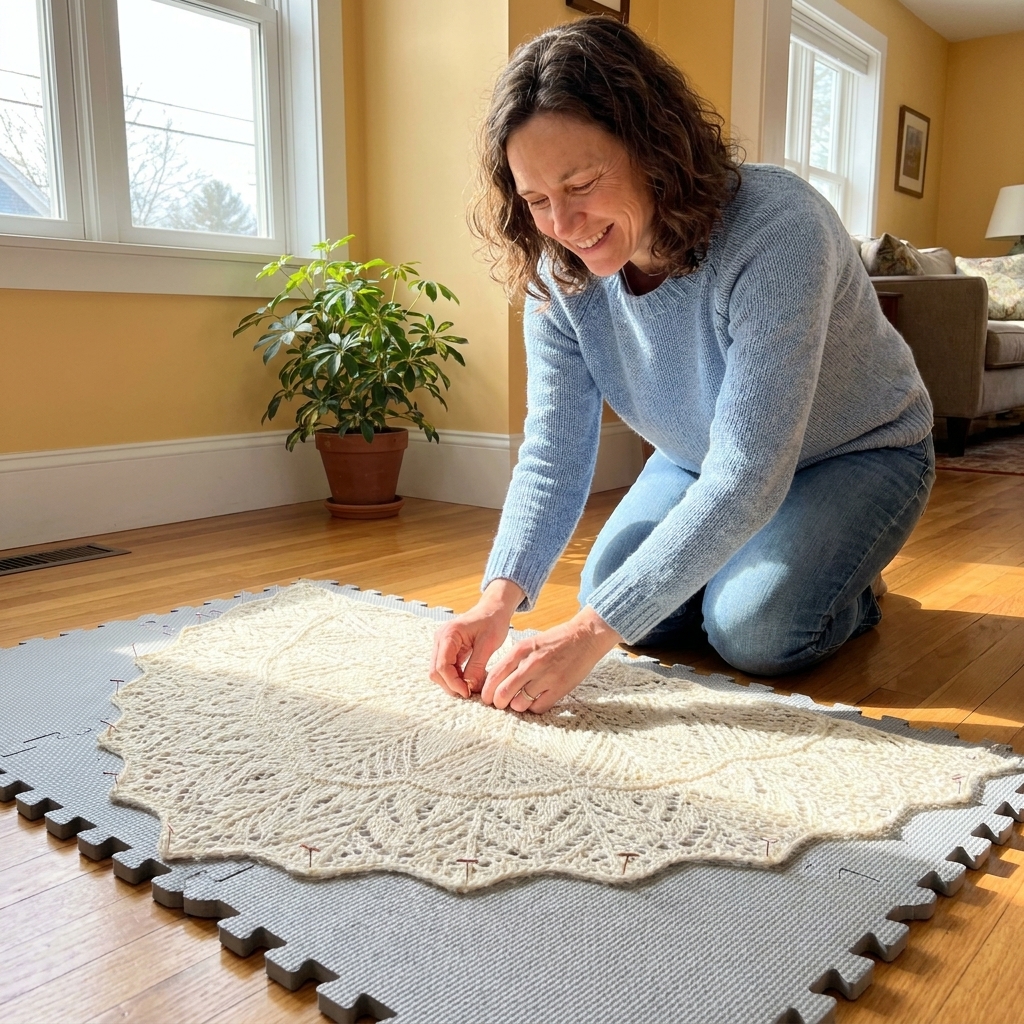
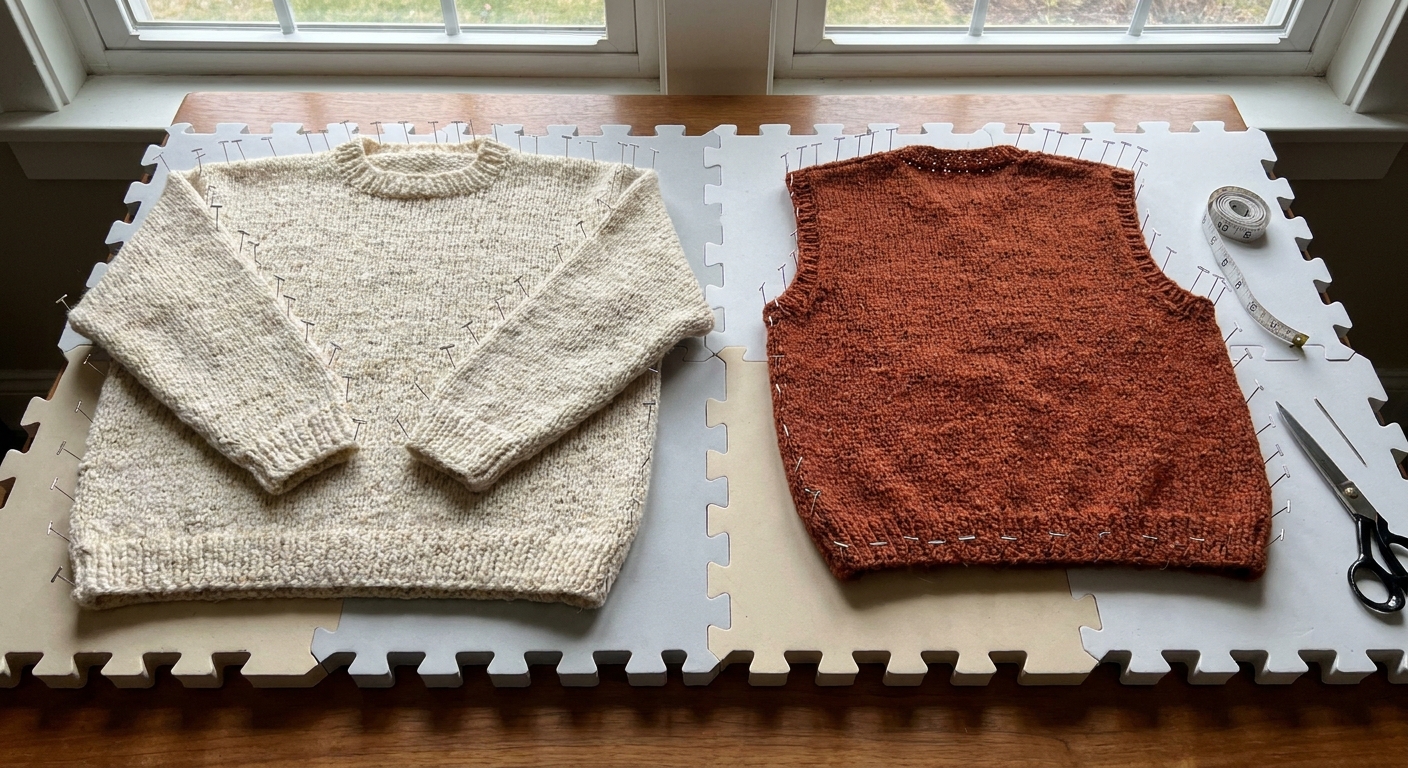
Seaming is easier when pieces are the size and shape they want to be. Even a light steam block or wet block (appropriate to your fiber) helps edges relax, which helps your seam lie flat.
Line up key points
To keep the seam straight, pin or clip the following before you sew:
- The top and bottom of the seam
- Any shaping points (waist decreases, armhole shaping)
- Stripes or pattern repeats that must match
Mattress stitch for stockinette side seams
Stockinette is the classic mattress stitch match, because the edge structure gives you a consistent ladder to pick up.
Which bars to pick up in stockinette
Lay your pieces right side up, edges side by side. Look right along the edge. You will see:
- The outermost edge stitch, which can look loose or curly
- Just inside that, a horizontal strand between the edge stitch and the next column of knit stitches (this is the strand you usually want)
You will insert your needle under that horizontal strand on each side, alternating left and right.
If your pattern uses a slipped stitch selvedge or a specific edge treatment, the exact strand you grab may shift. That is fine. The goal is to choose a tidy, repeatable pickup point just inside the edge on both pieces and stick with it.
Step-by-step: stockinette mattress stitch
Anchor your yarn. Start at one end of the seam. If you are using a tail, great. If not, leave a tail of at least 6 inches to weave in later.
Find your first ladder strand. On the left piece, slide the needle under the horizontal strand between the edge stitch and the next column in. Pull yarn through.
Match it on the right piece. On the right piece, slide the needle under the corresponding strand. Pull yarn through.
Keep alternating. Continue: left strand, right strand, left strand, right strand.
Stop to tighten every inch or two. Do not tug after every stitch. Sew several steps, then gently pull the working yarn along the seam line. The seam should close like a zipper, with no puckering.
How far in from the edge?
Most knitters pick up the strand between the first and second columns of stitches. If your edge stitch is messy or stretched, you can move one column deeper for a sturdier seam. The key is to do the same thing on both pieces, consistently, all the way up.
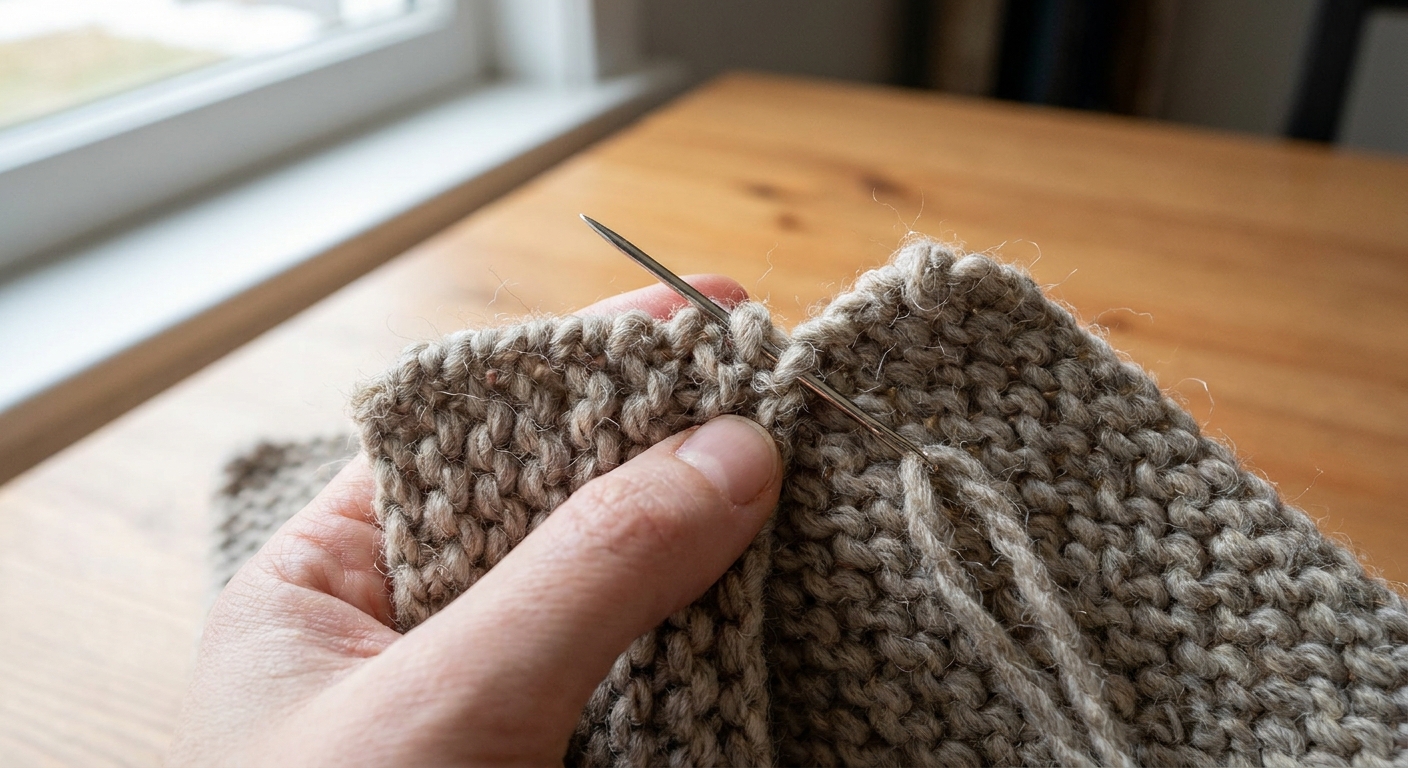
Mattress stitch for garter stitch side seams
Garter stitch is squishy and bumpy, and it hides seams beautifully. It also has a different edge structure than stockinette, so the bars to grab change.
Which bumps to pick up in garter
Garter fabric is made of ridges. Along a vertical edge, you will see little loops and bumps. A reliable method is to pick up the small horizontal bumps running just inside the edge.
Think in garter ridges, not single rows. Each ridge is two rows. Many knitters often take one pickup per ridge on each side for an even seam, but if your edge flares or waves, adjust your rhythm until the join lies flat.
Step-by-step: garter mattress stitch
Lay pieces right side up. Garter looks the same on both sides, but keeping a right side mindset helps consistency.
Locate the bumps just inside the edge. Choose a line of bumps that looks tidy and repeatable.
Sew ridge by ridge. Insert the needle under the bump on the left piece, then under the matching bump on the right piece.
Tighten gently. Pull the yarn until the edges meet and the seam sits flat, but do not compress the garter ridges.
If your garter seam looks wavy, it usually means you are sometimes grabbing an edge loop and sometimes grabbing an inner bump. Pick one target and stick with it.
Keeping the seam straight (and matching rows)
A straight mattress stitch seam is mostly about alignment and rhythm.
Use checkpoints
Before sewing, add markers or pins at:
- Top and bottom
- Halfway point
- Any stripes, cables, button bands, or pattern transitions
Then sew from checkpoint to checkpoint. This prevents the quiet drift that makes one piece creep longer than the other.
Count bars when you need to
If one side has more rows than the other, you can ease in the difference by occasionally changing your pickup rhythm. For example:
- Pick up two strands on the longer side once in a while, then continue alternating as usual
- In garter, take an extra bump on the longer side occasionally
Do this gradually across the seam, not all in one spot. The goal is a seam that looks calm and even from the right side.
Pull tension in the direction of the seam
When you tighten, pull the working yarn along the seam line, not up and away from the fabric. This helps the seam close without puckering the knitting.
Tension tips: flat seams with no laddering
Laddering happens when the seam yarn is too loose, or when you are not consistently grabbing the same depth of strand on each side.
- Sew a few inches, then tighten. Mattress stitch is happier in batches than in tiny tugs.
- Match the depth. If you pick the strand between columns 1 and 2 on the left, do the same on the right for the whole seam.
- Use the fabric as your guide. Tighten until the edges touch and the stitches look continuous. Stop before the seam starts to pucker or pull inward.
- Let the yarn relax. Especially with wool, the seam can look a bit firm at first and then settle after blocking.
- Check the right side often. Every few inches, lay the work flat and look. If you see a gap, tighten a touch. If you see rippling, loosen slightly by easing slack back with the needle tip.
Tension tip: If you are unsure about tension, err on the side of slightly loose while sewing. You can usually tighten mattress stitch later by pulling the working yarn. If you go too tight, you can often work some slack back with the needle and re-block, though severe puckering may mean re-seaming a section.
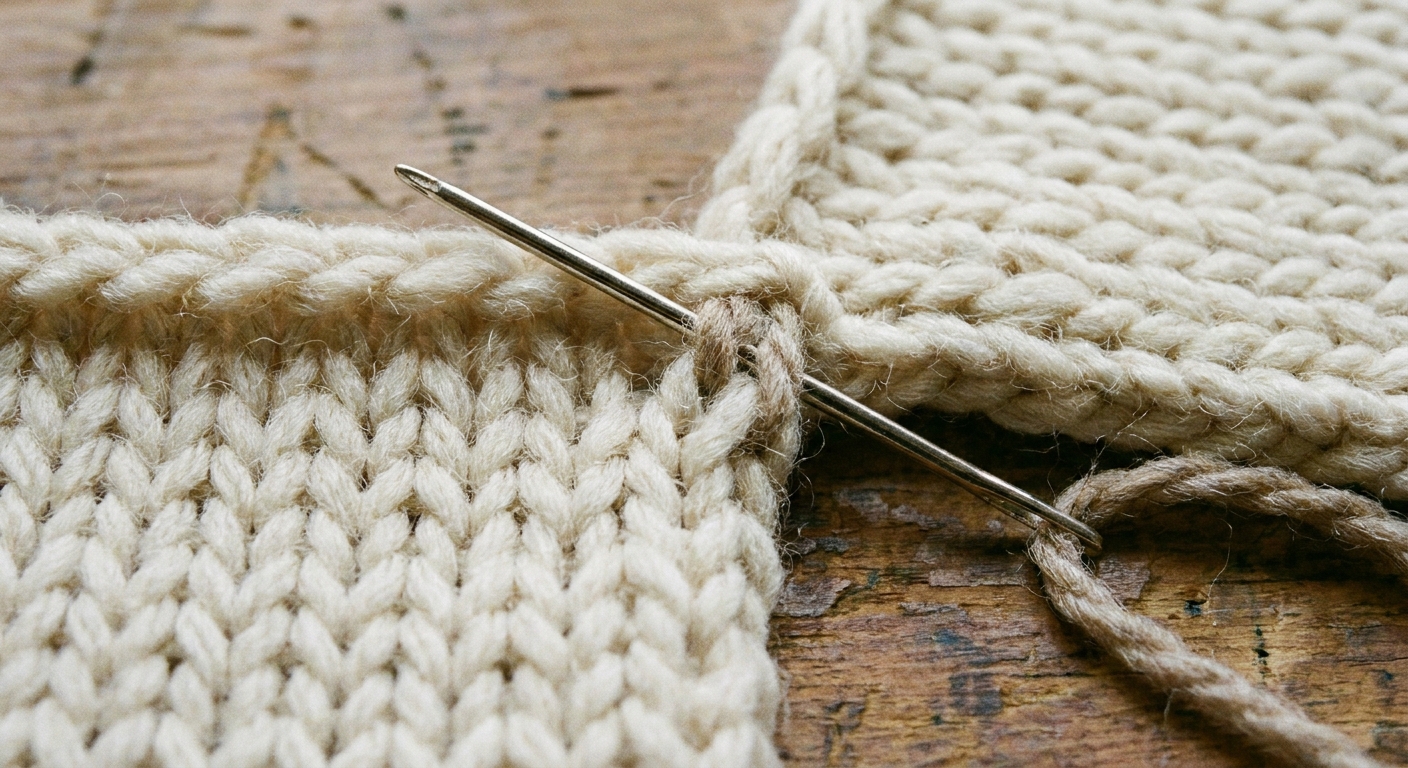
Joining a bound-off edge to a side edge
Sometimes the seam you need is not edge-to-edge in the same direction. You might need to attach a bound-off edge (like the end of a strap, shoulder, or pocket top) to the side edge of another piece (like the body of a sweater).
You can still use the mattress stitch idea: pick up a consistent structure on each edge, then snug it up so it sits flat.
What to pick up on the bound-off edge
Along a bound-off edge, look for a firm chain of stitches. You can sew through:
- The bound-off V (the little stitch shapes along the edge), or
- The bumps just behind the bound-off edge for a slightly hidden join
Pick one approach and stay consistent.
What to pick up on the side edge
On a stockinette side edge, use the same horizontal strands you would for a vertical seam. On garter, use the ridge bumps.
Step-by-step: bound-off to side edge
Pin placement first. Pin the bound-off edge exactly where it should sit on the side edge. Mark both ends, plus the midpoint.
Plan for a mismatch. A bound-off edge has stitches. A side edge has rows or ridges. They rarely match perfectly, so you will distribute the difference as you sew. If things want to ripple, change your ratio until it lies flat. One common approach is to take an occasional extra bite on the longer edge, spaced out evenly.
Sew like a zipper. Alternate: take a bite of the bound-off chain, then a bite of the side-edge strand or bump.
Tighten gently and check the fabric. The join should lie flat and not pull the side edge into a curve.
Seaming different stitch patterns
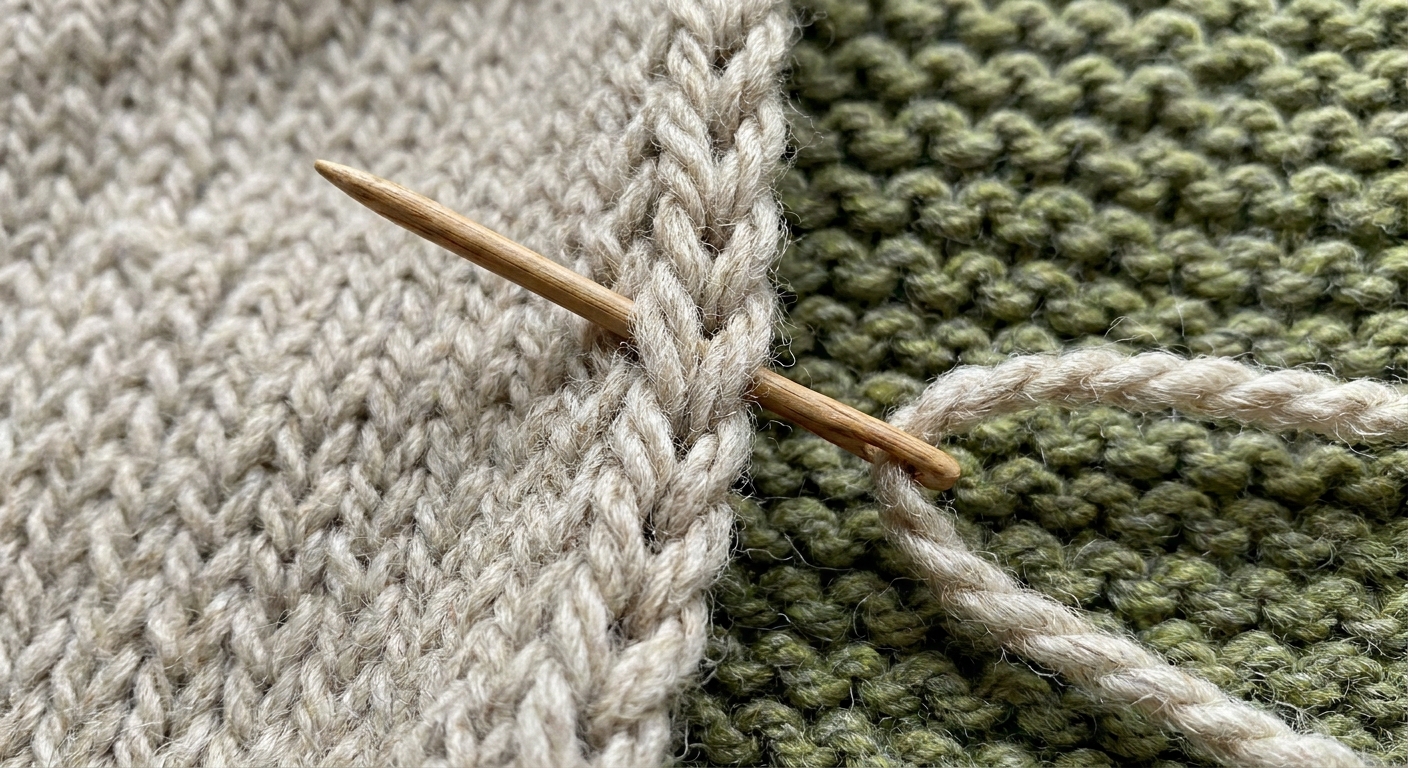
Sometimes you are not joining stockinette to stockinette. You might be seaming rib to stockinette, a textured panel to a plain side, or a slipped-stitch edge to a regular edge.
The principle stays the same: choose a consistent pickup structure on each piece and keep your rhythm steady. In practice, that can mean grabbing a strand that sits one column deeper on the stretchy rib side so the seam does not flare, or using extra checkpoints so pattern transitions stay lined up.
Common mattress stitch mistakes (and easy fixes)
The seam shows as a ridge on the right side
- Cause: You might be stitching through edge stitches instead of the strands just inside the edge.
- Fix: Undo a few inches and move your needle one column in, catching those ladder strands consistently.
The seam has gaps or ladders
- Cause: Tension too loose, or you are skipping strands unevenly.
- Fix: Pull the working yarn along the seam to snug it up. If gaps remain, check that you are grabbing the same type of strand on both pieces.
The seam puckers or ripples
- Cause: Over-tightening, or pulling upward instead of along the seam.
- Fix: Ease slack back with the needle tip and tighten in smaller increments. Blocking after seaming also helps.
The pieces do not match up at the top
- Cause: Alignment drift.
- Fix: Stop, check your checkpoints, and re-pin. Seaming in sections prevents this next time.
Mini FAQ
Do I seam from the right side or the wrong side?
Mattress stitch is typically worked from the right side with both pieces right side up. That is how you can see the strands you are picking up and how you get the nearly invisible finish.
Should I use the same yarn or a separate seaming yarn?
Using the same yarn is the simplest and usually the best match for stretch and appearance. If your project yarn is very fragile, very fuzzy, or splits easily, a smoother matching yarn can make seaming easier. Keep the weight similar so the seam does not distort.
How do I secure the seam at the beginning and end?
At the start, leave a tail to weave in. At the end, run the yarn tail through a few nearby stitches on the inside of the seam, then weave in neatly. Avoid big knots that can make a bump you feel when wearing the garment.
Can I mattress stitch in the round?
Mattress stitch is for joining two edges. If you already knit something as a tube, you do not need it there. But you can still use mattress stitch to attach pieces to a tube, like setting in a sleeve cap or joining shoulder seams made flat.
A calm finishing note
Seaming is not the part where we race. It is the part where we make the knitting behave like a garment. Pick the same strands, line up your checkpoints, and tighten in gentle little zip moments.
One more stitch. Then just one more.