One more row. Then just one more.
And suddenly you are staring at two shoulder edges on hold, thinking, please let this part be easy. Good news: the three-needle bind-off is one of the tidiest, most dependable ways to join two sets of live stitches into a sturdy shoulder seam. It is quick, it lines up cleanly, and it gives your sweater a little backbone right where you want it.
What it does
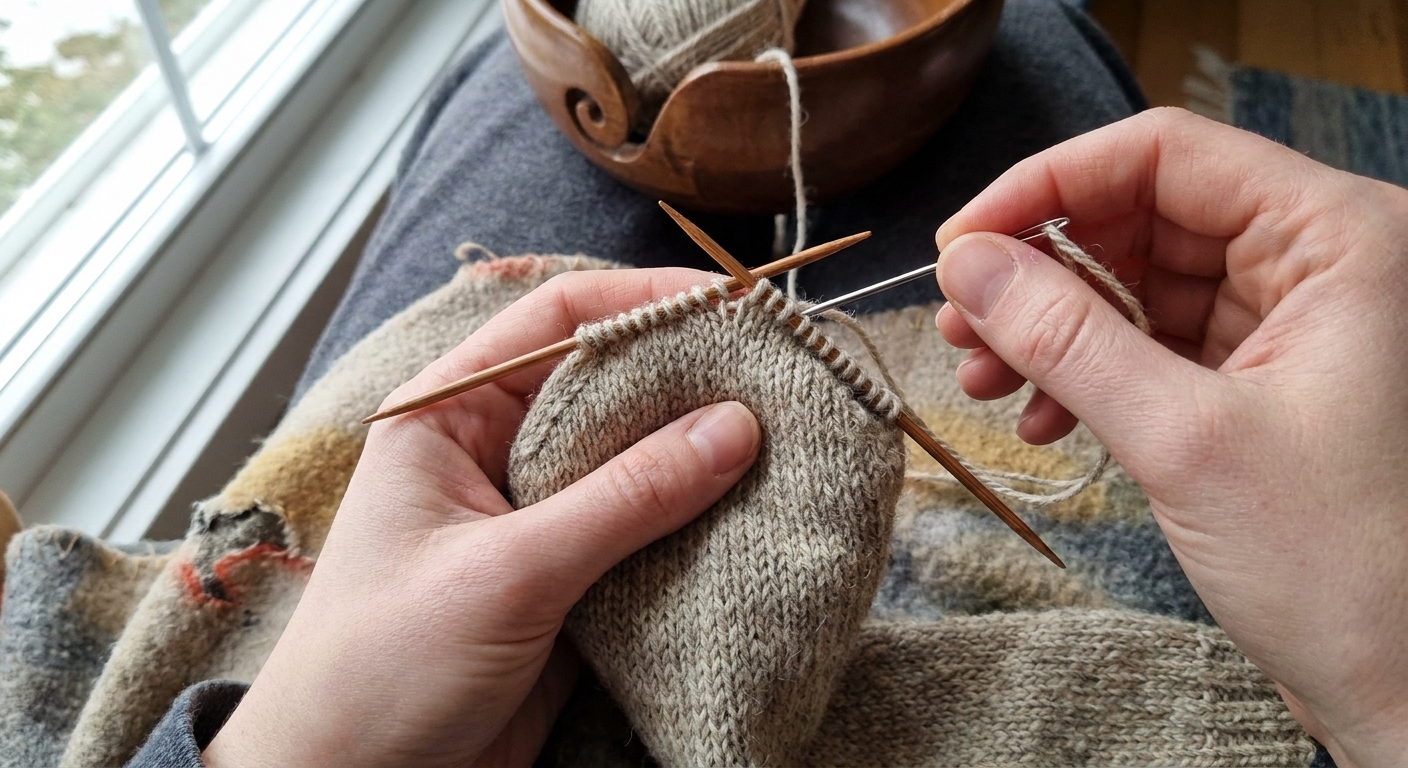
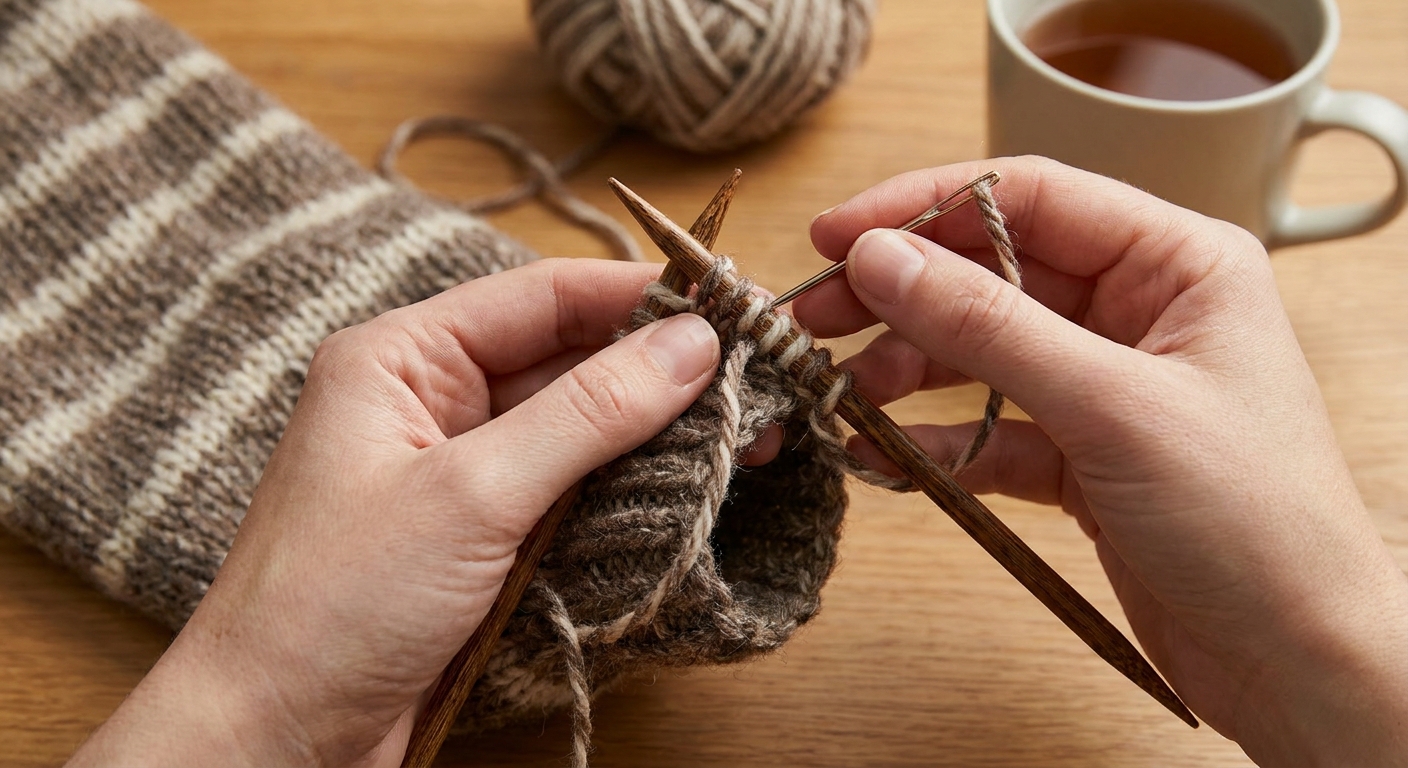
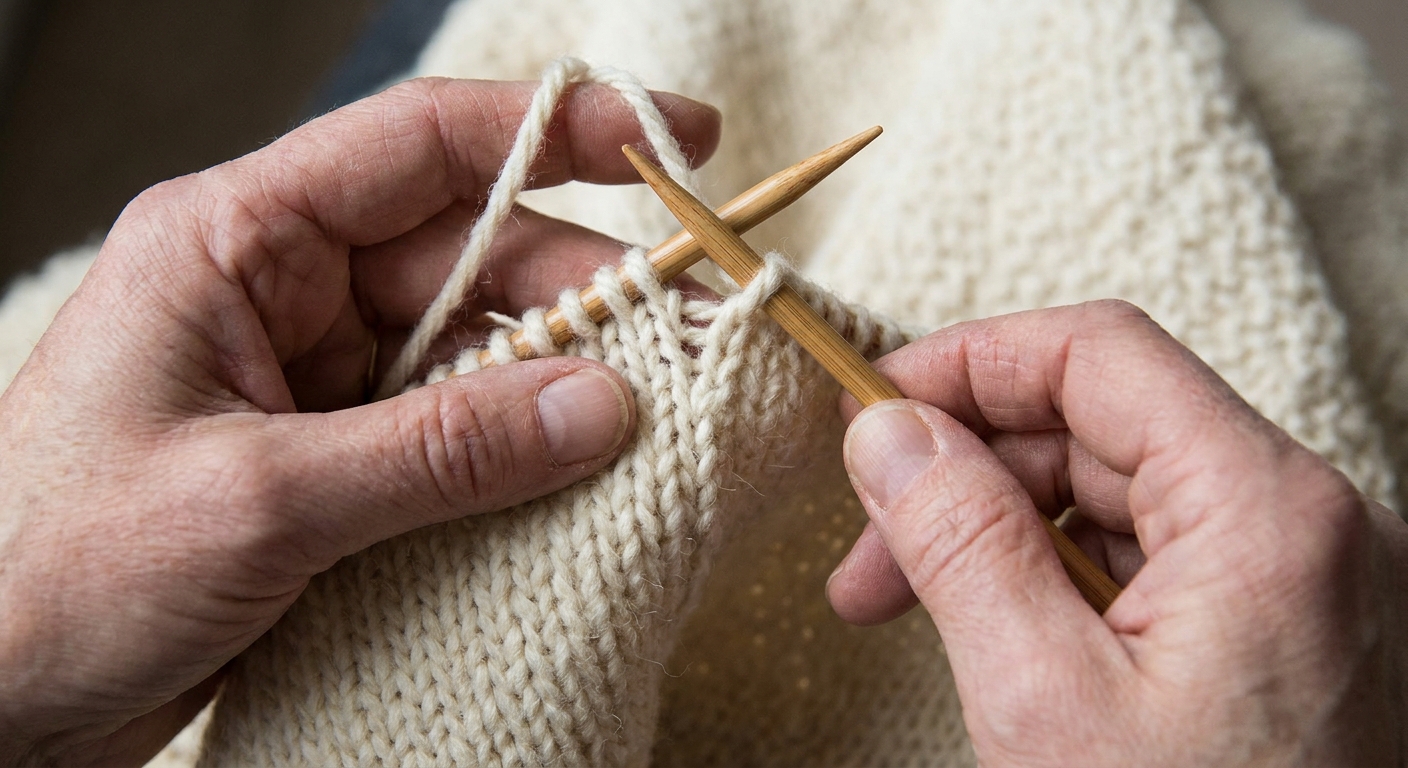
A three-needle bind-off joins two live edges at the same time that it binds them off. Instead of binding off one shoulder and then sewing, you:
- Hold the front shoulder stitches on one needle
- Hold the back shoulder stitches on another needle
- Use a third needle to knit one stitch from each needle together
- Bind off as you go
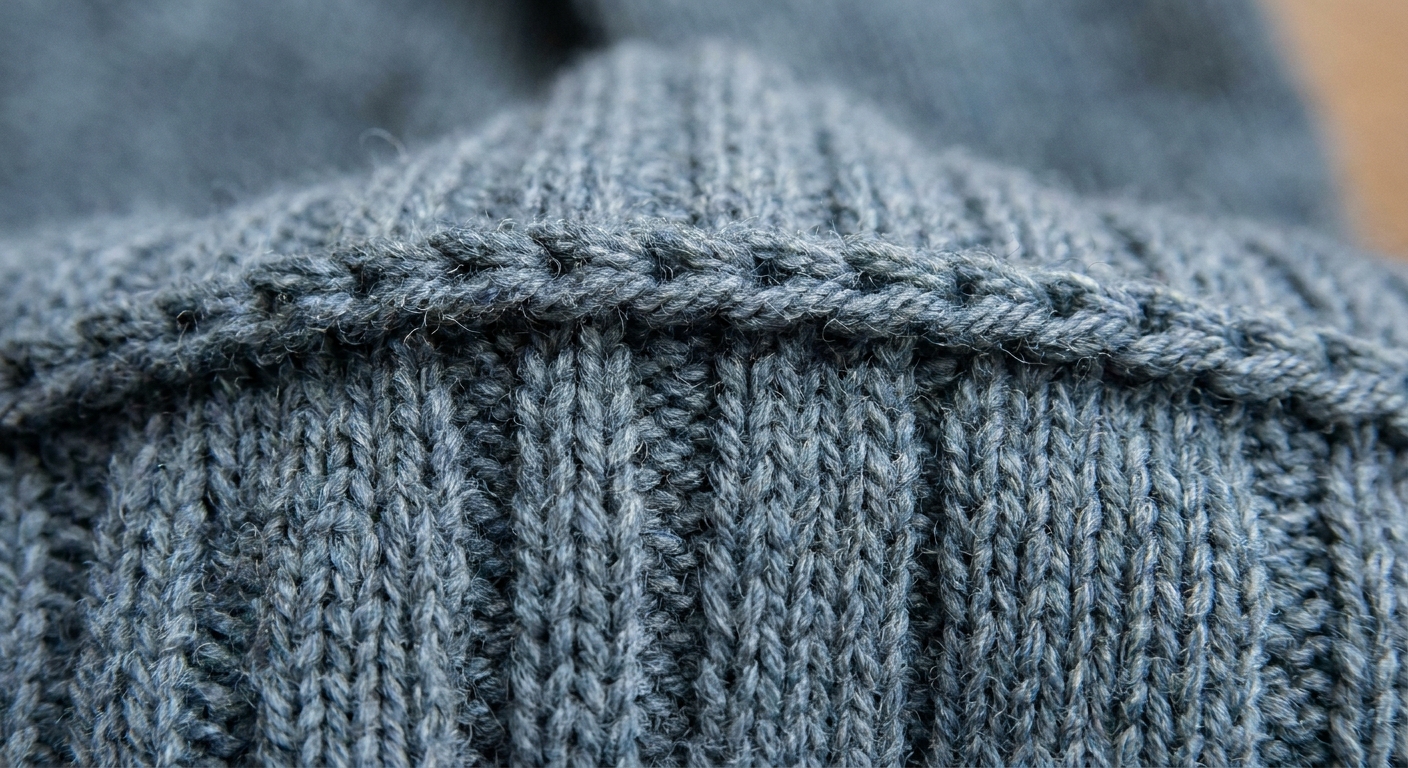
The result is a firm, slightly raised seam that helps shoulders keep their shape. It is especially lovely for garments that get a lot of wear, or yarns that like to grow.
Before you start
1) Get your stitches onto needles
Make sure both shoulders are truly on needles (not just a scrap yarn loop with no tips available), so you can hold the edges parallel and work comfortably. Many knitters like using two needle tips from the same interchangeable set, or a spare circular, so both sets of live stitches sit on needles of the same size.
The third needle can be the same size as your project needle, or one size larger if you tend to bind off tightly.
2) Make sure stitch counts match
Ideally, each shoulder has the same number of live stitches. If your pattern includes short rows, slopes, or special shoulder shaping, count before you commit.
If the counts do not match, check your pattern first. Some designs intentionally offset or ease stitches at the shoulder. If you truly have extra stitches on one side, you have two practical options:
- Ease them in gradually: every so often, work a planned pair as k2tog (or p2tog if you are working purlwise) on the needle with extras, then continue pairing one stitch from each needle as normal.
- Redistribute before seaming: move one or two stitches at the edge (or adjust which stitches you place on hold) so the live stitch groups match more cleanly, especially if you need a specific shoulder slope or pattern alignment.
The key is to handle it slowly and evenly, not all at once at the neckline corner where lumps like to show up.
3) Use the right needle size
You can use the same needle size you knit the garment with. If your knitting tends to be tight when binding off, going up one needle size for the third needle can help prevent puckering.
4) Decide where you want the ridge
The three-needle bind-off creates a visible ridge. A simple way to think about it is this: the ridge sits on the side where you form the bind-off chain, which is the side facing you as you work.
That ridge can be:
- On the inside for a clean exterior finish (most common for sweaters)
- On the outside as a design detail (fun for inside-out seams or textured looks)
Needle order can slightly change what you see, so once you find a setup you like, keep it consistent from one shoulder to the other.
Step by step
You will have two needles holding live shoulder stitches, plus a third needle to work with, plus your working yarn.
Step 1: Hold the needles parallel
Arrange the two needles so they are parallel, one in front of the other, with the tips pointing in the direction you will work.
Ridge placement:
- Ridge on the inside (typical): Hold the pieces with right sides together.
- Ridge on the outside (decorative): Hold the pieces with wrong sides together.
This works because you are looking at the side where the bind-off chain is being made. With right sides together, you are looking at the wrong side of both pieces, so the ridge lands inside.
Step 2: Knit through both first stitches
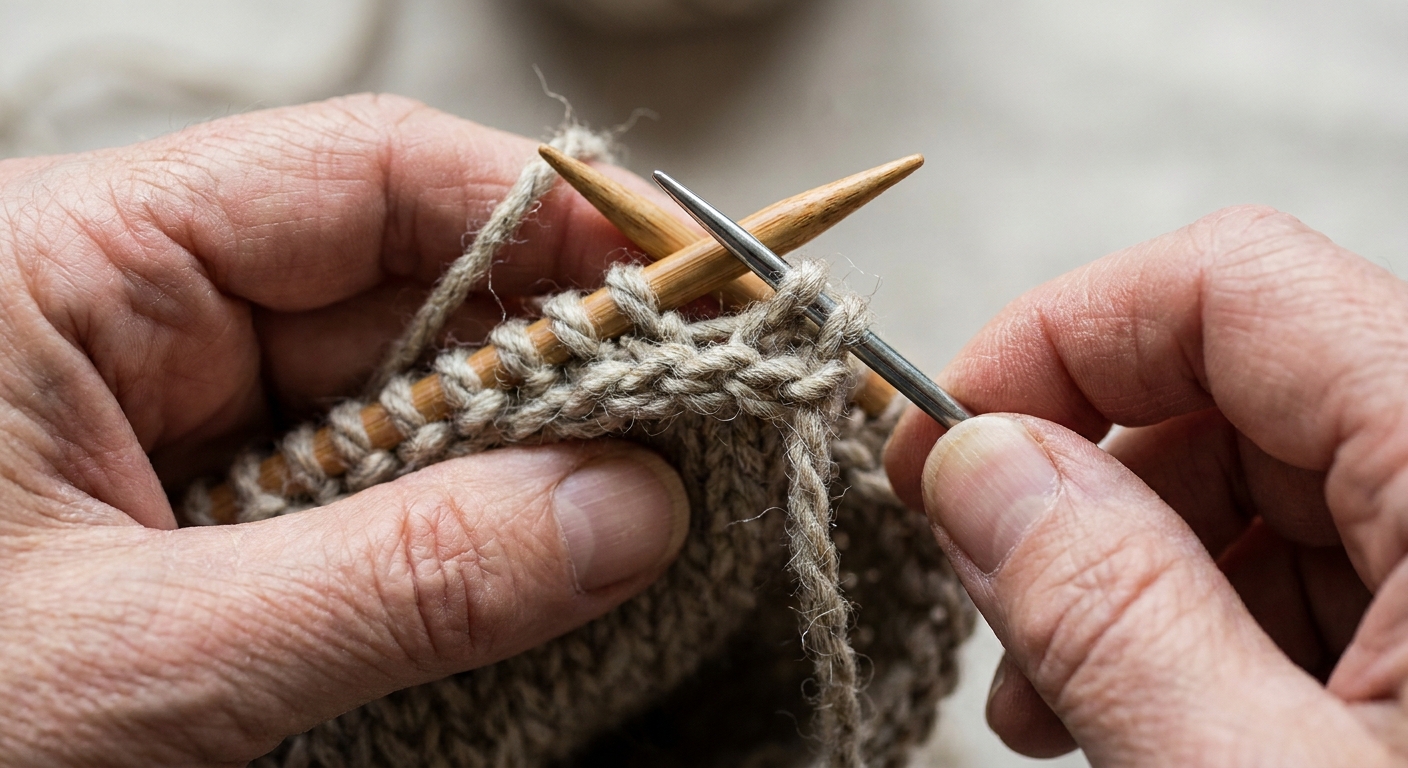
Insert the third needle knitwise through the first stitch on the front needle and the first stitch on the back needle at the same time, as if working a k2tog across two needles.
Wrap the yarn and pull through to make one new stitch on the third needle.
Step 3: Make one more stitch
Work the next pair of stitches the same way. Now you should have two stitches on your third needle.
Step 4: Bind off one stitch
Lift the first stitch on the third needle over the second stitch, just like a standard bind-off. You now have one stitch remaining on the third needle.
Step 5: Continue across
Keep going in this rhythm:
- Knit together one stitch from each needle
- Bind off one stitch by passing the previous stitch over
When you reach the end, cut the yarn leaving a tail long enough to weave in, and pull it through the last stitch to secure.
Avoid puckering
Shoulders want to lie flat. Puckering usually comes from tension that is too tight, or from pulling the bind-off edge shorter than the fabric it is joining. Here are my favorite ways to keep the seam calm and even.
Use steady tension
When you knit each paired stitch together, aim for the same size loop you would make in your regular knitting. If your new stitches on the third needle look smaller and tighter, loosen up before you bind off.
Try a bigger third needle
If you always bind off tight, switch to a needle one size larger for the working needle (the third needle). It is a small change that can make the seam more comfortable and less pinched.
Do not tug each step
It is tempting to snug everything up. Instead, let the seam settle naturally. You can lightly adjust at the end, but frequent tugging can create little gathered spots.
Check alignment often
Especially with textured patterns, pause and make sure you are not accidentally offset by one stitch. If your fabric has stripes or a strong texture repeat, matching those repeats as you go keeps the seam tidy from the outside.
Keep needle order consistent
Pick a habit and stick with it, like holding the front shoulder needle in front every time. Consistency helps you predict where the ridge lands and makes the two shoulders match.
Which side faces out
This is the question I hear most, because the ridge is part of the charm and part of the decision.
For the ridge inside
- Put the garment pieces right sides together.
- You will be looking at the wrong sides as you work.
- The bind-off chain and ridge will sit inside the sweater and the outside will look smooth.
For the ridge outside
- Put the garment pieces wrong sides together.
- You will be looking at the right sides as you work.
- The bind-off chain and ridge will show on the outside as a decorative seam.
If you are unsure, pause before starting and hold the pieces together the way you plan to seam them. Imagine the bind-off chain forming on the side facing you. That quick visualization saves a lot of unpicking later.
Three-needle bind-off vs grafting
Both methods join live stitches. The difference is the look and structure.
Choose three-needle bind-off when:
- You want stability. Shoulders benefit from a seam with structure.
- Your yarn grows. A firm seam helps prevent stretching out over time.
- You want speed and simplicity. It is rhythmic and hard to mess up once you are set up.
- Your pattern expects a shoulder seam. Many sweater constructions rely on that support.
Choose grafting when:
- You want a flat, nearly invisible join.
- You are sensitive to ridges. This can matter with bulky yarns or right at the shoulder line.
- You need uninterrupted patterning. For some stitch patterns, a ridge would break the visual flow.
When not to use it
I love a three-needle bind-off, but I do not reach for it everywhere. It is usually not my first choice where you need stretch, like some necklines, hems, or areas that must flex a lot with movement.
A cozy rule of thumb: if you would rather have a shoulder that behaves than a shoulder that disappears, the three-needle bind-off is your friend.
Common fixes
My shoulders look twisted
This often happens if one set of stitches is mounted differently (for example, picked up and placed on a needle in the opposite orientation). Make sure both needles hold stitches in the same orientation, with the leading leg of each stitch consistently positioned. If in doubt, stop and check that you are not knitting through the back loop on one needle by accident.
The seam is too tight
Try again using a larger third needle and consciously relax your bind-off motion. If you are already done, blocking can help a little, but a very tight bind-off may need to be redone for comfort.
The seam is too bulky
Use the same yarn as the garment for the bind-off and avoid doubling yarn. If you are working with a very bulky yarn, consider grafting for a flatter result, or place the ridge inside to keep the look cleaner.
I ended with one stitch left on one needle
You likely slipped or skipped a stitch along the way. The fastest fix is to tink back a few steps until the counts match again, then continue. Forcing the last stitches together usually creates a lump right at the neckline edge where it will be noticeable.
Finish the neckline corner
At the end of a shoulder seam, there is often a little corner where shoulder meets neckline or armhole shaping. After fastening off:
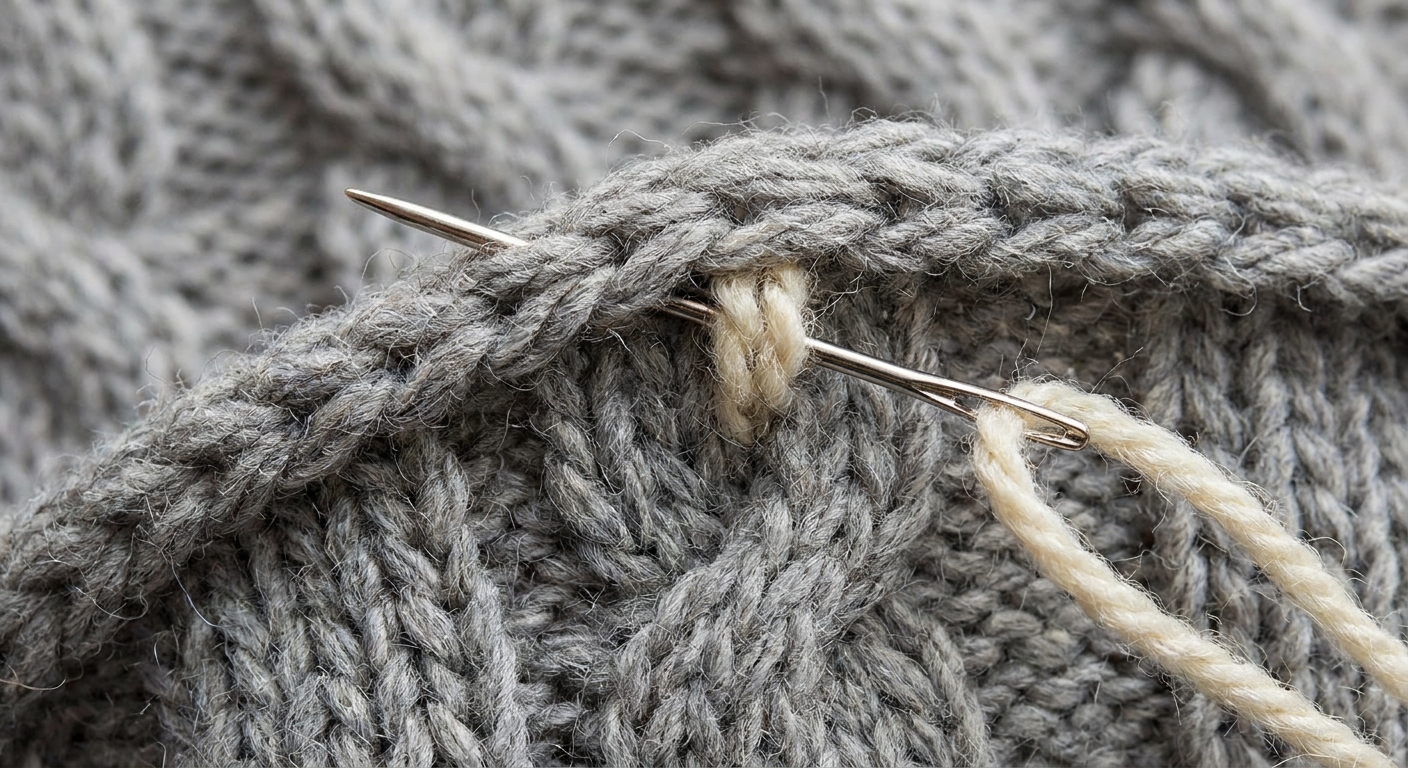
- Weave in the tail along the ridge on the inside for a tidy path.
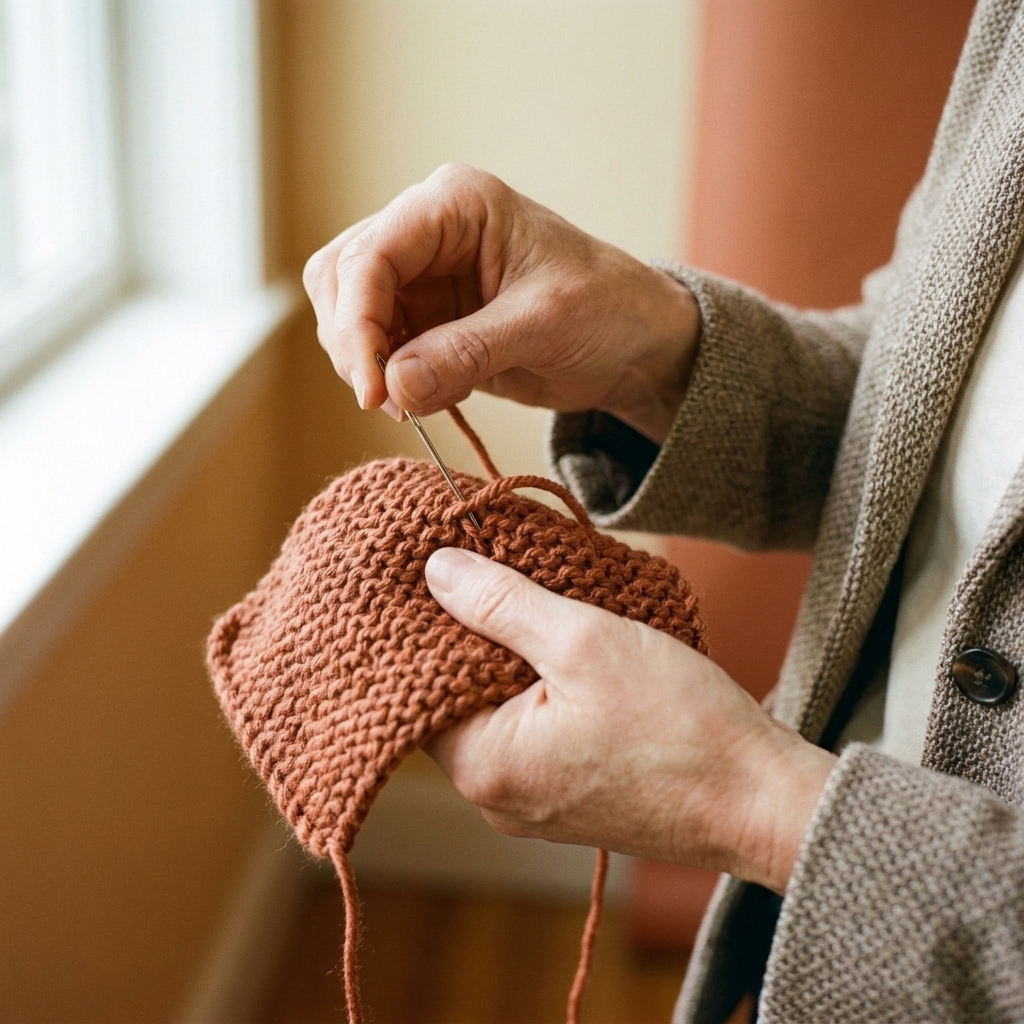
- If there is a tiny gap at the corner, use the tail to snug it with one small stitch, then weave in as normal.
This is one of those small, quiet steps that makes the whole sweater look intentional.
Quick FAQ
Do I have to bind off knitwise?
Most knitters work the three-needle bind-off knitwise because it is straightforward and sturdy. You can work it purlwise if you are deliberately trying to match a specific texture on the ridge side, but for shoulders, the classic knitwise version is usually the best choice.
Can I do this in pattern, like ribbing?
Yes, with a little care. If both shoulders end in ribbing and you want continuity, you can work the paired stitches together in knit or purl as they present. Keep your tension relaxed, because ribbing plus a tight bind-off can feel restrictive.
Is a three-needle bind-off stretchy?
It is typically less stretchy than some bind-offs because it is forming a seam. For shoulders, that is a feature. If you need more give (for example, a drop-shoulder with lots of ease), use a larger third needle and avoid tightening as you bind off.
Should I steam or wet block the seam?
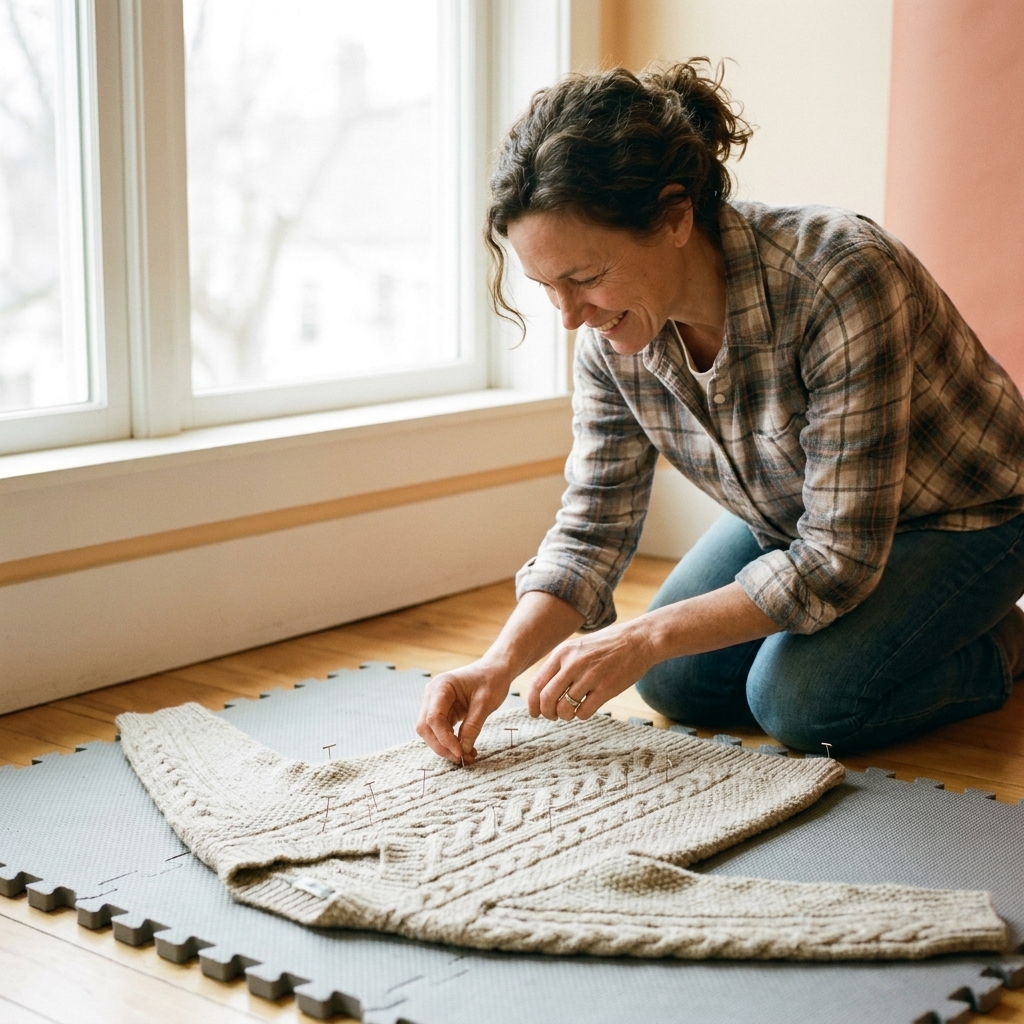
Blocking after seaming helps the shoulder settle and the ridge relax. Choose your method based on fiber. Many wools respond beautifully to wet blocking, while some fibers, like acrylic, can be damaged by high heat and aggressive steam. When in doubt, use the gentlest blocking that works for your yarn.