One more stitch. Then just one more.
Binding off is the moment your knitting turns into a finished thing. It should look tidy, feel comfortable, and stretch when it needs to. Too tight and a hat brim will not go over a head. Too loose and cuffs flare like little bells. Let’s make a bind-off edge that behaves.
What a good bind-off feels like
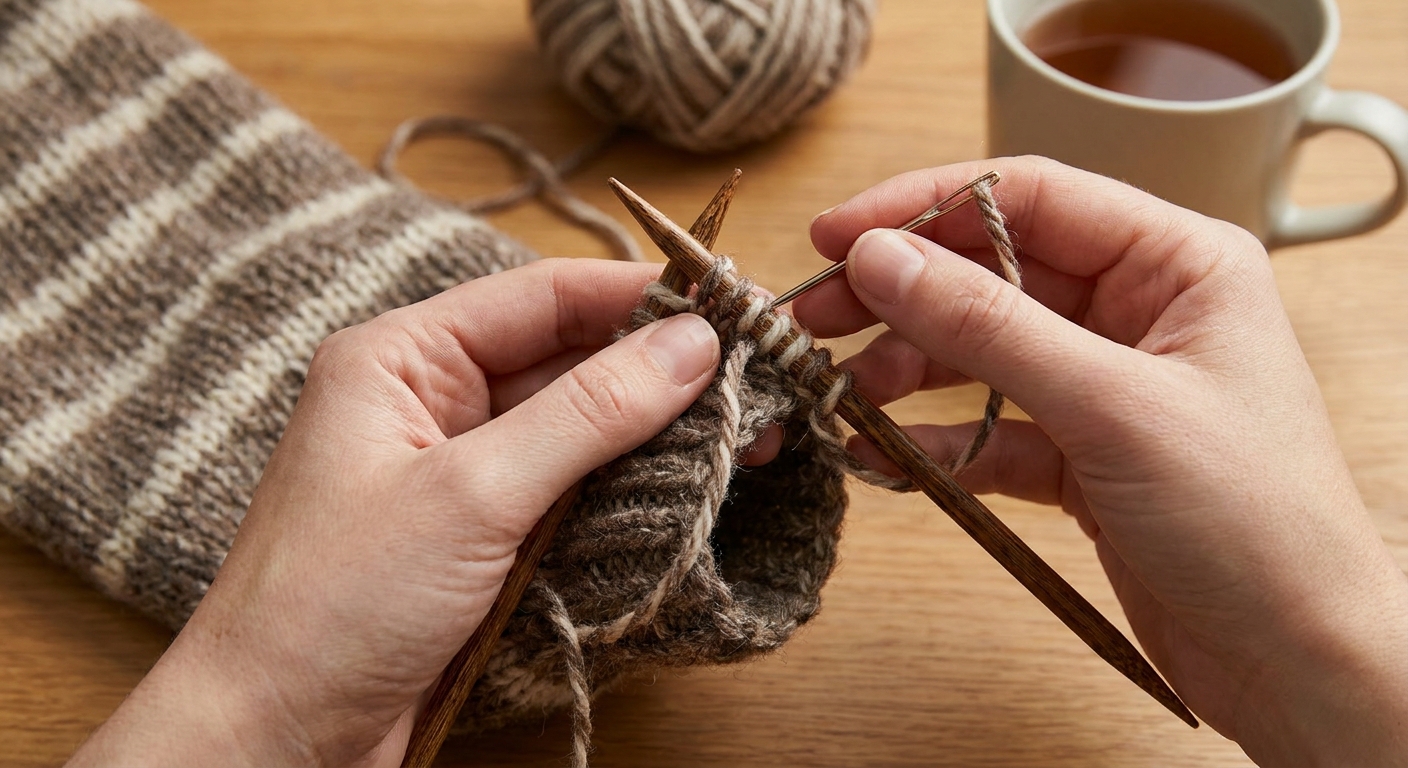
A clean bind-off edge has three main traits:
- Even loops: The top edge looks like a tidy chain. The loops are similar size, not big-small-big.
- Right amount of stretch: The bind-off should suit the edge’s job. For ribbing, it often ends up similar in stretch to the cast-on, but the goal is comfort and recovery, not a perfect match.
- Flat finish: The edge sits flat against the fabric. It does not ripple outward (flared) or pinch inward (tight).
If you are unsure, do a gentle test: slide your fingers into the opening and stretch until the ribbing opens up. The bind-off should move with it, not act like a stiff drawstring.
Before you bind off
Use a relaxed needle grip
Most bind-off problems come from pulling each stitch snug. When you bind off, let the loops stay the size your needle makes them. Think: guide the yarn, do not tug the yarn.
Consider needle size for the last row
If you always bind off too tight, switch to a needle one size larger for the bind-off row. You can bind off directly from your working needle, but a larger needle gives your loops a little breathing room.
Count your stitches
Binding off hides small mistakes until it is too late. If your stitch count is off, fix it before you commit to the edge.
Method 1: Standard bind-off
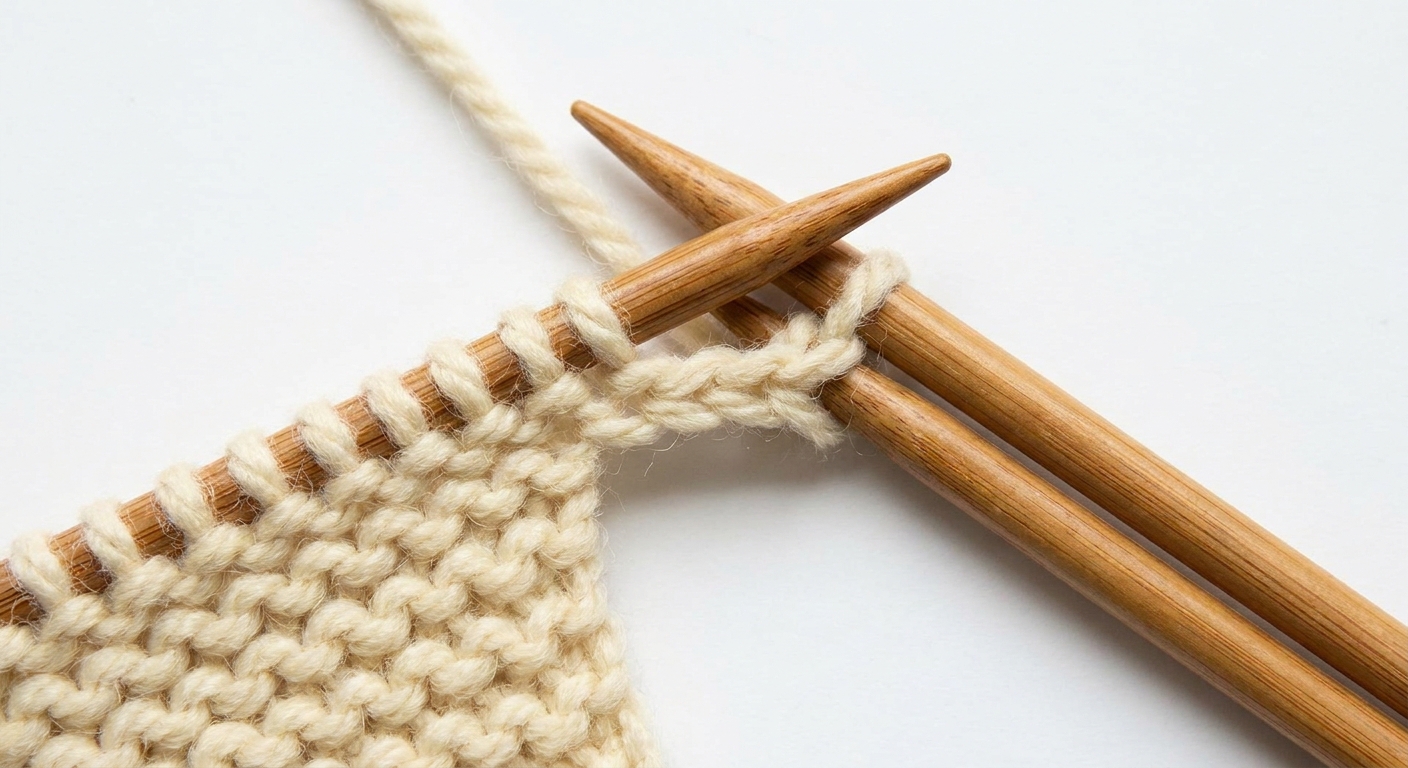
This is the classic bind-off you see in many beginner patterns. It makes a firm edge that works beautifully for scarves, blankets, and sweater hems that do not need extra stretch.
Step-by-step
- Work 2 stitches: Knit 2 stitches, or work 2 stitches in pattern if your last row is not all knit.
- Pass the first stitch over the second and off the right needle.
- Work the next stitch (knit or purl as your pattern says).
- Pass the previous stitch over the new stitch and off the needle.
- Repeat across until one stitch remains.
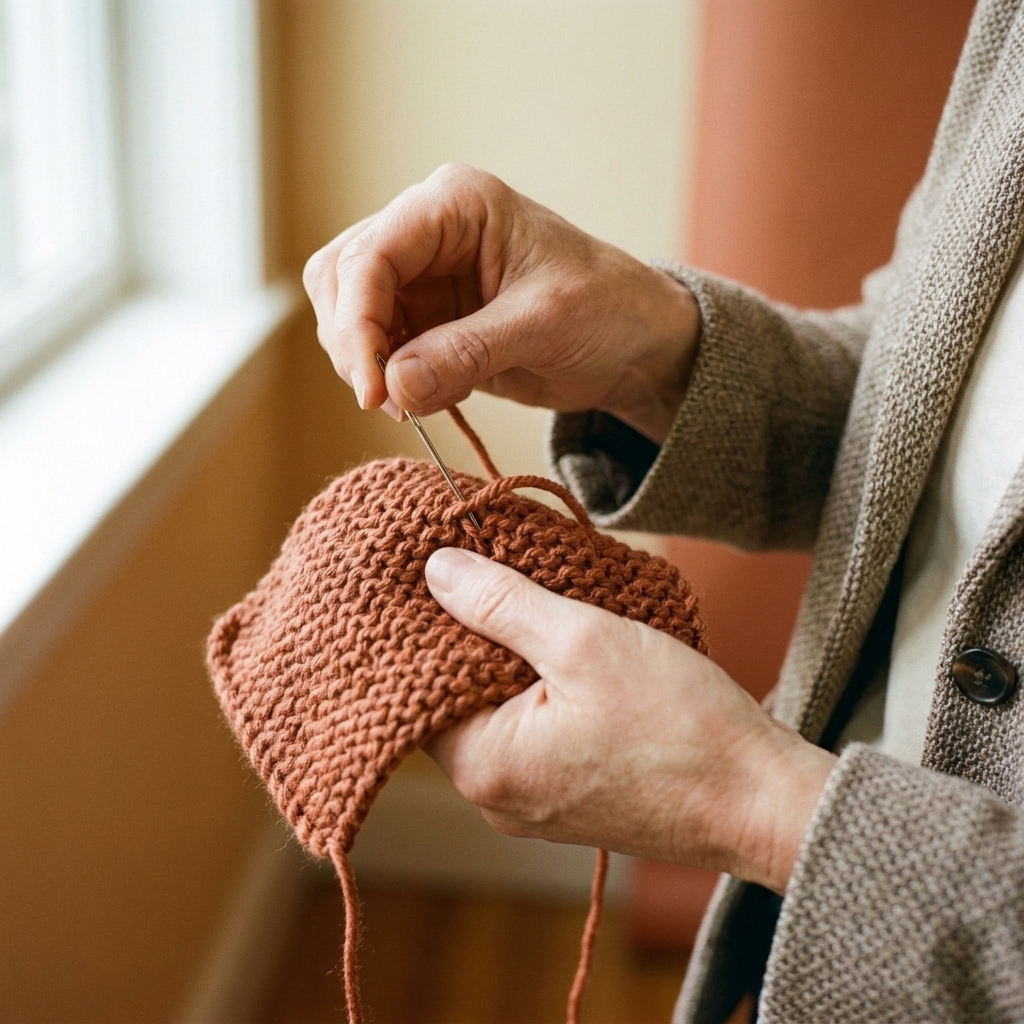
- Finish: Cut yarn with a tail long enough to weave in, pull tail through the last stitch, and snug it gently.
Method 2: Stretchy bind-off for ribbing
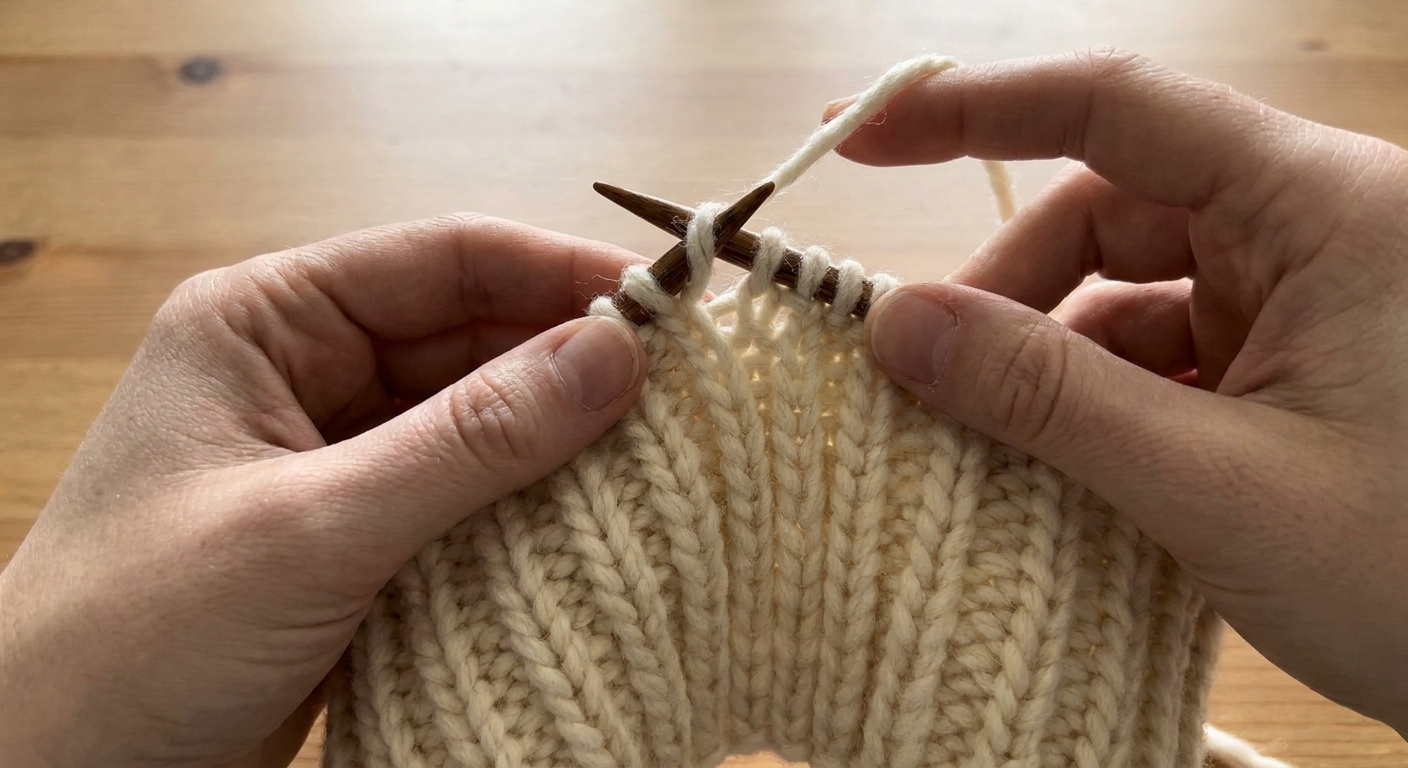
For cuffs, hat brims, and the bottom of ribbed sweaters, you usually want a bind-off that can expand and spring back. A favorite for that is Jeny’s Surprisingly Stretchy Bind-Off, often shortened to JSSBO. It is stretchy, tidy, and great when you want your bind-off to keep up with 1x1 or 2x2 rib.
JSSBO uses yarn overs to add a little extra length to each bind-off step, which is exactly what tight bind-offs are missing.
Step-by-step (work in pattern)
You will make a yarn over on the right needle before each stitch. Then, after working that stitch, you bind off two loops each time: the previous stitch and the yarn over.
- Start: Work the first stitch as your pattern indicates (knit or purl).
- Before a knit stitch: Bring yarn to the front between the needles, then up and over the right needle to the back to make a yarn over. Knit the next stitch.
- Bind off: Pass the previous stitch over the stitch you just made and off the right needle. Then pass the yarn over over that stitch and off as well. You should be back to one stitch on the right needle.
- Before a purl stitch: Bring yarn to the back between the needles, then up and over the right needle to the front to make a yarn over. Purl the next stitch.
- Bind off again: Pass the previous stitch over, then pass the yarn over over.
- Repeat steps 2 through 5 across the row or round.
- Finish: Cut yarn, pull through the last stitch, and snug gently without yanking.
How stretchy is stretchy enough?
A practical check: if you are binding off a hat brim or cuff, stretch the edge to the maximum size it must reach. For a hat, that is usually a comfortable stretch that would slide over the widest part of the head. If the edge resists or the ribbing stretches but the bind-off barely moves, choose JSSBO or go up a needle size and try again.
One caution: JSSBO can be very stretchy. If your edge is flaring, it is a sign you may want a firmer bind-off or a smaller needle.
Keep it even
Match loop size to your needle, not your nerves
After each bind-off step, keep the working stitch sitting normally on the right needle. If you tug the yarn tight to be neat, the loop shrinks and the whole edge turns into a tight cord.
Use the same motion every time
Consistency makes a smoother chain. Try to pass stitches over with the same part of your needle tip and avoid twisting the stitch as you move it over.
Pause every 10 stitches
When bind-off tension drifts, it drifts slowly. A quick glance helps you catch tightening before it becomes a problem.
Which bind-off to use
- Standard bind-off: Scarves, dishcloths, blanket edges, structured hems, places you want firmness.
- JSSBO: Ribbing on cuffs and socks, hat brims, sweater necklines with rib, any opening that must stretch comfortably.
If you are unsure, ask one question: Does this edge need to stretch to go on? If yes, use the stretchy bind-off.
If you want an even more polished ribbing edge, you might explore a sewn bind-off (very elastic) or a tubular bind-off (a smooth, rounded finish). For many everyday projects, though, JSSBO is the workhorse.
Troubleshooting
Problem: My bind-off edge flares or waves
A flared edge often happens when the bind-off is looser than the fabric, especially on ribbing. It can also happen if you use a much larger needle, or if you use a very elastic method on a fabric that wants to stay stable.
- Try a less stretchy method if you do not need much expansion. The standard bind-off may sit flatter.
- Use a smaller needle for the bind-off row or round, or return to your normal needle if you sized up.
- For JSSBO: Make sure you are only adding one yarn over per stitch, and that you are passing off both the previous stitch and the yarn over each time.
Problem: My edge is too tight
- Switch to JSSBO for ribbing edges that need stretch.
- Go up a needle size for the bind-off round or row.
- Relax the yarn after each step: Instead of tugging the working yarn, gently spread the stitches on the right needle so the loop sits at full needle diameter.
If the item is finished and the bind-off is truly too tight, the kindest fix is often to unravel the bind-off and rebind. It is faster than fighting an uncomfortable edge forever.
Problem: The last stitch leaves a bump
That final stitch can look bulky if the tail is pulled in an odd direction or tightened too much.
- Do not yank the last loop tight. Snug it just enough so it matches the neighboring stitches.
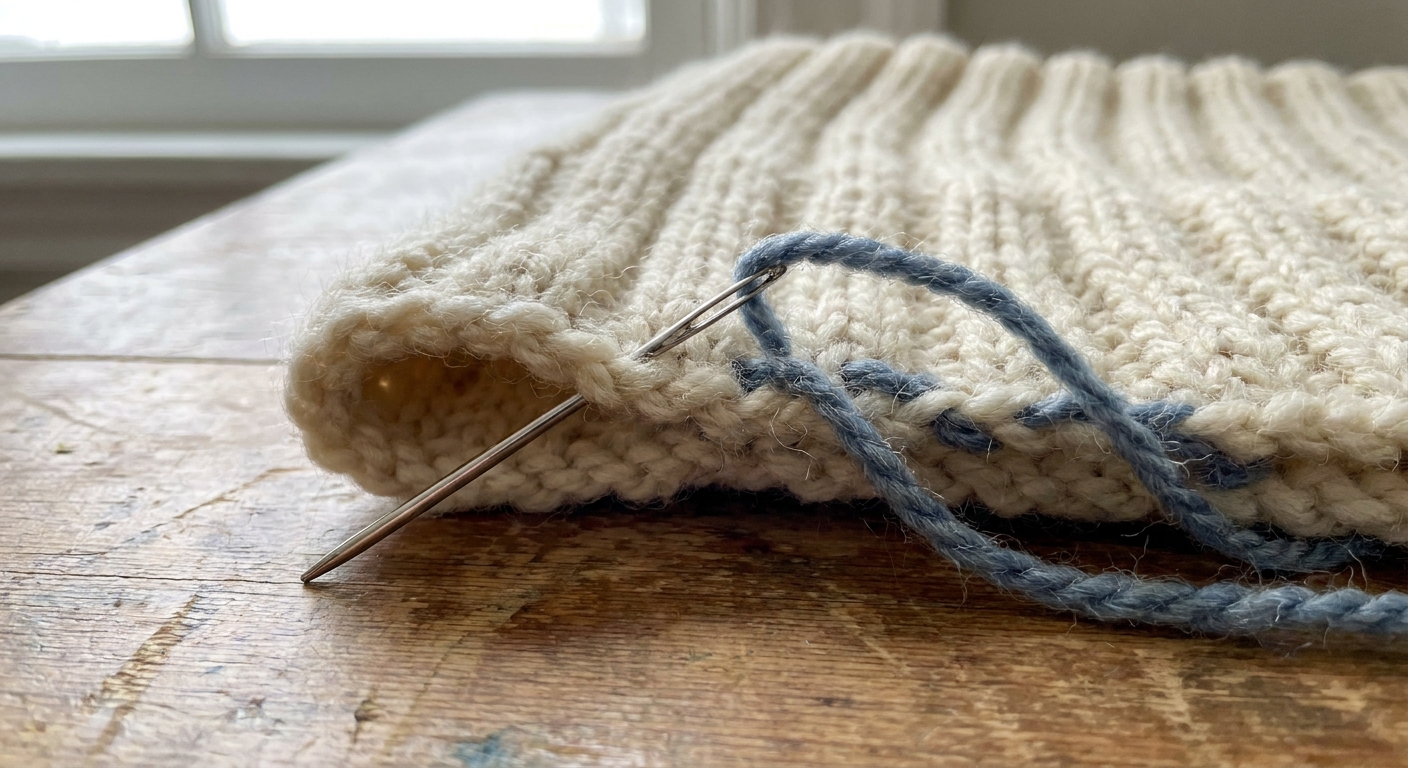
- Weave the tail with intention: Thread your tail onto a tapestry needle and weave through the next few stitches along the bind-off edge, following the path of the chain. This helps the end blend in.
- If you see a nub at the very end: After weaving in, gently redistribute tension by tugging neighboring stitches one at a time, moving the slack into the fabric.
A last check
Before you declare victory, give your bind-off edge a little stretch and a little rest. It should expand without strain, then settle back into the same rhythm as the stitches below. If it does, you are done. Snip the tail, weave it in, and enjoy that finished edge feeling.
One more row. Then just one more.