One more row. Then just one more.
If you have ever reached the end of a sock toe and thought, please, no bulky seam, Kitchener stitch is your cozy little miracle. It grafts two sets of live stitches together so neatly that, from the right side, it looks like you simply kept knitting. No bind-off ridge. No lump. Just one more row that was never really there.
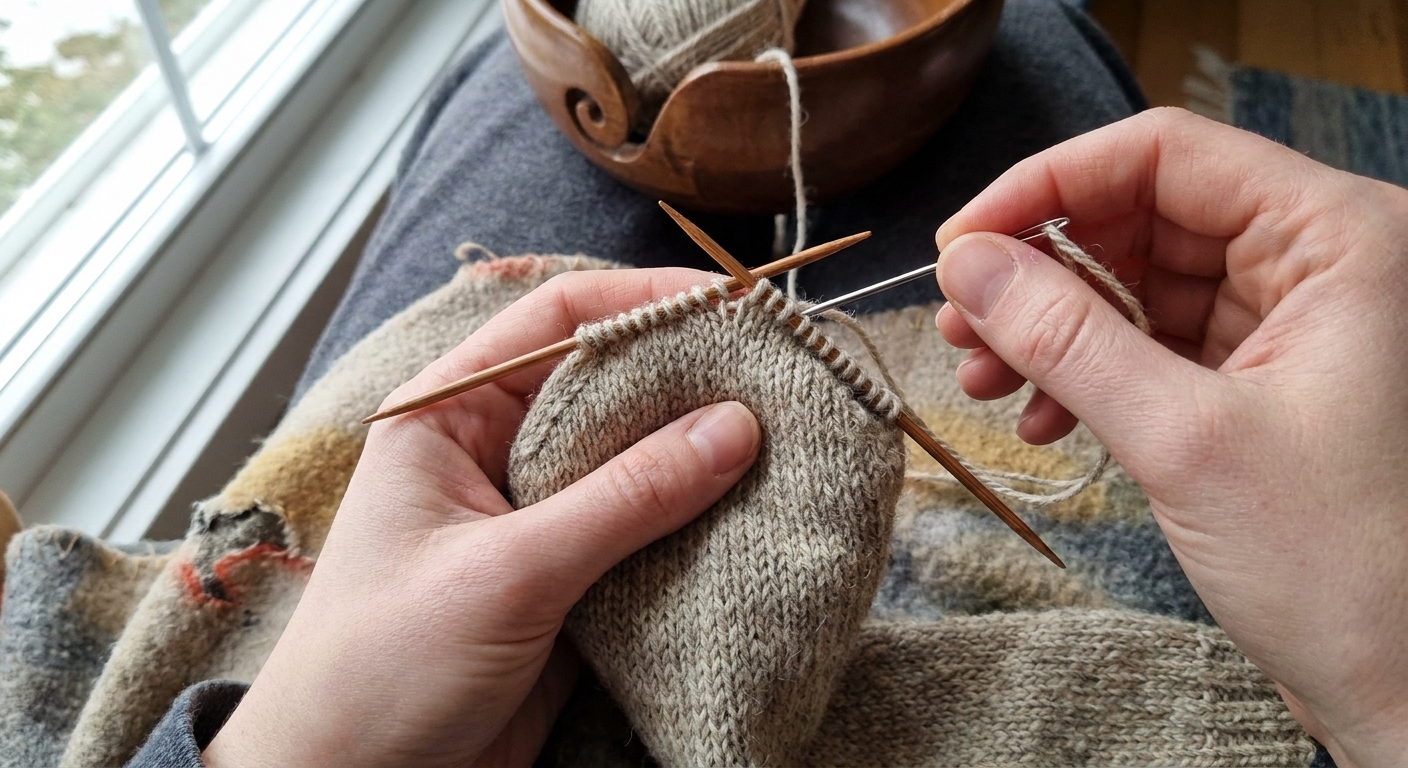
What it is (and when to use it)
Kitchener stitch is a method of grafting, which means joining two live edges (stitches still on needles) into one continuous piece of fabric.
It is most commonly used for:
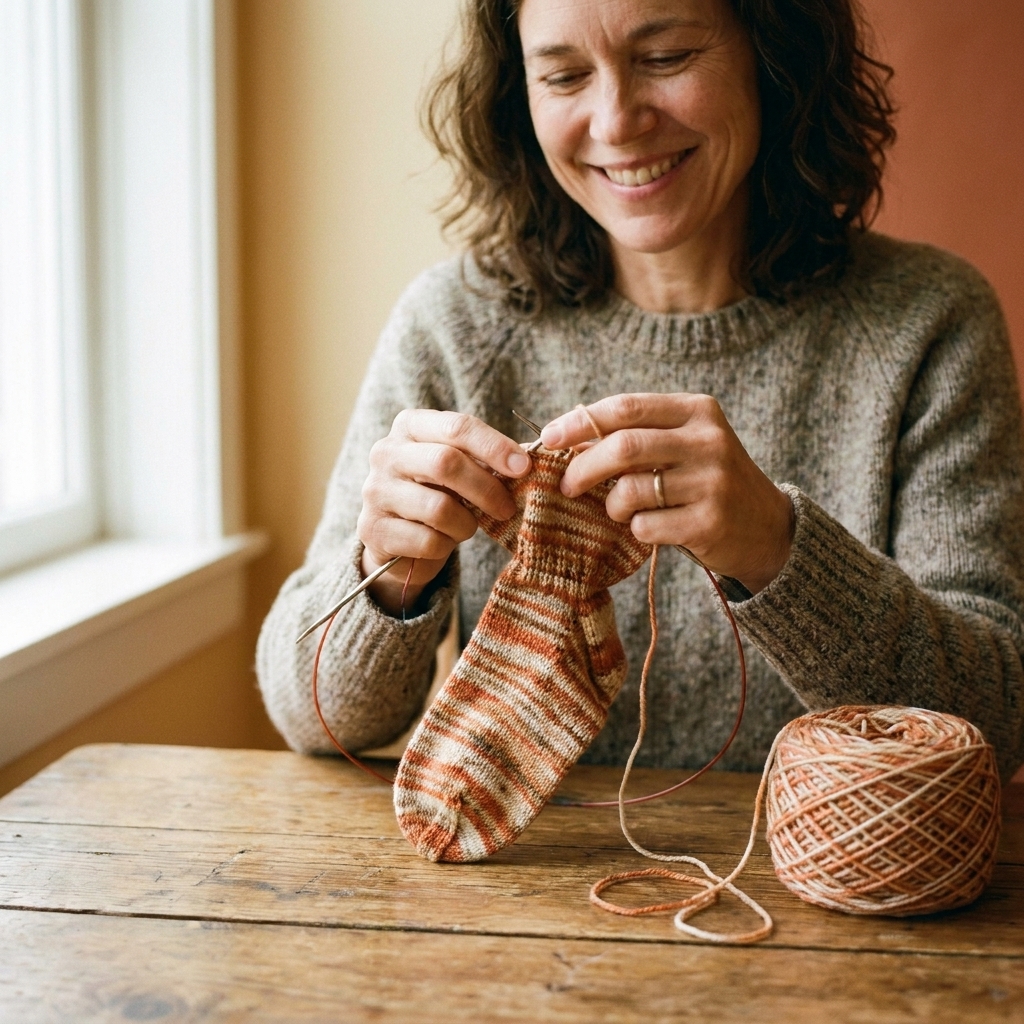
- Sock toes knit from the cuff down
- Underarm joins and shoulder seams when you want a smooth, nearly invisible finish (some patterns use it, many others use different seams)
- Cowls or headbands knit as a flat strip, then grafted into a loop
You will get the best invisible result when you are grafting stockinette stitch (knit on the right side, purl on the wrong side), because Kitchener recreates a row of knit stitches across the join.
Quick note: This walkthrough is for stockinette. The sequence changes for other stitch patterns (including reverse stockinette and ribbing), so if your fabric is not stockinette, use a method written for that fabric.
What you need
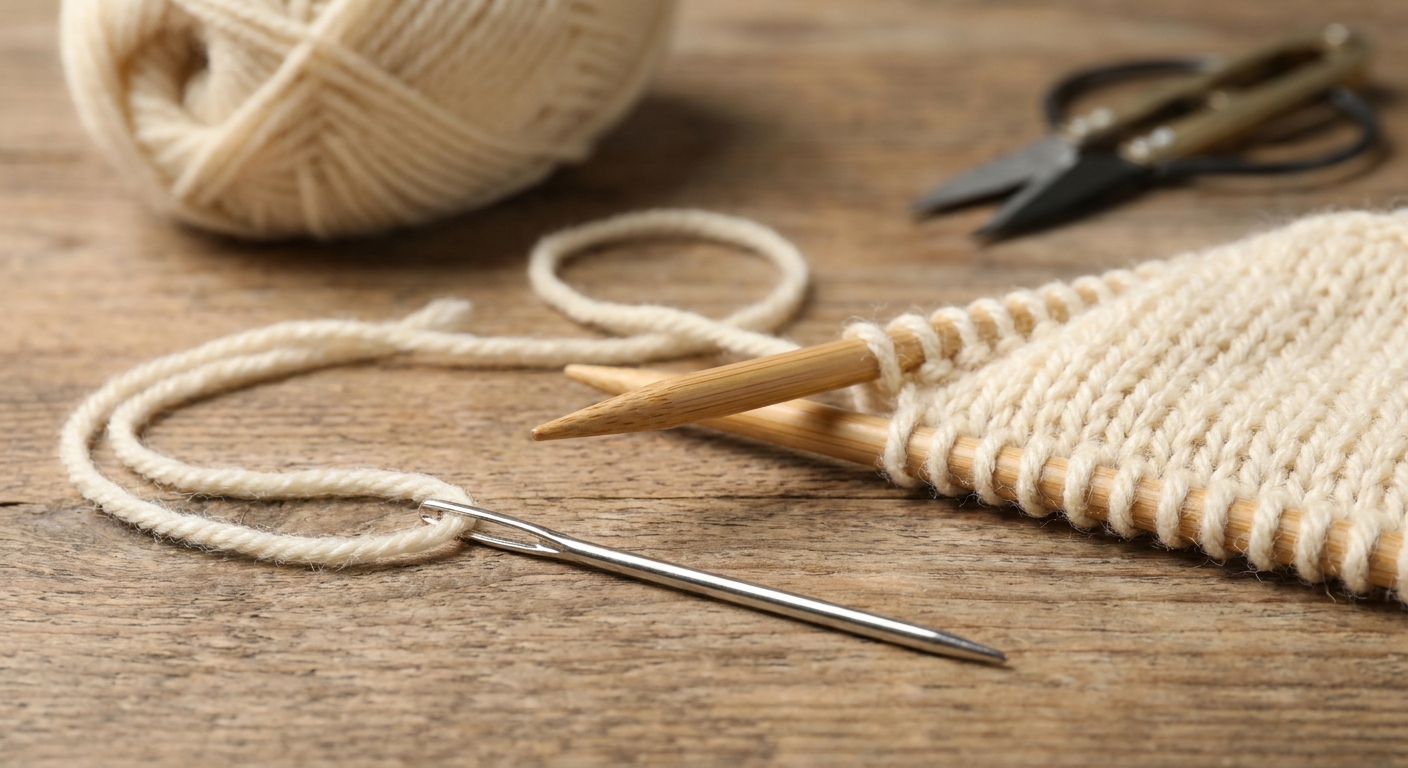
- Two knitting needles holding the live stitches (often the same size you used for the project)
- Tapestry needle (blunt tip)
- Working yarn (the tail from your project), ideally at least 3 to 4 times the width of the graft
- Scissors
Tip from Tuft: If your tail feels short, stop and add yarn now using a secure join. Running out mid graft is the kind of suspense I do not need in my knitting chair.
Needle setup
Before we do any stitching, set yourself up for success. Kitchener is less about speed and more about keeping your place.
1) Arrange the stitches
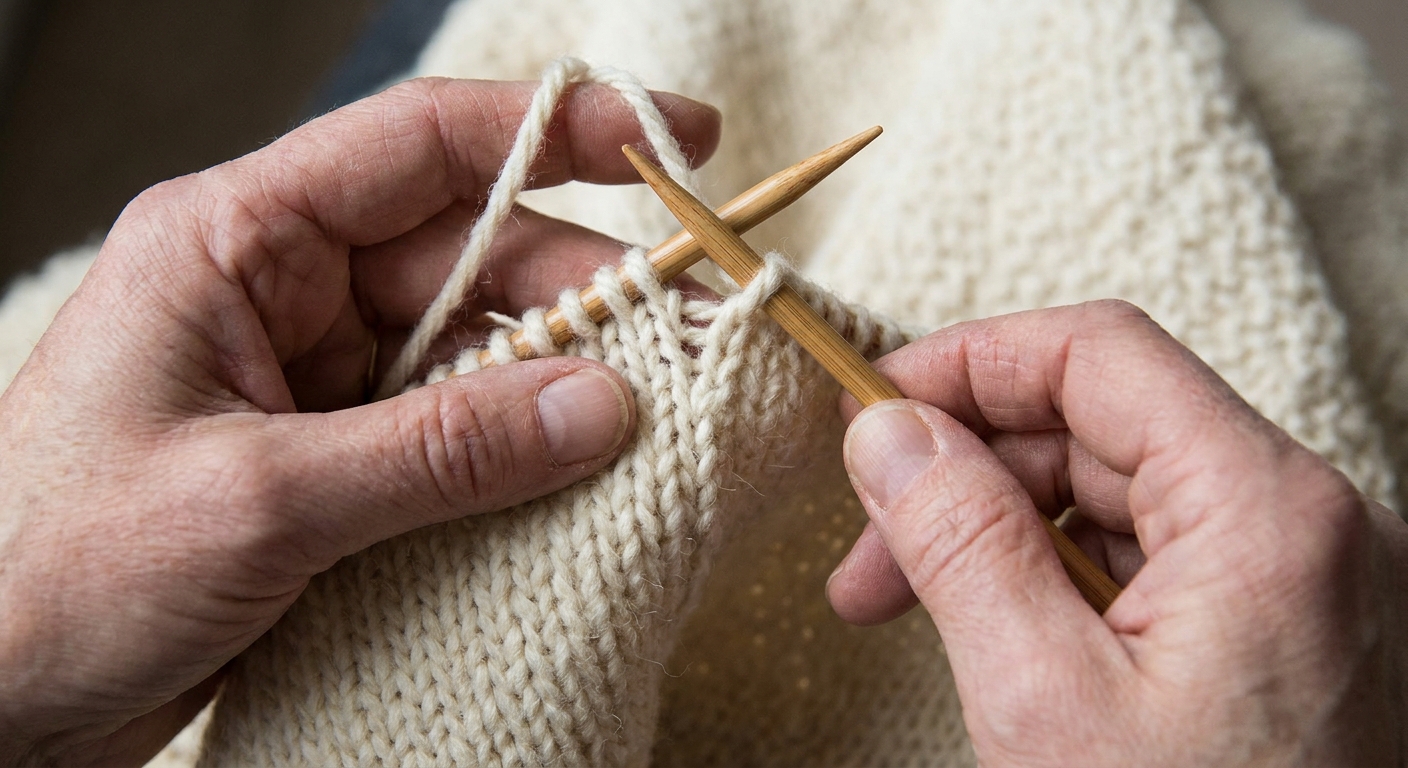
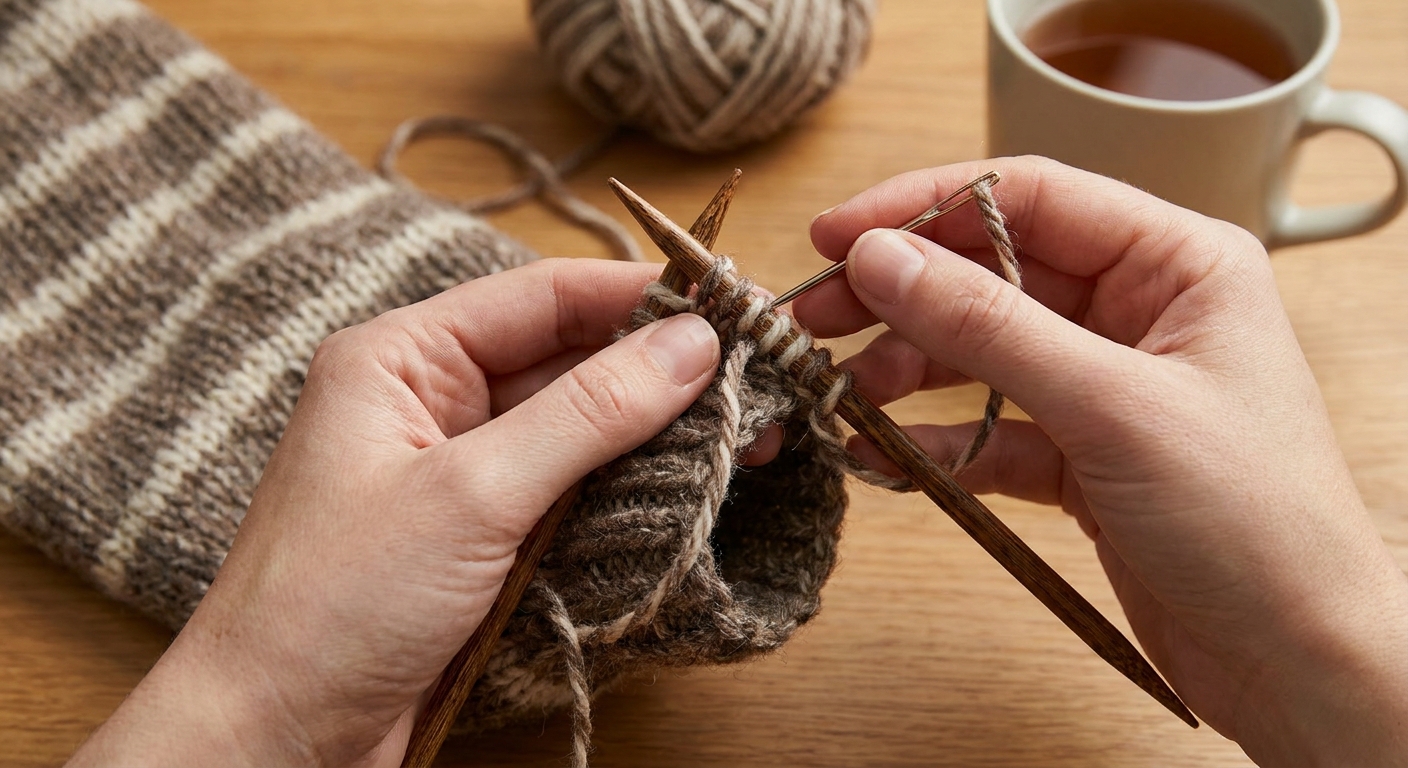
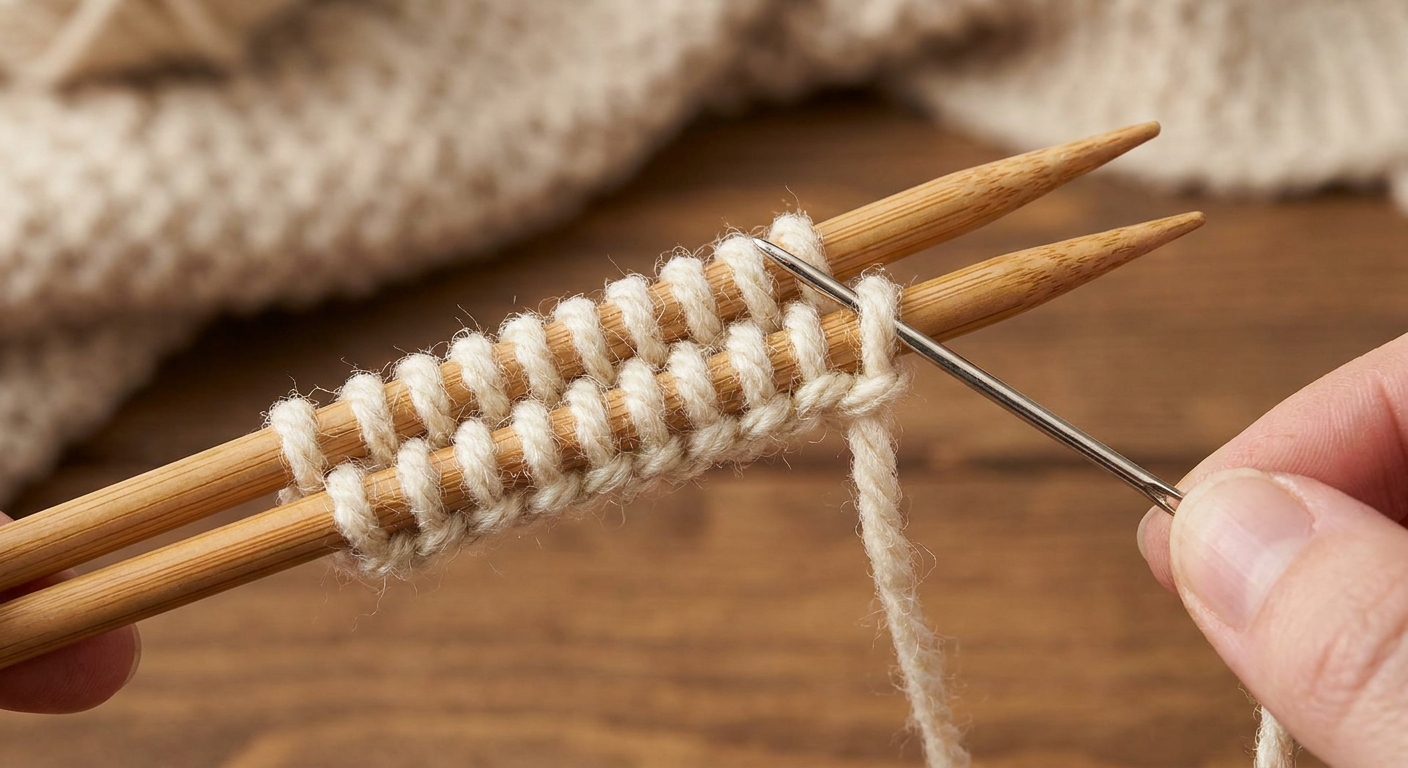
Hold the two needles parallel, tips pointing to the right. For most sock toes and many patterns, the yarn tail comes from the back needle, at the rightmost stitch.
- The needle closest to you is the front needle.
- The needle farthest from you is the back needle.
Where the yarn should be: The tail should be ready to travel from right to left as you graft, mimicking the path the working yarn would take if you knit one more row.
2) Check your right side
This is the part that makes people second-guess everything, so let us make it plain.
For a standard stockinette graft, you typically want the right side of your fabric facing outward. In other words, when you hold the two needles parallel, you should be looking at the neat V stitches on the outside surfaces. When you open the work back up, the grafted row sits on the right side and blends in.
If you are unsure, look at the stitches. The right side has neat little V shapes. You want those V shapes on the outside of both layers.
3) Count your stitches
For the standard 1:1 stockinette graft, you want the same number of stitches on each needle. If one needle has an extra stitch, fix it before you begin (often by moving a stitch over, or by checking you did not accidentally increase or decrease near the end).
The sequence (stockinette)
There are two parts: a short setup, then a repeating four-step rhythm. Once you get the rhythm, it feels like rocking in a chair.
Vocabulary translation: Knitwise and purlwise mean inserting your tapestry needle as if to knit or as if to purl.
The setup (do this once)
Thread your tapestry needle with the yarn tail.
- Front needle: Insert tapestry needle purlwise into the first stitch (as if to purl). Pull yarn through, leave the stitch on.
- Back needle: Insert tapestry needle knitwise into the first stitch (as if to knit). Pull yarn through, leave the stitch on.
Now you are ready for the repeat.
The four-step repeat
Repeat these four steps in order. Each full repeat removes one stitch from the front needle and one stitch from the back needle. Keep going until no stitches remain on either needle.
(If you like little milestones, you can pause when you are down to the last couple stitches to double-check your sequence, but there is no special "last two" variation. It is the same rhythm right to the end.)
- Front needle: Insert knitwise, pull through, slip stitch off.
- Front needle: Insert purlwise into the next stitch, pull through, leave stitch on.
- Back needle: Insert purlwise, pull through, slip stitch off.
- Back needle: Insert knitwise into the next stitch, pull through, leave stitch on.
If it helps, here is the mantra many knitters use:
Front: knit off, purl on. Back: purl off, knit on.
Even tension
The most common Kitchener problem is not the steps. It is the tension. Too tight and your grafted row will pucker. Too loose and you will see a ladder or floppy loops across the join.
A simple way to tension as you go
- After every full four-step repeat, gently snug the yarn so the new “stitch” is about the same size as the surrounding stockinette stitches.
- Do not yank straight up. Instead, pull the yarn in the direction it naturally travels across the row.
- Every few repeats, pause and spread the fabric slightly to check that the V shapes are forming evenly.
The zipper check
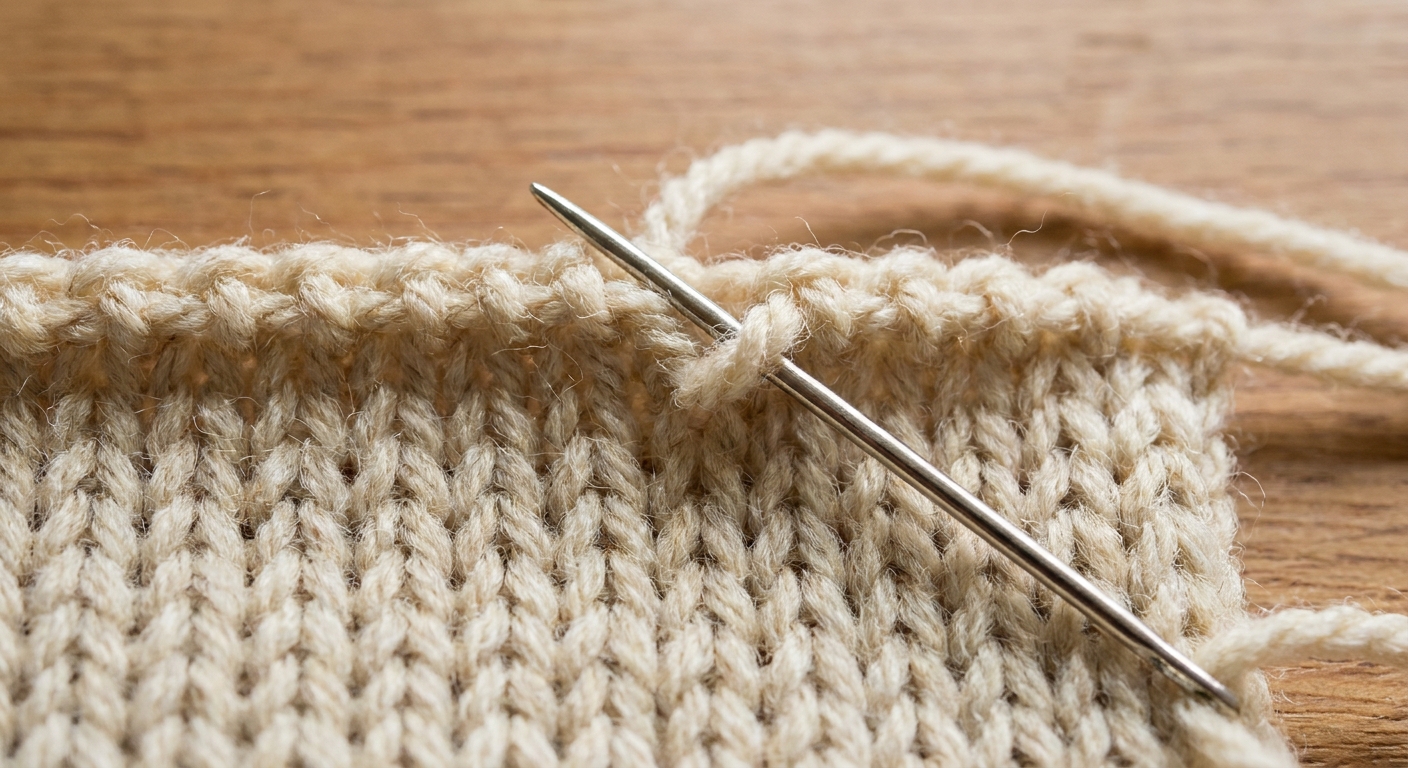
A good graft looks like a tidy zipper of V stitches. If you see long bars instead of V shapes, you are likely too loose. If the V shapes look pinched and tiny, you are likely too tight.
Cozy trick: Many knitters intentionally leave the graft a little loose while working, then do a final tidy pass at the end by gently adjusting loop size with the tapestry needle tip.
Half-stitch jog fixes
A half-stitch jog is that tiny shift where the grafted row looks like it steps up or down instead of flowing smoothly. It can show up as one mismatched loop, or a place where the V shapes do not line up.
What causes it
- Starting with the wrong orientation (front and back swapped, or the right sides not facing outward)
- Missing a step in the four-step repeat, especially mixing up “off” versus “on”
- Going through a stitch the wrong way (knitwise vs purlwise)
How to catch it early
Every few repeats, look closely at the join. You should see a new row of knit V shapes forming. If you see a weird bar, a twisted loop, or a stitch that looks split, stop right there.
Fix option 1: Undo a few steps
If you are only a few stitches past the mistake, the cleanest fix is to carefully undo the grafting yarn back to the problem area and rework the correct sequence. Go slowly, keeping the live stitches on the needles and pulling the grafting yarn out one pass at a time.
Fix option 2: Adjust a small mismatch
If the jog is small and you are far along, you can sometimes nudge it into place by adjusting tension around it:
- Use the tapestry needle tip to redistribute slack from neighboring grafted loops.
- Gently pull slack along the grafted row, a little at a time, rather than tightening only the problem loop.
If the loop is actually formed incorrectly (wrong direction through the stitch), tension tricks will not fully hide it. In that case, it is worth undoing back to the error and redoing those steps.
Finish neatly
When you reach the end, simply keep repeating the four steps until all stitches have been worked off both needles.
Then:
- Gently adjust tension across the entire graft so it matches the surrounding stitches.
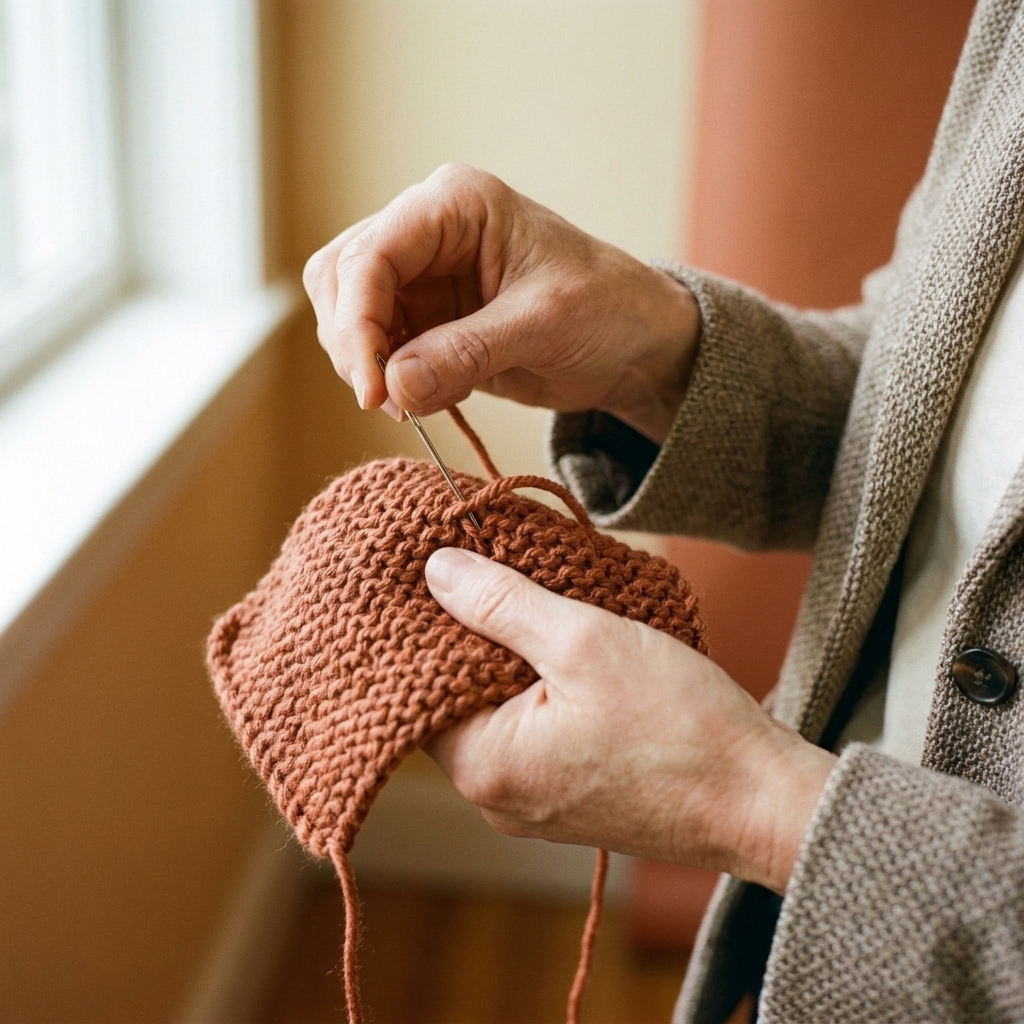
- Pull the yarn tail to the wrong side and weave it in securely, following the path of the stitches to keep the fabric smooth.
For sock toes, I like to weave in a way that does not create a lump right at the tip. Smooth is the goal.
Troubleshooting
My graft looks like a ladder
- You may be leaving the yarn too loose between repeats.
- After each repeat, snug the yarn so the new V stitch is the same height as its neighbors.
My graft is tight and puckered
- You are likely pulling too hard after each step.
- Try loosening by redistributing tension with the tapestry needle, pulling slack from tight loops into neighboring loops.
I lost track of the sequence
Pause and look at what is on your needles. In the repeat, you always:
- Work the leading stitch on each needle and remove it (one is knitwise, one is purlwise).
- Then set up the next stitch on that needle by going through it the opposite way and leaving it on.
If you are truly tangled, it is okay to unpick back to a known good point and restart the rhythm.
I keep splitting the yarn
- Make sure you are going through the whole stitch (both legs), not just snagging a ply.
- A slightly larger tapestry needle, a blunter tip, or slowing down for the insertion can help.
The grafted row is visible even though my tension is fine
Some yarns show grafting more than others, especially highly textured yarns, variegated colors, or very slippery fibers. You can still get a lovely result, but “perfectly invisible” is easier with smooth yarn and even stockinette tension.
Quick reference
Keep this little summary close by while you stitch.
Setup (once)
- Front: purlwise, leave on
- Back: knitwise, leave on
Repeat
- Front: knitwise, off
- Front: purlwise, on
- Back: purlwise, off
- Back: knitwise, on
FAQ
Can I use Kitchener stitch on ribbing?
You can graft ribbing, but classic Kitchener instructions above are for stockinette. Rib grafting requires matching the knit and purl columns across the join, which changes the knitwise or purlwise choices depending on each stitch. If your project is ribbed, check your pattern for a rib graft method written specifically for that stitch pattern.
Do I need to turn my work inside out for sock toes?
Not usually. Most cuff-down sock patterns have you hold the needles parallel with the right side facing outward. If you notice the V shapes are not forming correctly, re-check your orientation and confirm you started with the setup steps.
Is there an alternative to Kitchener stitch?
For sock toes, you can close the toe with a basic sewn seam (a simple whip stitch or flat seam), or use a three-needle bind off, but both leave a more noticeable ridge. If your goal is a smooth, invisible finish, Kitchener is the classic choice.
Why does it feel like I am purling and knitting in a strange order?
Because you are. You are not knitting new stitches on a needle. You are using the yarn to mimic the path it would take if you had worked one more row of stockinette.
Any good way to practice?
If you want a low-stakes rehearsal, knit a small stockinette swatch, put half the stitches on each needle, and graft with a contrasting yarn. Being able to see the path makes the whole thing click faster.
A last note from Tuft
If Kitchener stitch feels fiddly the first time, that is completely normal. Go slowly. Say the mantra. Peek at your V shapes. And remember, you can always unpick a few stitches and try again.
One more row. Then just one more.