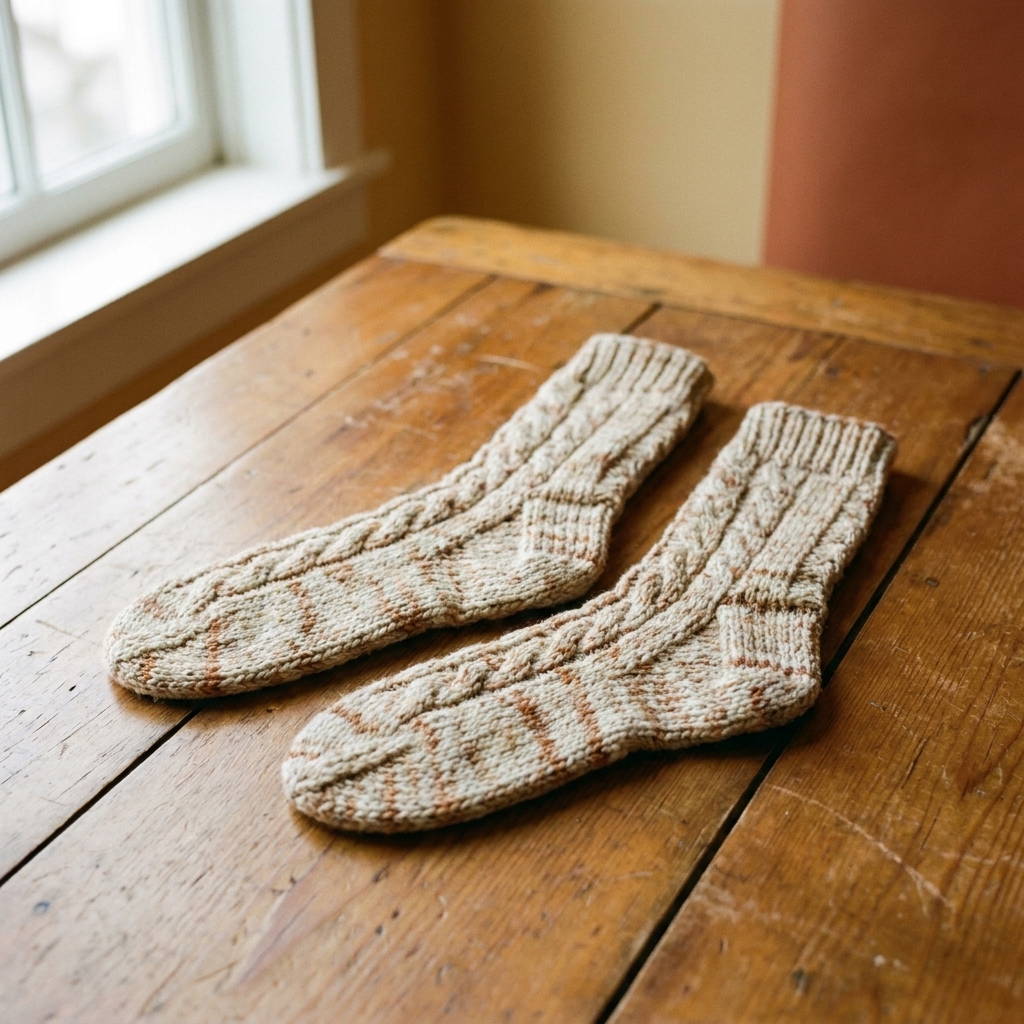
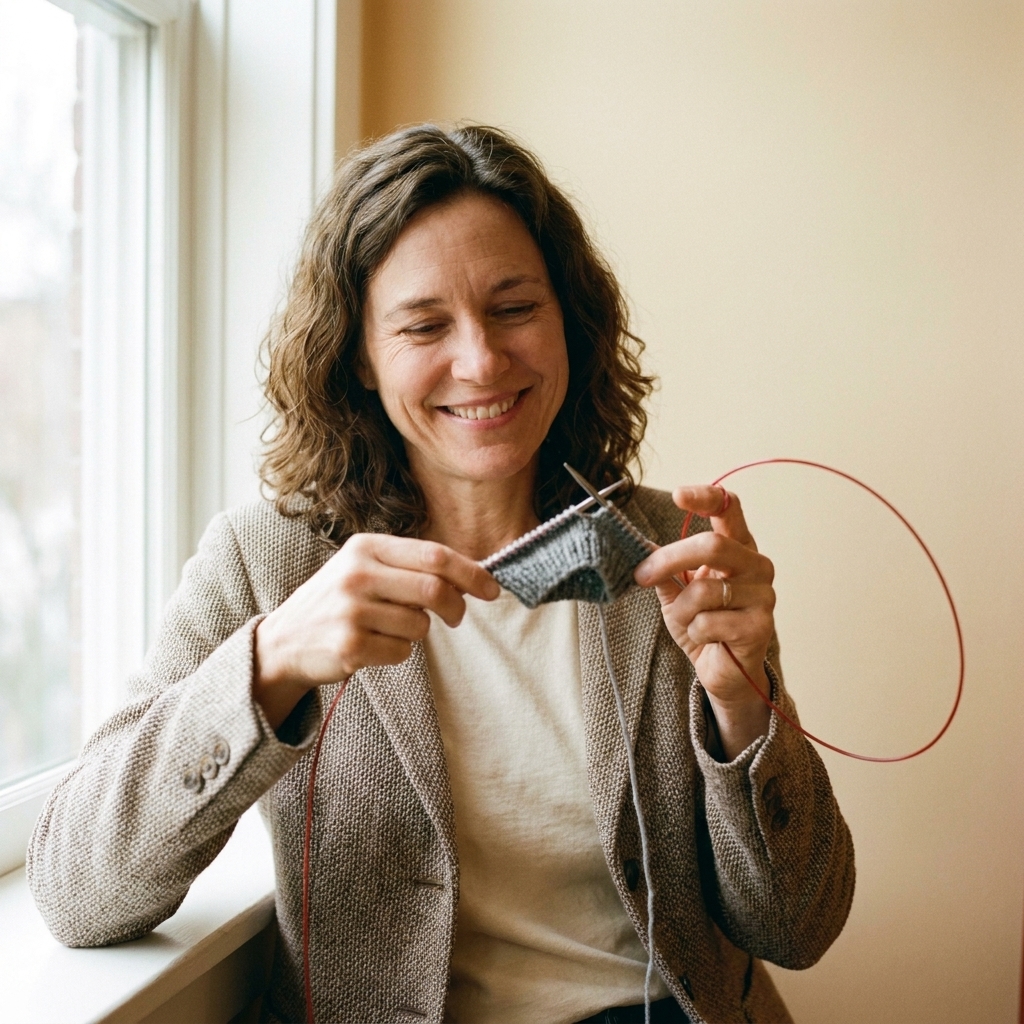
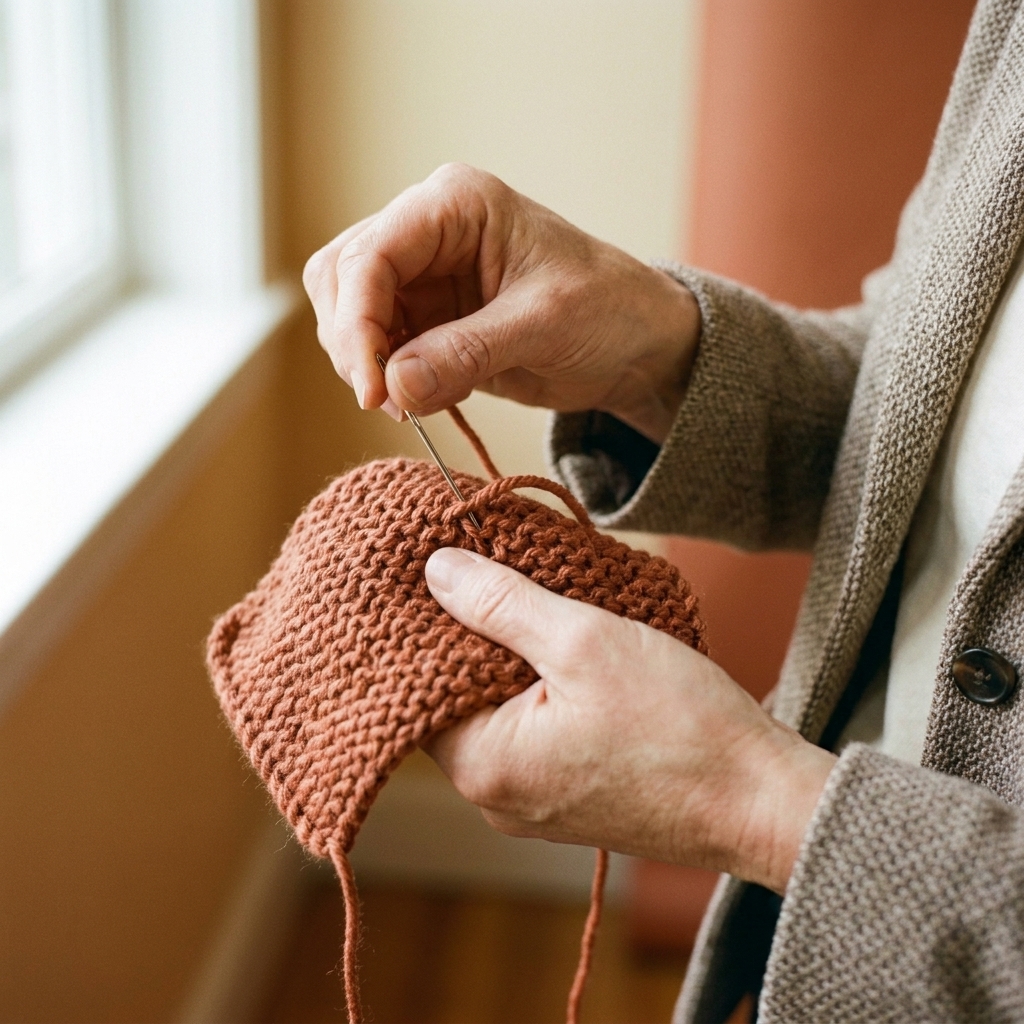
Toe-up socks are my favorite kind of sock magic because you can try them on as you go. No guessing if the foot is long enough. No playing yarn chicken with sweaty palms at the very end. You start at the toes, build the foot to your length, then shape the heel and finish with a cuff that can be as tall or as sassy as you like.
This guide is written for first-time sock knitters who want a clear path from “two tiny needles and a dream” to “I made wearable socks.” We’ll use a simple, customizable toe-up sock recipe with a toe-up flap and gusset heel, plus a friendly heel turn that I will walk you through in a way that actually matches toe-up physics.
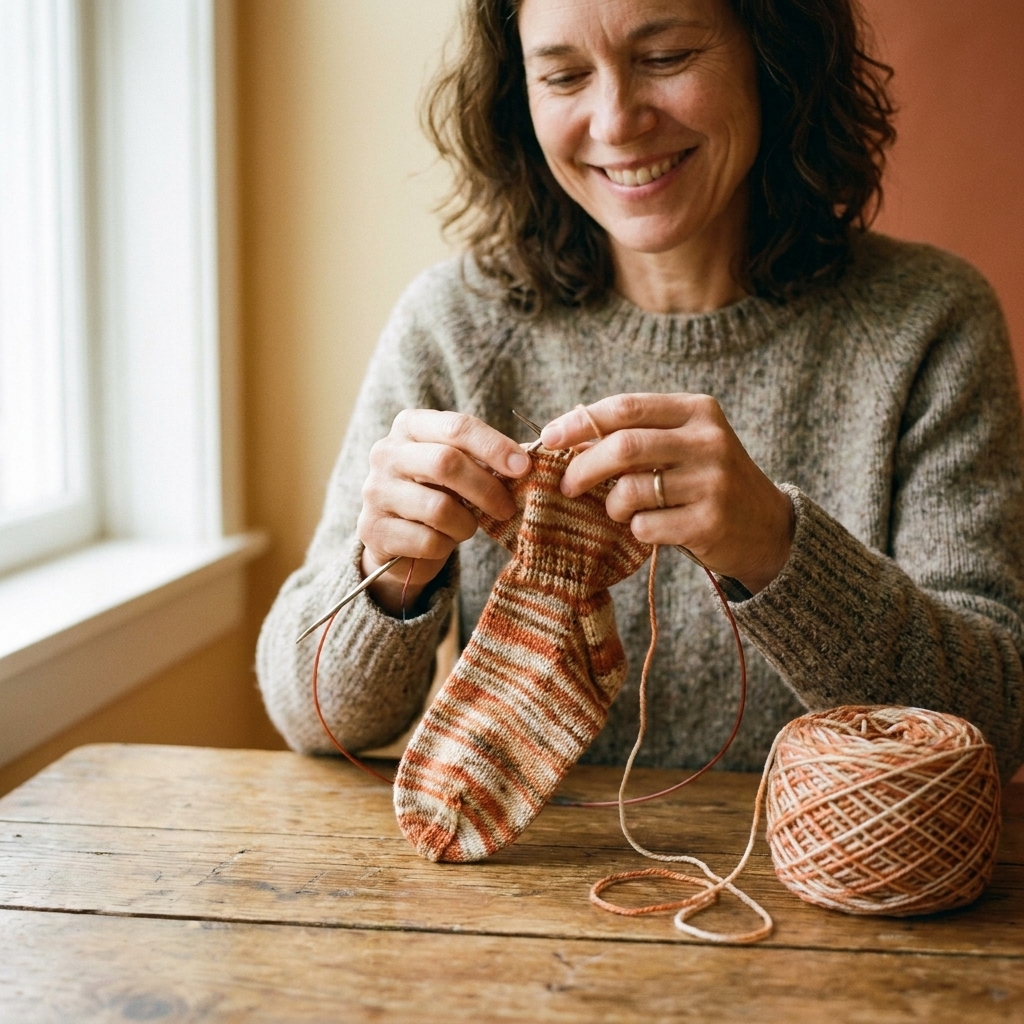
What you’ll knit
A basic toe-up sock in the round, worked in stockinette (knit every round), with:
- Toe: increase from a small cast-on to full foot width
- Foot: knit to length
- Gusset increases: add stitches to prepare for the heel
- Heel turn: short-row shaping that cups your heel
- Heel flap (toe-up): worked flat and joined to the live gusset stitches as you go
- Leg + cuff: your choice of height, finished with a stretchy bind-off
Skills you need
You’ll be happiest if you can already:
- knit and purl
- increase and decrease (I’ll show you which ones to use)
- work in the round on your preferred method
- work short rows (I’ll walk you through it)
If any of that feels wobbly, you’re still welcome here. Socks are just small tubes with a few polite curves.
Materials
Yarn
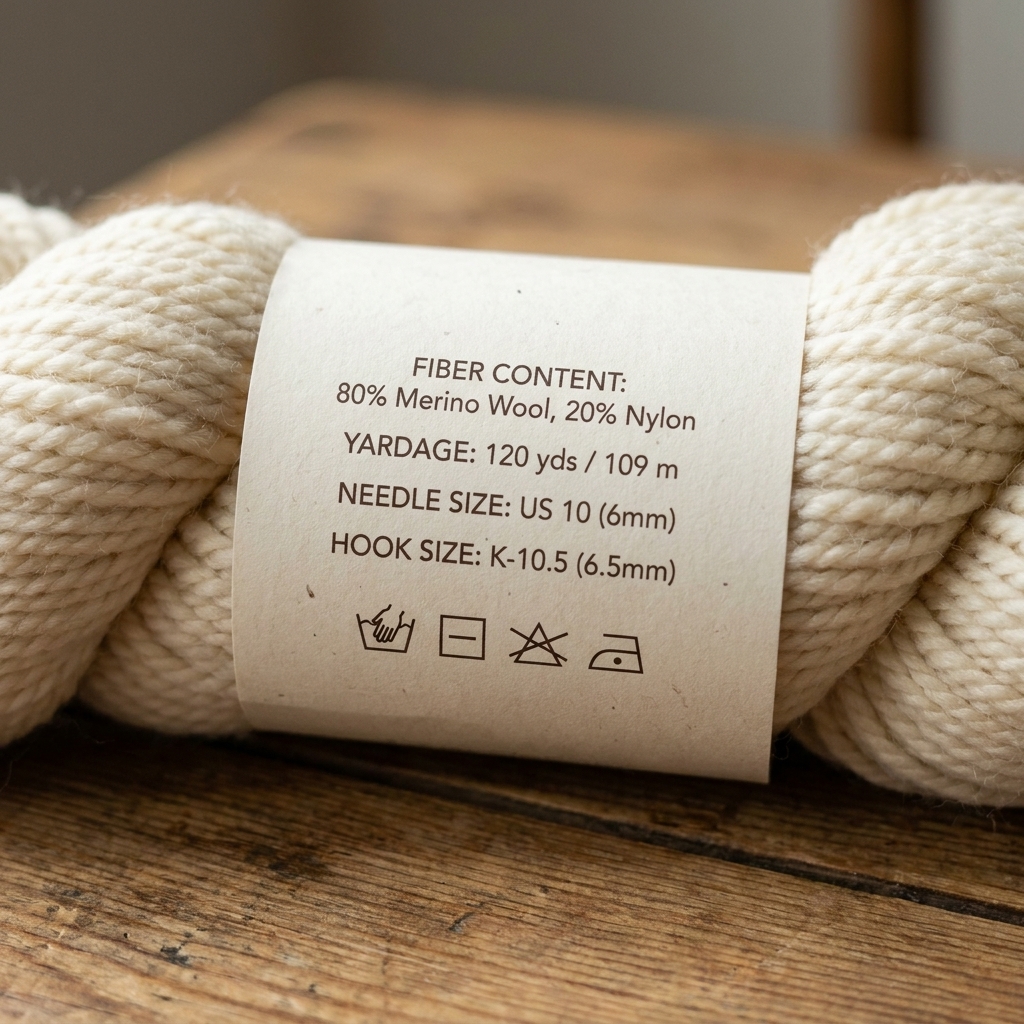
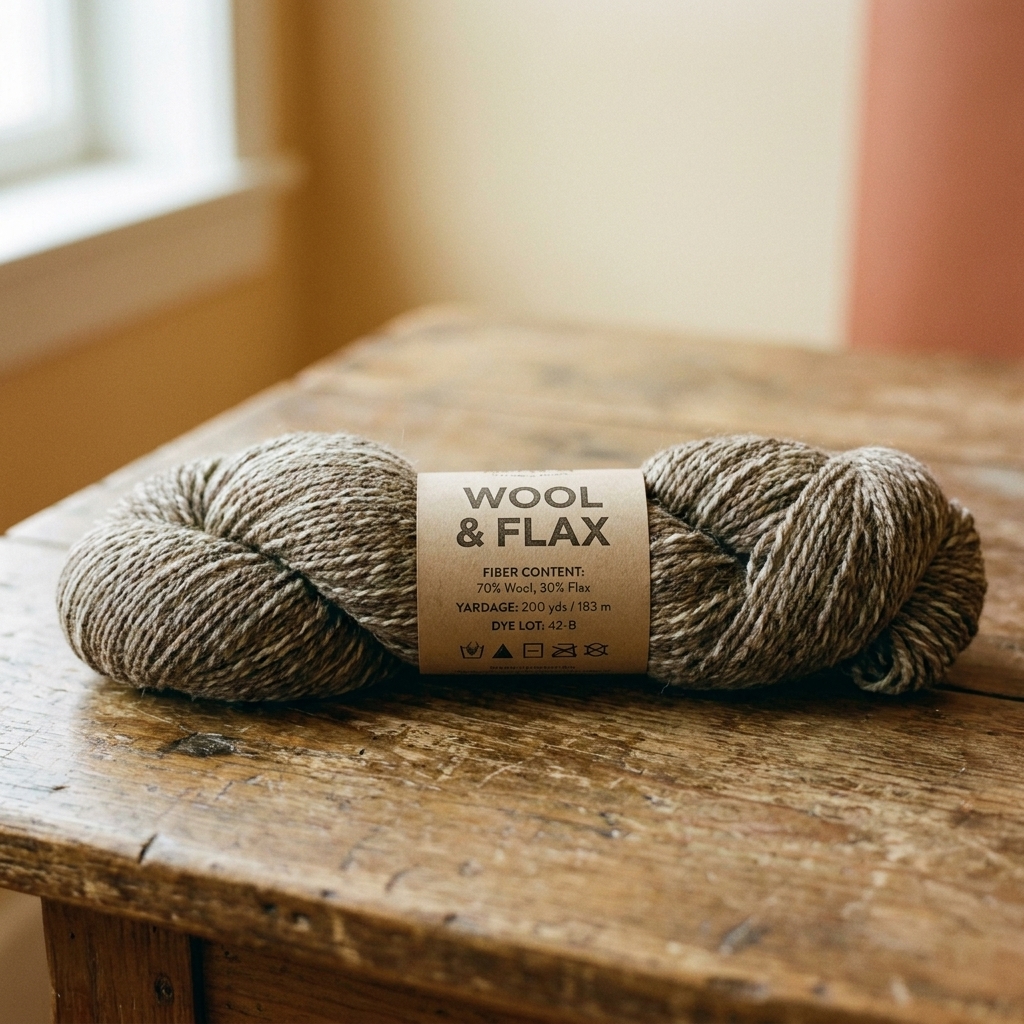
1 skein of sock yarn (about 100 g, 400 to 450 yd / 365 to 410 m), preferably a blend with nylon for strength (like 75% wool, 25% nylon). Smooth, light-colored yarn makes learning easier because you can actually see your stitches. Save the fuzzy dark stuff for Sock Era 2.0.
Needles
Use whichever in-the-round method feels best:
- Magic loop: one long circular (32 to 40 in / 80 to 100 cm)
- Two circulars: two of the same size
- DPNs: 4 or 5 double-pointed needles
Needle size: typically US 0 to 2 (2.0 to 2.75 mm), or whatever gets you a nice dense fabric for socks.
Dense is good: most knitters go down a needle size (sometimes two) compared to what they’d use for drapey shawls or sweaters. If you can see daylight between stitches, your socks will wear out faster.
Notions
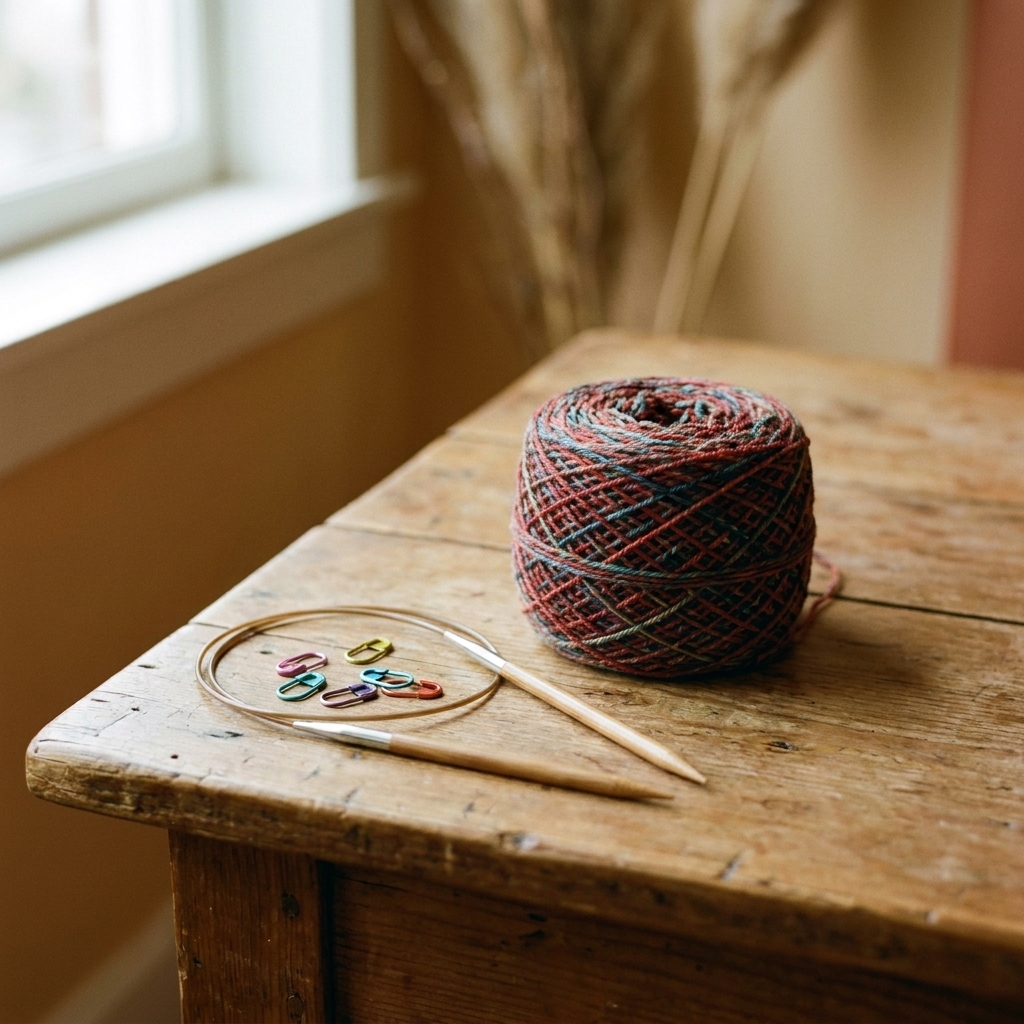
- stitch markers (at least 2)
- tapestry needle for weaving in ends
- measuring tape
- optional: removable marker for tracking rounds
Gauge and sizing
Sock gauge is usually measured over stockinette in the round. A common target is 7 to 9 stitches per inch (28 to 36 sts per 10 cm). The exact number matters less than getting a fabric you like that is not floppy.
Stitch count
Here’s the beginner-friendly recipe:
- Measure the circumference of the ball of your foot (around the widest part).
- Multiply by your stitches per inch.
- Then subtract about 10% for negative ease (socks stretch).
Example: 8 in foot circumference × 8 sts per in = 64 sts. Minus about 10% = about 58 sts. Round to a number that plays nicely with your toe increases and decreases, usually a multiple of 4. In this example, you might choose 60 sts as your total foot stitch count.
Quick check
Stitch count alone does not guarantee fit, but it gives you a strong starting point. At 8 sts per inch, these totals are roughly:
- 56 sts: about 7 in (17.5 cm) around before stretch
- 60 sts: about 7.5 in (19 cm) around before stretch
- 64 sts: about 8 in (20.5 cm) around before stretch
Because socks are worn with negative ease, they typically fit feet a bit larger than those numbers. If you know your foot circumference, use the recipe above and you will be happier.
The sock pattern
Construction notes: The sock is worked from the toe upward. The toe uses paired increases every other round until you reach your target stitch count. The foot is worked in the round. Then you’ll work a toe-up flap and gusset heel: gusset increases, a short-row heel turn (worked flat), and a heel flap that is joined to the live gusset stitches as you knit. After that, you resume knitting in the round for the leg and cuff.
Abbreviations
- k = knit
- p = purl
- k2tog = knit 2 together
- ssk = slip, slip, knit
- m1L = make 1 left (lift bar from front to back, knit through back loop)
- m1R = make 1 right (lift bar from back to front, knit through front loop)
- sl1 = slip 1 (purlwise unless noted)
- w&t = wrap and turn (short row)
- RS = right side of fabric
- WS = wrong side of fabric
Target stitch counts
If you want a simple starting point without measuring anything, choose:
- Small: 56 sts total
- Medium: 60 sts total
- Large: 64 sts total
These totals are meant for typical sock gauges and average adult feet, with negative ease. If you know you want a snugger or roomier fit, adjust up or down by 4 stitches.
Step 1: Toe cast-on
Use a toe-friendly cast-on like Judy’s Magic Cast-On or the Turkish cast-on. If those names make you nervous, take a deep breath. They look fancy because they are symmetrical, not because they are difficult. The goal is to cast on stitches onto two needle tips so you can knit both sides and create a closed toe.
Cast on: 12 sts total (6 sts on each needle) for an adult sock. If you have very small feet, start with 10. If you have very large feet, start with 14.
Place a marker to note the start of the round.
Step 2: Toe increases
You will increase near each edge of each needle, for a total of 4 increases per increase round. That means every increase round adds +4 stitches to your total.
Increase Round (repeat):
- Needle 1 (top): k1, m1L, knit to last 1 st, m1R, k1
- Needle 2 (bottom): k1, m1L, knit to last 1 st, m1R, k1
Next Round: Knit all stitches.
Repeat these 2 rounds until you reach your chosen total stitch count (56, 60, or 64 sts), or your measured target.
Tip from my teacher brain: If you lose track, count stitches on one needle. When each needle holds half your total, you’re there.
Step 3: Foot
Knit every round until the sock measures:
- Foot length: from the tip of the toe to about 2 in (5 cm) shorter than your total desired foot length
That “2 inches short” is your reliable, boring, very useful rule of thumb. If you’re trying on as you go, stop when the knitting reaches the place where your heel begins to curve down under your foot. If you prefer measuring: stand on a piece of paper, trace your foot, and measure heel to longest toe. Socks do not need extra length at the toe the way shoes do. Knit to your foot.
Step 4: Gusset increases
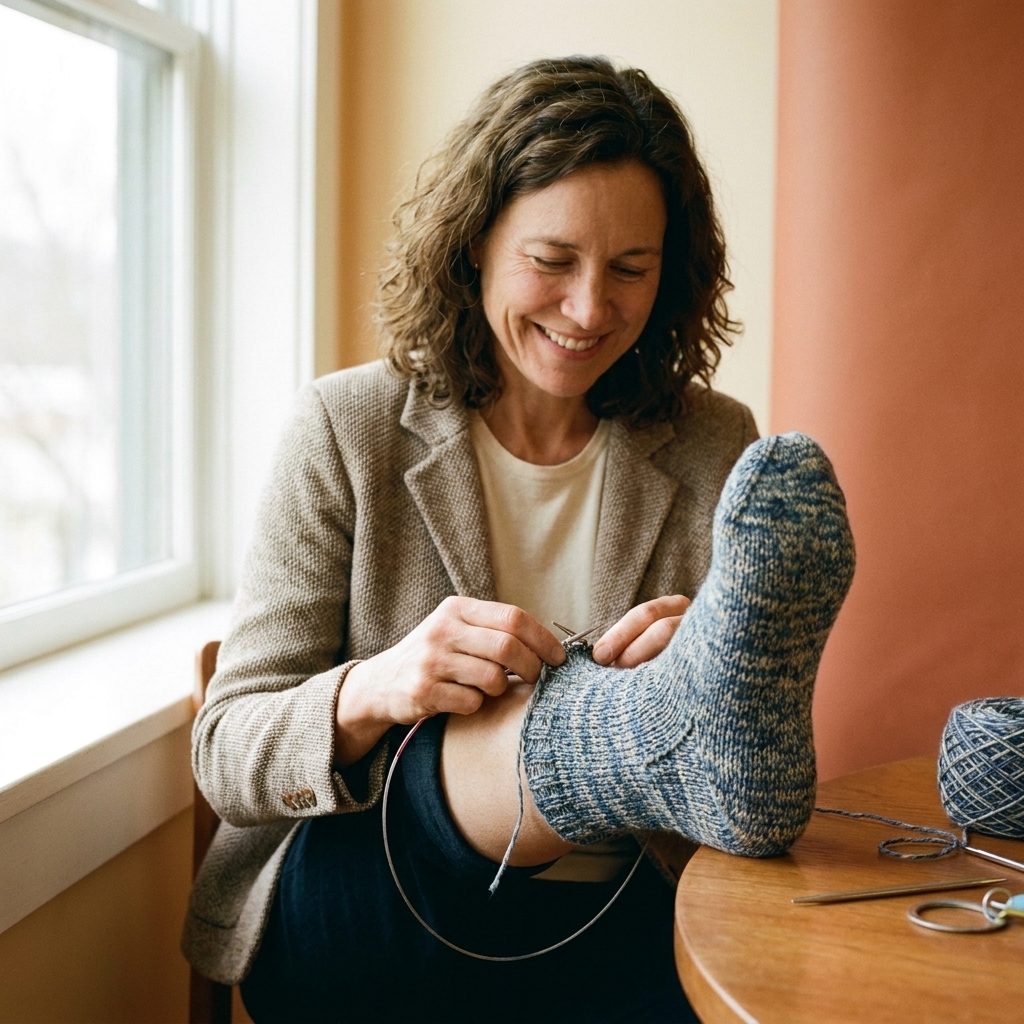
Now we’ll add extra stitches that will wrap around your heel. The gusset increases happen on the sole needle only.
Note on wording: When I say “instep needle” and “sole needle,” I mean the two halves of your stitches. If you are using magic loop or two circulars, each needle tip is holding one half.
Set-up: Arrange your stitches so you have:
- Instep needle: half your stitches (top of foot)
- Sole needle: half your stitches (bottom of foot)
Gusset Increase Round:
- Instep needle: knit all stitches
- Sole needle: k1, m1L, knit to last 1 st, m1R, k1
Next Round: Knit all stitches.
Repeat these 2 rounds until you have increased about 40% to 50% more stitches on the sole needle than the instep needle.
Practical default: If you started with 60 sts total (30 instep, 30 sole), increase until the sole has 44 sts. That is 44 compared to 30, or about 47% more. It sounds oddly specific, but it creates a comfortable gusset for many first socks.
Fit check (highly recommended): Try it on. You want the fabric to comfortably reach around the back of your heel area without feeling like it is trying to cut off your future. If you have a lower instep or a narrower heel, you may prefer to stop a little earlier. If you have a high instep, you may want a few more increase repeats.
Step 5: Heel turn
Time for the part where we stop knitting in the round and start knitting back and forth. Do not panic. You are not lost. You are making a heel.
The heel turn is short rows that create a cup. In a toe-up flap and gusset sock, that cup is worked over the heel stitches only, not over all the gusset stitches you just added. The gusset stitches sit on hold at each side while you shape the bottom of the heel.
Where you are: Instep stitches sit on hold. On the sole needle you now have:
- Gusset stitches at each edge (added in Step 4)
- Heel stitches in the center (your original sole stitch count from before gusset increases)
Hold is easy: Those instep stitches can simply sit on your cable, your spare circular, or your DPNs. No stitch holder ceremony required.
Define your numbers:
- Let F be your total foot stitch count (example: 60).
- Your original sole count is H = F ÷ 2 (example: H = 30).
- The sole needle currently has more than H stitches because of gusset increases (example: 44). Those extra stitches are gusset stitches and they do not go into the heel cup.
Mark the heel section: On the sole needle, place one marker after the first gusset stitches, then count H heel stitches, then place a second marker. The stitches between markers are the heel-turn stitches. Everything outside the markers is gusset territory that rests for now.
Get in position: Work around until you are on the sole needle. Knit the sole needle’s gusset stitches up to the first heel marker. You are now staring at the heel stitches and ready to start working flat.
This is a starting recipe: Heel shapes are personal. The numbers below are meant to get you a solid, wearable heel on Sock No. 1. Once you have a sock on your foot, you can tweak for Sock Era 2.0.
Short-row note: Any short-row method works in theory, but to keep us all sane and on the same page, use w&t as written here.
Wrap and turn refresher: On knit-side rows (RS), bring yarn to the front, slip 1 purlwise, bring yarn to the back, slip the stitch back, then turn. On purl-side rows (WS), bring yarn to the back, slip 1, bring yarn to the front, slip back, then turn. Later, you will work the wrap together with its stitch so you do not get holes.
Heel turn math
We’ll create the heel cup by leaving a center section unwrapped, then working back out.
- Let C be your center stitch count.
- A friendly default is C = floor(H ÷ 3). If that gives you an odd number and you like tidy math, round C to the nearest even number.
Expected outcome: You will end up with (H − C) ÷ 2 wrapped stitches on each side and C unwrapped center stitches.
Worked examples:
- If H = 28, C = 9 (round to 10 if you prefer even)
- If H = 30, C = 10
- If H = 32, C = 10
Heel turn setup
Work only the heel stitches between the two heel markers. The gusset stitches stay untouched on either side.
Row 1 (RS): Knit from the first heel marker to 2 sts before the second heel marker, w&t.
Row 2 (WS): Purl back toward the first heel marker to 2 sts before the marker, w&t.
Row 3 (RS): Knit to 1 st before the previous wrap, w&t.
Row 4 (WS): Purl to 1 st before the previous wrap, w&t.
Repeat Rows 3 and 4, turning one stitch earlier each time, until your unwrapped center section contains C stitches.
Counting guardrail: Stop when there are exactly C unwrapped stitches between the last wrap on the left and the last wrap on the right. If counting makes you twitchy, place a removable marker on each “last wrapped stitch” as you go so you can see your boundaries.
Heel turn finish
Now you will work back and forth across the center section, working wraps as you meet them, until you have worked all wraps and you are back out to both heel markers again.
Next RS row: Knit across center. When you reach a wrapped stitch, knit the stitch together with its wrap. Continue to the heel marker.
Next WS row: Sl1, purl back. When you reach a wrapped stitch, purl the stitch together with its wrap.
Continue until all wraps have been worked and you have returned to the heel markers. You should now have a tidy heel cup sitting inside your gusset stitches, ready for the toe-up heel flap join.
Step 6: Heel flap and join
This is the part that makes toe-up physics work. You will knit a heel flap back and forth, and at the end of every row you will decrease one gusset stitch to attach the flap to the ankle. No picking up stitches. The gusset stitches get “eaten” one by one. Delicious and slightly alarming.
Set up the heel flap stitches:
- Keep instep stitches on hold.
- On the sole, your heel flap width is the same stitch group you just used for the heel turn: the H heel stitches between your heel markers (meaning: the original sole stitch count from before gusset increases).
- The stitches outside those heel markers are your gusset stitches, and those are the stitches you will decrease away as you join the flap.
Heel flap pattern
Work back and forth across the heel flap stitches. At the end of every row, you will use 1 gusset stitch in a decrease to attach the flap to that side.
What this does: This slip-stitch pattern creates a tougher heel fabric, with neat slipped columns on the RS. Your future socks will thank you.
Important sanity sentence: Because you turn your work each row, you will eat gusset stitches from one side on RS rows and from the other side on WS rows. So yes, one side will look like it is shrinking first. Keep going. It evens out.
Row 1 (RS): Sl1, then work a slip-stitch heel pattern across the heel flap stitches: *k1, sl1* repeat to the last heel-flap stitch. Then k2tog (work the last heel-flap stitch together with the first gusset stitch). Turn.
Row 2 (WS): Sl1, purl across heel flap stitches to the last heel-flap stitch. Then p2tog (work the last heel-flap stitch together with the first gusset stitch on this side). Turn.
Repeat Rows 1 and 2, always consuming one gusset stitch at the end of each row, until all gusset stitches on both sides have been worked away.
If your heel flap stitch count is odd: The *k1, sl1* rhythm still works. Just keep the pattern going and make sure the last stitch before your decrease is a heel-flap stitch. The sock will not call the knitting police.
About the WS decrease: I am using p2tog on the WS because it is simple and it works. If your decreases look a little twisty or you prefer mirrored slants, you can swap that WS decrease for p2tog-tbl. Either choice is acceptable. Socks are forgiving, unlike the internet.
How do I know I’m done? When you reach the end-of-row decrease and the “next stitch” after it would be an instep stitch (not a gusset stitch), that side’s gusset is gone. When both sides are gone, you are officially out of gusset to eat.
Step 7: Back in the round
Once the gusset stitches have been consumed, you are back to a clean tube again.
Next round: Knit across instep stitches, then knit across heel stitches.
If you like a tidy beginning-of-round marker, place it at the center of the heel.
At this point, your total stitch count should be back to your original target (56, 60, or 64). If you are off by 1 or 2 because life is chaotic, you can quietly decrease or increase on the next round and nobody has to know.
Step 8: Leg
Knit every round (or add a simple rib or texture if you like) until the leg is your preferred height. For a first sock, 5 to 7 inches (12 to 18 cm) from the top of the heel is a sweet spot.
Optional but nice: Work 1x1 rib (k1, p1) or 2x2 rib (k2, p2) for the last 1 to 2 inches before bind-off for a cuff that hugs.
Step 9: Stretchy bind-off
You want a bind-off that stretches over your heel and does not bite your calf. Two beginner-friendly choices:
- Jeny’s Surprisingly Stretchy Bind-Off
- Classic bind-off worked loosely (go up a needle size if needed)
Weave in ends, give your sock a gentle wash, and let it dry in shape. For sock “blocking,” I like to just smooth the fabric with my hands and let it dry flat. Sock blockers are fun, but your feet work too.
Optional durability upgrade: If you are tough on your socks, you can reinforce the heel and toe by holding a thin reinforcing thread (like nylon) along with your yarn in those sections. Not required, but it can add real lifespan.
Then immediately put it on and strut around your home like you invented footwear.
Fit tweaks
Too tight
- Increase your total stitch count by 4
- Or go up one needle size
- Or choose a stretchier pattern on the instep (like ribbing) for more give
Heel too shallow
- Work a few more gusset increase repeats before the heel turn
- On the heel turn, leave a slightly larger center section unwrapped before finishing the turn (increase C by 2)
Holes at the heel
- On the heel turn finish, be sure to work wraps together with their stitches
- On the heel flap join rows, snug up the end-of-row decrease stitch so it does not leave a corner gap
Toe too pointy
- Start with a couple more cast-on stitches (like 14 instead of 12)
- Or increase every round for the first few increase rounds, then switch to every other round
Troubleshooting
Ladders between needles
Totally common. Tug the first two stitches on the new needle a bit snugger, and occasionally shift your needle break points by a few stitches so the tension does not stack in one spot.
Losing count
Welcome to knitting. Use a removable marker every 10 rounds on the foot, and write down your target counts for toe, gusset, and heel. Future you will feel very loved.
Fabric too loose
Socks like a dense fabric. If you can see lots of light between stitches, go down a needle size and try again. Annoying, yes. But also the difference between socks that last and socks that become house slippers in three wears.
Slow fashion
There’s something quietly powerful about knitting socks. They are small enough to carry, useful enough to wear constantly, and repetitive in a soothing, brain-quieting way. Toe-up socks especially invite you to slow down and check in with your body, your tension, your fit. It’s like making a tiny custom garment with built-in mindfulness.
Also, if you are anything like me, you will suddenly understand how a sock drawer can become a hand-knit museum. My yarn stash would like to politely decline further questioning.
FAQ
Toe-up vs cuff-down
Not harder, just different. The only new thing for many knitters is the cast-on. After that, toe-up is wonderfully logical because you can try on as you go.
Do I need DPNs?
No. Magic loop and two circulars both work beautifully. Use the method that makes you feel least like you’re wrestling an octopus.
How do I make two socks that match?
Write down your numbers for the first sock: toe stitch count, foot length, how many gusset increase repeats, what H was for the heel turn, what C you used, and how many heel flap join rows it took to consume the gusset. Then repeat those for the second sock. If you are using self-striping yarn, start both socks at the same point in the color sequence.
Can I use this for kids or bigger sizes?
Yes. For larger sizes, bump the stitch count up by increments of 4 and consider a few extra gusset increase repeats. For kids, reduce by increments of 4 and shorten the foot and leg.
Second sock
If you’ve finished one sock and you’re staring at it thinking, “I love you, but now I have to make you a friend,” you’re in excellent company. Set yourself up with a cup of tea, cast on that second toe, and remember: every sock knitter was once a person wondering how on earth a heel works.
When you’re ready, the next fun step is adding simple upgrades like a ribbed instep, a contrast toe, or a decorative cuff. But first, enjoy your brand-new superpower: knitting socks that actually fit.