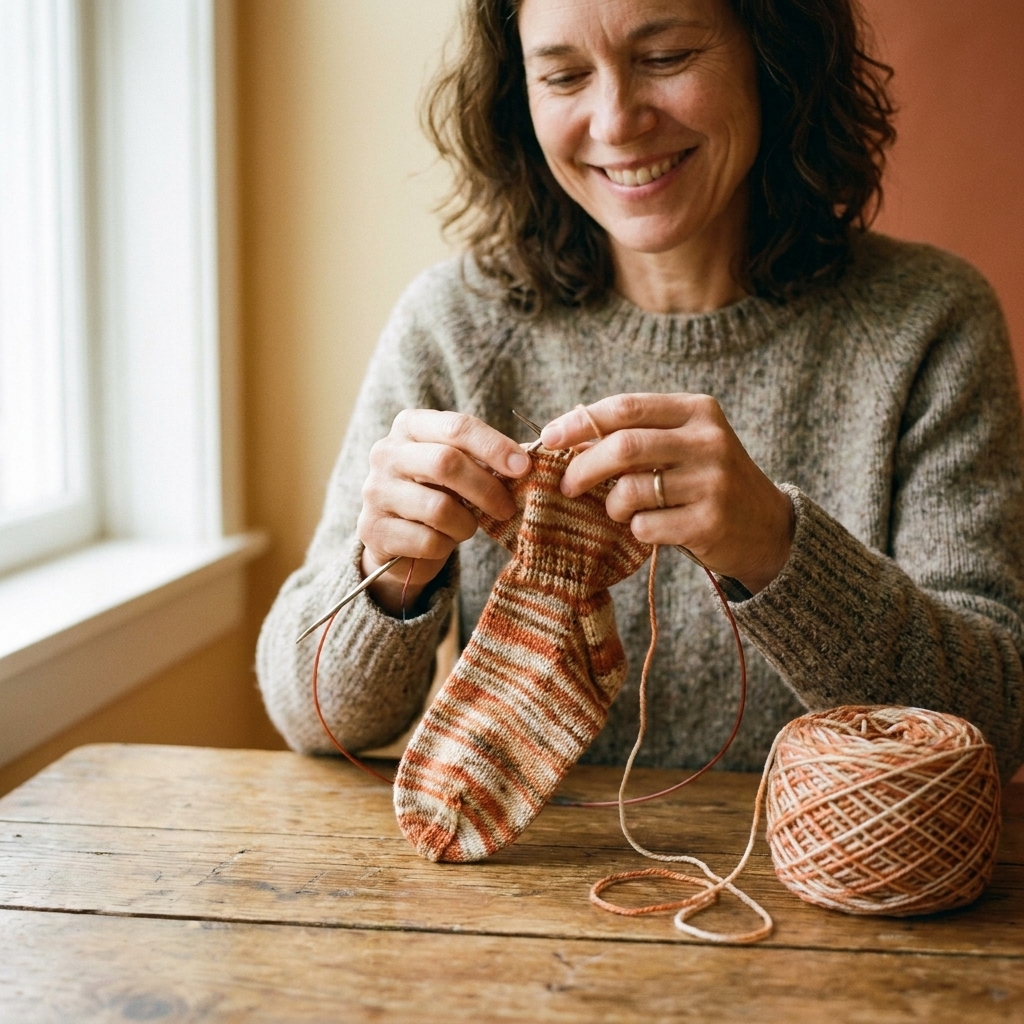
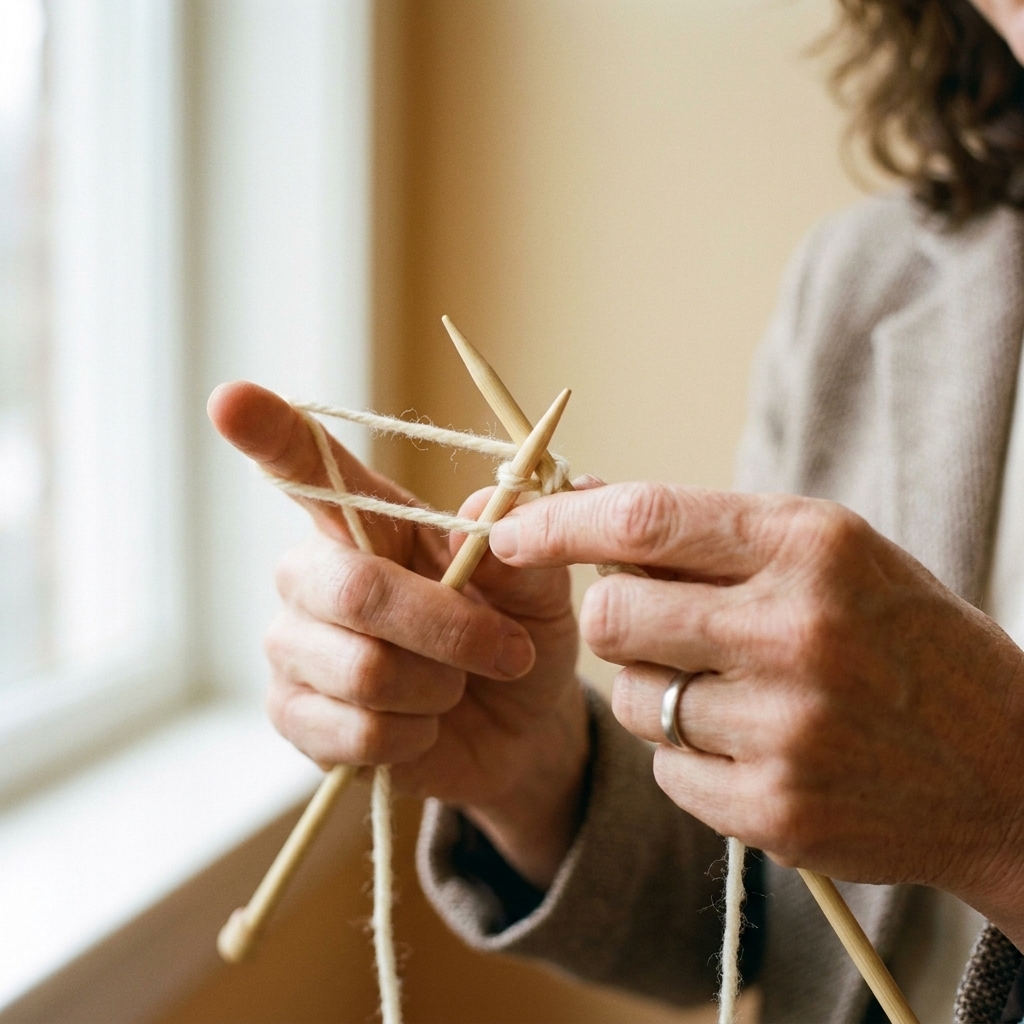
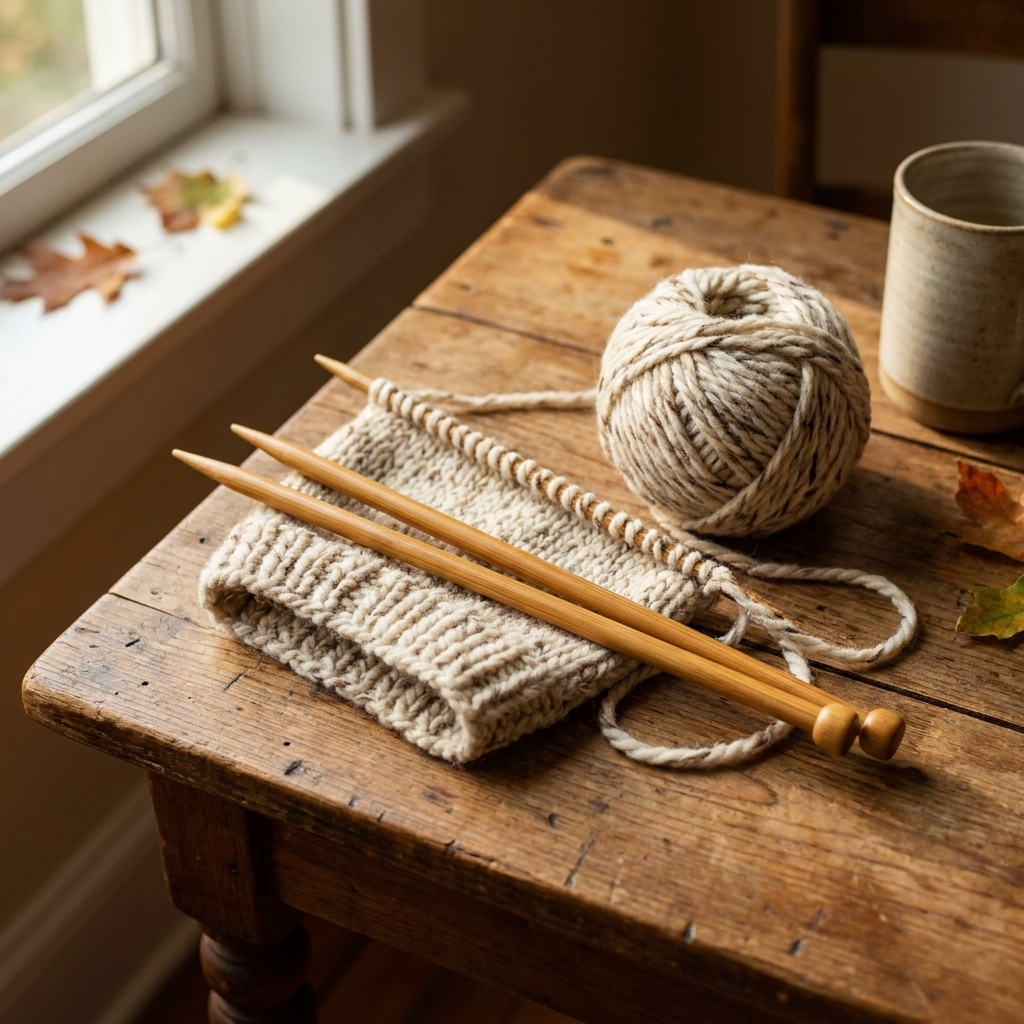
If you have ever tried to knit a tiny tube on a circular needle and thought, “Why is this so fussy?” Magic loop is about to become your new best friend. Magic loop lets you knit small circumferences in the round using one long circular needle, no DPN juggling required. It is my go-to for socks, mittens, sleeves, and the tops of hats. Once it clicks, it feels almost like cheating in the nicest way.
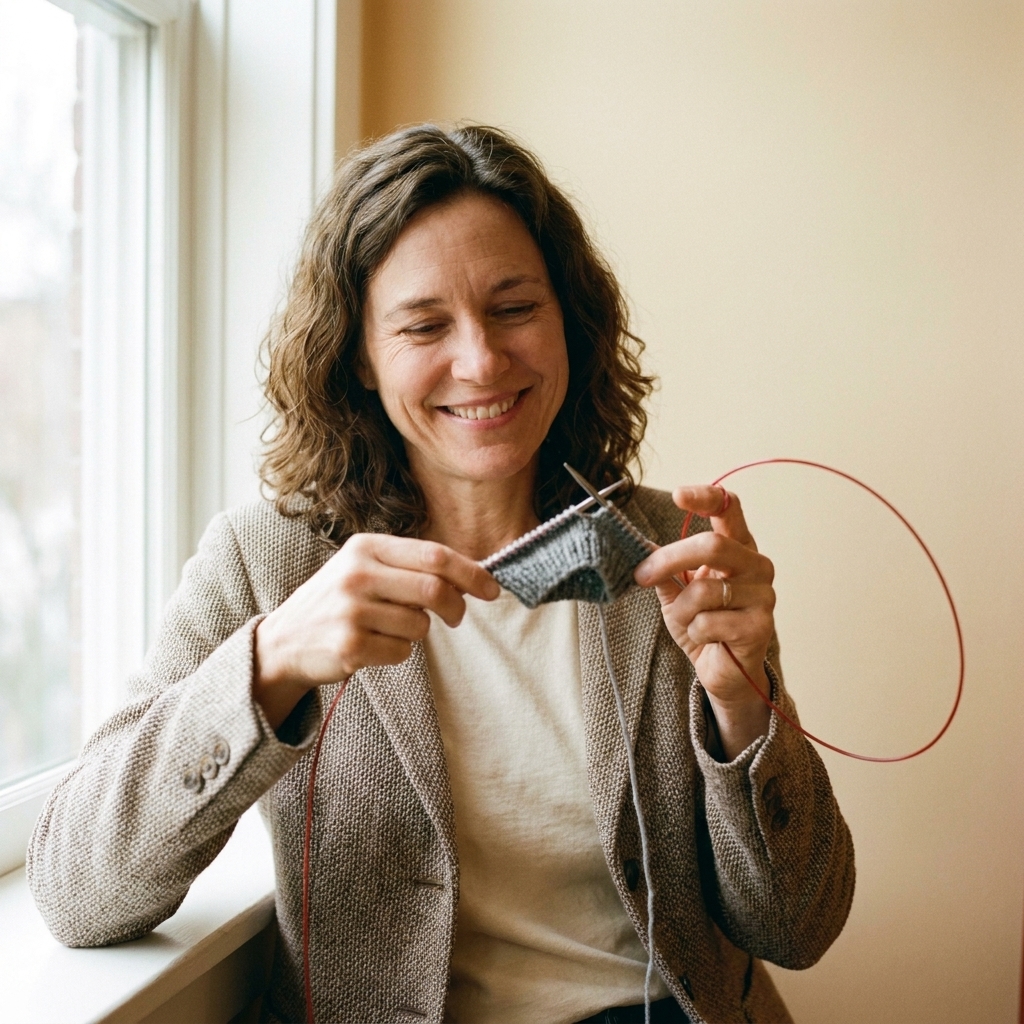
In this tutorial, I will walk you through the exact hand movements and “what goes where” moments that trip up beginners. If you can knit and purl, you can do magic loop. Promise.
What is magic loop knitting?
Magic loop is a method of knitting in the round on a long circular needle by pulling out a loop of cable so your stitches sit on two needle tips, like a flexible version of two short needles.
You knit one portion of the stitches, rotate your work, then knit the other portion. The cable provides the “extra length” so you are not forcing a small number of stitches to stretch around a too-short needle.
When to use magic loop
- Socks (especially toes and cuffs)
- Mittens and gloves
- Sleeves knit in the round
- Hat crowns when decreases make things too small for a 16-inch circular
- Baby sweaters, toy limbs, and any narrow tube
Magic loop vs. DPNs vs. two circulars
- DPNs: quick once you are comfortable, but can feel pokey and fiddly at first.
- Two circulars: great method, but requires two needles of the same size.
- Magic loop: one needle, very portable, easy to try without extra tools.
What you need
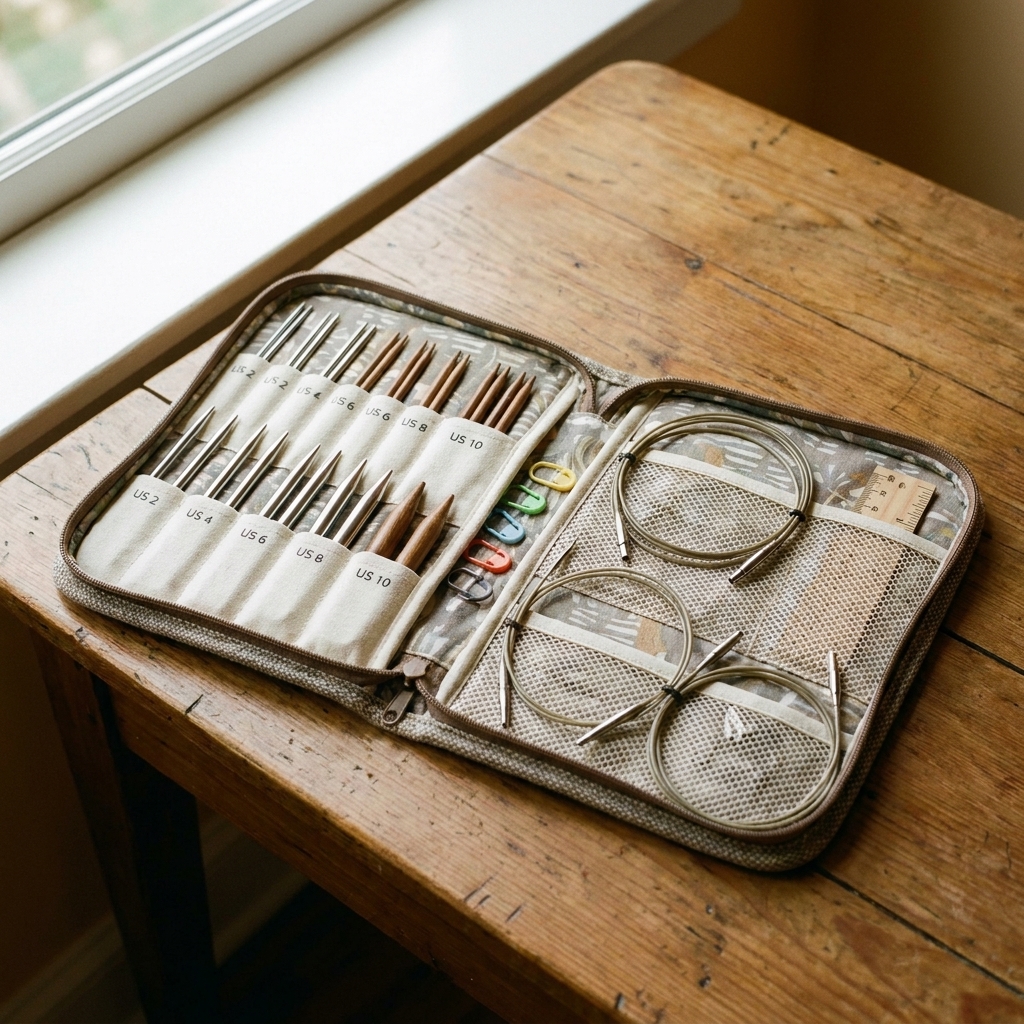
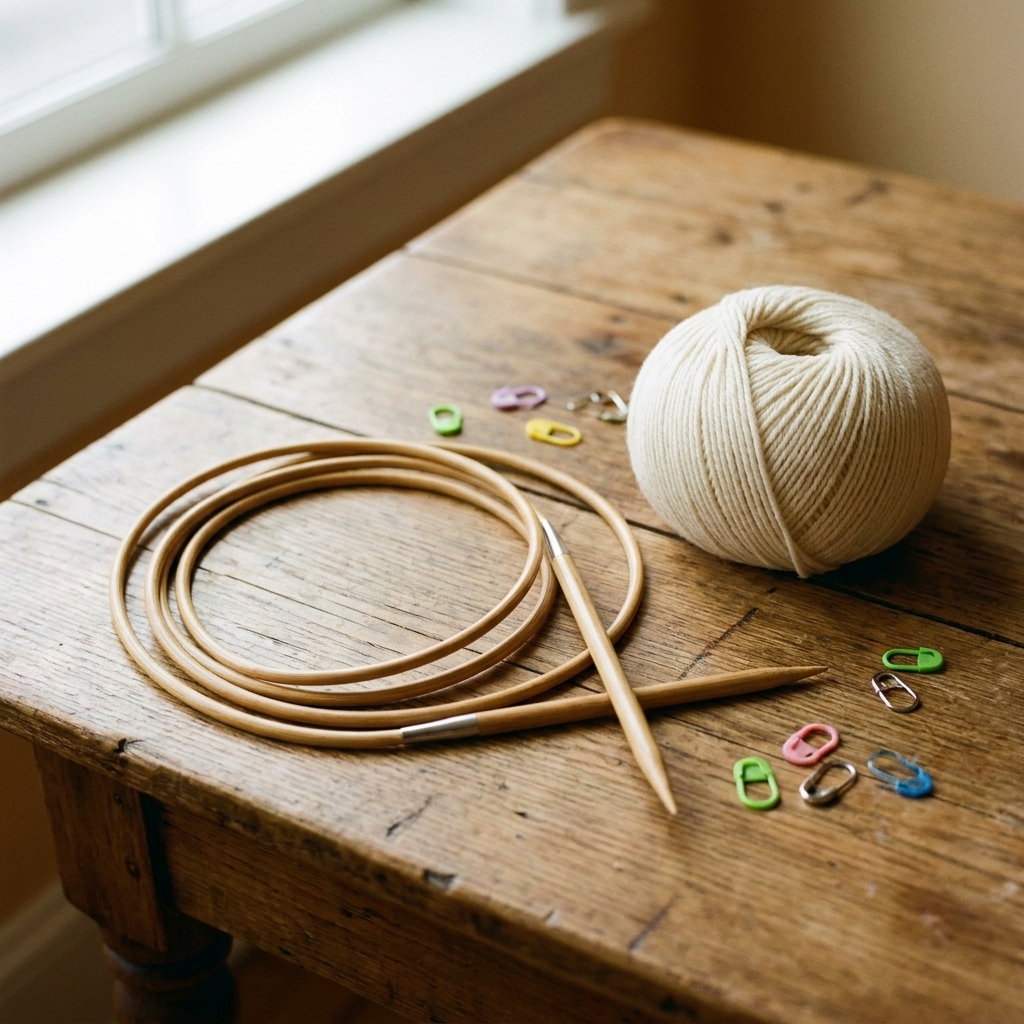
A long circular needle
For magic loop, needle length matters more than you would think.
- Most common, comfy range: 32 to 40 inches (80 to 100 cm).
- For socks: many knitters love 40 inches for plenty of cable.
- For two-at-a-time (TAAT): 40 to 47 inches (100 to 120 cm) is popular.
- Too short: 16 inches will not work; 24 inches can work for some projects, but it is often cramped and cable-dependent.
Cable flexibility helps. A supple cable makes it easier to pull out the loop without fighting memory coils. If your cable is twisty, warm water or gentle steam can sometimes relax it. Check manufacturer guidance first, especially for interchangeables and specialty materials, and be kind to your needle joins.
Yarn and a project (or a practice swatch)
If you are learning, choose a smooth, light-colored yarn. Fuzzy dark yarn is like learning to drive in a snowstorm at night. Possible, but why.
Optional but helpful
- Stitch markers (at least one to mark the beginning of the round)
- Small ruler or tape measure (for checking gauge or progress)
- Tapestry needle (for weaving in later)
Magic loop setup
I am going to assume you are casting on for a small tube, like a sock cuff or a mitten. The steps are the same for any stitch pattern.
Step 1: Cast on stitches
Cast on the total number of stitches your pattern calls for onto your long circular needle.
Tip: If your cast-on tends to be tight, go up a needle size just for casting on, or use a stretchier cast-on. Tight cast-ons are a very common reason beginners hate their first sock.
Step 2: Slide to the cable
Pull the stitches away from the tips and onto the cable so you have room to divide them.
Step 3: Divide into two groups
Using your fingers, find a midpoint and separate the stitches into two groups. They do not have to be exactly half and half, but it is easier if they are. For many patterns you will split them evenly.
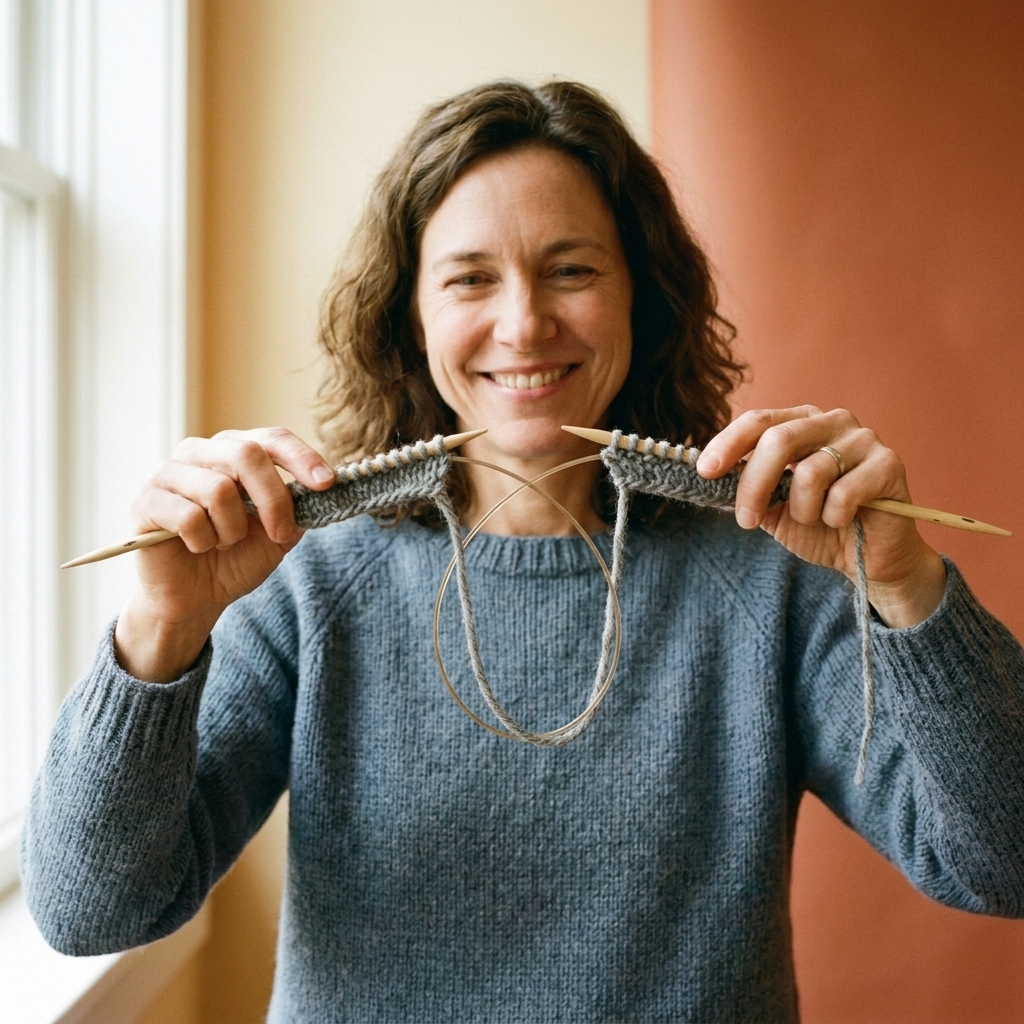
Step 4: Pull out a cable loop
At the midpoint between the two groups, pull the cable out to form a loop. You should now have:
- One needle tip holding the front group of stitches
- The other needle tip holding the back group of stitches
- A loop of cable sticking out between the groups
Step 5: Check for twists
This is the moment that saves you from the classic “I knit 20 rounds and it is a Mobius scarf” heartbreak.
- Lay the stitches so the cast-on edge runs smoothly around the needle without flipping.
- All stitch bumps should face the same direction along the needle.
- If anything looks spiraled or flipped, fix it now before joining.
Step 6: Join in the round
Place a marker for the beginning of the round (usually at the transition from the last cast-on stitch to the first).
Now decide which group you will knit first. The needle tip holding the first stitch to be worked acts as your left needle. The other tip, the one you knit with, is your right needle. Those roles will swap as you rotate, and that is normal.
Knit the first stitch snugly to close the join. Not strangled-tight, just confidently snug.
Quick cable tip: Many knitters keep two “resting” spots for extra cable, one loop between the two stitch groups and another loop at the end where the needles meet the fabric. If you use interchangeables, avoid positioning the join right at the split point, since that is where you tug most.
How to knit magic loop
Once the setup is done, magic loop becomes a simple two-part routine: knit the first group, rotate, knit the second group.
Step 1: Knit the first group
With the first group of stitches on your left needle tip, knit across until you reach the cable loop.
As you knit, the worked stitches move onto the needle tip you are knitting with, your right-hand tip.
Step 2: Rotate your work
When you reach the cable loop, stop. Rotate the whole project so the unworked stitches come to the front and are ready to be knit. You are not turning to work back-and-forth, you are just repositioning for the second half of the round.
Step 3: Slide stitches into place
Pull the needle tip holding the unworked stitches so the stitches sit on the cable, then slide them up onto the needle tip. You want the unworked stitches ready on the left needle tip again.
Step 4: Free the other tip and knit the second group
Pull the empty needle tip out from the stitches (it should slide out smoothly). Now knit across the second group of stitches.
When you finish, you have completed one full round.
Mini mantra: Knit one group, rotate, knit the other group. If you repeat that calmly, you are doing it right.
How to avoid ladders
The most common magic loop complaint is the “ladder,” a vertical gap that can appear where the work transitions between the two needle tips. Good news: it is fixable, and it is not you being bad at knitting. It is just tension physics.
Habits that help
- Snug up the first couple stitches after the transition. Pay extra attention to the first and second stitch on the new needle. Many ladders form around those stitches, but depending on how you tension, you might notice the looseness between the last stitch of one group and the first stitch of the next.
- Shift the split point occasionally. Every few rounds, move one or two stitches from one group to the other. This prevents a ladder from stacking in one spot.
- Keep needle tips close. Before knitting the first stitch of a new group, bring the needle tips close together so the yarn does not have to “bridge” a big gap.
- Avoid yanking the cable. Pulling too aggressively can loosen stitches right at the transition.
If you already have a ladder
Often, a gentle tug on the surrounding stitches will redistribute slack. After a few rounds, many ladders relax and become much less noticeable, especially after washing and blocking.
Common problems
My stitches feel stretched on the cable
This can happen if the cable is thick or stiff, or if you are pulling too much cable through.
- Try pulling out a smaller loop.
- Switch to a circular needle with a more flexible cable.
- Make sure stitches are sitting on the needle tips while you knit, not stranded on the cable.
I keep getting twisted when I join
Before you knit the first stitch, lay your cast-on edge along the needle and check that it is not spiraling. If it is twisted, untwist it now. If you already joined and knit a round or two, it is usually worth ripping back and rejoining. I know. I have sighed that sigh too.
It is hard to pull the needle tip through
Usually this is one of these issues:
- Cable too short: go longer if you can.
- Stitches too tight: relax your tension, especially if you are a “death grip during finals week” knitter (hello, younger me).
- Join catches: sometimes the cable-to-needle join snags. Another brand (same size needle) can be a game changer. For interchangeables, make sure tips are tightened fully.
My beginning-of-round marker keeps falling off
Use a marker that fits your needle size well. If it is too large, it will pop off during the needle-tip shuffle. A small locking marker clipped into the fabric (not on the needle) can also work in a pinch.
Shifting the split point messes with my pattern
If you are working a pattern panel (like a cable on a sleeve) or a sock with a defined instep, shifting the split can move the “seam” into an awkward spot. In that case, keep the split aligned with a natural boundary and use other ladder fixes first (snugging the first couple stitches, keeping tips close, and not yanking the cable). Extra markers can help too, like marking instep and sole on socks.
Magic loop for projects
Socks
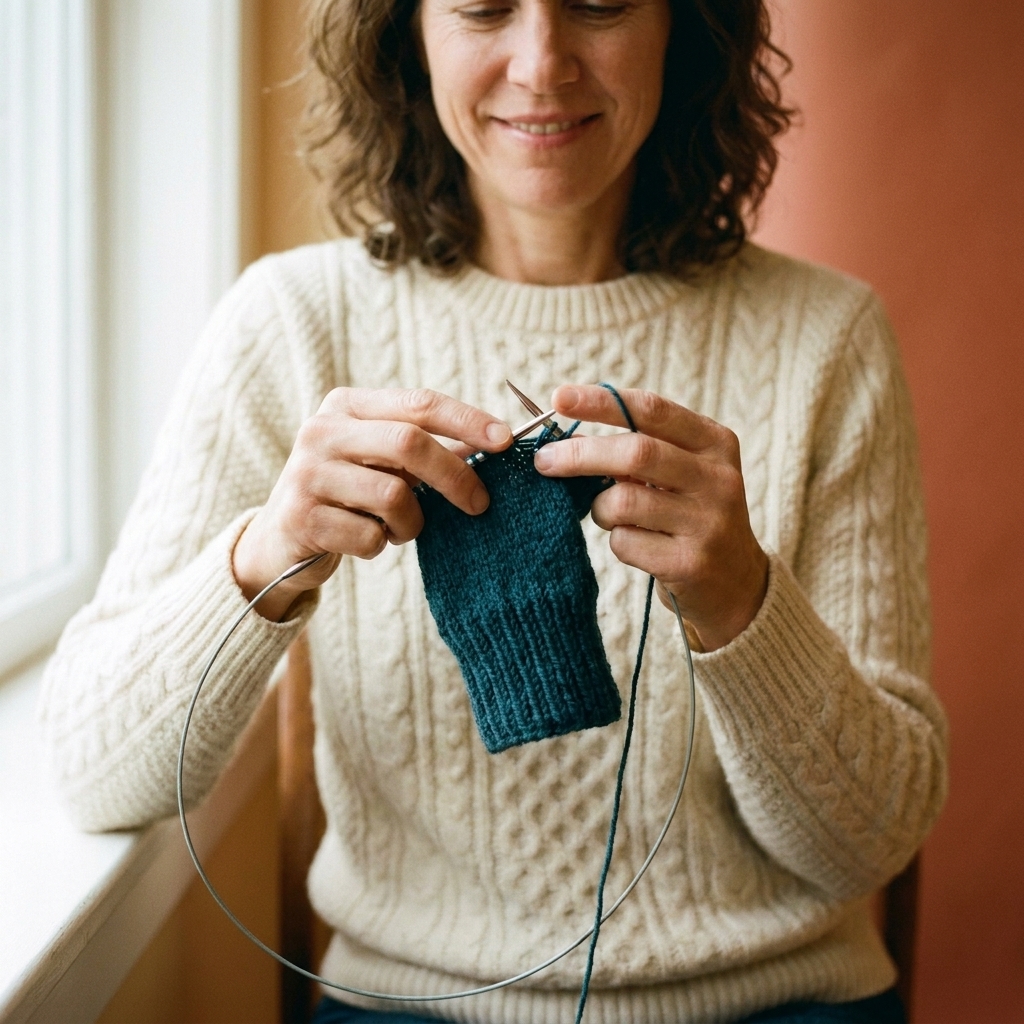
Magic loop shines for socks because the circumference is small and consistent. You will typically split stitches evenly: half for the instep, half for the sole. Many sock patterns tell you exactly how to divide them. If your pattern uses a textured instep, consider adding an instep marker so you can keep your split consistent and still stay oriented.
Sleeves
For top-down sleeves, you can use magic loop from the start or switch when the sleeve becomes too narrow for your 16-inch circular. If your pattern has a stitch panel, decide where you want the split to land so it does not slice through the design.
Hat crowns
When your decreases make the hat too small to stretch around your shorter circular, switch to magic loop and keep going without changing needle size. It is a smooth handoff and saves you from a last-minute scramble for DPNs.
15-minute practice plan
If you want to learn magic loop without the emotional pressure of a sock heel, try this:
- Cast on 24 stitches in a smooth worsted yarn.
- Join in the round using magic loop.
- Knit 10 rounds.
- Purl 2 rounds (to practice tension changes).
- Knit 5 rounds, paying attention to ladder prevention.
That is enough to build the muscle memory. Your hands will feel clumsy at first, and then one day it will suddenly feel normal. That is the magic part, honestly.
FAQ
What length circular needle do I need?
Most knitters prefer 32 to 40 inches. For socks, 40 inches is especially comfortable because you have plenty of cable to pull loops without straining stitches. For TAAT socks, many people size up to 40 to 47 inches.
Can I knit two socks at once?
Yes. It is called two-at-a-time (TAAT) socks on magic loop. You cast on for both socks on the same needle and work them in tandem. It is amazing for matching length, but it adds complexity, so I recommend learning standard magic loop first.
Is magic loop good for beginners?
Absolutely. The first setup can feel like you are wrestling an octopus made of yarn and cable, but once the rhythm clicks, many beginners find it simpler than managing four or five DPNs.
Why do I get ladders?
Ladders come from loose tension at the transition between needle tips. Snug up the first couple stitches after each transition, keep needle tips close together, and shift the split point every few rounds if your pattern allows.
Do I need a special needle?
No special needle, but a flexible cable helps a lot. If your cable is stiff, magic loop will still work, but you may feel like you are constantly negotiating with it.
Is traveling loop the same as magic loop?
They are cousins. Magic loop typically uses a long cable with a loop pulled out to handle a small circumference. Traveling loop uses a smaller loop that “travels” as you knit, and it is often used when the circumference is only slightly smaller than the needle length. If your tube is tiny (socks, mittens), classic magic loop is usually the easier starting point.
A gentle reminder
Magic loop is a skill, not a personality test. If it feels awkward on day one, that is normal. Your hands are learning a new choreography. Take it slow, take breaks, and celebrate the tiny wins, like a neat join or a round with no ladder. Your future socks and sleeves will thank you.