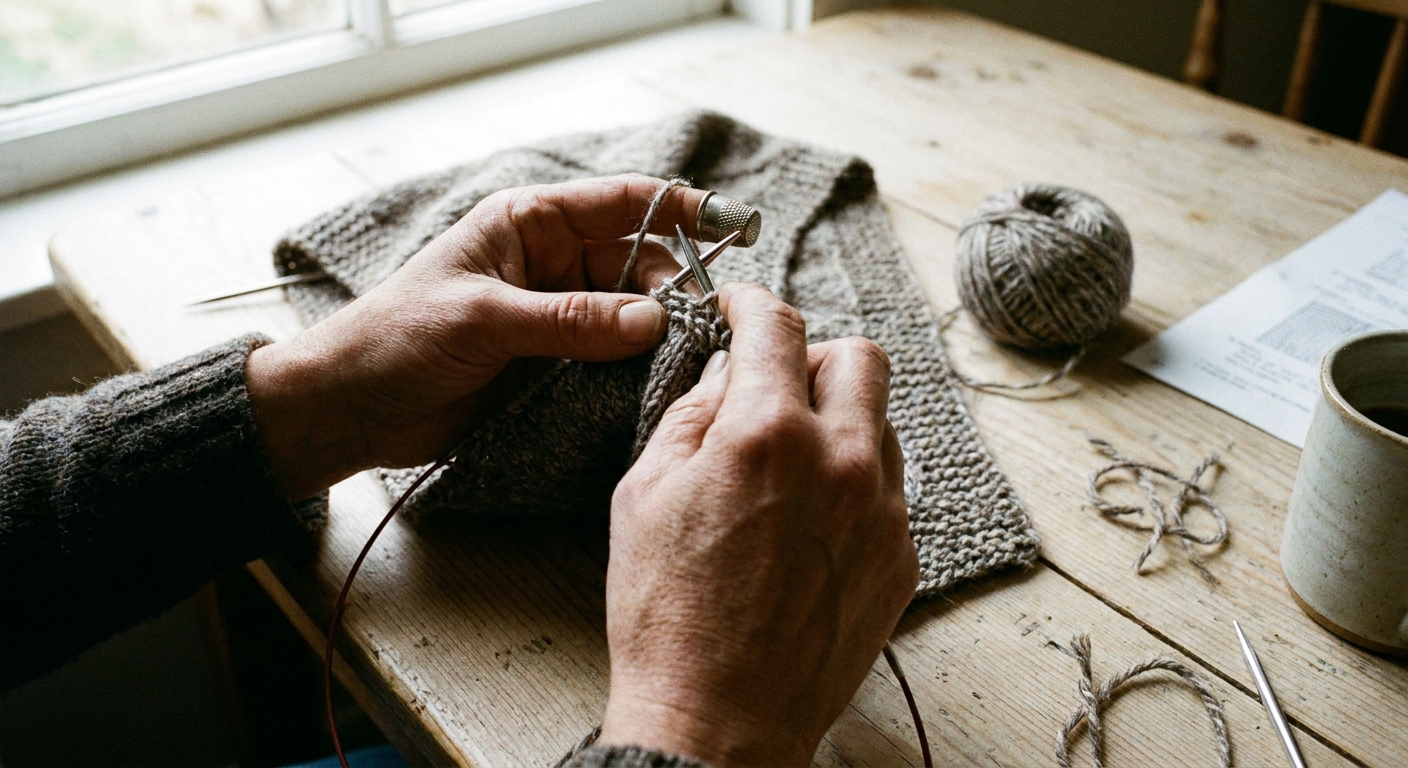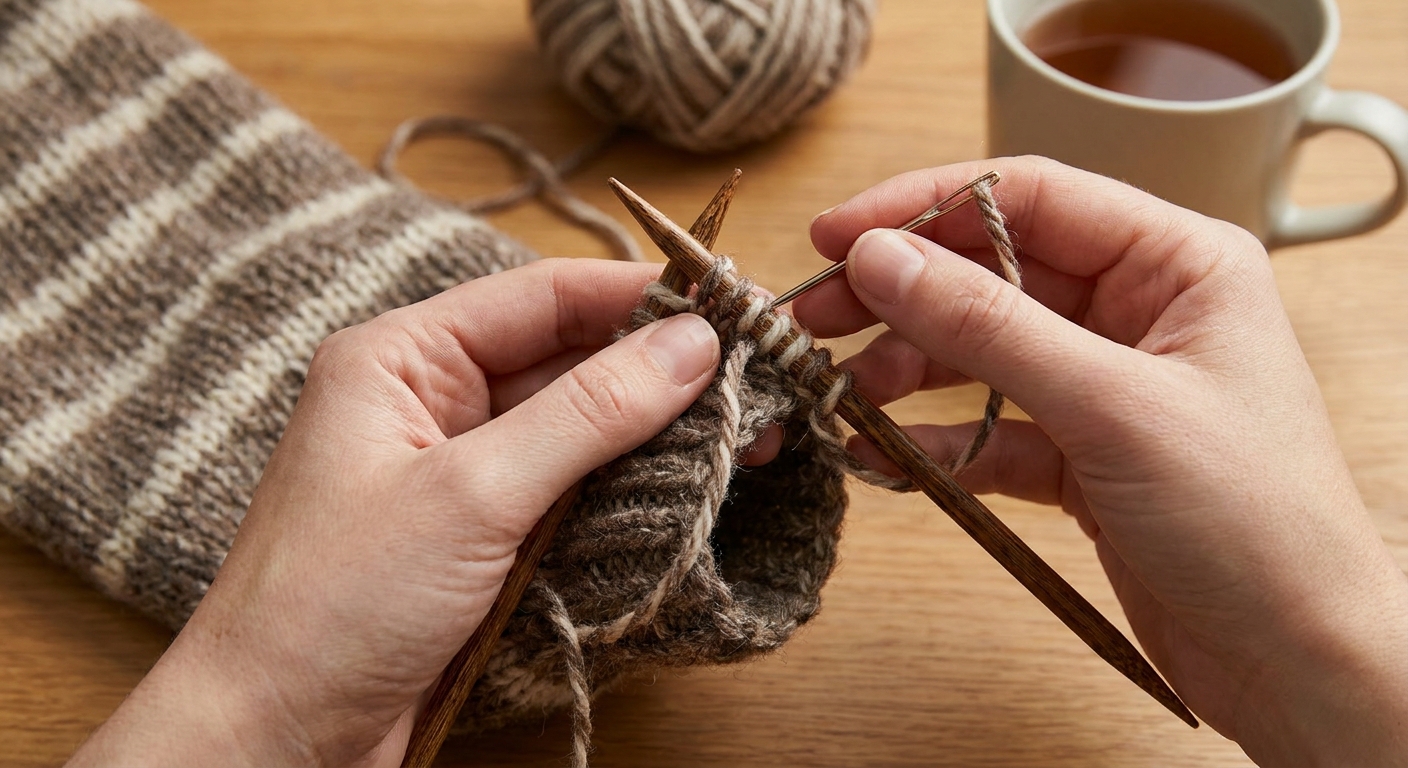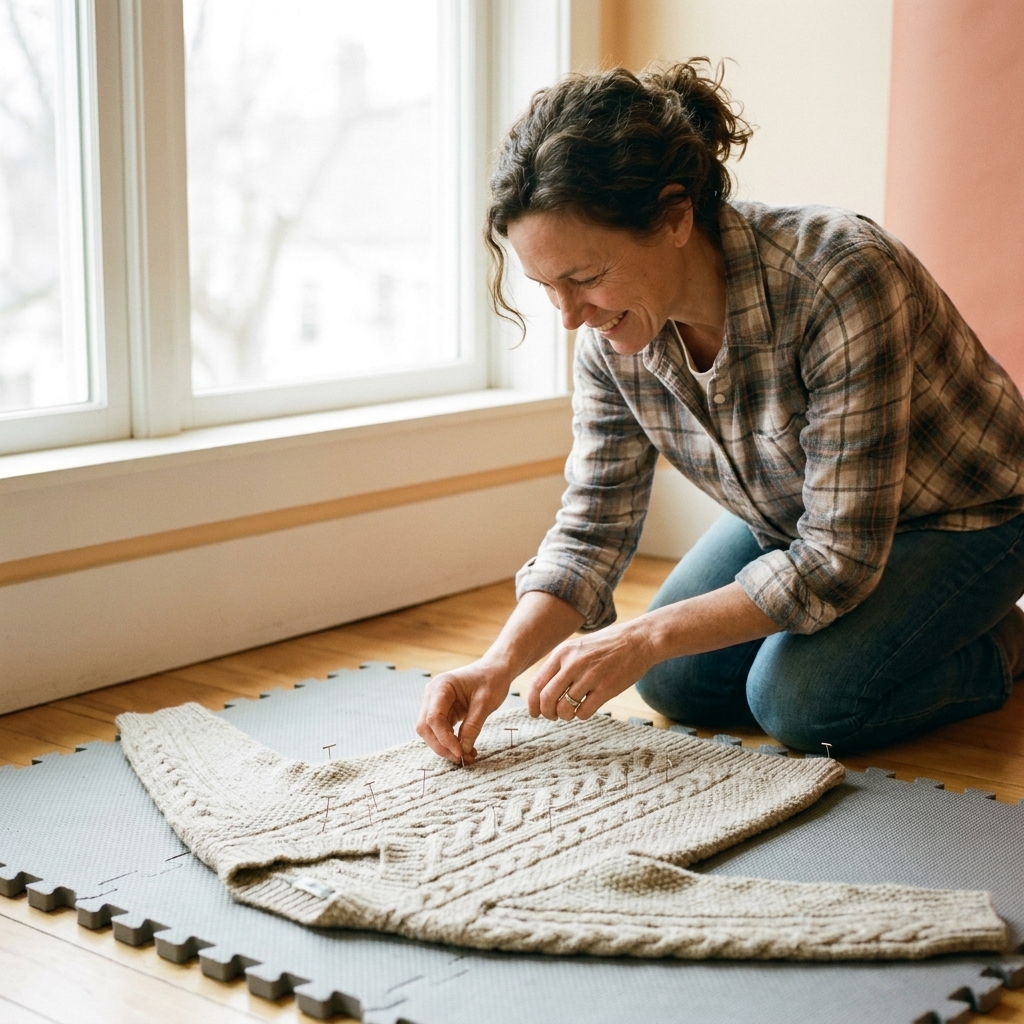
One more row. Then just one more.
Button bands are like the little handshake at the front of a cardigan: tidy, sturdy, and ready to hold everything together. When they feel floppy, pull tight, or refuse to line up, it is usually not the sweater’s fault. It is the band plan.
Let’s map out a button band that behaves, with buttonholes that actually fit the button you picked.
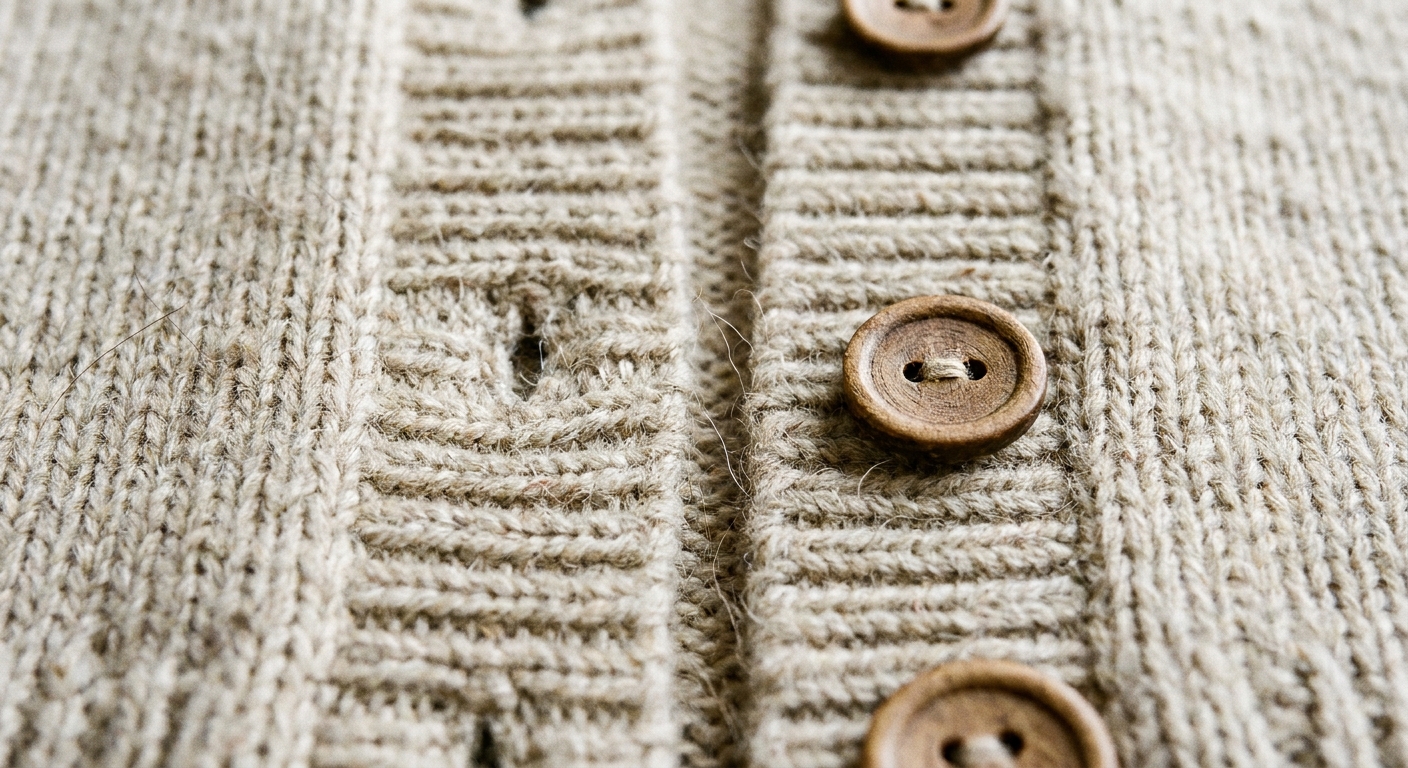
What a button band needs to do
A great button band is mostly three things:
- Stable: it does not ripple or stretch out of shape.
- Even: both fronts match in width and length, so the hem and neckline meet cleanly.
- Functional: the buttonholes fit the button, and the buttons are spaced so the cardigan does not gape.
You can knit button bands two common ways: picked up (after the body is done) or worked as you go (integrated with the fronts). This guide focuses on the most common and beginner-friendly approach: picking up stitches for a band after seaming or after finishing the fronts.
Band width
Band width is a style choice, but it is also structural. Too narrow and it can curl or feel skimpy. Too wide and it can look bulky and pull the front edge into waves.
Typical widths
- Baby and toddler cardigans: about 1 to 2 cm (3/8 to 3/4 in)
- Adult lightweight cardigans: about 2.5 to 3.5 cm (1 to 1 3/8 in)
- Chunky knits or statement bands: about 4 to 6 cm (1 1/2 to 2 1/2 in)
Ribbing is the classic choice because it hugs the edge and resists flare. A garter stitch band is also sturdy and lies flat, especially on stockinette fabric. Seed stitch works too, but it can relax over time depending on fiber.
Match width to button size
As a practical guideline, a band often looks and works best when it is roughly as wide as the button, especially for medium to large buttons. That is not a hard rule. A narrow band can still work beautifully if the overlap is firm and the button placement is thoughtful.
If your button is 20 mm (about 3/4 in), a 2.5 to 3.5 cm band is usually a sweet spot. For 30 mm (about 1 1/8 in) buttons, a wider band often looks more balanced and feels steadier in wear.
Overlap plan
Before you pick up a single stitch, decide how the fronts should meet when the cardigan is closed.
- Most classic cardigans overlap by about the band width.
- That overlap affects where buttons land. The button usually sits near the outer edge of the band, but not right on it.
If you are adapting a pattern, a simple way to check yourself is to pin the cardigan fronts together the way you want them to sit, then measure how much overlap looks and feels right. That becomes your button band target, and it helps prevent the sneaky problem where everything is neat, but the closed cardigan still feels “off.”
Pick-up math
The most common button band problem is a wavy edge. That usually comes from picking up too many stitches.
Common starting ratios
Use these as starting points, then adjust based on your fabric, edging, and blocking plan:
- Along a vertical stockinette edge: pick up about 3 stitches for every 4 rows.
- Along garter stitch ridges: pick up about 1 stitch in each ridge (often close to 1 stitch per 2 rows).
- Along ribbing: pick up slightly fewer than 1 per row if it starts to flare.
The governing principle is simple: your picked-up stitch count should roughly match the edge’s stitch gauge. If the edge is taller (more rows per inch), you pick up fewer stitches. If it is shorter, you pick up more. Slipped selvedges, reinforced steeks, and heavily blocked fabric can all shift what “right” looks like, so treat ratios as a calm starting point, not a law.
If your pattern tells you exactly how many stitches to pick up, follow that first.
Where to insert your needle
For a tidy, sturdy edge, pick up consistently in the same spot each time. Many knitters like to insert the needle under both legs of the edge stitch (or through a firm bar between stitches) so the band feels anchored. Along a bound-off edge, aim for a similar rhythm, catching a stable part of each bound-off “bump.” Consistency matters more than the exact spot.
Quick check
After picking up and knitting 1 to 2 rows, lay the band flat on a table. If you plan to block your finished cardigan, do your check with that in mind. A quick steam or a light wet block of the edge can tell you whether the waviness is real or just fresh-off-the-needles drama.
- If the edge ripples, you likely picked up too many stitches. Rip back and pick up fewer.
- If the edge pulls in and the front curls, you likely picked up too few stitches. Rip back and pick up more.
Make both fronts match
Cardigans ask for symmetry, and button bands are where symmetry really shows. Here is how to keep both sides consistent.
Choose the buttonhole side
In many Western ready-to-wear traditions, buttonholes are often found on:
- Women’s garments: left front as worn
- Men’s garments: right front as worn
There are regional and historical exceptions, and knitting is your house and your rules. The key is choosing a side and then keeping your spacing consistent.
Count from the same reference point
When you pick up stitches, start at the same edge on both fronts (for example, always start at the hem and work upward). Then:
- Use the same pick-up ratio on both sides.
- Work the same number of rows for both bands.
- If you add shaping at the neckline, mirror it carefully so both fronts meet evenly at the top.
If your cardigan has a neckband that continues from the button band, keep notes as you go so the second side matches the first in stitch counts and row counts.
Button spacing
Buttons do two jobs: they close the cardigan and they keep the fronts from spreading open between closures. Even spacing helps, but smart spacing helps more.
How many buttons?
A simple way to decide is to think about where you want stability:
- One near the bust or chest line is important for fit.
- One near the fullest part of the belly (or where your cardigan tends to strain) helps prevent pulling.
- One near the hem keeps the bottom from flipping open.
For many adult cardigans, 5 to 8 buttons is common, but length, fit, and button size matter more than any single number.
How to calculate spacing
- Measure the usable band length: from where you want the top button center to where you want the bottom button center.
- Decide how many buttons you want.
- Divide the distance by (number of buttons minus 1) to get the spacing between button centers.
Example: If you have 40 cm between top and bottom button centers and want 6 buttons, you have 5 gaps. 40 ÷ 5 = 8 cm between button centers.
Keep the top and bottom buttons honest
Leaving a huge gap above the top button invites the neckline to spread. Leaving a huge gap below the bottom button invites the hem to flare open. Many knitters like the top and bottom button centers about 2 to 5 cm (3/4 to 2 in) from the edge, adjusted for size and style.
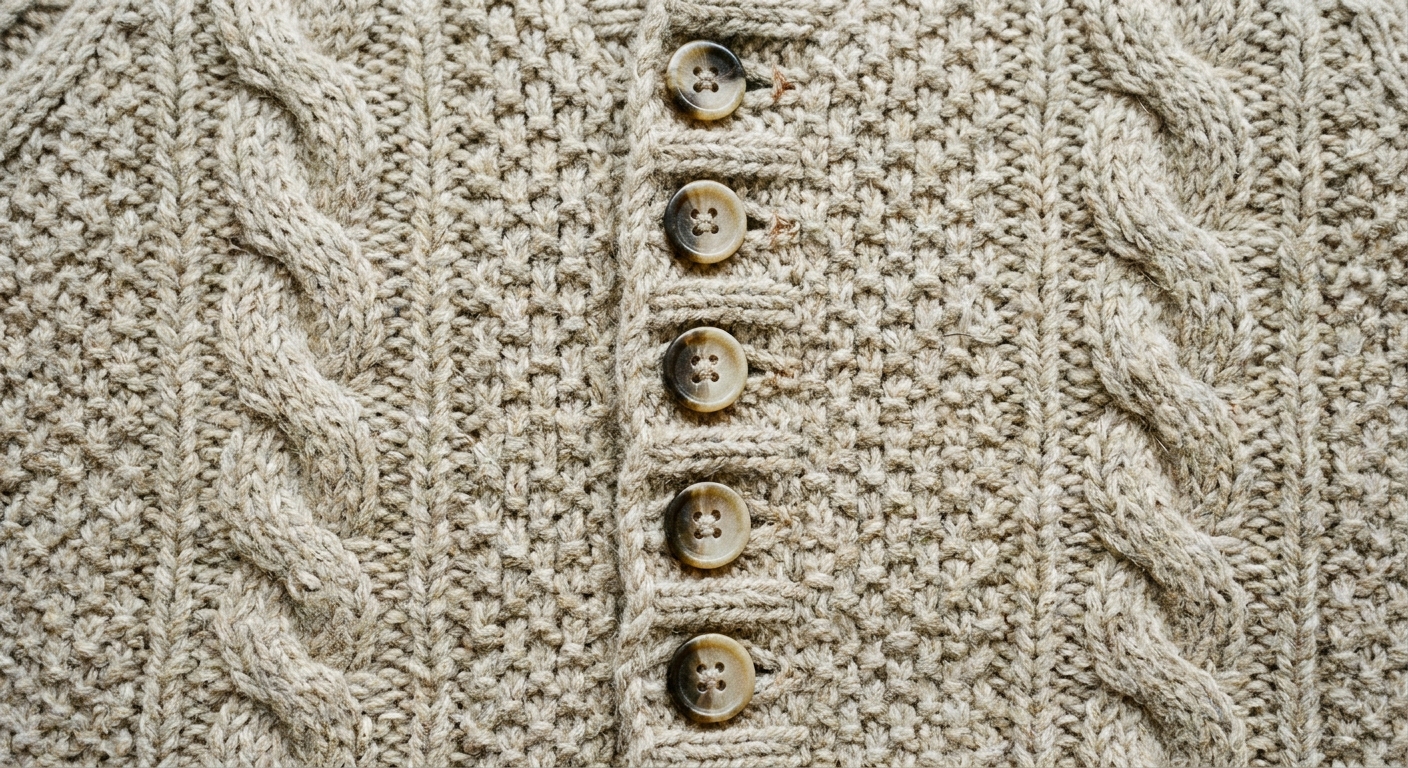
Buttonhole sizing
The button should slide through without wrestling, but it also should not fall back out on its own. Fiber choice matters here: wool can spring back, cotton can stretch and stay stretched, and superwash wool can relax over time.
Test with your actual button
Before committing to your cardigan band, knit a small swatch in the same stitch pattern as your band and work one buttonhole. Then try the button through it.
In general:
- If it is hard to push through, the hole is too small or too tight at the edges.
- If it slides through easily without any pressure, it may be too loose, especially after wear.
Gauge matters
A “3-stitch slit” is not one size. At 5 sts per inch it is a different opening than at 7 sts per inch. When in doubt, translate buttonhole width into a real measurement by measuring your stitch gauge, then swatch the hole and try the actual button.
Common buttonhole types
- Eyelet buttonholes (yarn-over): best for small buttons. They make a round hole, so they tend to suit shank buttons or small flat buttons.
- One-row buttonholes: good for medium buttons. They are quick and fairly neat.
- Two-row or bound-off buttonholes: best for larger buttons and heavier fabric. They create a more rectangular opening and tend to be sturdier.
This article focuses on two very common types: the yarn-over eyelet and the one-row buttonhole.
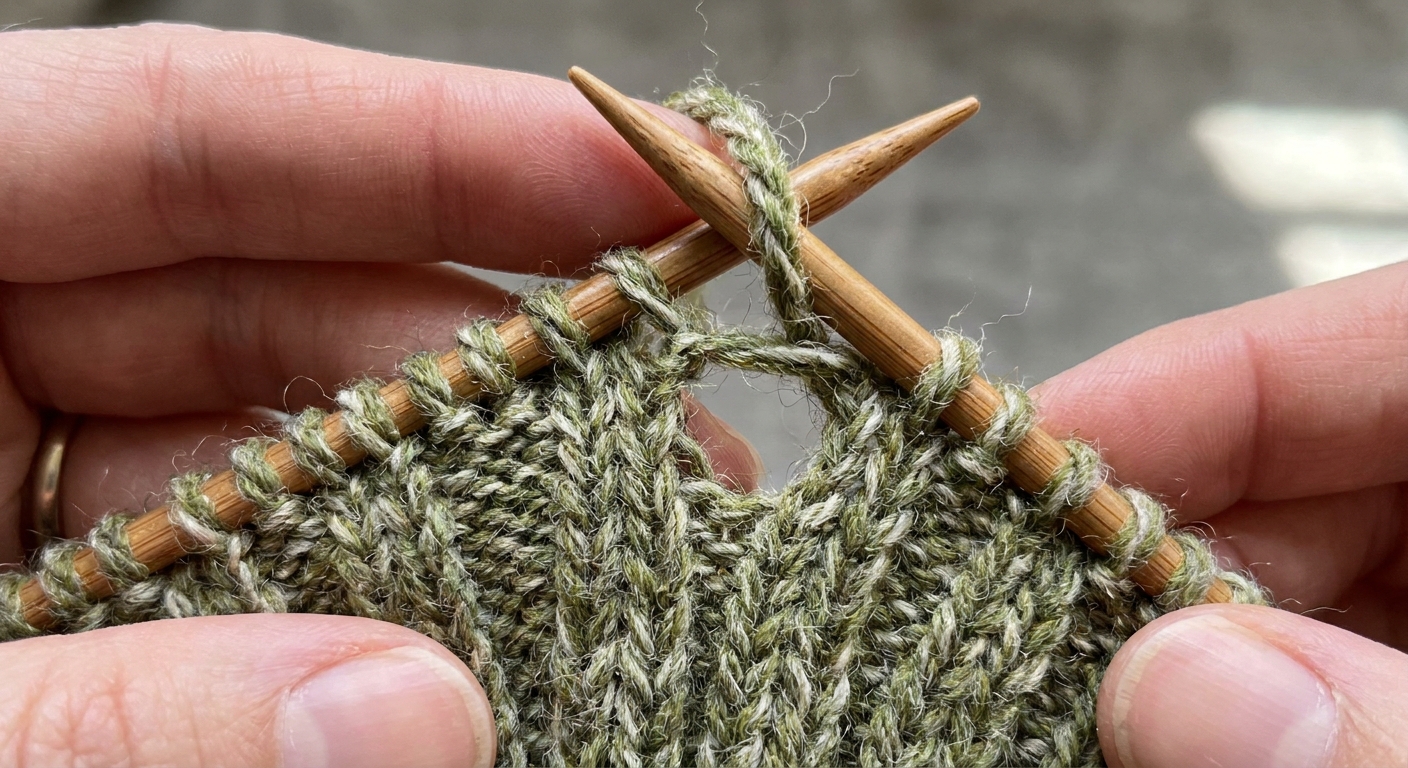
Eyelet buttonhole
This buttonhole is a classic for fine-gauge bands, baby sweaters, and any place you want a small, tidy opening.
How it works
A yarn-over creates an extra stitch and a little hole. To keep your stitch count stable, you pair it with a decrease.
Step-by-step (right side row)
- Knit to where you want the buttonhole.
- Work yarn over.
- Work a decrease right after it, such as k2tog (or ssk if you want it to lean the other way).
- Continue in pattern.
On the next row, knit the yarn-over as a normal stitch (unless your pattern says otherwise).
Make it larger
If you need a slightly larger hole, you can work a yarn-over with a looser wrap, or place the yarn-over and decrease with a little breathing room between them depending on your stitch pattern. Swatching is your friend here because different yarns behave differently.
One-row buttonhole
A one-row buttonhole creates a slit. It is a favorite for many cardigans because it works well on ribbing and looks tidy without a lot of extra fuss.
Best for
- Medium buttons
- Ribbed or garter stitch bands
- Projects where you want a flatter, more horizontal opening
Step-by-step (right side row, cast on same row)
This version binds off stitches, then replaces them immediately so you finish the row with a complete stitch count.
- Knit in pattern to the start of the buttonhole.
- Bind off the number of stitches needed for the buttonhole width (often 2 to 4 stitches for medium buttons, more for large).
- Cast on the same number of stitches over the gap using backward loop (quick) or cable cast on (firmer edge).
- Continue knitting the row in pattern.
- On the wrong side row, work the newly cast-on stitches in pattern.
Small note for ribbing: try to place buttonholes so they sit nicely within the rib columns. For example, in 1x1 rib, you might bind off one knit stitch and one purl stitch, then cast them back on to keep the rib sequence consistent.
How wide should the bind-off be?
A useful starting point is to make the slit slightly smaller than the button diameter if the fabric is stretchy. The surrounding rib and the band’s tension will let it open just enough. For firm fabrics like cotton, you may need a little more width.
Variant
Some methods bind off on one row and cast on over the gap on the following row. It works, but the “cast on same row” approach above is simpler to keep track of and keeps your band rhythm feeling calm.
Buttonhole placement
Many cardigan buttonholes are worked horizontally across the band, and that is what the eyelet and one-row slit naturally create.
That said, vertical buttonholes are also common, especially for larger or heavier buttons, narrow bands, or when you want the button to sit a little more securely without sliding side to side.
Mark first
- Mark the button center positions first (with removable markers or pins).
- Work buttonholes so the center of the opening lands on that mark.
- Keep the buttonholes on the same row sequence if possible so the band looks consistent.
If your band is ribbed, many knitters prefer buttonholes to sit within the knit columns because they look cleaner, but function comes first. The button must fit through comfortably.
Buttons and reinforcement
Flat vs shank buttons
- Flat 2-hole or 4-hole buttons work well with most knitted buttonholes.
- Shank buttons can be wonderful on thicker fabrics because the shank lifts the button away from the band, giving space for the knitted fabric to sit underneath.
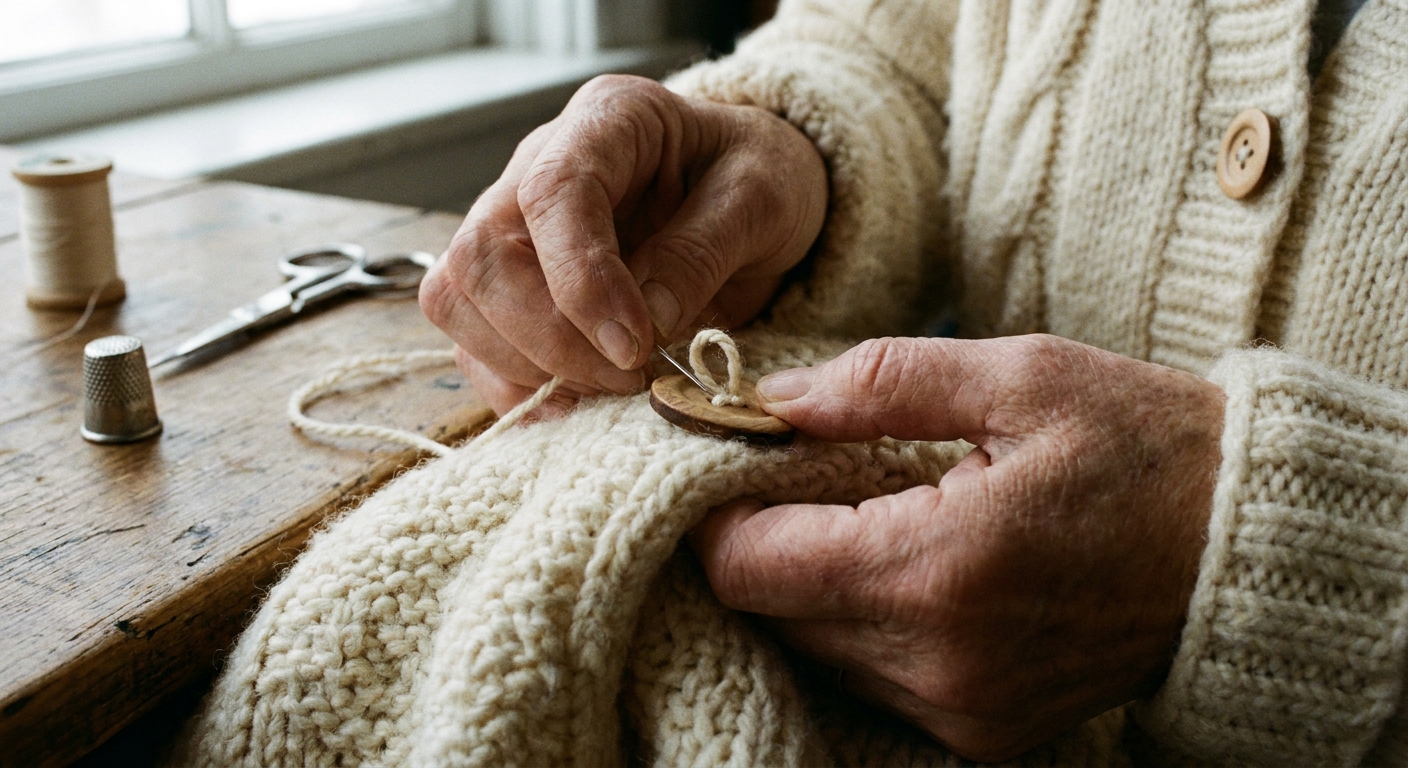
Thread shanks for flat buttons
If your fabric is thick but your button is flat, sew the button on with a thread shank (wrap thread around the stitches between button and fabric a few times before finishing off). This gives the button room to sit comfortably without straining the band.
Reinforce if your yarn is soft or your cardigan is heavy
For very soft or loosely spun yarn, buttonholes can stretch. You can reinforce by:
- Sewing a neat blanket stitch around the buttonhole edge with matching yarn or sewing thread.
- Working the band at a slightly tighter gauge than the body (smaller needle).
- Sewing a strip of ribbon or grosgrain to the inside of the band for extra support on heavy garments or high-stress areas.
Common problems
Band ripples or flares
- Cause: too many picked-up stitches, or band stitch pattern too loose.
- Fix: pick up fewer stitches, or use a smaller needle for the band.
Band pulls tight and edge curls
- Cause: too few picked-up stitches, or band too tight.
- Fix: pick up more stitches, or go up a needle size for the band.
Buttonholes too small
- Cause: eyelet too tiny, or slit too short for your gauge.
- Fix: use a larger buttonhole method (one-row instead of eyelet), bind off one more stitch for a slit, or adjust tension.
Buttonholes too loose
- Cause: stretchy fiber, too-large slit, loose cast-on, or fabric that relaxes after blocking.
- Fix: try cable cast on instead of backward loop, choose a smaller hole, reinforce the edge with stitching, or add a ribbon backing inside the band.
Buttons do not line up with holes
- Cause: bands are different lengths, or button placement did not follow the hole centers.
- Fix: pin the cardigan closed in your chosen overlap, mark through the buttonholes where buttons should sit, then sew buttons on those marks.
Order of operations
- Choose buttons first if you can. Their size influences everything.
- Decide overlap so you know how the fronts should meet.
- Decide band width and stitch pattern (rib or garter are the classics).
- Pick up stitches with a sensible starting ratio, consistently placed, and check for rippling.
- Knit a few rows, then mark buttonhole positions while the band is visible.
- Work buttonholes using eyelets for small buttons or one-row slits for medium.
- Finish band with a tidy bind-off that matches your band’s stretch needs.
- Pin closed and sew buttons on last, using the actual buttonholes as your guide.
One more row. Then just one more. And suddenly your cardigan front is behaving beautifully.
FAQ
Should I knit the button band with smaller needles?
Often, yes. A button band benefits from firmness. Going down 0.25 to 1 mm (US 1 to 2 sizes) from the body needle is common, especially for ribbing.
How many stitches should I bind off for a one-row buttonhole?
It depends on gauge and button size, but 2 to 4 stitches is a common start for medium buttons in many adult gauges. If your button is large, you may need more. If your gauge is tight, you may need fewer. Swatching with the actual button is the most reliable way.
Can I use yarn-over eyelets for big buttons?
You can, but eyelets tend to be round and are usually best for small buttons. For big buttons, a slit-style buttonhole (one-row or a sturdier multi-row version) is usually a better match.
Do buttonholes go on the left or right?
Often it follows ready-to-wear convention, but it is not universal. Choose the side you prefer and place the holes evenly with centers aligned to your button plan.