One more row. Then just one more.
And then you look up and realize what your project really needs is not more rows. It needs an edge that behaves. A button band that lies flat. A neckband that hugs instead of flaring. A collar that looks like it belonged there all along.
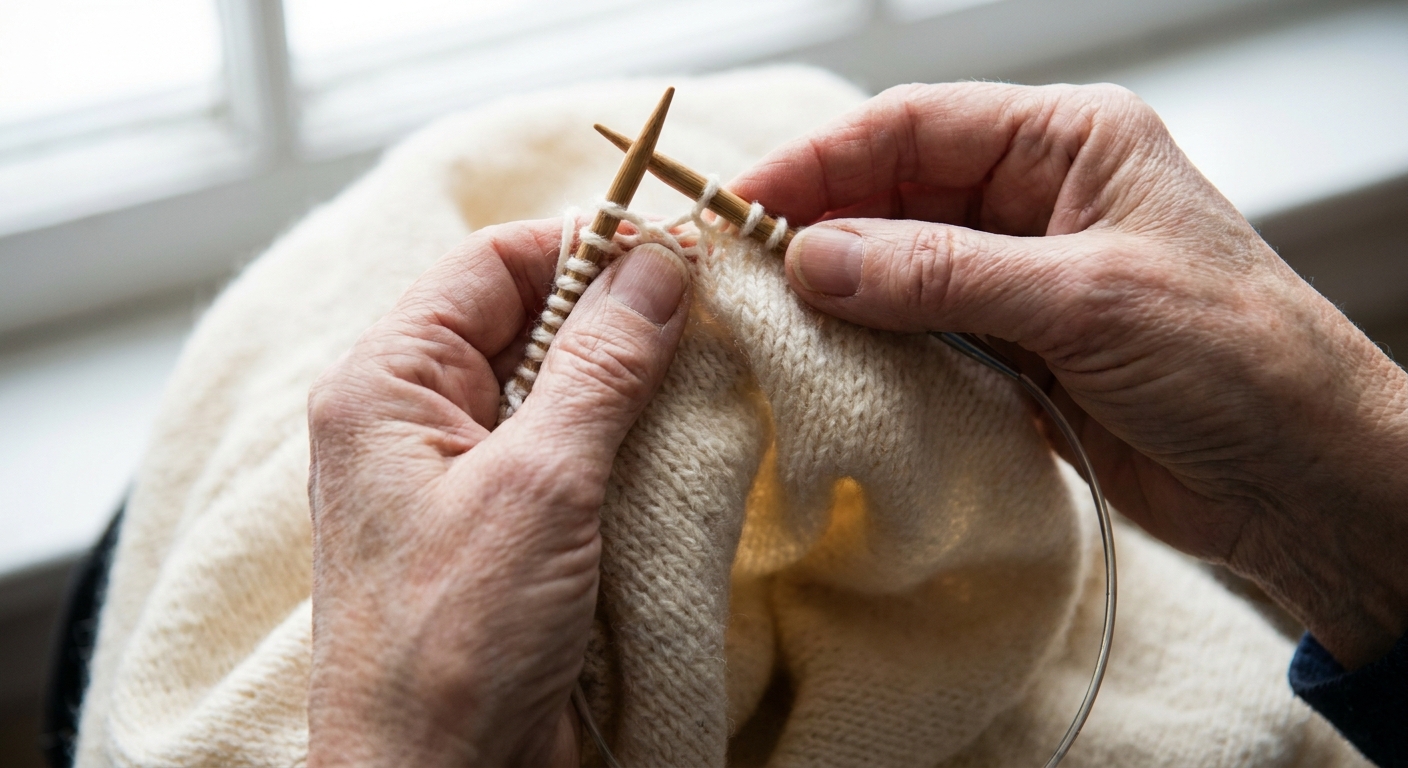
That is where picking up and knitting stitches comes in. You create a brand-new row of live stitches from a finished edge, then knit onward as if those stitches were always part of the plan.
Pick up vs. pick up and knit
Knitting patterns use these phrases in two slightly different ways:
- Pick up and knit: you insert your needle into the edge, wrap the working yarn, and pull up a new loop in one motion. This is the most common instruction.
- Pick up, then knit: you first place existing edge loops (or strands along the edge) onto your needle without making new loops yet. Then you knit those stitches on the next step. This can be useful for certain finishes, but most of the time you will be doing pick up and knit.
Either way, the big goals are the same: even spacing, the right stitch count, and no holes.
Before you start: set yourself up for a tidy edge
Tools that help
- Needle tip: a needle with a pointy tip is much easier to insert cleanly.
- Needle size: many knitters go down 1 needle size for a firmer band, especially for button bands and neckbands. If your edge tends to pucker, stay with the same size as the body.
- Markers or pins: for dividing an edge into sections so your picks are evenly spaced.
Read your fabric
Count the edge you are working into:
- Rows along a side edge (selvedge).
- Stitches along a cast-on or bind-off edge.
- Curves (necklines and armholes) where the ratio often changes slightly across straights and slopes.
If you pick up too many stitches, your band will ruffle. Too few, and it will pull tight and wave or gap.
Where to insert the needle (the part that prevents holes)
Along a side edge
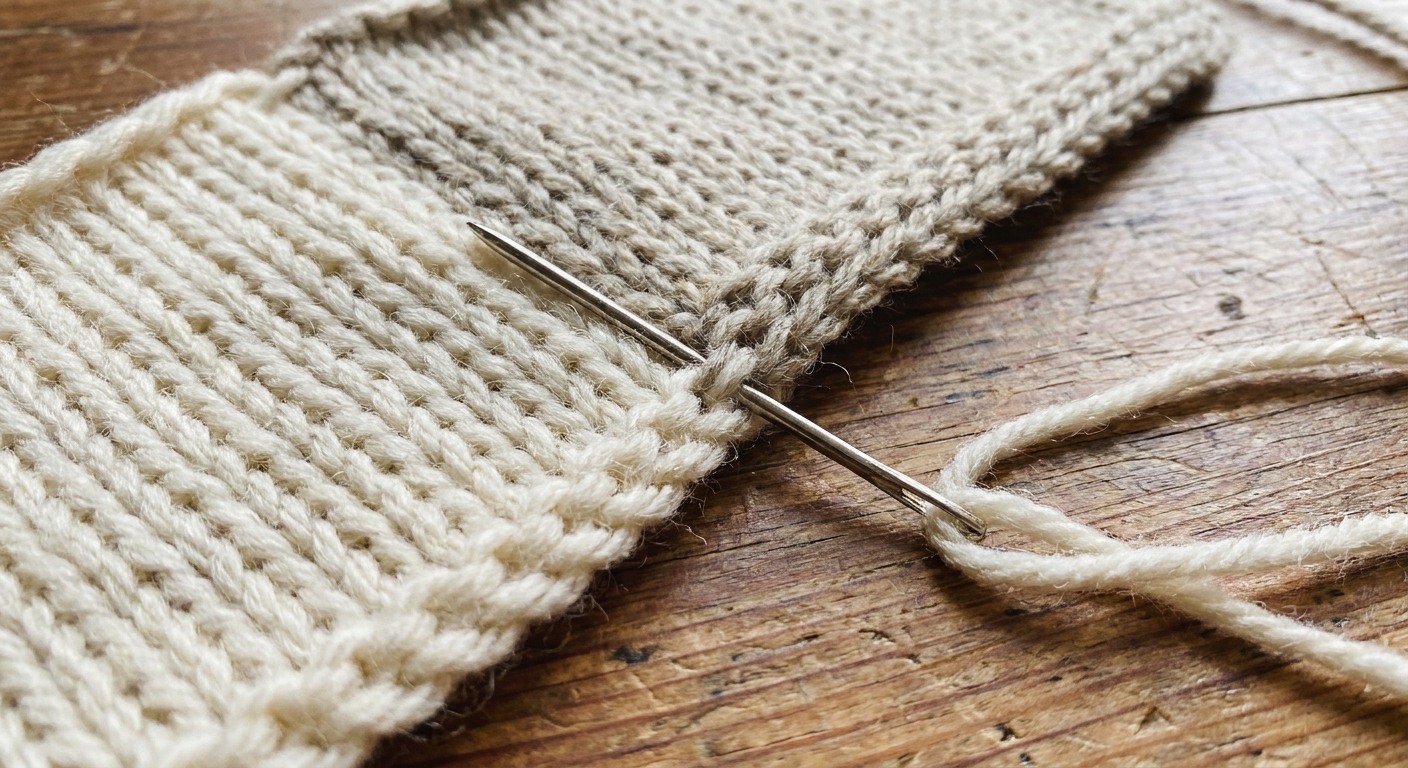
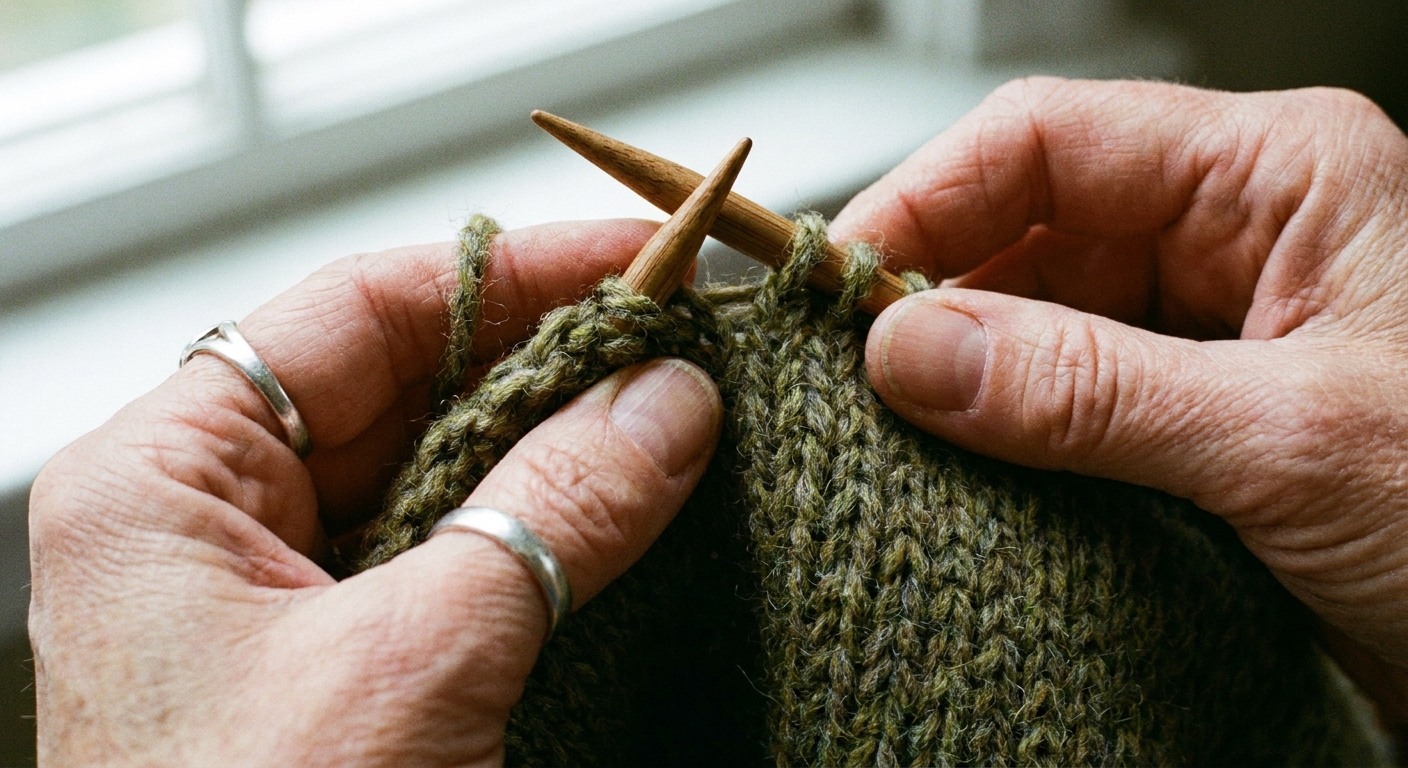
On a vertical edge, you are usually picking up in the little “ladder” between the outer edge stitch and the stitch just inside it. The sweet spot is firm and consistent.
- If your edge has a clear chain of selvedge stitches, insert under both legs of that chain for a sturdy pickup.
- If the chain is tight or messy, insert under the ladder bar between the edge stitch and the next stitch in. This is the same between-stitches area, just a slightly deeper, often cleaner path that can reduce gaps.
Along a cast-on edge
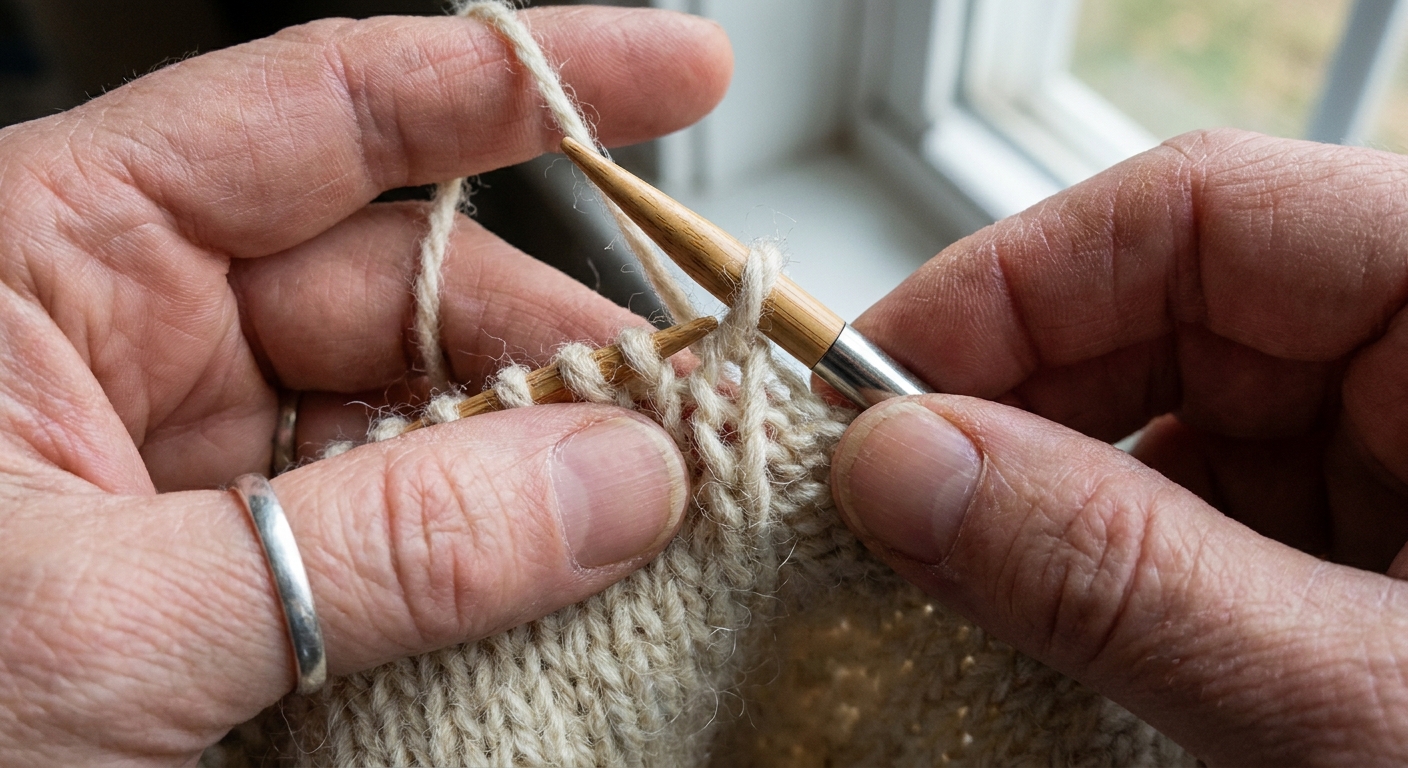
A cast-on edge is essentially a row of stitches, so a common starting point is to pick up close to 1 stitch for every cast-on stitch.
- Insert your needle into the center of the cast-on stitch (under two strands if possible) so it is secure.
- If your cast-on is very tight, insert slightly deeper into the fabric to avoid distorting the edge.
- If the edge starts to flare, it is a sign you may need slightly fewer than 1:1 for your yarn and gauge. Lay it flat as you go.
Along a bind-off edge
A bind-off edge can look like little “V” stitches along the top. Depending on the bind-off and what you are adding, you can often start by picking up close to 1 stitch for every bind-off stitch, then adjust if it looks wavy or tight.
- Insert under the top two loops of each bind-off stitch when possible for a stable join.
- If the bind-off edge is bulky, insert into the V just below the bind-off ridge for a smoother transition.
- For snug ribbed finishes (especially neckbands), many knitters prefer a little less than 1:1 so the edge does not flare. Your fabric will tell you quickly.
Stitch-to-row ratios that actually work
Ratios are a starting point, not a rule carved into a stitch marker. Your gauge, yarn, and fabric density matter. But these are dependable defaults.
Side edges: common ratios
- Stockinette side edge: pick up 3 stitches for every 4 rows.
- Garter stitch side edge: pick up 1 stitch in each garter ridge (that is usually 1 stitch for every 2 rows).
- Seed or moss stitch side edge: treat it like a bumpy cousin of garter. A good starting point is 1 stitch per 2 rows, then adjust if it ripples or pulls.
- Ribbing side edge: start with 3 stitches for every 4 rows, then check that the band lies flat. Ribbing can pull in, so sometimes you need slightly fewer pickups to avoid a flared edge.
Cast-on and bind-off edges: typical ratios
- Straight edges: a common starting point is close to 1 stitch per stitch.
- Curves: there is no single magic ratio. Sometimes you need a touch more to prevent gaping. Sometimes you need a touch fewer to prevent flaring, especially if the curve will be controlled by ribbing or shaping. The best test is low-tech: pick up, knit a few rounds or rows, and lay it flat or try it on.
The “divide and conquer” spacing trick
If your pattern gives a target stitch count (for example, “pick up 96 stitches”), spacing matters more than speed.
- Count your edge units (rows or stitches).
- Place markers to divide the edge into 4 equal sections.
- Do the math per section and pick up evenly within each quarter.
This keeps your pickups from bunching at the end where it is hardest to fudge.
Step-by-step: pick up and knit a neat row
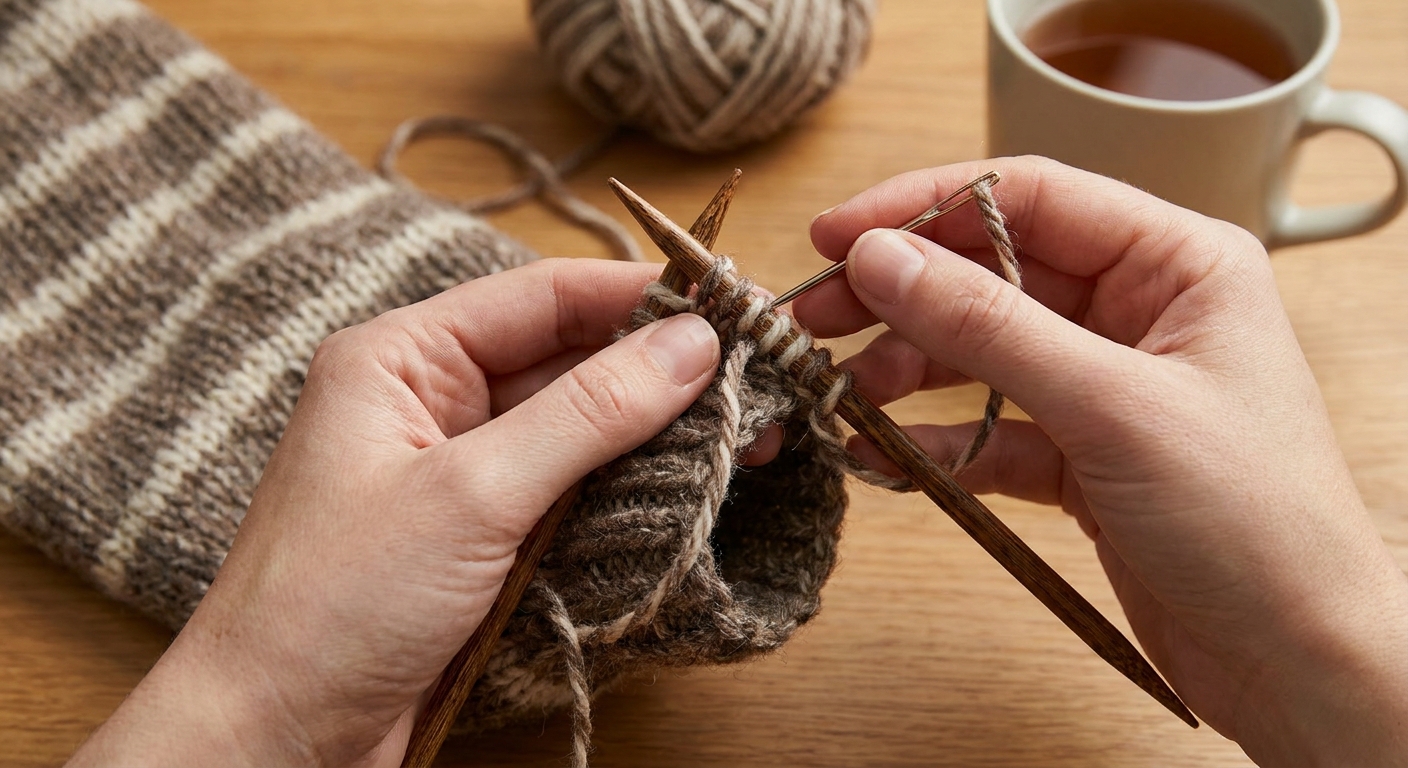
- With the right side facing (unless your pattern says otherwise), insert the needle where you want your first stitch.
- Wrap the working yarn around the needle as if to knit.
- Pull up a loop to the front. That loop is your new stitch.
- Repeat along the edge, following your ratio or target stitch count.
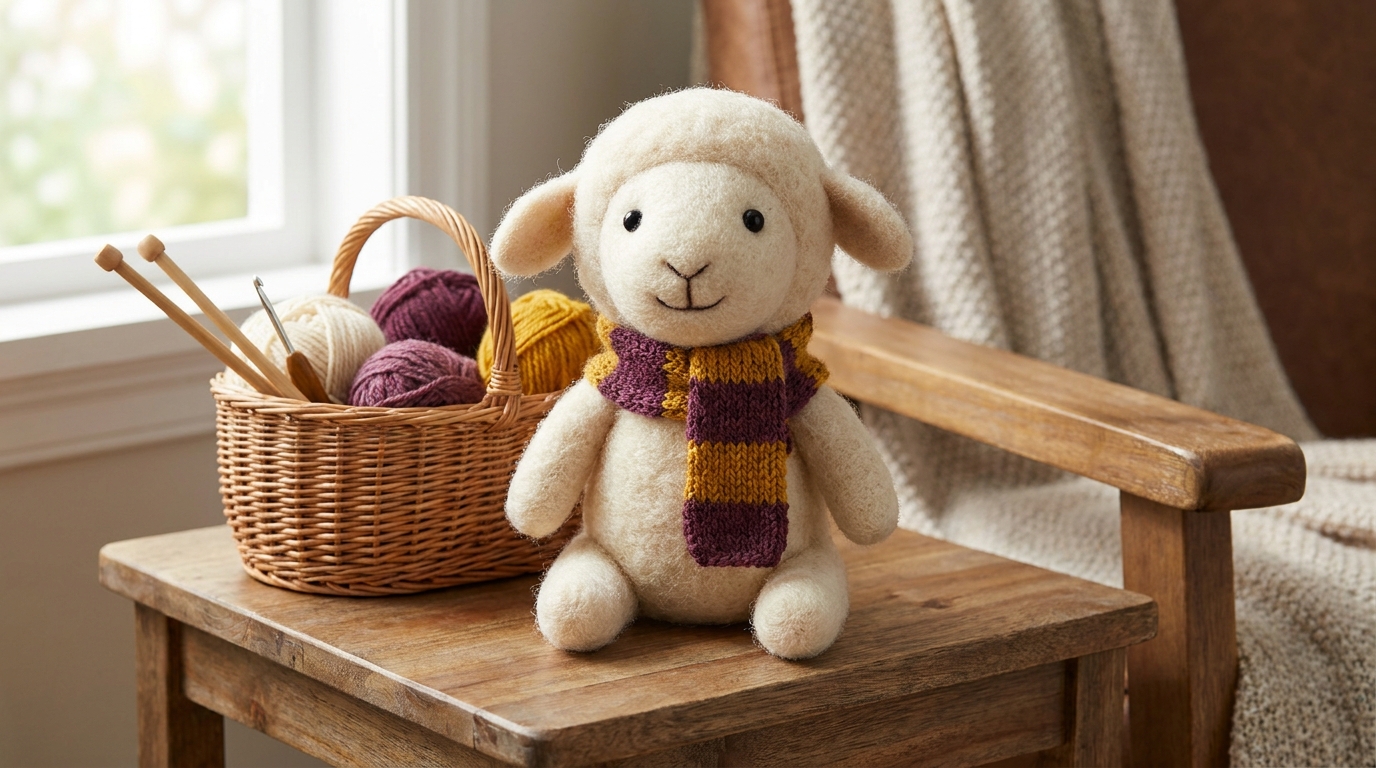
Tip from this woolly lamb: keep your pulled-up loops the same size as your usual stitches. If you tug them tight, the band will look like it is cinched. If you pull them too large, you will see ladders.
Neckbands, button bands, and collars
Neckbands
- Start at a shoulder seam if you have one. It helps hide the join if you work in the round, and it visually balances the pickup line.
- Curves need kindness: if the neckline pulls when you try it on, you likely picked up too few stitches around the curve. If it flares, you likely picked up too many or need a smaller needle, or both.
- Prevent a pointy V: at a V-neck point, you commonly need a centered decrease (like ssk, k1, k2tog) at a regular cadence so the neckband lies flat. Follow the pattern first, then adjust frequency if your V is sharper or shallower than expected.
Button bands
- Stability matters: picking up under two strands on the edge helps the band resist stretching.
- Plan buttonholes early: once you know your pickup count, you can space buttonholes more accurately.
- Mind the ratio: too many pickups along a cardigan front is the fastest way to a wavy band.
Collars
- Check the direction: collars often look best if you pick up with the right side facing so the join line sits neatly on the inside.
- Short rows and shaping: if your collar stands away from the neck, it may need shaping rather than fewer pickups. Follow the pattern’s shaping first before dramatically changing stitch counts.
Troubleshooting: holes, ripples, and other edge drama
Problem: little holes where you picked up
Common causes: inserting too far from the edge, picking up only one strand, or skipping awkward spots on curves.
Fixes:
- Insert the needle one stitch in from the edge (into the ladder) instead of into the very outermost loop.
- Pick up under two strands whenever possible.
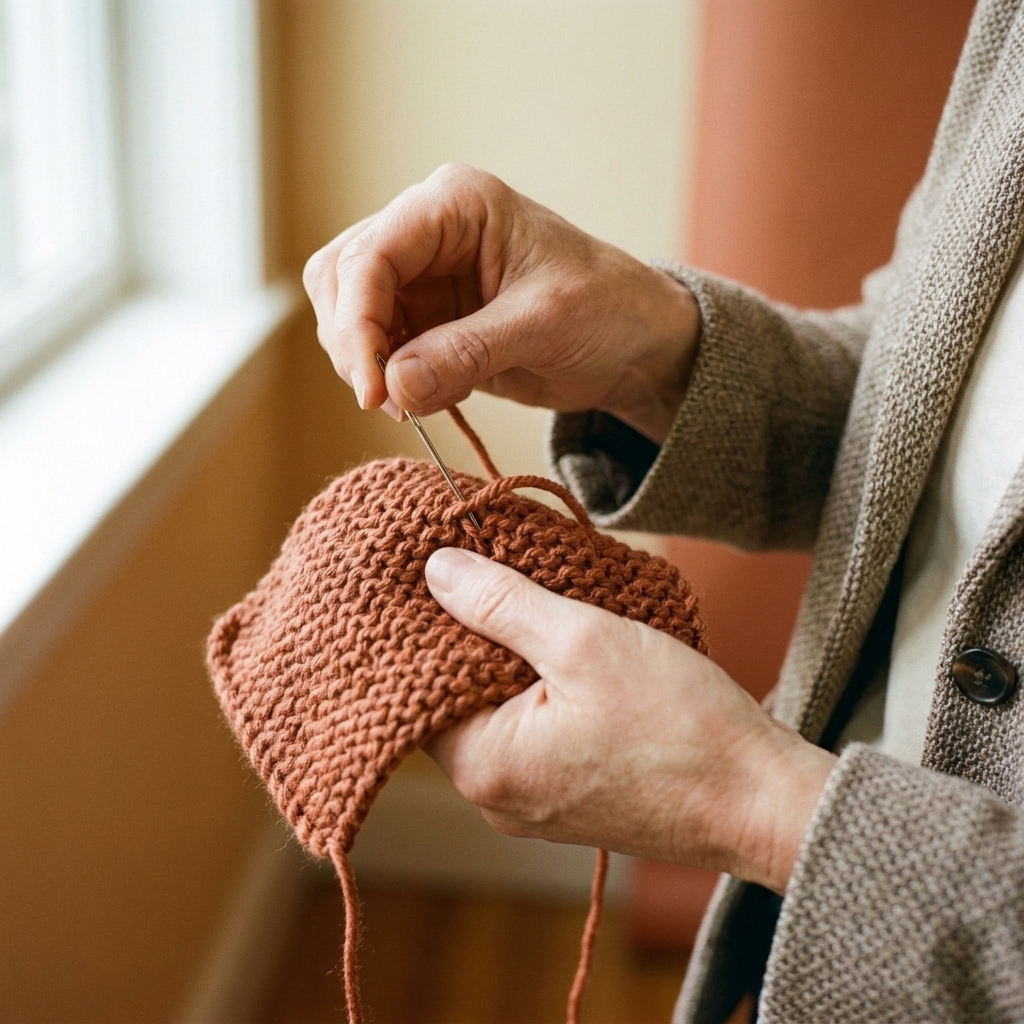
- If you already have a hole, you can often close it by snugging the adjacent stitches with a tapestry needle when weaving in ends.
Problem: the band ruffles or flares
Cause: too many stitches picked up.
Fixes:
- Redo the pickup using a smaller ratio (for stockinette side edges, try moving from 4 out of 5 rows to 3 out of 4, or from 3 out of 4 to 2 out of 3 if it still ripples).
- Use a smaller needle for the pickup row and first few rows of the band.
- If you cannot redo, you can sometimes rescue it by working decrease rounds early in the band, but it is harder to make invisible.
Problem: the edge puckers or pulls tight
Cause: too few stitches picked up, or picked-up loops are too tight.
Fixes:
- Redo with a slightly higher pickup rate, especially along curves that want to gap.
- Pull up loops at your normal stitch size. If you knit tightly, consider using a needle one size larger just for the pickup row.
Problem: the pickup line looks bumpy or uneven
Fixes:
- Choose a consistent insertion point: always under the selvedge chain, or always in the ladder just inside the edge.
- Pick up with the same needle tip angle each time. It sounds silly, but it keeps loop size consistent.
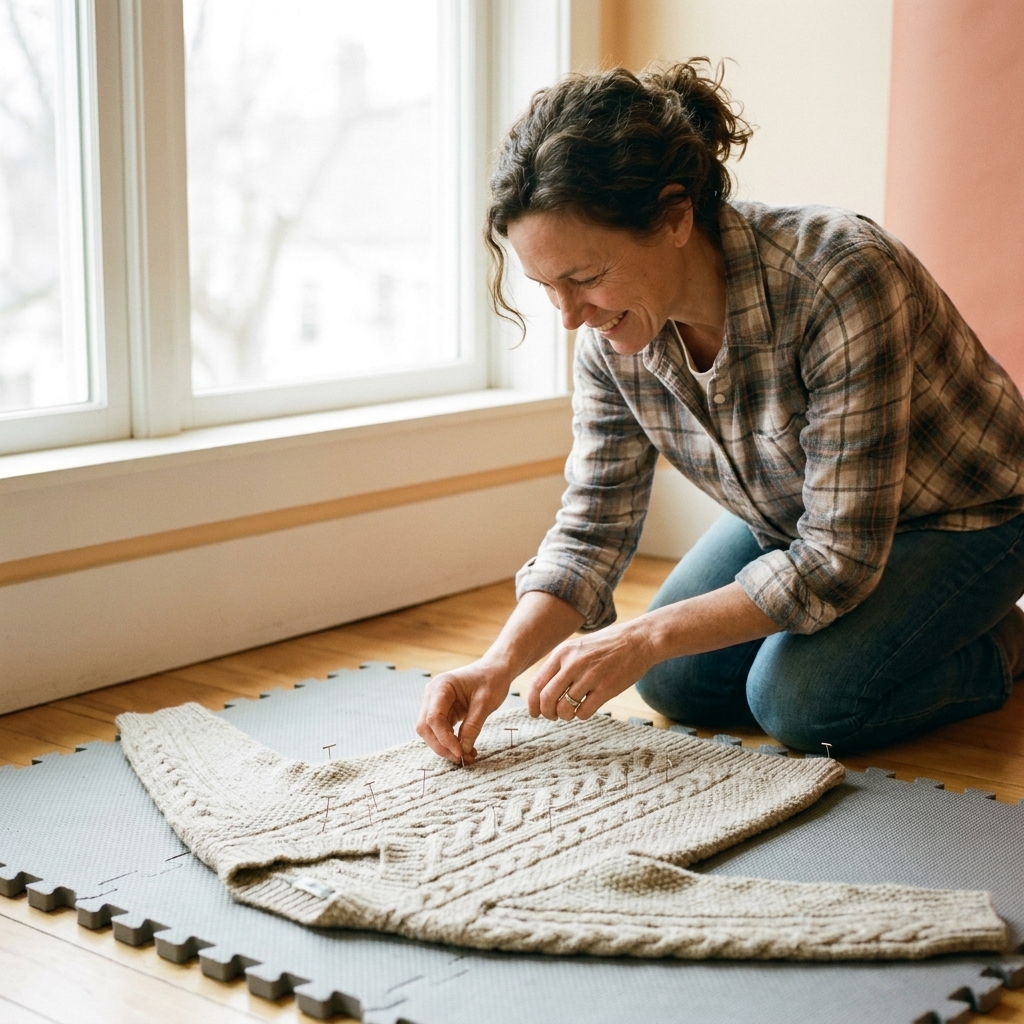
- Block the finished band. Many pickup lines relax and even out after a gentle wash and dry.
Clean edges on tricky spots
Corners
Corners like to gap. Give them one extra moment of attention.
- Pick up one stitch in the corner stitch, then pick up the next stitch very close to it on the adjacent edge.
- If a hole forms anyway, try picking up into the stitch just inside the corner instead of the corner itself.
Slipped-stitch selvedges
Slipped selvedges often create a gorgeous chain that is easy to use.
- Insert under both legs of each chain loop you choose to pick up from.
- Keep your ratio in mind. Even with a neat chain, you usually still need something like 3 stitches for every 4 rows in stockinette fabric.
Mini checklist
- Count your picked-up stitches and compare to the pattern’s number, if given.
- Lay it flat: does the edge ripple (too many) or pull (too few)?
- Try it on if it is a neckline: does it sit comfortably without gaping?
- Confirm orientation: is the right side facing the way you want for the visible pickup line?
If something looks off, fixing it now is much cozier than fixing it after you knit eight inches of ribbing. Ask me how I know. I will be over here counting stitches.
Quick FAQ
Do I always pick up with the right side facing?
Often, yes, because it gives a clean, consistent pickup line on the right side. But some designs want the pickup ridge hidden on the inside, or the band worked from the wrong side for a specific look. If your pattern specifies a side, follow it.
Why does my button band wave even when my ratio is “correct”?
Your fabric and gauge might be asking for fewer pickups, or a smaller needle for the band. Button bands also get extra weight from buttons and buttonholes, so a slightly firmer band is usually a win.
Can I pick up stitches with a crochet hook?
Yes. Some knitters pull up the loops with a crochet hook, then place them on the knitting needle. It can feel easier on tight edges. The same spacing rules still apply.