One more row. Then just one more.
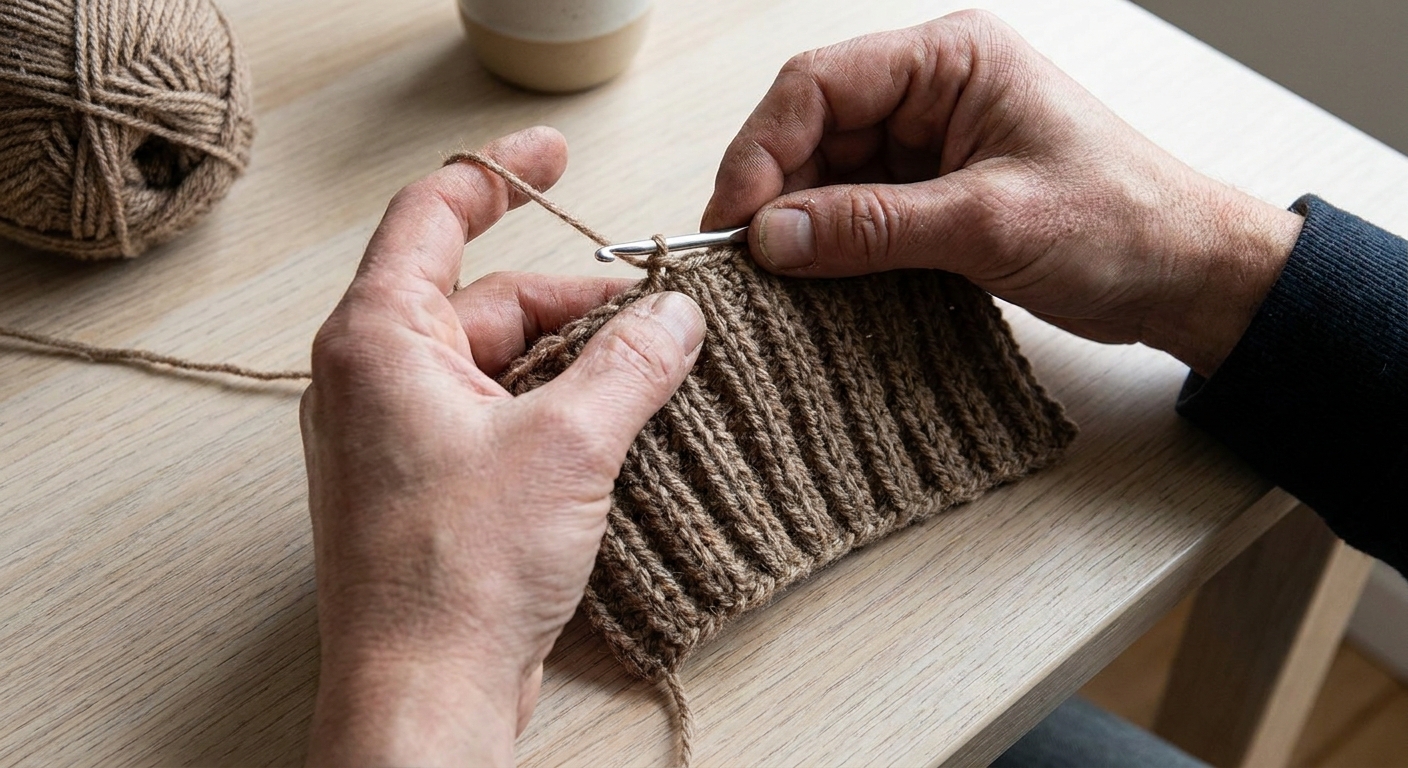
If you have ever admired that squishy, raised ribbing on a hat brim or sweater cuff, you have met post stitches. Front post and back post double crochet are the classic pair. They wrap around the “post” of a stitch instead of working into the top loops, which makes the fabric pop forward and sink back in tidy columns.
What are post stitches, exactly?
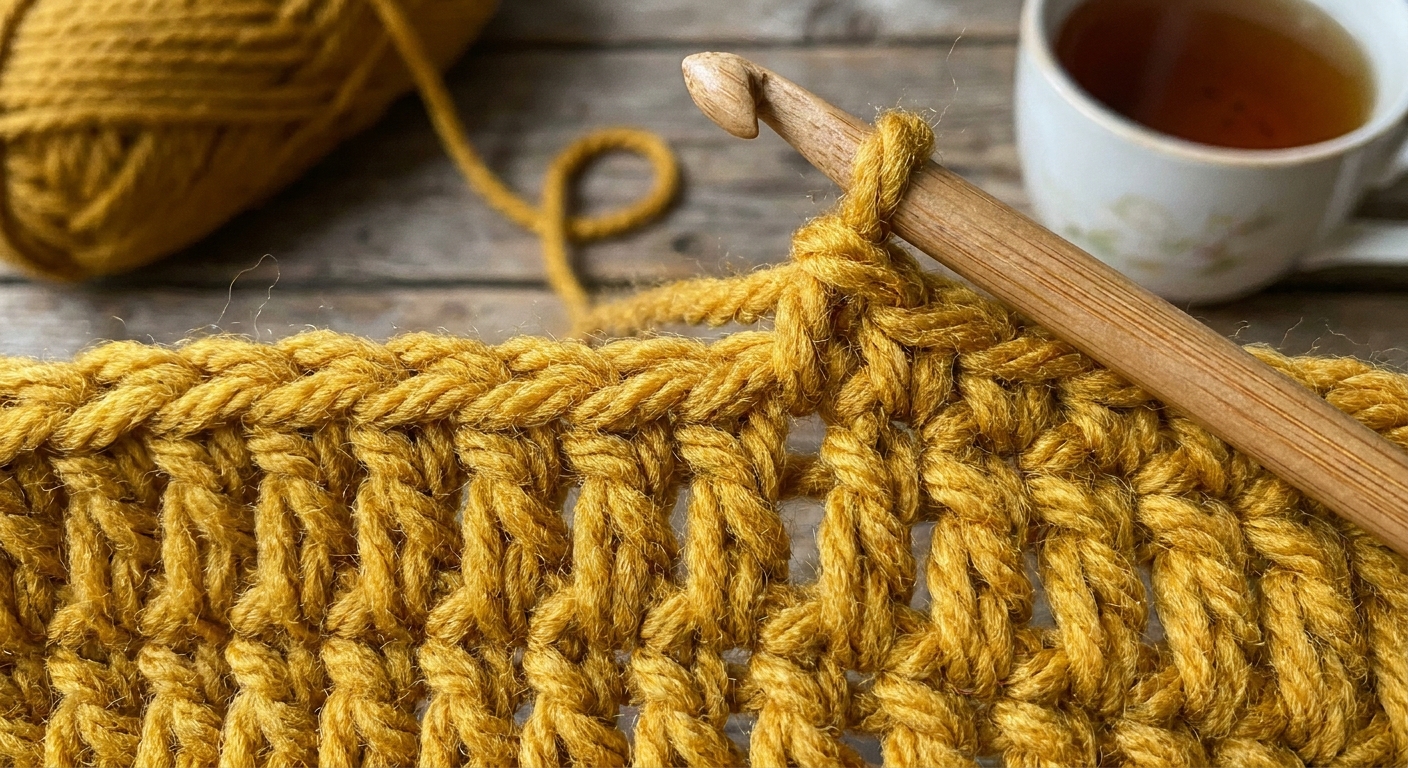
In a typical double crochet, your hook goes under the top two loops at the top of the stitch. With post stitches, your hook goes around the body of the stitch, which is called the post. That post is the tall vertical part between the top loops and the previous row.
Think of the stitch like a little fence post. You can hug it from the front (front post) or sneak behind it (back post). Either way, you are wrapping your yarn around the post to create extra texture and definition.
Abbreviations you will see
- dc: double crochet
- FPdc: front post double crochet
- BPdc: back post double crochet
- ch: chain
- st: stitch
Most ribbing instructions will say something like “FPdc around next st, BPdc around next st” across a row. Some designers swap in slightly different shorthand, but the idea is the same: you are working around the post.
How to make a front post double crochet (FPdc)
A front post double crochet is worked like a double crochet, but your hook goes from front to back to front around the post of the stitch in the row below.
Step by step
- Yarn over like you would for a regular dc.
- Find the next stitch in the previous row and locate its post (the tall vertical part).
- Insert your hook from the front of the fabric to the back, passing beside the post.
- Bring the hook back to the front on the other side of that same post. The post should now sit in front of your hook.
- Yarn over and pull up a loop. You have 3 loops on your hook.
- Yarn over, pull through 2.
- Yarn over, pull through 2 to finish.
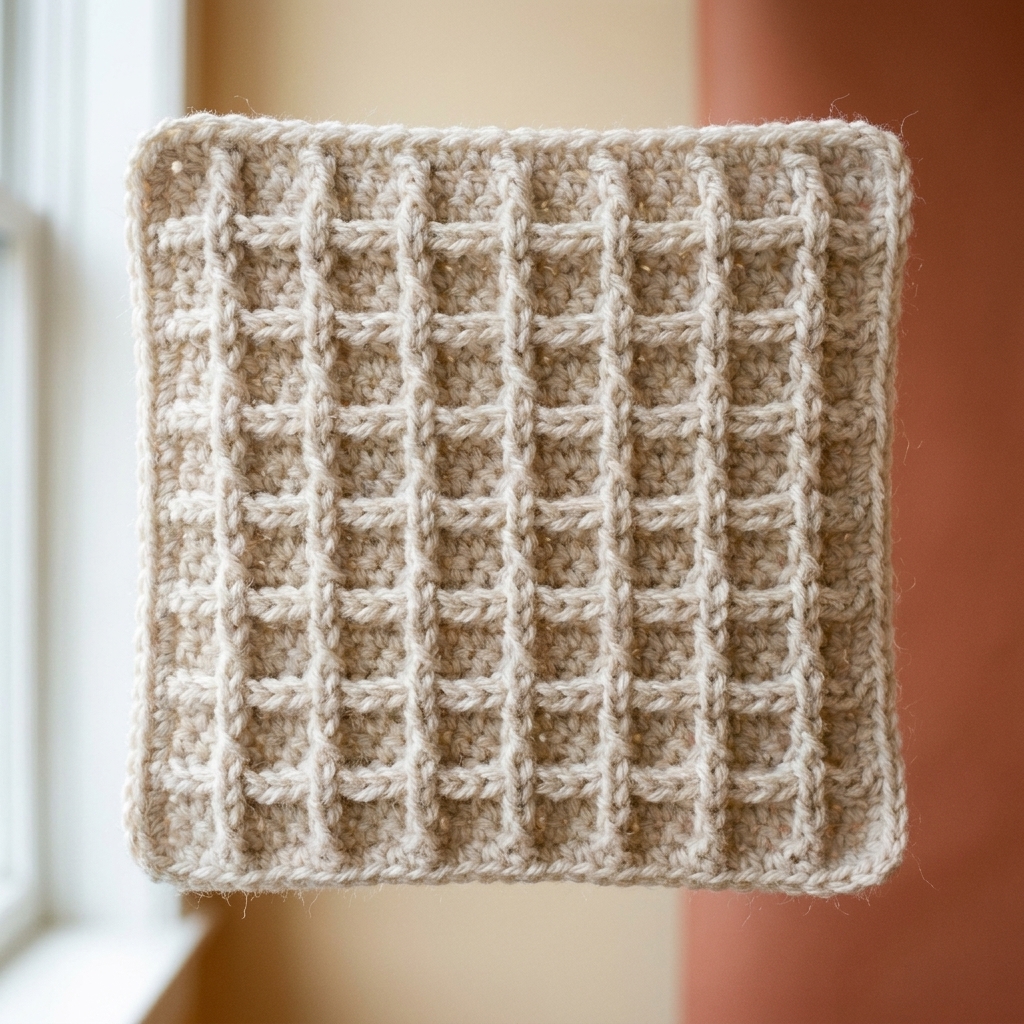
What it looks like: On the right side of your work, a FPdc makes a raised ridge that sits proud of the fabric. It is the “rib” that pops toward you.
How to make a back post double crochet (BPdc)
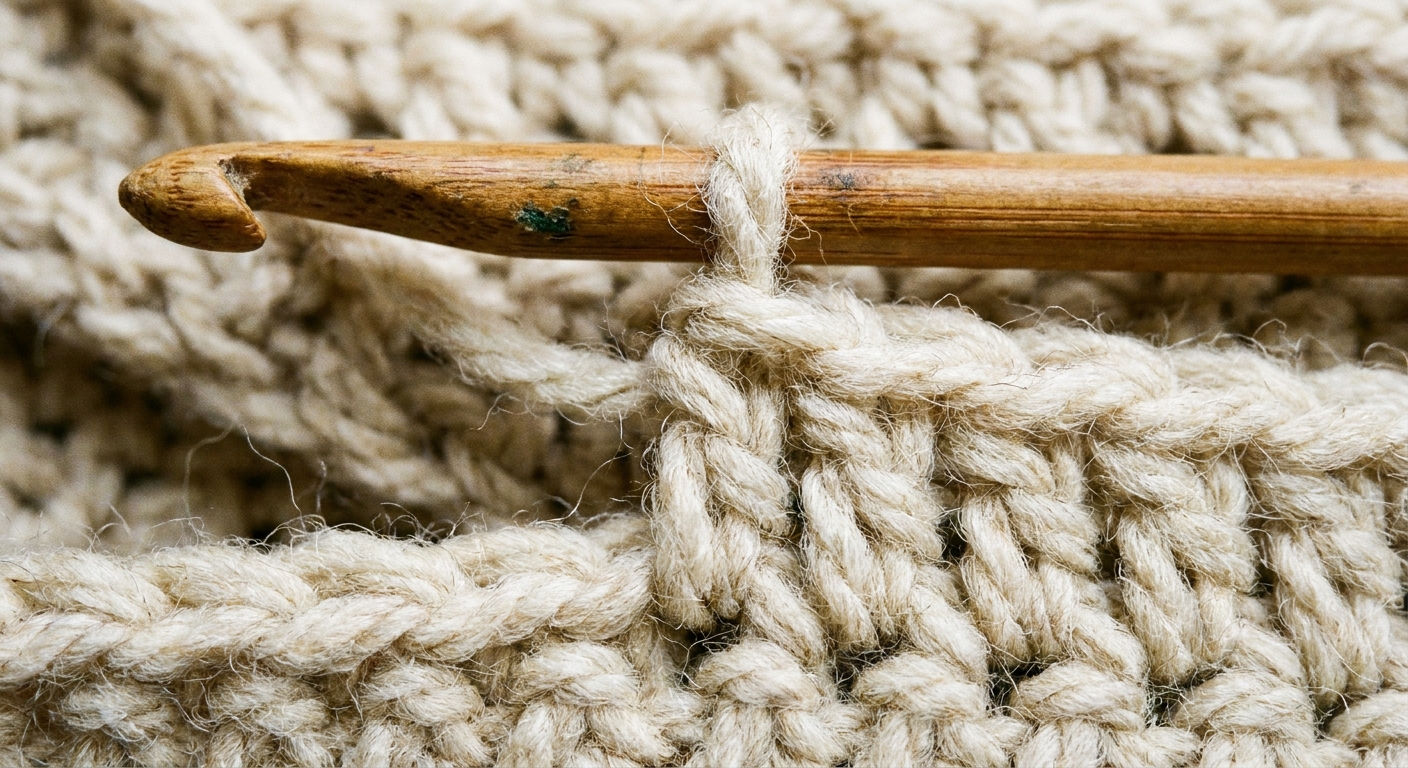
A back post double crochet is worked like a double crochet, but your hook goes from back to front to back around the post. That pushes the stitch backward on the right side.
Step by step
- Yarn over.
- Insert your hook from the back of the fabric to the front beside the post of the next stitch.
- Continue around the post by moving the hook back again on the other side. The post should now sit behind your hook.
- Yarn over and pull up a loop (3 loops on hook).
- Yarn over, pull through 2.
- Yarn over, pull through 2 to finish.
What it looks like: On the right side, a BPdc creates a recessed groove. The stitch leans away, making the FPdc columns stand out even more.
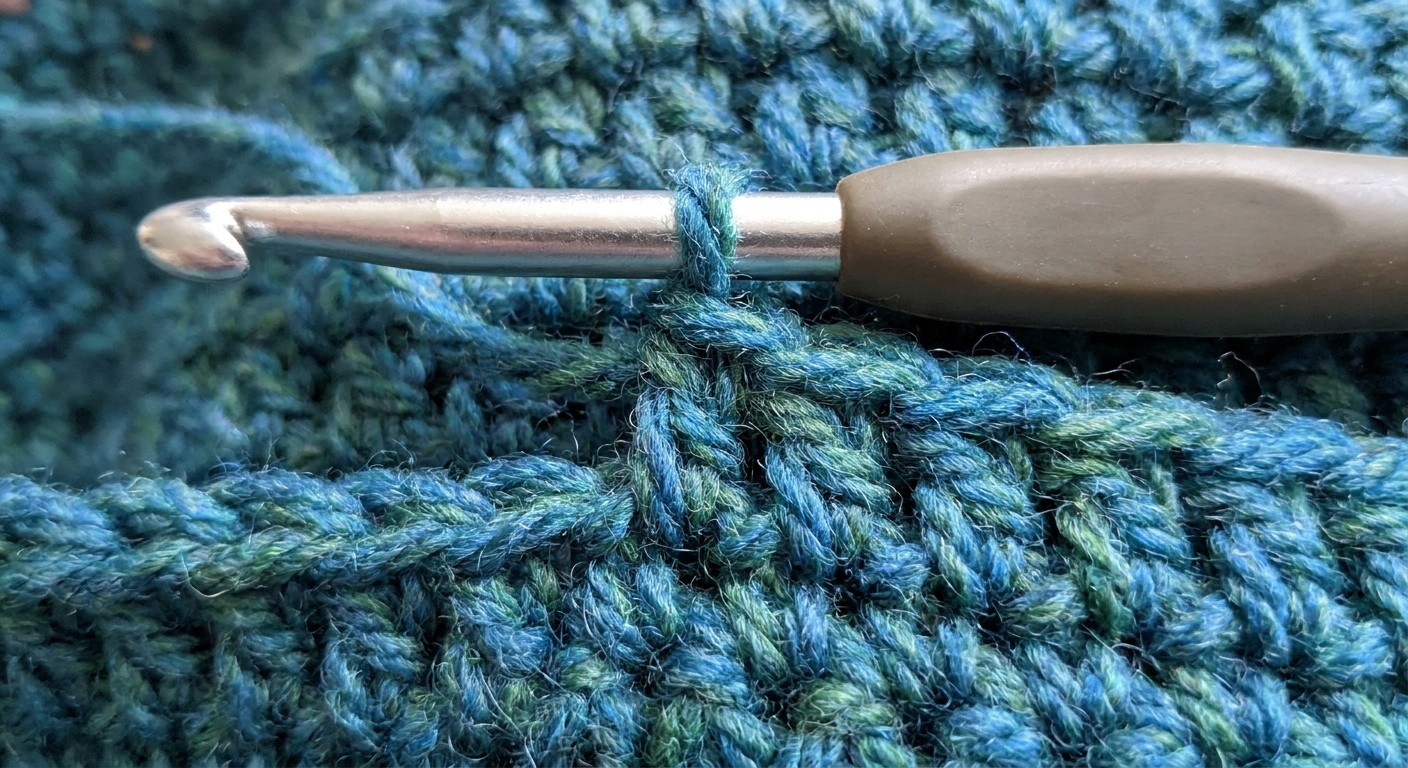
Front vs back post on the right side
When you look at the right side of your fabric:
- FPdc looks like a raised vertical bar sitting on top of the fabric.
- BPdc looks like a dip or valley, because the stitch is pushed to the back.
If your ribs are not popping, check two things: (1) you are truly working around the post, not into the top loops, and (2) you are not accidentally switching FPdc and BPdc on the same row.
How to alternate FPdc and BPdc
This is the part that makes ribbing feel like magic: to keep the ribs stacked neatly, you do not simply repeat “FPdc, BPdc” forever without looking. Instead, you work the stitches as they appear.
The key rule
- If the next stitch looks raised toward you (a FPdc column), make a FPdc around it.
- If the next stitch looks pushed back (a BPdc groove), make a BPdc around it.
That way, the FPdc stitches sit on top of FPdc stitches, and BPdc stitches sit behind BPdc stitches. The ribs stay vertical, and both sides of the ribbing stay consistent row to row.
Turning matters
When you turn your work, the fabric flips, which can make your eyes doubt what your hands are doing. The posts are still right where they always were, so rely on the texture in front of you and follow the “work as it appears” rule.
If you are working in the round, you do not turn at all, so “as it appears” is even more literal because you are always looking at the same side as you go.
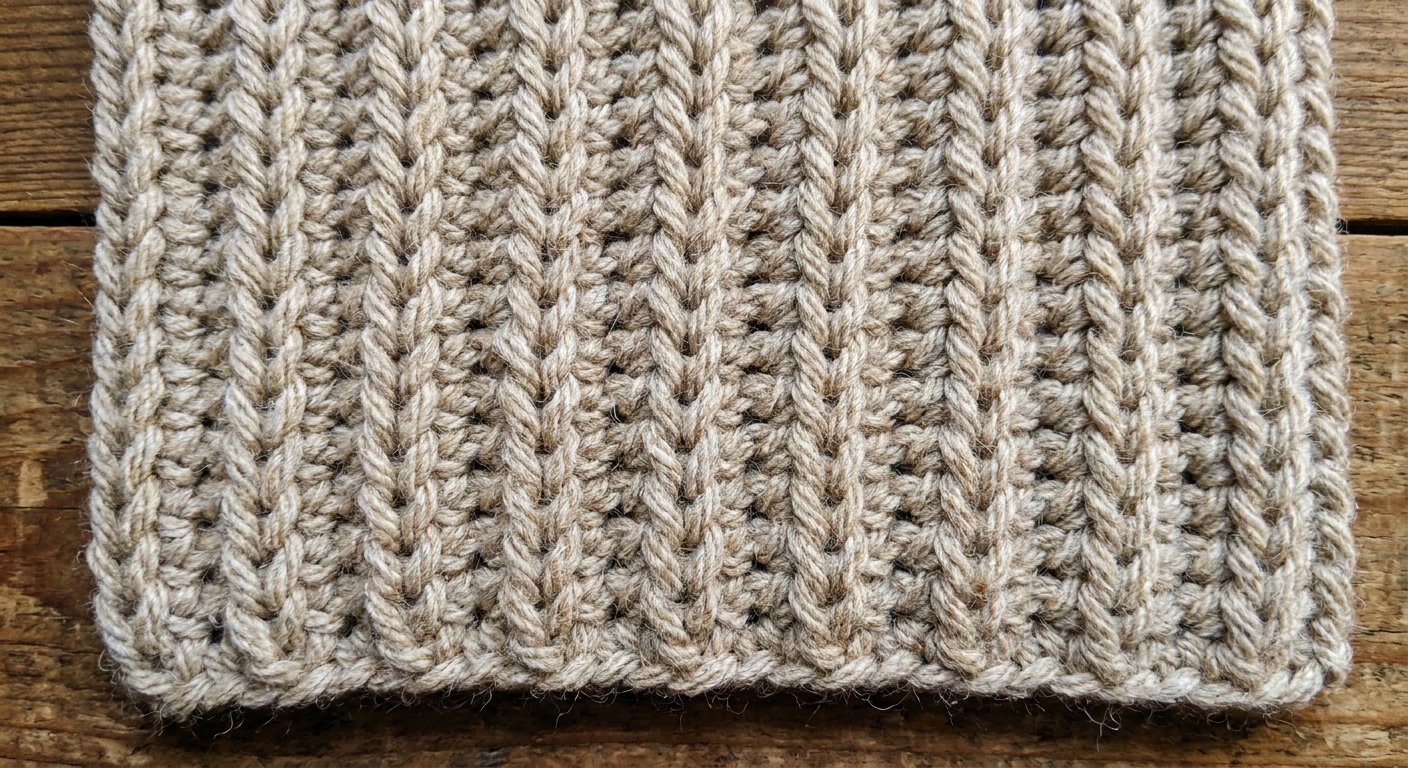
Beginner practice swatch
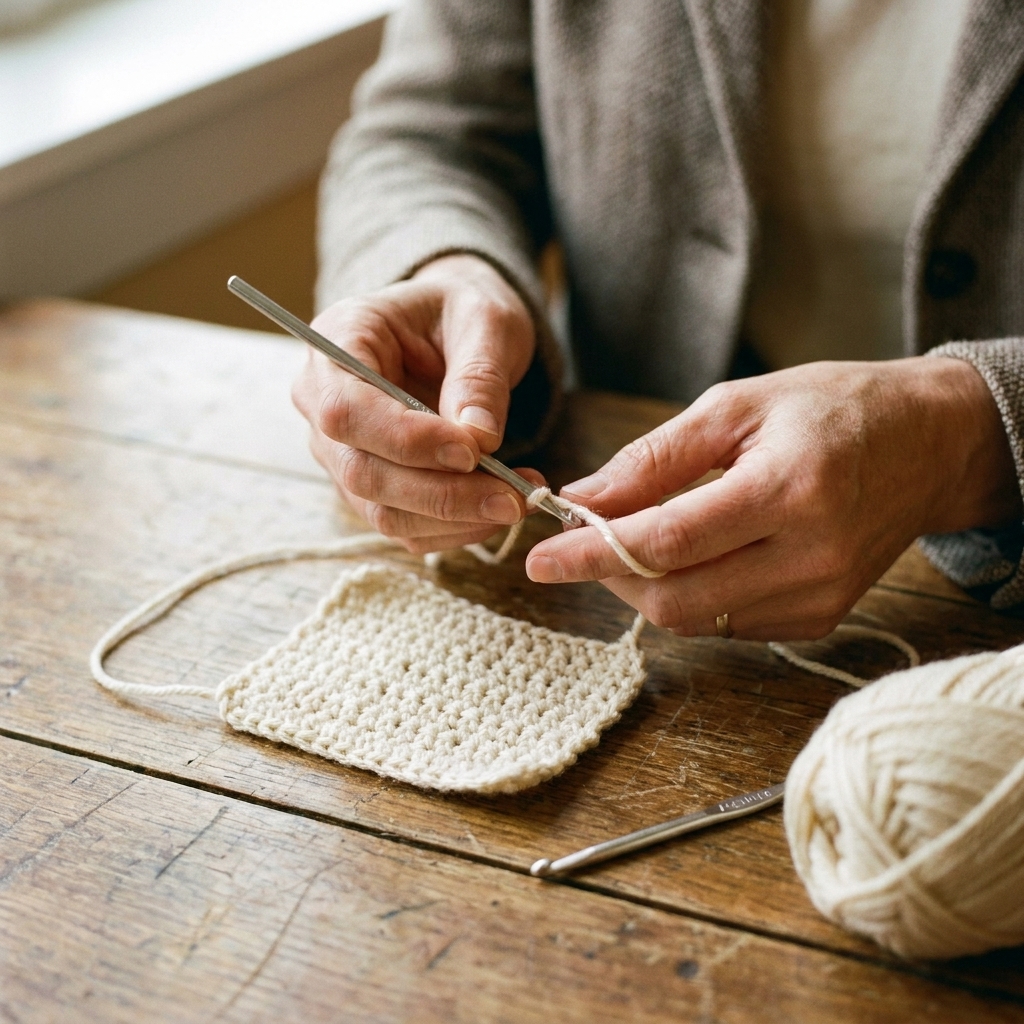
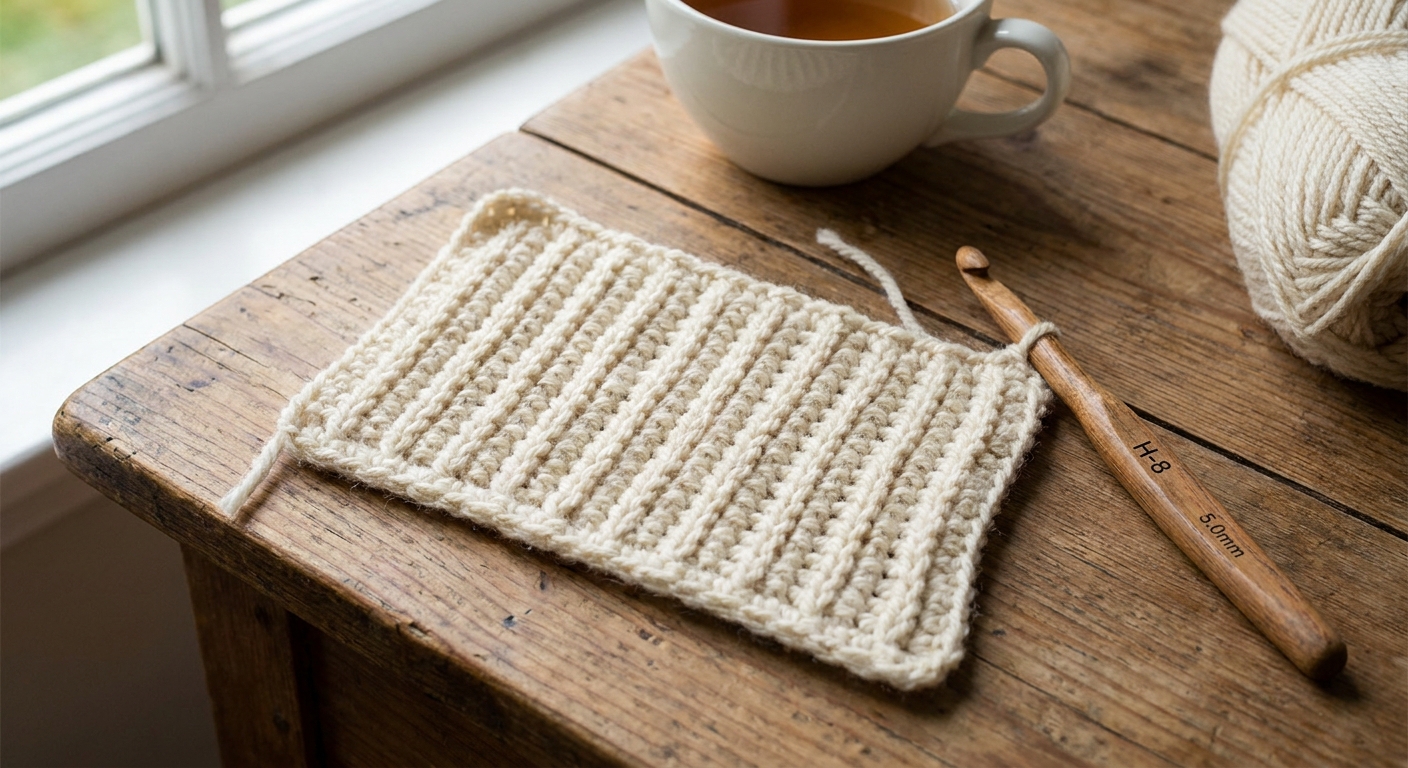
Before adding ribbing to a hat brim or sleeve, it helps to practice on a small swatch you can hold in your hands and really see. This little rectangle is big enough to show the ribs and small enough to finish quickly.
Materials
- Yarn: Worsted-weight yarn (Category 4)
- Hook: 5.0 mm (H/8) crochet hook
- Scissors and a yarn needle to weave in ends
Stitch count
This swatch uses 18 stitches across in the ribbing row, which gives you a clear set of repeating ribs.
Pattern
- Ch 20.
- Row 1: Dc in 4th ch from hook (counts as first dc), dc in each ch across. You should have 18 dc. Ch 2, turn.
- Row 2: FPdc around next st, BPdc around next st repeat across (you will end with a BPdc if you started with FPdc). Ch 2, turn.
- Row 3: Work as it appears across: FPdc around the raised stitches, BPdc around the recessed stitches. Ch 2, turn.
- Rows 4 to 8: Repeat Row 3.
- Fasten off and weave in ends.
What you are looking for: neat vertical ribs that do not zigzag. If the columns swap places every row, it usually means you repeated FPdc and BPdc by memory instead of matching the stitch texture in front of you.
Common hiccups and easy fixes
My post stitch feels tight
- Try loosening your yarn over slightly before inserting the hook around the post.
- Use a slightly larger hook for ribbing if your fabric is stiff.
- Make sure you are working around the post of the stitch in the row below, not accidentally catching extra strands.
My ribbing looks slanted
- Check that you are always working around the correct post, not skipping one or grabbing the neighboring stitch.
- On each new row, slow down for the first few stitches and confirm: raised gets FPdc, recessed gets BPdc.
The edges look wobbly
- Your turning chain can blend in. Count your stitches and be consistent about whether your ch-2 counts as a stitch. For this swatch, treat it as turning height only and work into the first real stitch.
- Consider adding one plain dc at each edge (a selvedge) once you are comfortable, but practice the basic rib first so you can clearly see what the posts are doing.
Using ribbing on hats and cuffs
Once your swatch ribs are stacking nicely, you can drop the same technique into projects:
- Hat brims: Work a few rounds of dc, then switch to alternating FPdc and BPdc. In the round, you still work as the stitches appear.
- Sleeve cuffs: Add ribbing at the end for a snug finish, or start with ribbing and work upward.
- Sweater hems: Post stitches give structure and help the hem hold its shape.
If your project is worked flat and then seamed, your ribbing will look like classic vertical ridges. If it is worked in the round, the ribs wrap continuously, which is perfect for brims and cuffs.
Quick check: where does my hook go?
- Regular dc: under the top loops
- FPdc: front to back to front around the post
- BPdc: back to front to back around the post
When in doubt, pause and find the post with your fingertip. Once you can feel the little pole you are meant to hug, your hook will follow.
FAQ
Do post stitches use more yarn?
Yes, a little. You are wrapping around a post instead of taking the shortest path through the top loops, so post-stitch ribbing typically uses slightly more yarn than plain dc fabric.
Can I do front post and back post in half double crochet?
You can. FP hdc and BP hdc make a slightly shorter, denser rib. The method is the same, but you follow the hdc steps after inserting the hook around the post.
Why do my ribs disappear after a few rows?
Most often, the hook is slipping into the top loops out of habit. Make sure you are truly working around the post every time. Using a smooth, light-colored yarn for practice also helps you see the structure clearly.