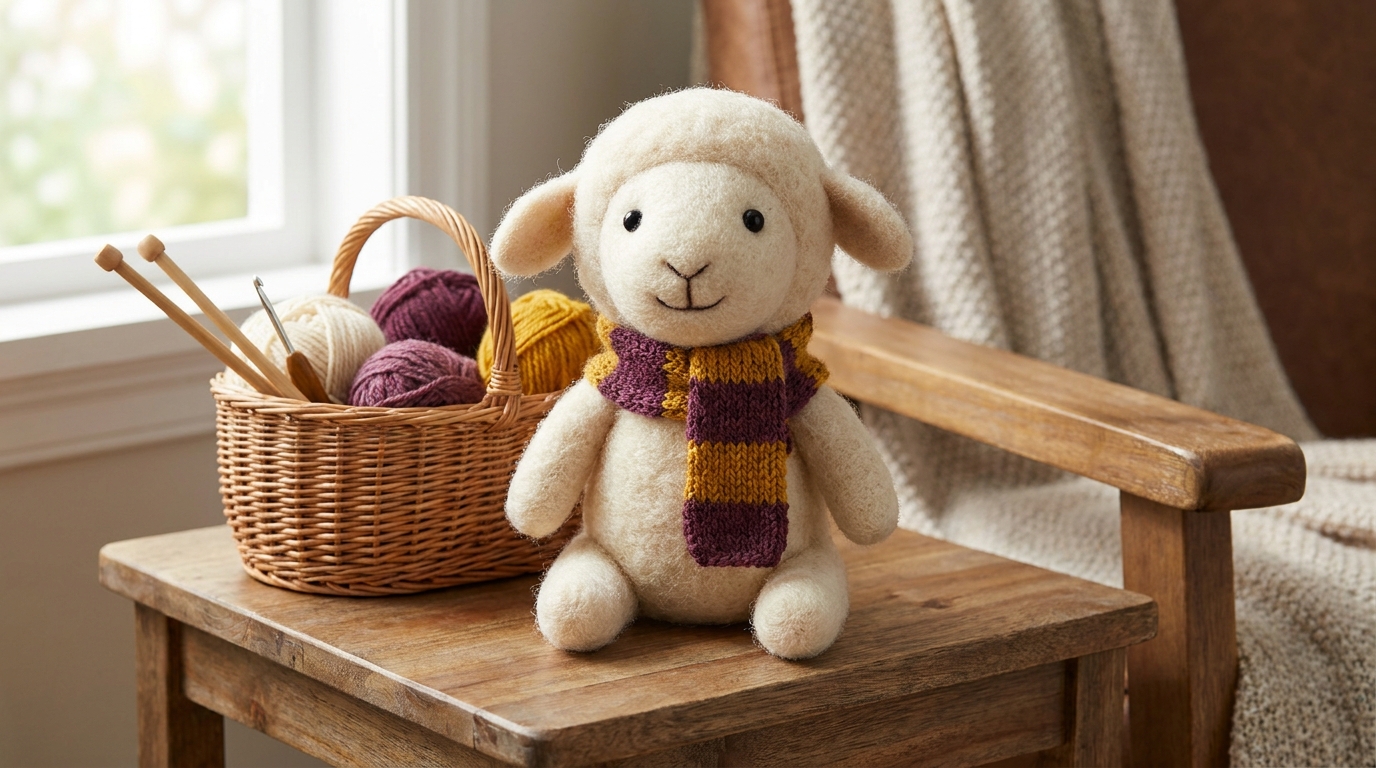
One more row. Then just one more.
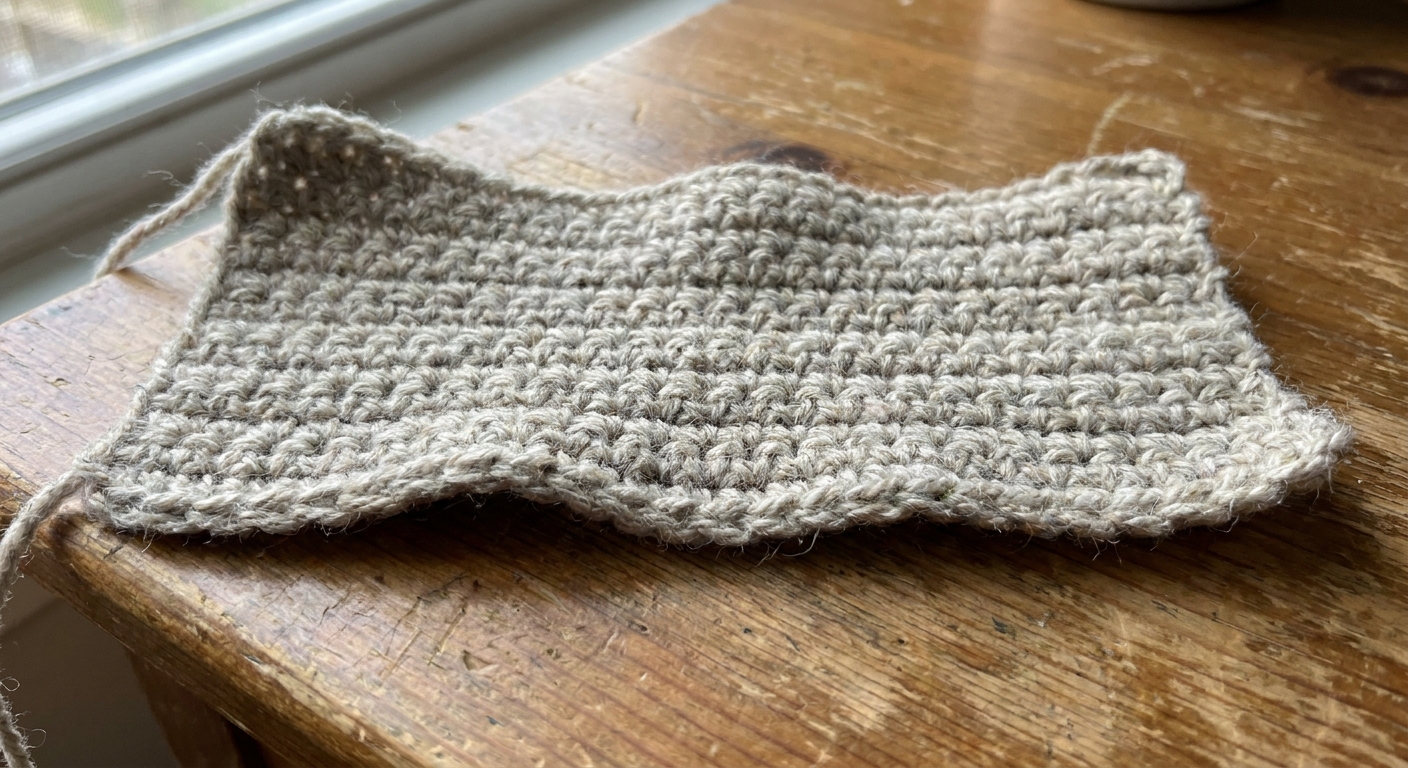
And somehow, your nice neat rectangle has edges that wander like a curious lamb.
If your crochet edges look wavy, slanted, or just plain uneven, it is usually one of three things: stitch count drift, turning chain confusion, or tension that changes near the ends of rows. Let’s sort out which one is happening, then fix it in a way that actually sticks.
The 3 edge problems
Before you frog anything, do this quick diagnosis. Look at your piece on a flat surface and ask which description fits best.
- Growing wider: each row seems a little longer than the last, edges flare outward.
- Shrinking narrower: each row gets a little shorter, edges taper inward like a wedge.
- Rippling or waving: the edge looks ruffled or lettuce-like, often with extra fabric.
Now we match each one to the most common cause.
Problem 1: Growing wider
If your rectangle is quietly turning into a trapezoid that gets wider and wider, you are almost always adding stitches without meaning to.
Most likely causes
- An accidental extra stitch at the end of the row. Common culprit: working into the turning chain when your pattern does not count it as a stitch, or working into both the last real stitch and the turning chain.
- Two stitches in the first or last stitch. This can happen when the first stitch is tight and hard to see, so you work into it twice.
- Turning chain treated inconsistently. One row you count it as a stitch, the next row you do not. That tiny inconsistency adds up fast.
How to confirm it
Count the stitches in each row across a few rows. If later rows have more stitches than earlier rows, you have found the source of the “growth.”
Also look at the ends: do you see little “bumps” or chain columns sticking out more on one side? That often means extra stitches are landing near the turning edge.
How to fix it
- Pick a rule for your turning chain and keep it every row. For example: “Turning chain does not count as a stitch” is very common for single crochet. For taller stitches, patterns vary.
- Mark the first real stitch of every row. More on the marker method below, because it solves this in a very reliable way.
Problem 2: Shrinking narrower
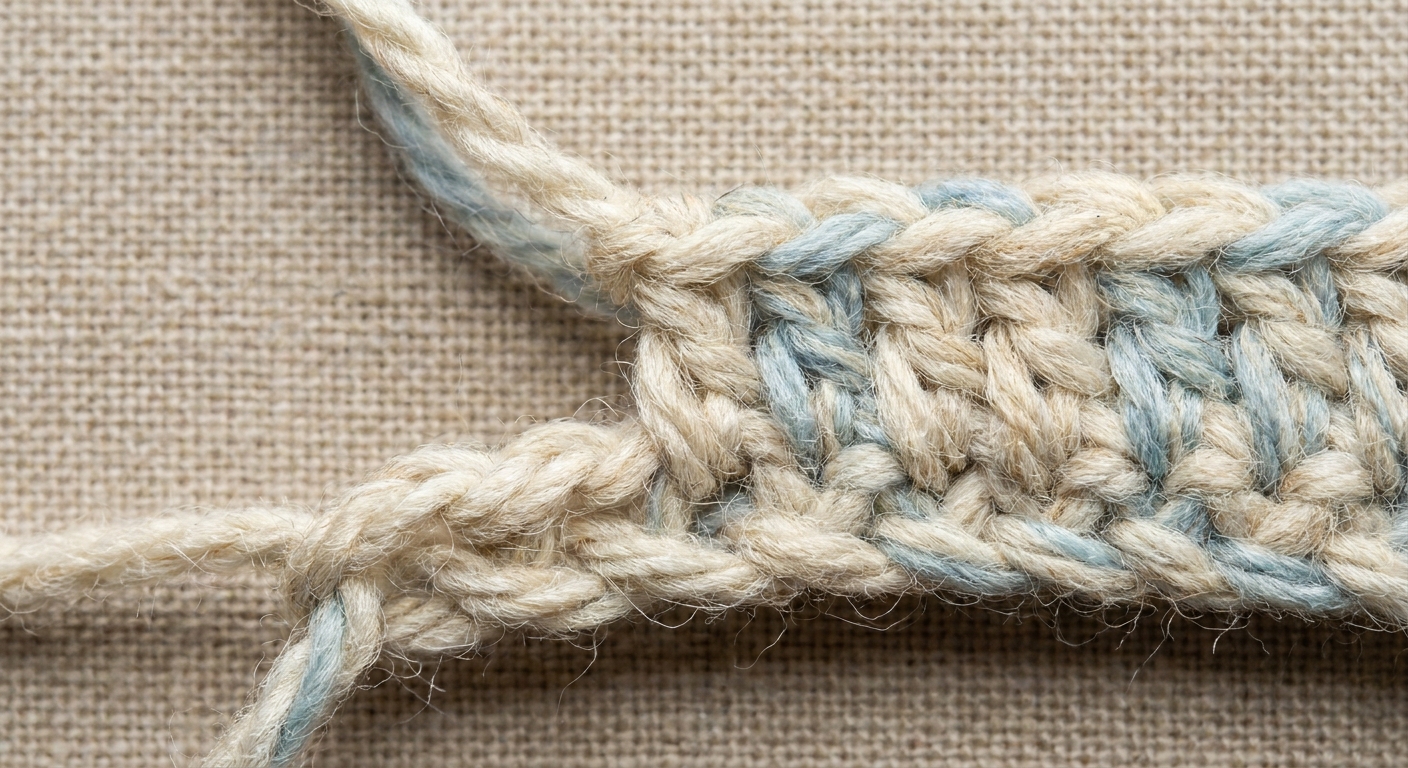
If your edges lean inward and your rows get shorter, you are usually skipping a stitch near the end of the row. This is the classic “I swear I did the same thing” crochet mystery, because the last stitch likes to hide.
Most likely causes
- Skipping the last stitch of the row. The last stitch can curl toward the side and look like it is already “done,” especially in tight tension.
- Turning too early. You think you reached the end, chain, and turn, but one stitch is still waiting.
- Turning chain too tight, making the edge pull in. Even if your stitch count is correct, a very tight turning chain can make the edge look like it is shrinking.
How to confirm it
Count your stitches. If rows have fewer stitches as you go, it is a skipped stitch problem.
Then inspect the row end you struggle with. A helpful cue in single crochet, half double crochet, and double crochet is to look for the very last “V” on top of the row. That last V is often tucked right next to the turning chain area and it is easy to miss.
How to fix it
- Slow down at the end of every row. Treat the last 2 stitches like a check-in point: find them visually before you crochet them.
- Loosen your turning chain slightly. You want it tall enough to reach the height of the next row without tugging the edge inward.
- Use the stitch marker method so you never lose that last stitch.
Problem 3: Wavy or rippling
Wavy edges can look like a stitch count issue, but they are often about tension, especially near the turning points.
Most likely causes
- Uneven tension at the start or end of rows. Many crocheters tighten up on the first stitch, loosen on the last stitch, or vice versa.
- Accidentally adding stitches now and then. Even a few extra stitches sprinkled across rows can create rippling.
- Yarn and hook mismatch. A hook that is too large for your yarn can make fabric drapier and show waves more easily. This is not “wrong,” but it can exaggerate edge wobble.
How to confirm it
First, count stitches across several rows. If the count is consistent, your rippling is likely tension, not stitch drift.
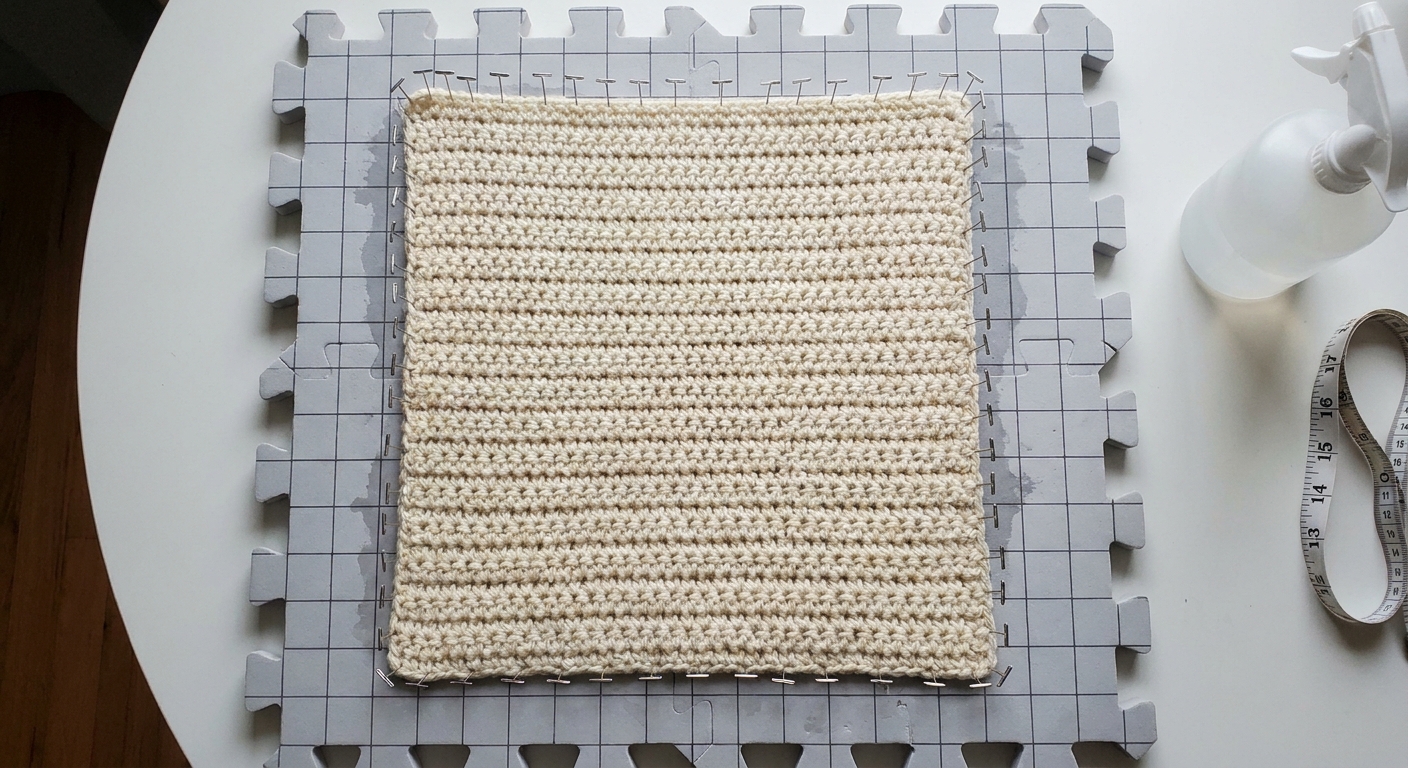
Next, gently tug the fabric vertically and horizontally. If the waves relax and the edge looks straighter with a light stretch, tension is the main player and blocking or a border may help.
How to fix it
- Make your turning chain and first stitch a calm, repeatable routine. Same hand position, same yarn feed, same pace.
- If your edge is loose, a smaller hook can help for some people. Try going down one hook size just for the turning chain and first stitch. If it changes your row height or makes the edge feel stiff, ditch the idea and stick with markers and consistent tension instead.
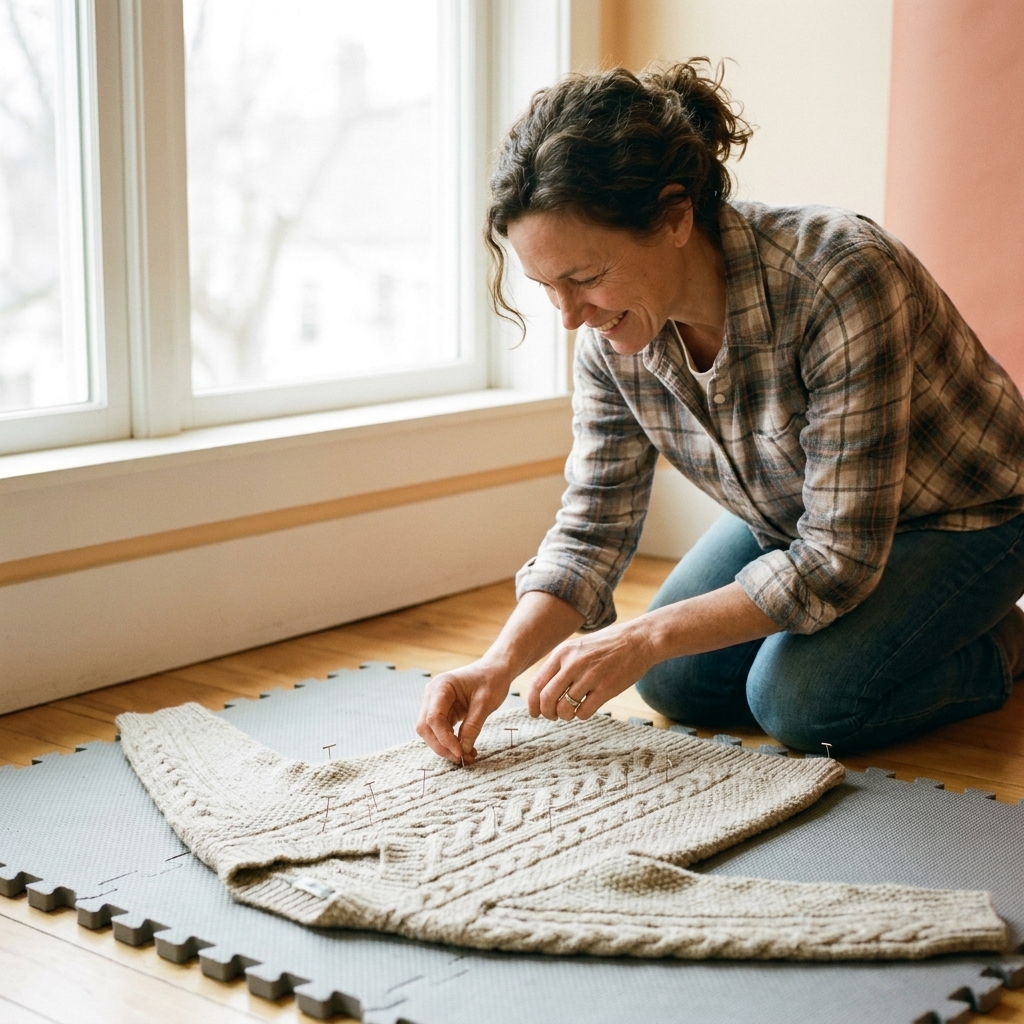
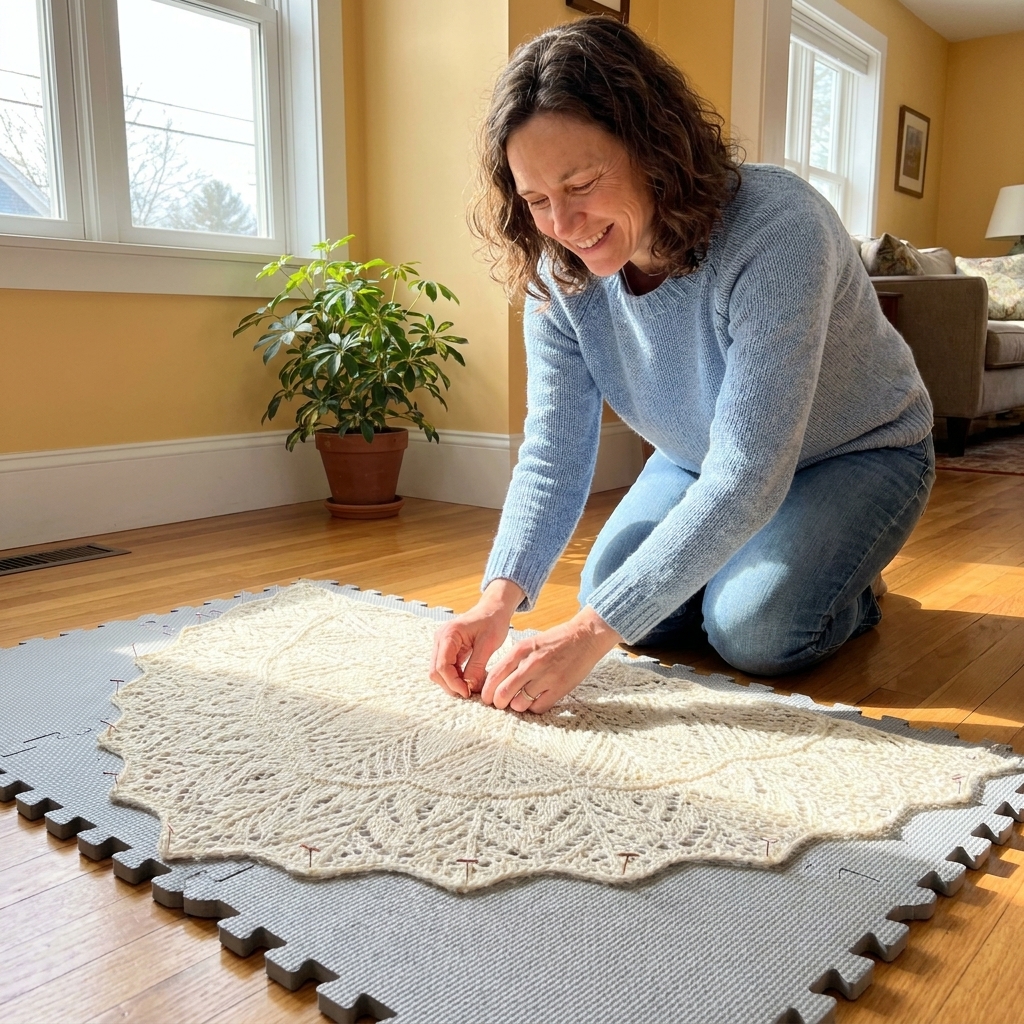
- Block the swatch or piece. Many mild waves settle down after wet blocking or steam blocking (use the method that matches your fiber). Acrylic often responds best to gentle steam and it may relax less permanently than wool or cotton, so go slowly and test first.
The stitch-marker method
If you only try one thing from this whole cozy chat, make it this: mark the first and last stitch of every row. This prevents accidental skipping, prevents accidental adding, and gives your eyes a clear target when you turn.
What you need
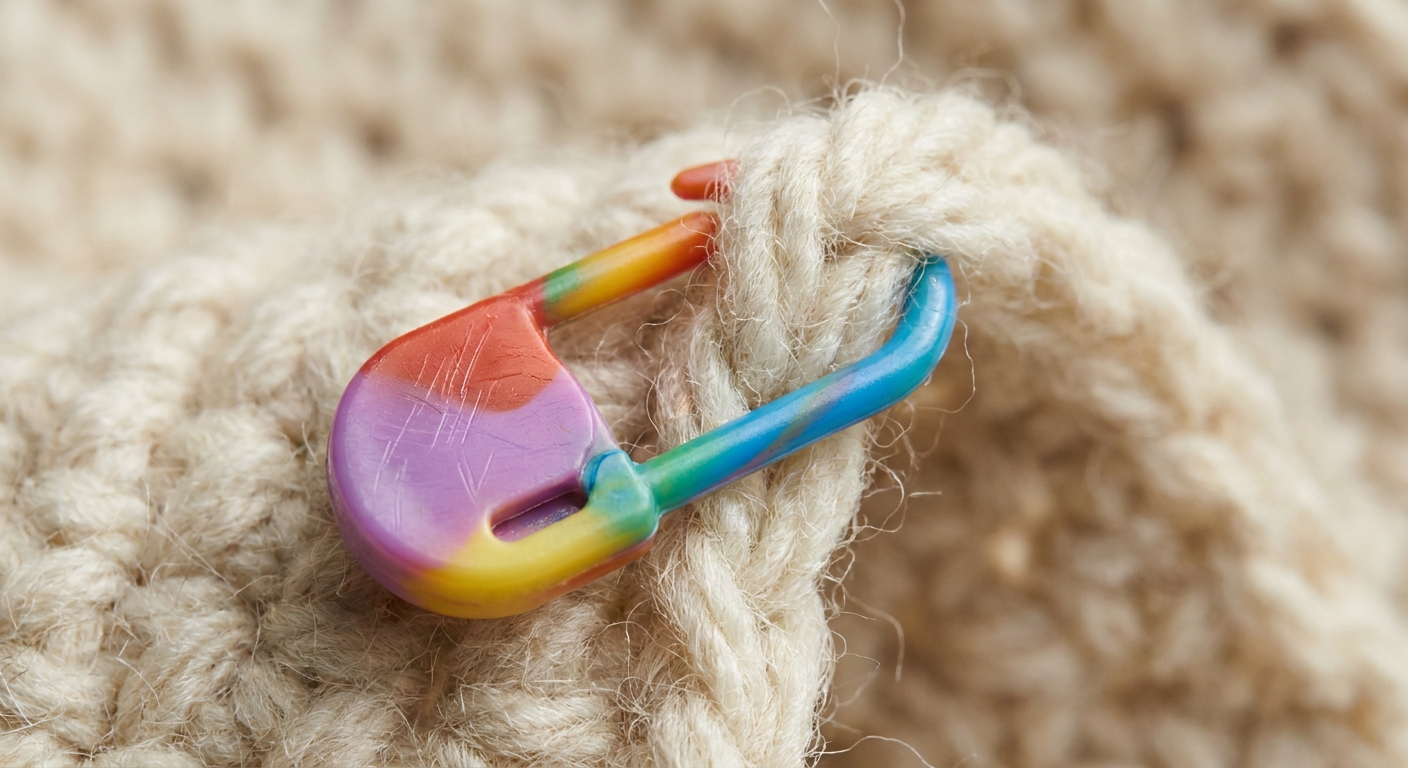
- 2 stitch markers (locking markers are easiest) or 2 small scraps of contrasting yarn
Step-by-step
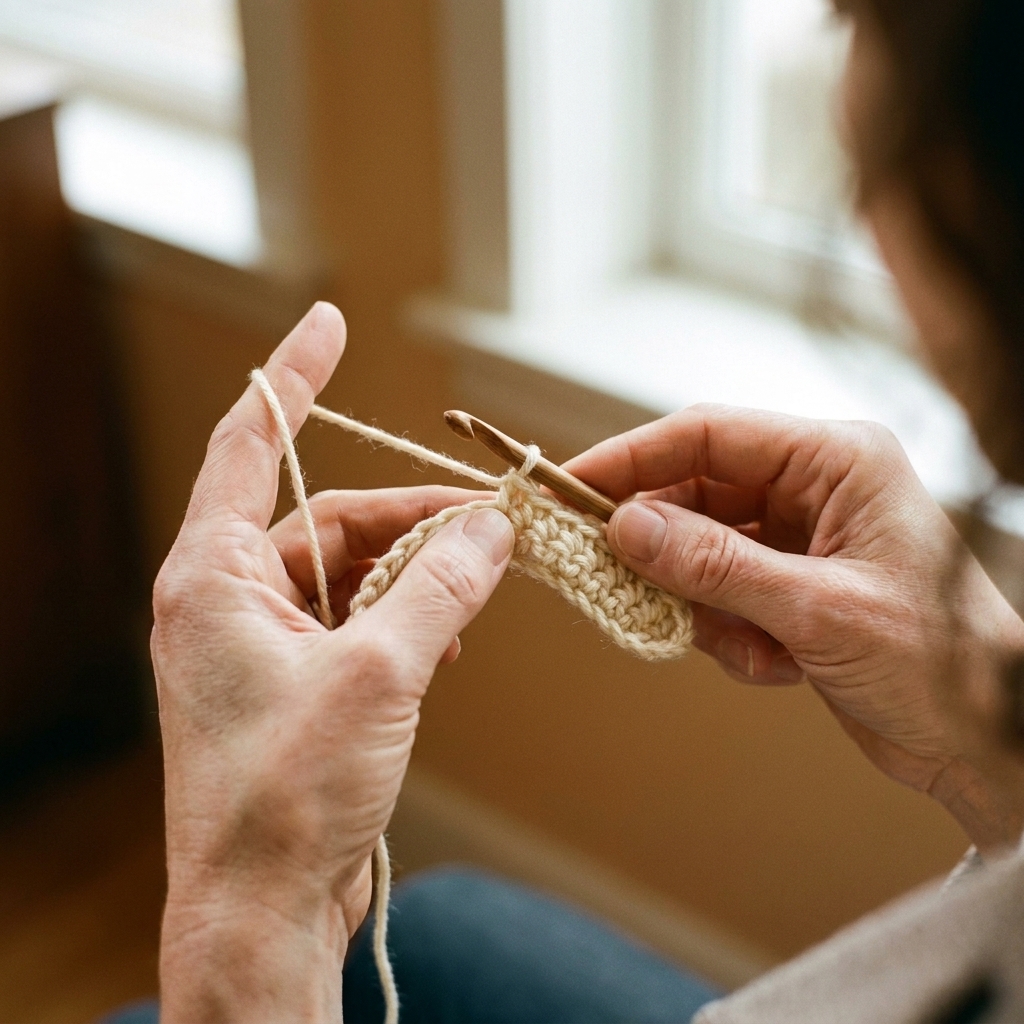
- Row 1: Crochet to the end of the row. Identify the very last stitch you just made and place a marker in it (through both top loops, or through the stitch in a consistent way).
- Turn: Make your turning chain as your pattern requires.
- Row 2, first stitch: Work the first real stitch of the row (not the turning chain unless your pattern says the chain counts). Place the second marker in that first stitch. This marker is your “start of row” target when you come back.
- Crochet across: When you reach the other end, crochet until you reach the stitch with the marker. That marked stitch is the last stitch you should work into for this row. Work into it, then move the marker up into the new last stitch you just made.
- Repeat: Each row, the markers leapfrog up the sides, always showing you: “this is the first stitch” and “this is the last stitch.”
This works for single crochet, half double crochet, double crochet, and most simple stitch patterns.
Turning chains, quickly
Patterns handle turning chains in two common ways:
- Turning chain does not count as a stitch: You skip the chain when counting. Your first stitch goes into the first stitch of the previous row. Your last stitch goes into the last stitch of the previous row. The chain is just height.
- Turning chain counts as a stitch: The turning chain is treated like the first stitch of the row. That means you will typically skip the first stitch below (because the chain is standing in for it), and at the end you often work into the top of the turning chain from the previous row.
The key is not which style is “right.” The key is doing the same thing every row, and matching what your pattern expects.
Rip back or add a border
Sometimes the coziest fix is not the fastest fix. Here is how I decide whether to frog (rip back) or keep going.
Rip back if…
- Your stitch count is changing every few rows. If the piece is clearly growing or shrinking, a border will not truly fix the shape. It may hide the edge wobble, but the fabric will still be trapezoid-shaped.
- The project needs to match a specific measurement. Wearables, panels that must seam together, and anything fitted usually wants correct edges.
- The wobble is happening early. If you are within the first 5 to 15 rows, frogging is often less painful than “hoping it works out.”
A border can hide it if…
- Your stitch count is consistent now. You fixed the cause and the rest of the fabric is stable.
- The edge issue is minor and mostly cosmetic. Slight unevenness often disappears under a simple single crochet border, crab stitch border, or a slip stitch edge.
- The item is forgiving. Blankets, scarves, dishcloths, and many bags can handle a bit of personality in the edges.
If you do add a border, do this first
Count the rows (or measure) and place markers along the side so you space your side stitches evenly. Uneven border spacing can create brand new waves even if the main fabric is perfectly fine.
Quick edge checks
These tiny habits keep rows tidy without you having to constantly recount everything.
- Count every few rows, not every row. Try counting every 3 to 5 rows, or at the end of a TV episode. Consistency beats perfection.
- Look for “stairs.” If one edge looks like a staircase leaning inward or outward, it is a stitch count warning sign.
- Give the fabric a little pat-flat. Lay it down occasionally. Ripples show up sooner when the piece is relaxed on a table.
- Keep your turning chain the same every time. Same number of chains, same looseness, same place you insert your hook for stitch one.
FAQ
Why is only one side of my crochet slanted?
Often it is because you are missing or adding stitches consistently on the same edge, or because your turning chain is being treated differently on one side than the other. Marking the first and last stitch usually reveals the culprit immediately.
My edges are straight in single crochet but messy in double crochet. Why?
Double crochet relies on a taller turning chain (often 2 or 3 chains), and that extra height makes it easier to misplace the last stitch or accidentally work into the turning chain. Use markers and decide whether the turning chain counts as a stitch for your project, then stick to it.
Can blocking fix wavy edges?
Blocking can smooth mild waves caused by tension, especially in natural fibers. Acrylic usually needs gentle steam and may not “set” as permanently. Blocking will not permanently fix a piece that has the wrong stitch count. If the fabric is actually wider or narrower over time, the math has to be corrected.
What is the easiest way to keep edges straight as a beginner?
Two stitch markers, every row: one in the first stitch, one in the last stitch. It is simple, gentle, and it works even when your stitches are still learning how to behave.