If you love crochet texture that looks fancy but is secretly just a repeat you can memorize while watching your favorite show, the waffle stitch is about to become your new best friend. It creates a thick, squishy fabric with that classic grid look, and it is perfect for blankets, dishcloths, scarves, and cozy winter accessories.
The magic comes from front post double crochet (fpdc) stitches popping forward while the regular double crochets sit back. Once you see the rhythm, your hands will do most of the thinking. Which is exactly what we want, especially if your brain is as full as my yarn stash closet.
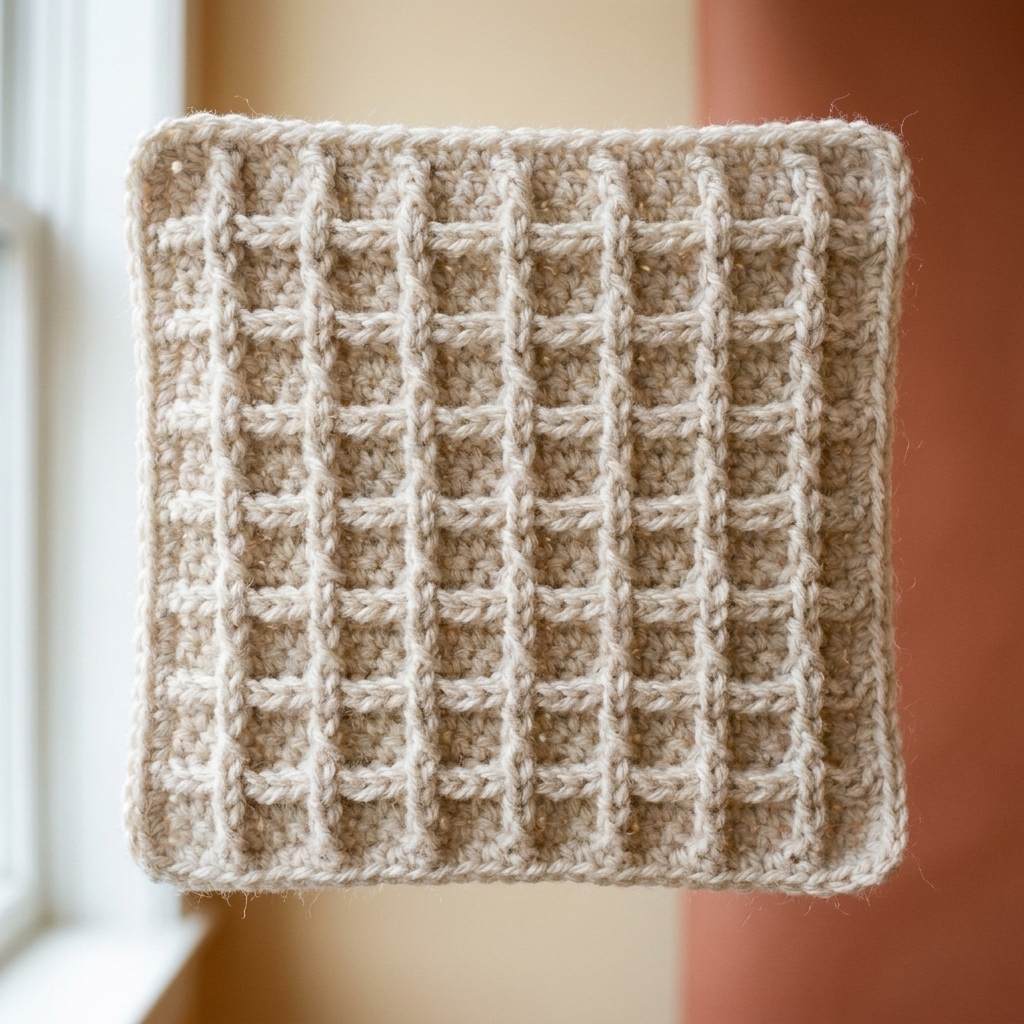
What is the waffle stitch?
The waffle stitch is a textured crochet stitch pattern that forms a grid of raised squares. It is made by alternating:
- Double crochet (dc) worked into the top of the stitch like normal
- Front post double crochet (fpdc) worked around the post of a stitch from the previous row
Those fpdc stitches pull forward, making the walls of each little square. The squares themselves sit back, which is what gives that delicious, dimensional waffle look.
Right side note: Waffle stitch is fairly reversible, but most crocheters find one side looks a little more “puffy-grid” than the other depending on tension and yarn. If one side looks extra crisp and waffly, make that your front side.
Good to know: Waffle stitch is thick and warm, but it can also use more yarn than a flatter stitch. Totally worth it for the squish factor.
Supplies and yarn tips
- Yarn: Any weight can work, but worsted or aran is very beginner-friendly because you can clearly see the posts. Very fine yarn works too, it is just harder to “read” at first.
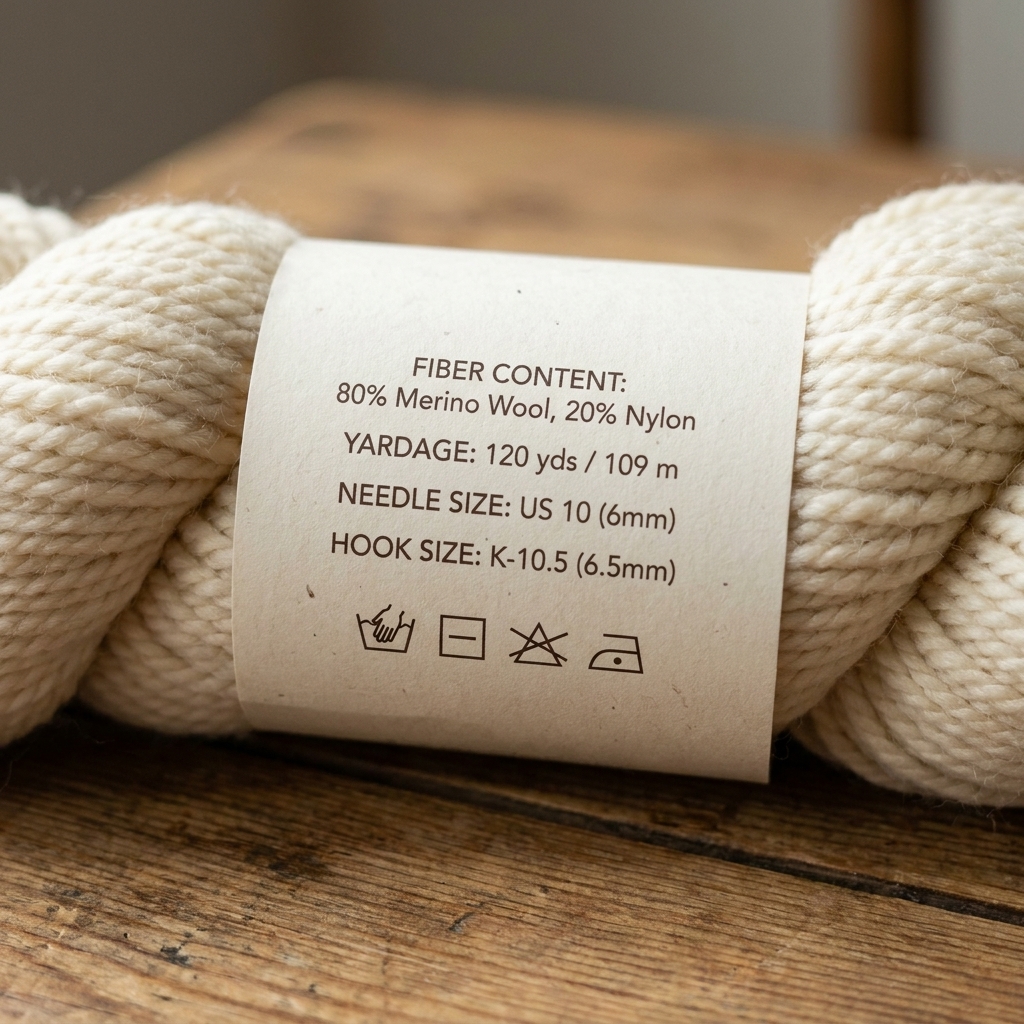
- Hook: Use the hook size suggested on your yarn label as a starting point. If your fabric feels stiff, go up a hook size.
- Notions: Scissors, tapestry needle, and stitch markers if you like marking the first or last stitch of each row.
My favorite yarn choices for practice: smooth, light-colored yarn (cotton or acrylic) so you can spot your stitch posts easily. Dark fuzzy yarn is beautiful, but it is also the crochet version of doing math in the dark.
Stitches and abbreviations
- ch: chain
- dc: double crochet
- fpdc: front post double crochet
- st: stitch
- sk: skip
US terms are used throughout.
How to do fpdc
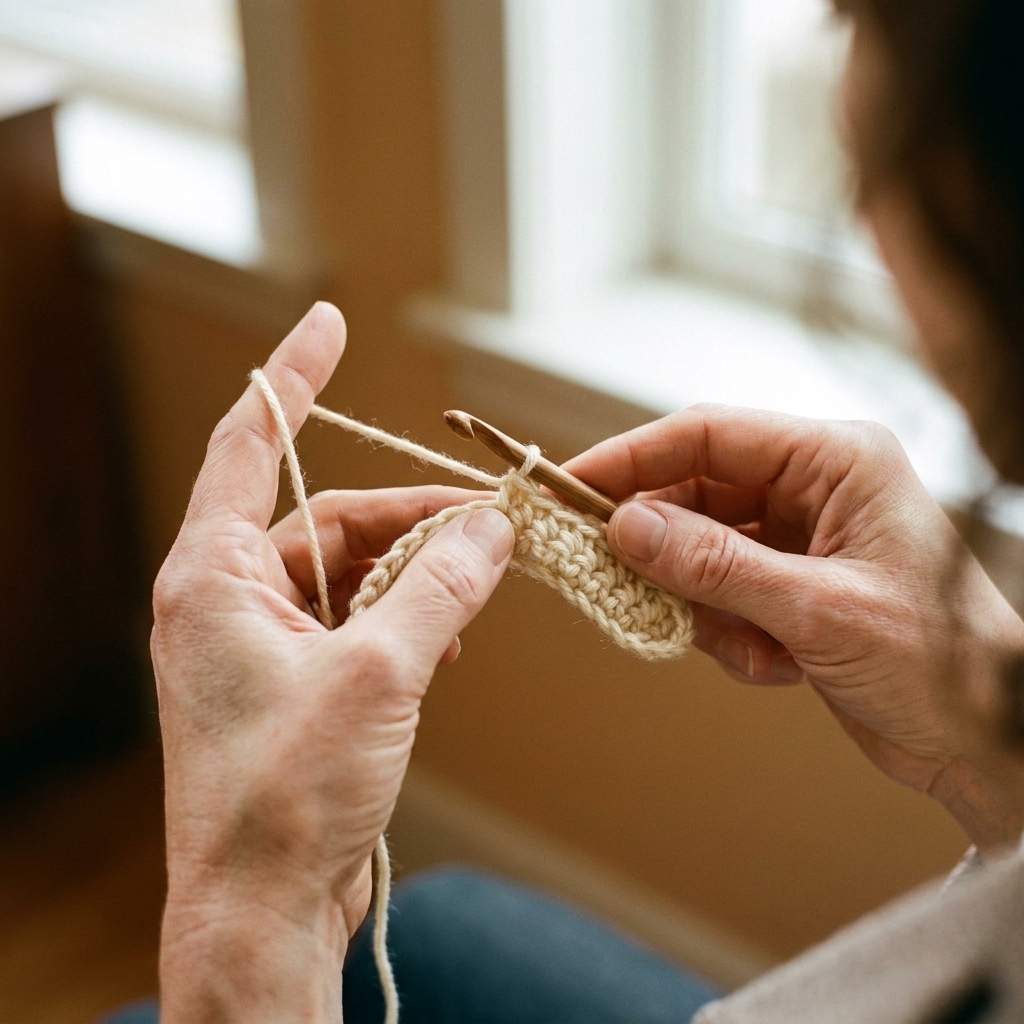
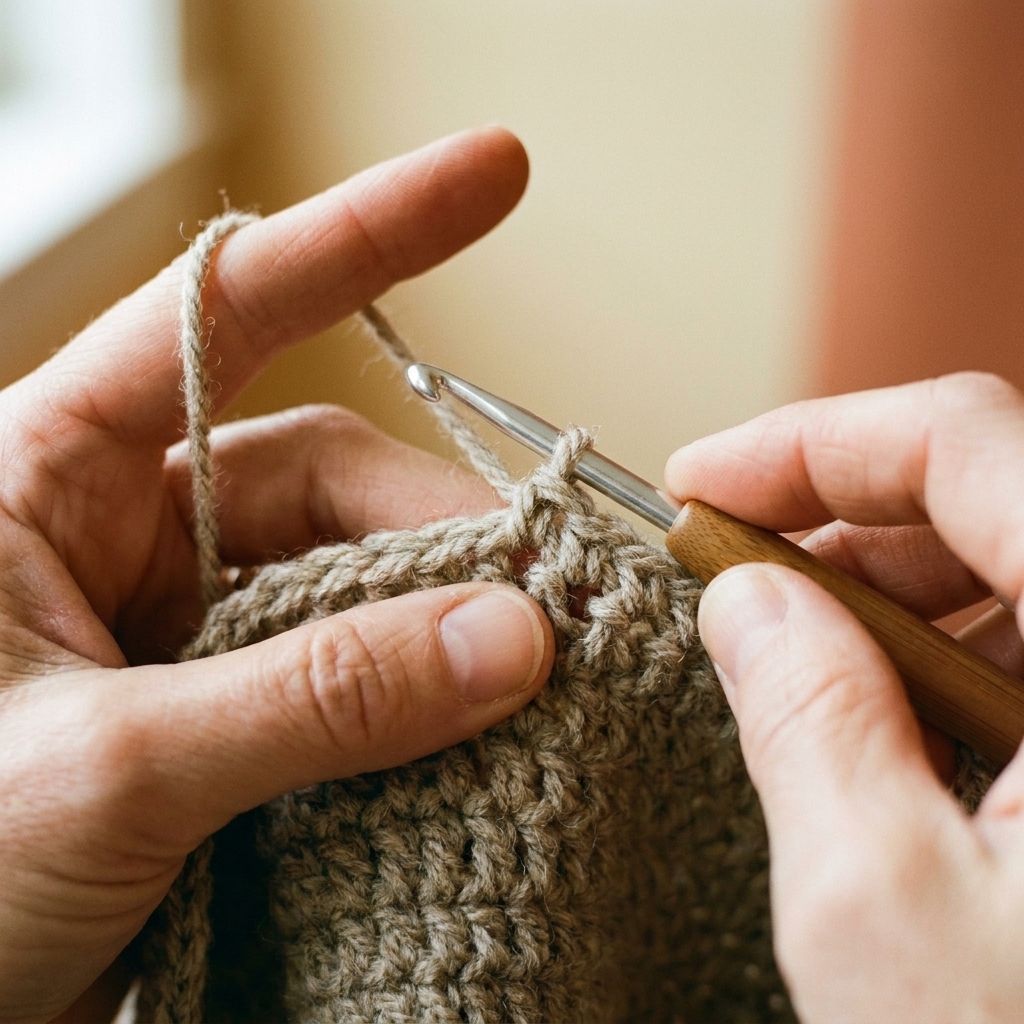
If fpdc feels intimidating, I promise it is just a double crochet with a different entry point. You work it around the stitch post from the row below, not into the top “V” loops.
Step-by-step
Yarn over like you would for a normal dc.
Insert your hook from front to back around the post of the indicated stitch in the previous row, then back to the front again. Your hook is hugging the pole of the stitch, not going under the top loops.
Yarn over and pull up a loop. You should now have 3 loops on your hook.
Yarn over, pull through 2 loops.
Yarn over, pull through last 2 loops.
Beginner tip: If your fpdc stitches feel tight, consciously relax your yarn over and pull-up loop. Give yourself permission to be a little looser. The waffle stitch looks best when the posts are plump, not strangled.
Stitch multiple
The classic waffle stitch works over a stitch count that is a multiple of 3 plus 2.
Examples (stitches):
- 14 stitches (12 + 2)
- 20 stitches (18 + 2)
- 26 stitches (24 + 2)
Foundation chain math (important): Because we use a ch-3 turning chain that counts as a stitch, your starting chain should be a multiple of 3 plus 4.
Examples (chains to start):
- To get 14 stitches, chain 16
- To get 20 stitches, chain 22
- To get 26 stitches, chain 28
Quick swatch idea: Chain 16 to make a 14-stitch swatch, then work Rows 1 to 3 below. Your stitch count should stay at 14 each row, and the “walls” start stacking nicely after a couple repeats. Small swatches are where confidence is born (and where we discover if we actually like a yarn before we commit to blanket levels of it).
How to crochet waffle stitch
This version is a straightforward, beginner-friendly waffle stitch using a 2-row repeat. The texture becomes obvious after a few rows, so do not panic if Row 1 looks like regular crochet.
Foundation chain
Ch a multiple of 3 + 4.
Row 1 (setup): Dc in the 4th ch from hook and in each ch across. Turn.
Turning chain: Ch 3 at the beginning of each row counts as a dc.
Placement tip: After you ch 3, work the first patterned stitch into the first stitch after the turning chain. Do not work into the same stitch the turning chain comes out of.
Row 2
Ch 3 (counts as dc). *Fpdc around the post of the next stitch from the previous row, dc in the next 2 sts; repeat from * to last 1 st. Dc in the last st. Turn.
Row 3
Ch 3 (counts as dc). *Fpdc around the posts of the next 2 stitches from the previous row, dc in the next st; repeat from * to last 1 st. Dc in the last st. Turn.
Repeat
Repeat Rows 2 and 3 until your project reaches the length you want.
End-of-row sanity check: For stitch counts that follow the multiple above (like the 14-stitch swatch), Rows 2 and 3 should both land cleanly with exactly 1 stitch left for that final dc. If you ever feel like you are forcing an extra fpdc at the end, stop and count your stitches. One missed edge stitch is usually the culprit.
Counting and neat edges
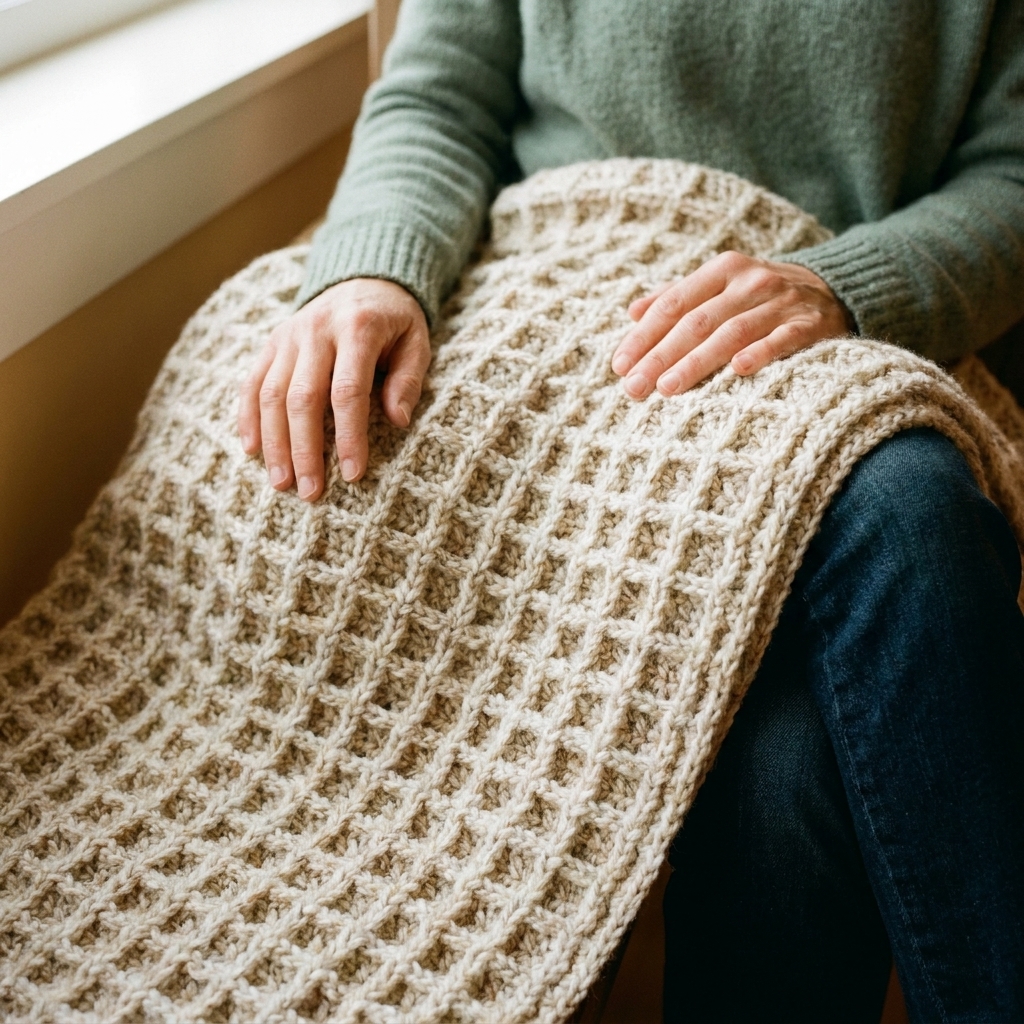
The waffle stitch is very textural, which can make edges feel a little bumpy. These tips help a lot:
- Mark your last stitch of each row with a stitch marker until you feel confident. The last stitch likes to play hide-and-seek.
- Do not skip the final dc. Both Rows 2 and 3 end with a regular dc in the last stitch to keep the edge clean.
- Keep your turning chain consistent. In this tutorial, ch 3 counts as a dc, so your last stitch goes into the top of that turning chain on the next row.
Spot the last stitch: At the end of the row, your last real stitch is usually tucked right up against the turning chain from the previous row. If you are unsure, gently tug the turning chain and watch which stitch moves with it. That is your “chain-stitch.” The stitch right before it is the true last stitch.
If your sides are leaning: You are probably missing the last stitch of the row or working into the turning chain inconsistently. Marking the last stitch is the fastest fix.
Common mistakes
Working fpdc into the top loops
For fpdc, your hook must wrap around the post of the stitch from the previous row. If you go under the top loops, it is just a dc and the texture will not appear.
Getting lost after you turn
Because you are turning every row, you will sometimes be looking at the “less waffly” side while you work. That is normal. Focus on finding the posts of the stitches in the row below and placing fpdc around those posts, even if the grid is not popping yet on the side facing you.
Missing the first stitch after ch 3
The turning chain counts as a stitch. Your first real stitch of the row is the next one. If you accidentally crochet into the first stitch twice, your stitch count grows and the waffle grid shifts.
Why it looks flat
You cannot see the squares yet
Totally normal. Waffle stitch often looks unimpressive for the first 2 rows. After you complete Rows 2 and 3 once or twice, the grid starts to pop.
Your fpdc stitches are too tight
If the posts are tight, they cannot stand proud. Go up a hook size or loosen your tension slightly on fpdc stitches.
Your stitch count changed
If your waffle pattern looks off, count your stitches at the end of each row for a bit. One extra or missing stitch can shift the whole grid.
Blocking and care
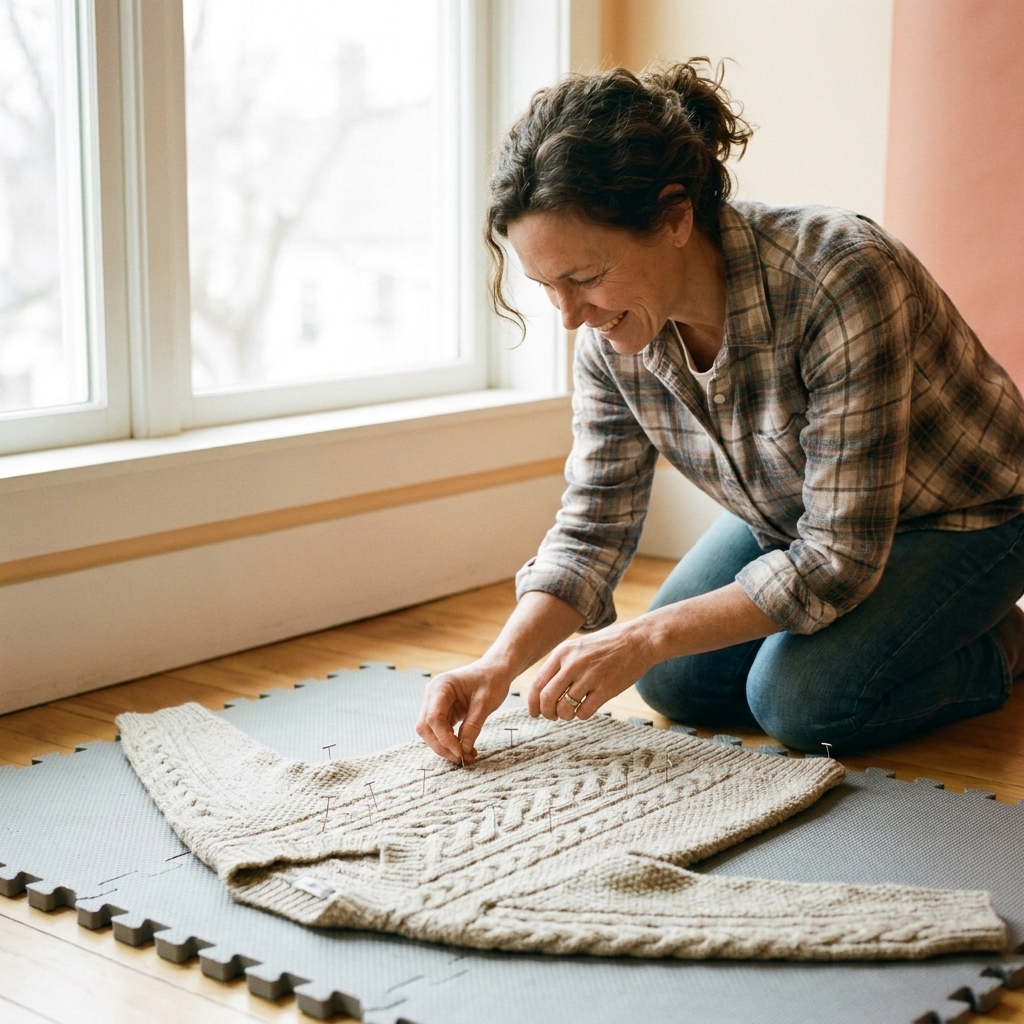
Waffle stitch usually does not need aggressive blocking, but a gentle steam block or wet block can help even out tension and make the texture look extra polished.
- Wash: Follow your yarn label.
- Dry: Lay flat if possible to preserve shape, especially for wearables.
- Blocking tip: Do not stretch it too much. Waffle stitch looks best when the squares stay plump.
Best projects
- Baby blankets: warm, cushy, and looks intricate
- Dishcloths and washcloths: great scrubbing texture with cotton yarn
- Scarves and cowls: thick without needing complicated shaping
- Cozy pillow covers: instant texture upgrade
If you are new to this stitch, a small square dishcloth is the perfect low-pressure practice. You will learn the repeat quickly, and you get something useful at the end. That is my favorite kind of crochet homework.
Finishing: When you are done, fasten off, weave in your ends, and consider a simple single crochet border if you want your edges to look extra tidy (and to gently tame any early-row curl).
FAQ
Is waffle stitch beginner-friendly?
Yes, especially if you already know double crochet. Front post double crochet is usually the only new skill, and it is very learnable with a little repetition.
Does waffle stitch curl?
It can curl slightly at the start, especially on narrow pieces. Adding a simple border later usually fixes it, and light blocking helps too.
How do I make waffle stitch softer?
Use a softer yarn (like acrylic or a smooth wool blend) and consider going up a hook size to create a drapier fabric. Cotton will be more structured, which is great for washcloths.
How much yarn does waffle stitch use?
More than plain double crochet because the post stitches add bulk. If you are planning a blanket, it is smart to grab an extra skein so you are not playing yarn chicken at the end.
Can I crochet waffle stitch in the round?
You can, but the classic look is easiest flat in rows. In the round, you will need to pay attention to how the fpdc placement lines up so the grid stays consistent.
Quick pep talk
If your first few rows look a little lumpy, congratulations, you are crocheting like the rest of us. Texture stitches are always slightly awkward until your hands learn where the posts are. Give it a few repeats, keep your tension relaxed, and soon you will have that gorgeous waffle grid building up under your hook.
And if you drop a stitch or two along the way, welcome to the club. We have tea and an extremely supportive pile of yarn.