One more row. Then just one more.
But first, the chain.
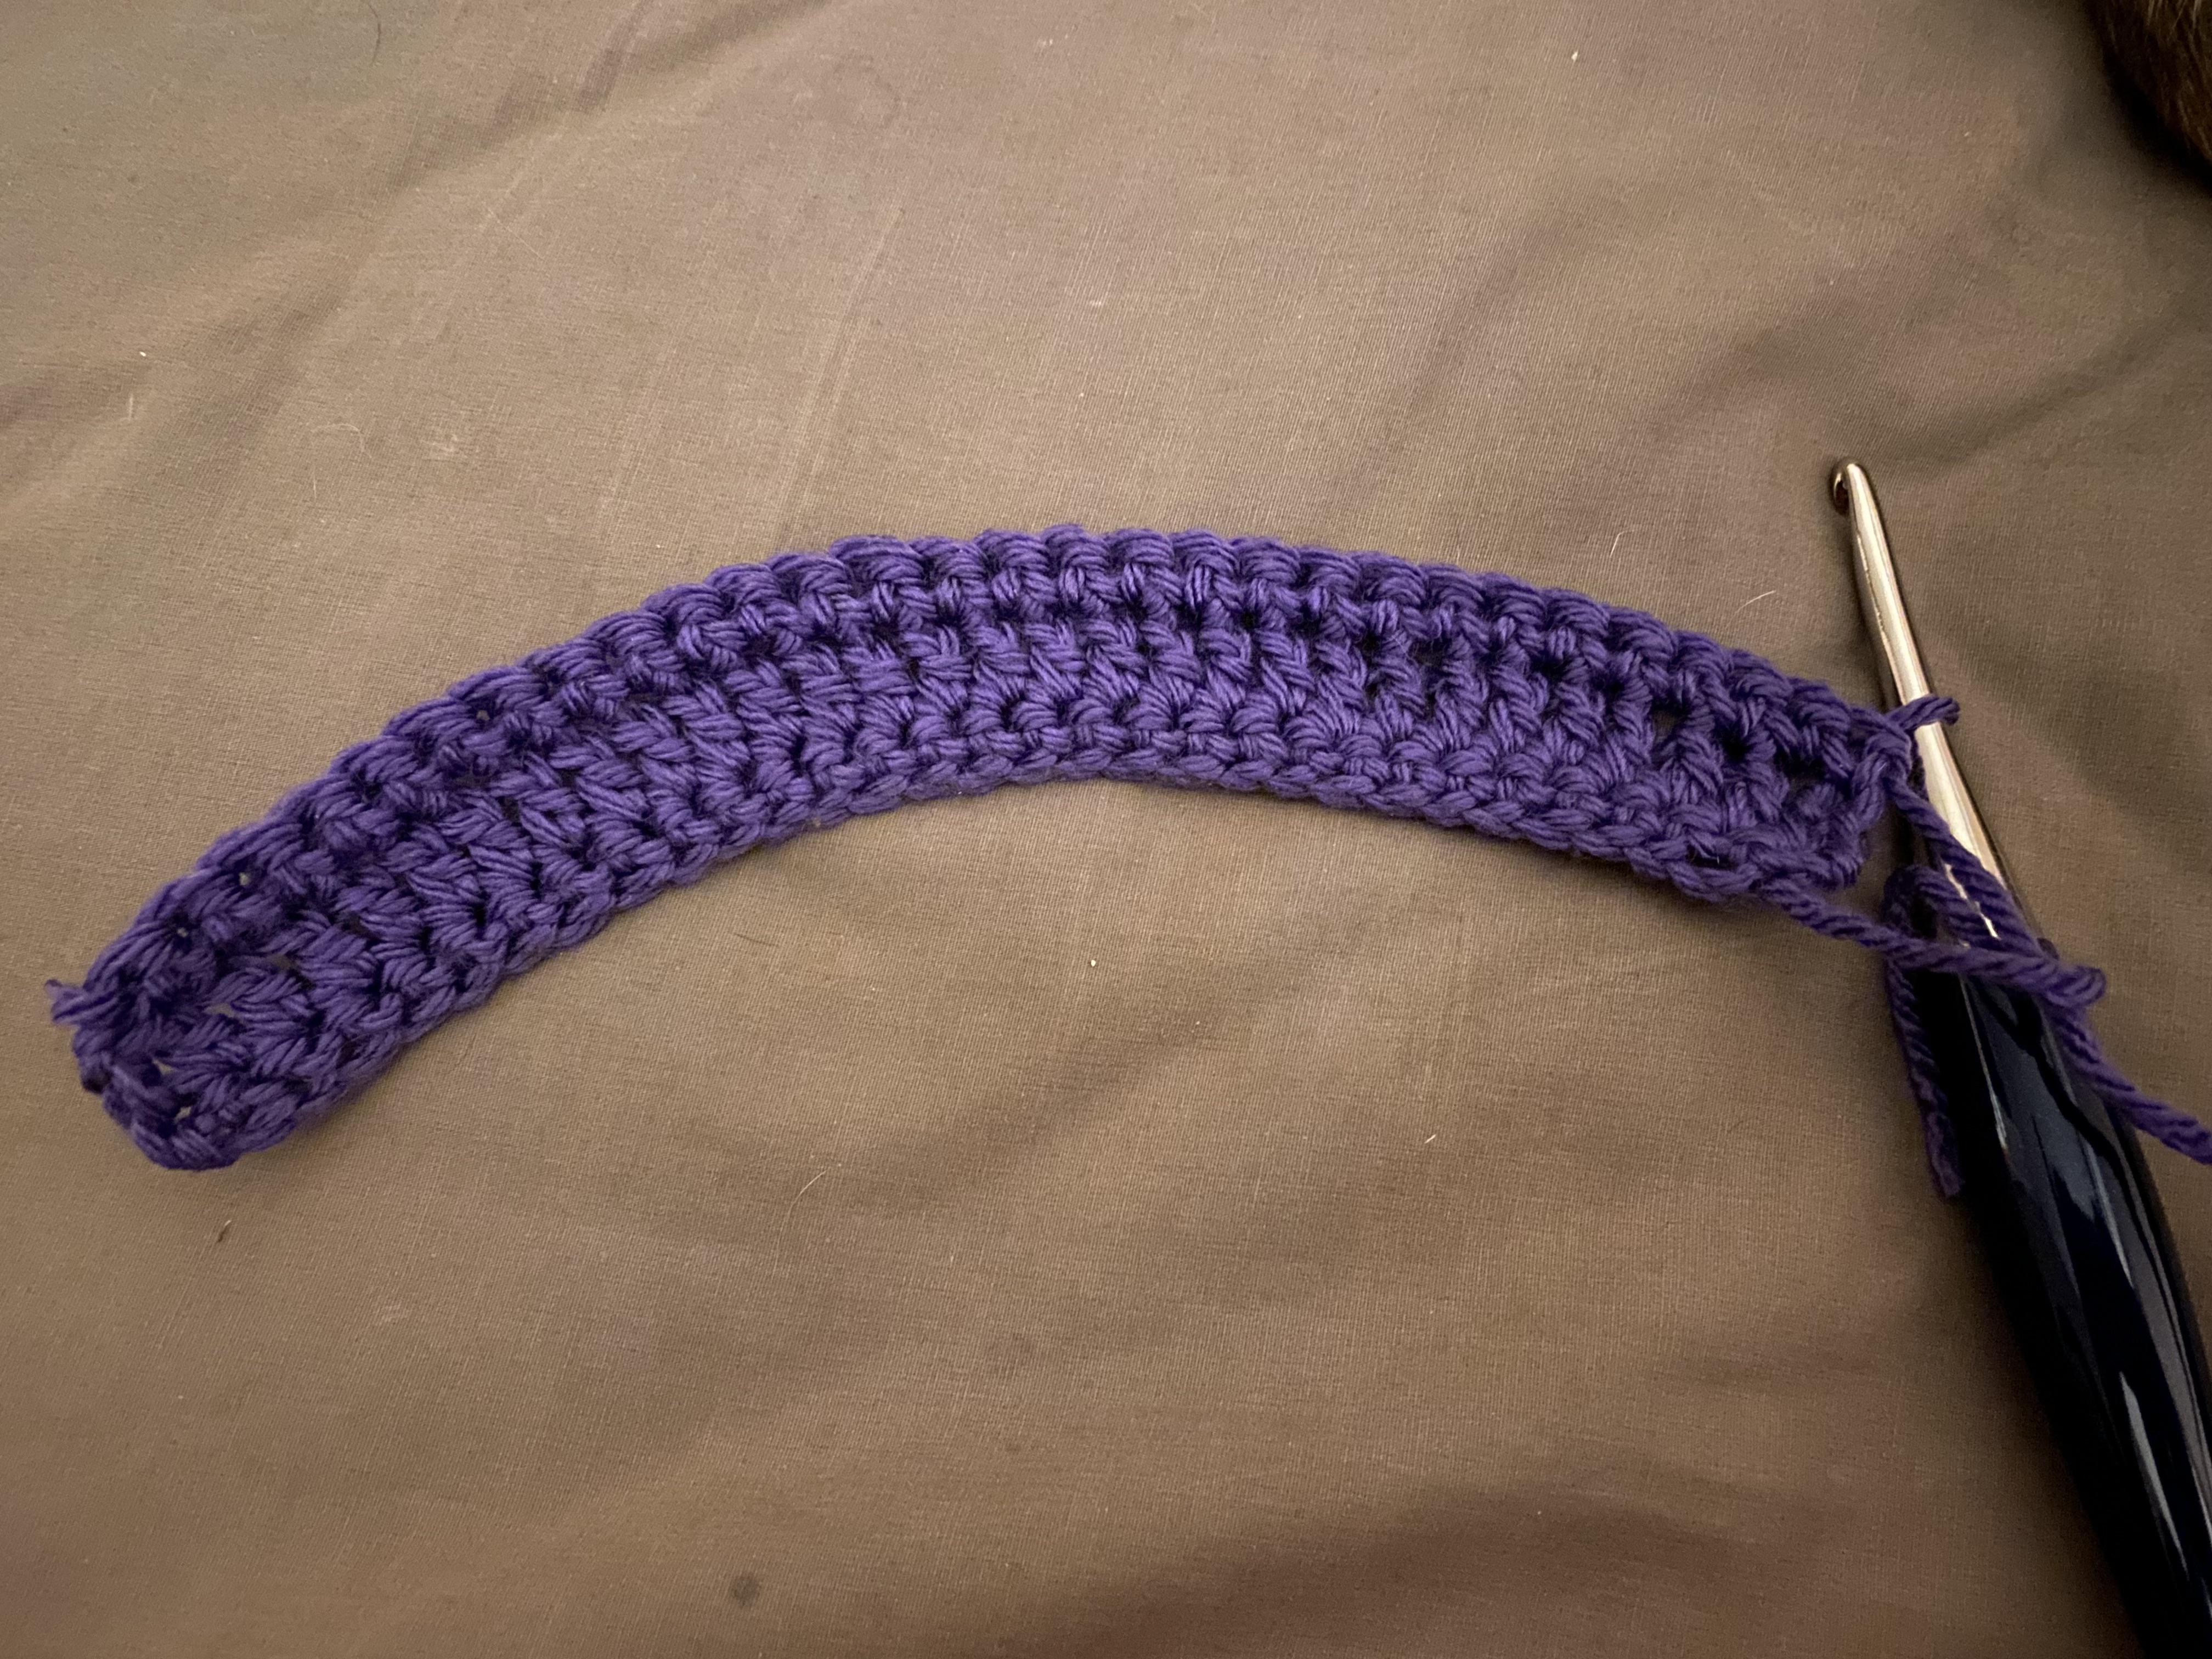
If your crochet foundation chain feels like a little too-snug scarf around the very first row, you’re not alone. A starting chain can look perfectly fine in your hands, then suddenly the moment you work into it, everything tightens up. The bottom edge pulls shorter than the fabric above it, your sides slant, and your nice rectangle starts acting like it has opinions.
Let’s fix that, stitch by stitch.
Why the foundation chain pulls in
A foundation chain is made of loops that are easy to make small without noticing. Then, when you crochet your first row into those loops, the stitches in row one have more height and structure than the chain does. That mismatch is what makes the chain edge feel tight.
Here are the usual culprits:
- Chaining naturally runs tighter than stitching. Many crocheters tighten up while chaining because it is a quick, repetitive motion.
- Your chain loops are smaller than your working loop. If you pull the yarn snug after each chain, you shrink the space you need to insert your hook later.
- The chain has less stretch than the fabric. Even with the same yarn, a chain behaves differently than a row of single crochet, half double crochet, or double crochet.
- You are crocheting into the “wrong” part of the chain for your tension. Working under just one loop can make the edge firmer. Working into different loops can change both look and stretch.
The key idea: your foundation chain should be able to stretch to match your first row. If it cannot, it becomes a drawstring.
Quick signs your chain is too tight
You can usually spot a too-tight chain early, often within the first few inches of row one.
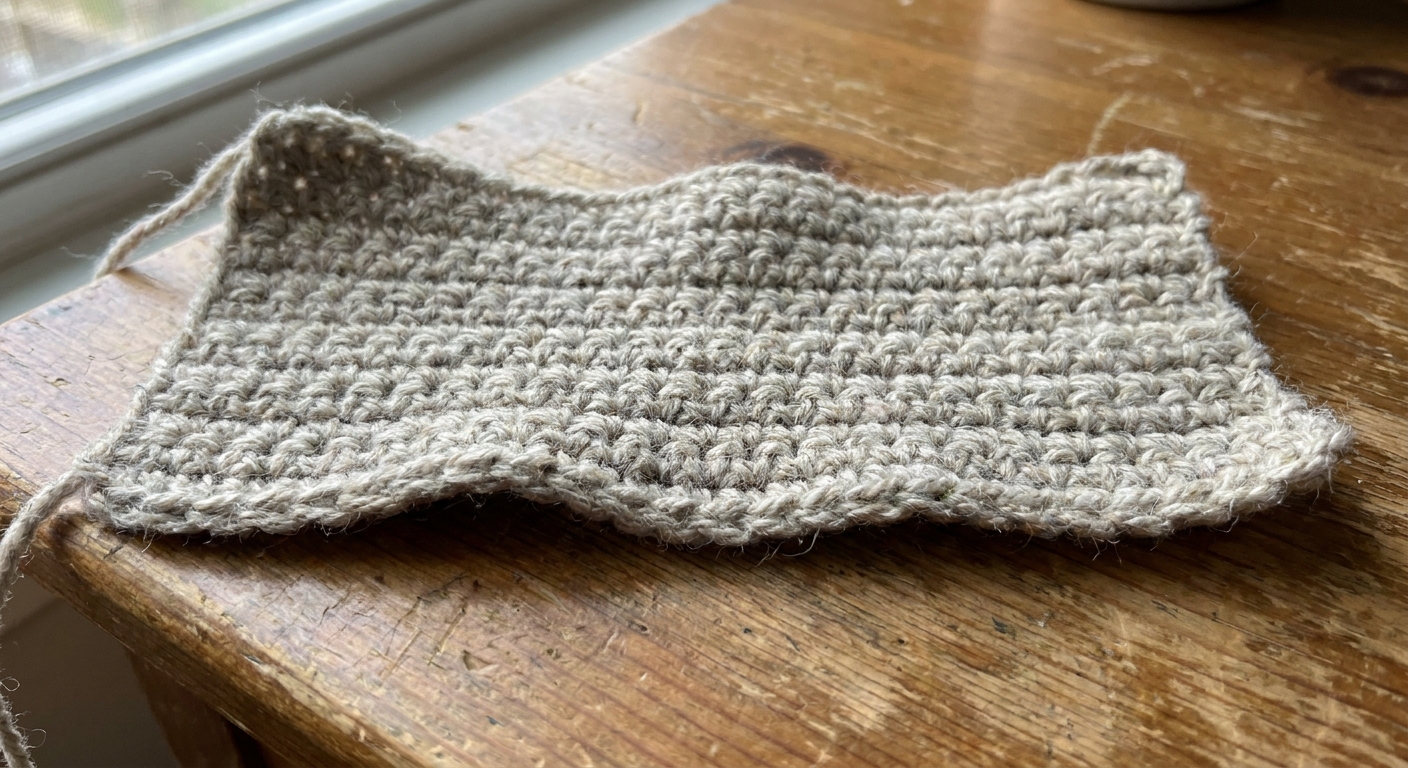
- The chain edge looks shorter than the row you’re stitching into it, so row one starts to ripple or bunch.
- The bottom edge curves upward like a smile.
- Your sides slant inward as you go up, even though your stitch count is correct.
- Inserting the hook into each chain feels like wrestling a tiny seatbelt.
If you see these signs, it’s worth pausing. Fixing it now beats trying to block a tight chain into behaving later.
Fix #1: Use a bigger hook
This is the simplest fix and it works beautifully for scarves, blankets, and other row-by-row projects where you need a flat edge.
How to do it
- Make your slip knot as usual.
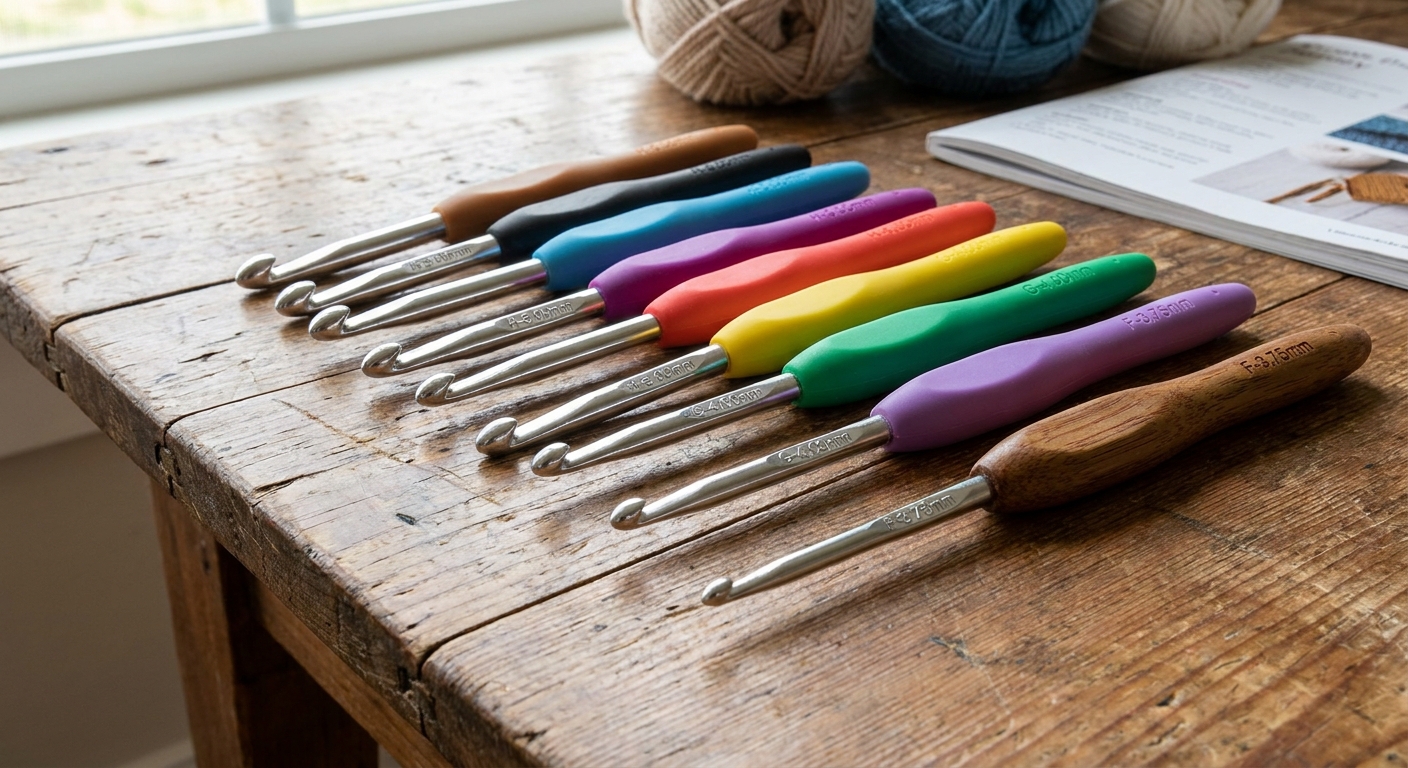
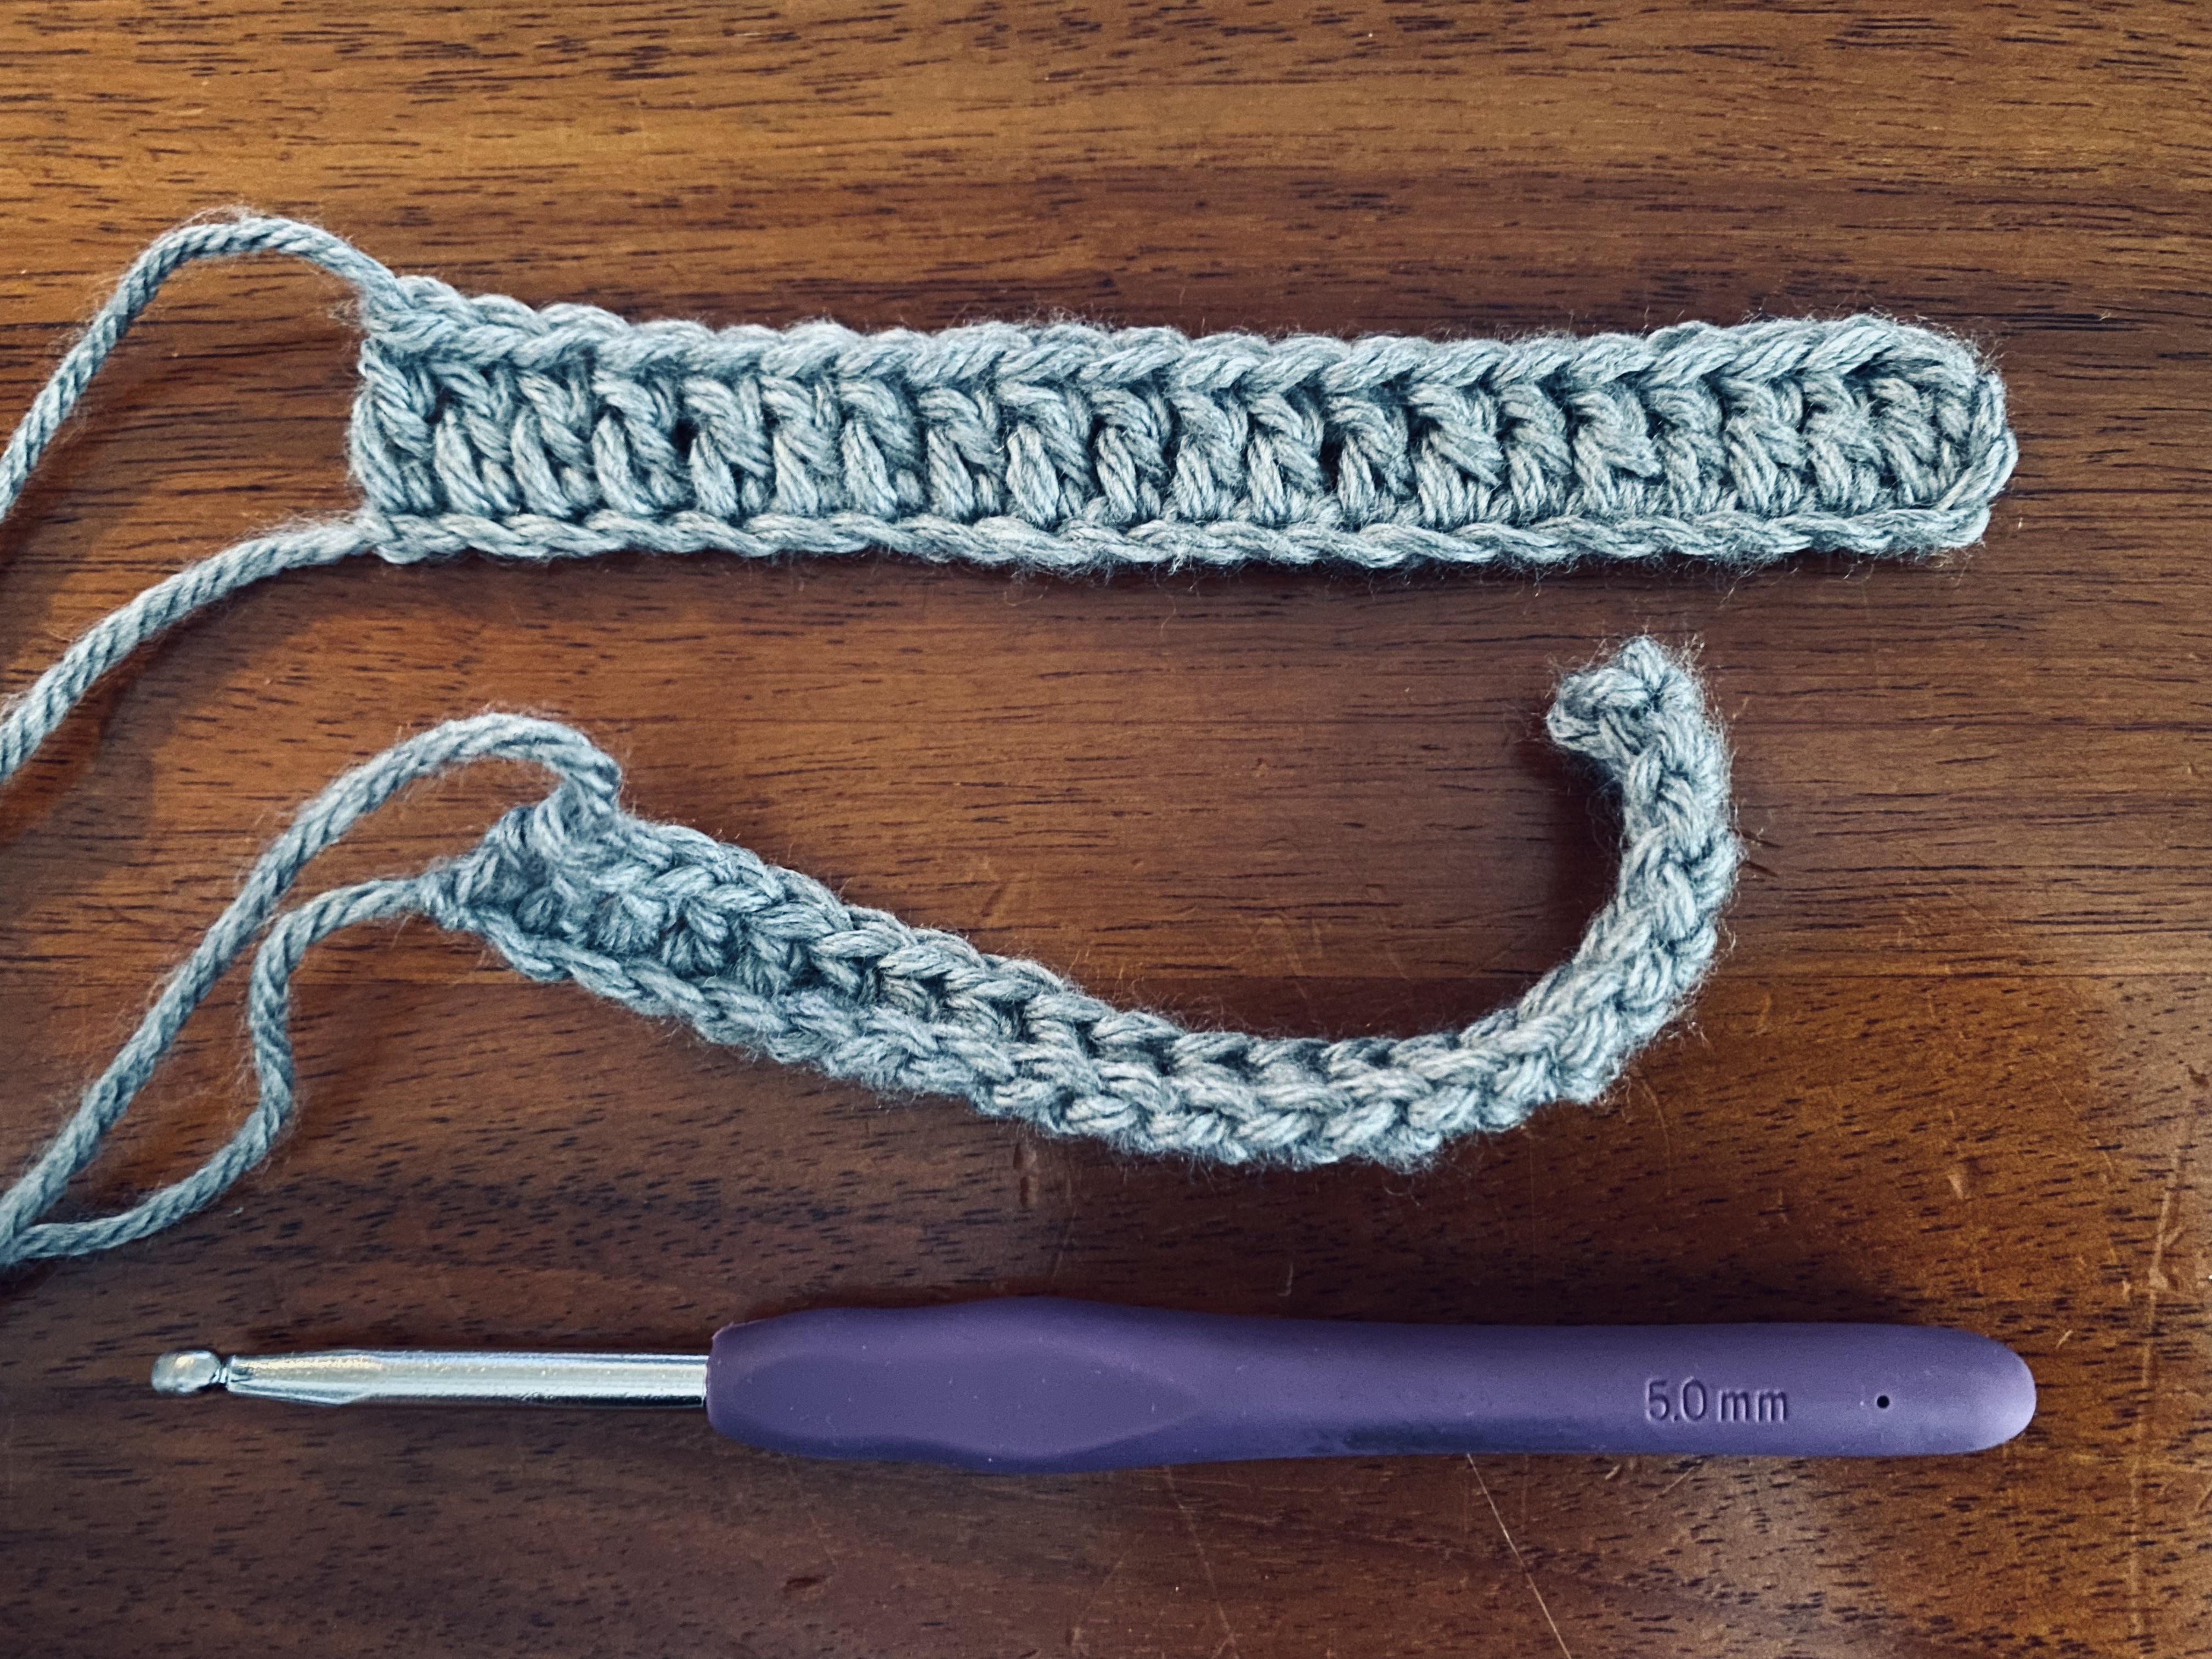
- Use a hook one size larger just for the foundation chain. Example: if the pattern uses a 5.0 mm (H/8), chain with a 5.5 mm (I/9).
- Chain the required number.
- Switch back to the pattern’s hook size for row one.
This makes each chain loop a little roomier, which gives row one the space it needs.
When to go up two sizes
If you are a very tight chainer, going up two sizes can be the sweet spot. The goal is not a sloppy chain. The goal is a chain that stretches to match the width of the first row without puckering.
Fix #2: Loosen your chain on purpose
Here’s a cozy truth: a foundation chain should often be slightly looser than your “normal” crochet tension.
A simple way to loosen your chain
- Give the working loop a tiny bit of height before you yarn over and pull through for the next chain.
- For a very practical cue: after you pull up the loop for each chain, slide that loop up onto the thicker shaft of the hook (not down in the narrow throat), then make the next chain.
- Try to keep each chain the same size. Consistency matters more than perfection.
- Don’t tug the yarn tail or working yarn after each chain.
If it helps, pause every 10 to 20 chains and gently stretch the chain between your fingers. It should flex easily without feeling like it will snap back into a shorter length.
Fix #3: Do a quick width check
If you want a fast “is this going to behave?” test, this is my favorite.
The width check
- Chain the number your pattern calls for.
- Work the first 10 to 15 stitches of row one.
- Lay your work down on a flat surface without stretching it.
- Look at the bottom edge and the row you just made.
What you want to see: the chain edge and the first row should be about the same width. If the chain is noticeably shorter and pulling, rip back and redo the start. Yes, that usually means undoing those first 10 to 15 stitches too. It is annoying. It is also wildly worth it.
This tiny pause can save you from crocheting an entire scarf only to realize the edge will never lie flat.
Fix #4: Use foundation stitches
If your foundation chain is always too tight no matter what you do, you might like a different start altogether: foundation stitches.
Foundation stitches create the chain and the first row at the same time, and the edge usually has better stretch and a cleaner, less ropey feel.
Foundation single crochet (FSC)
This version makes a base that counts as a starting chain plus row one of single crochet.
- Ch 2.
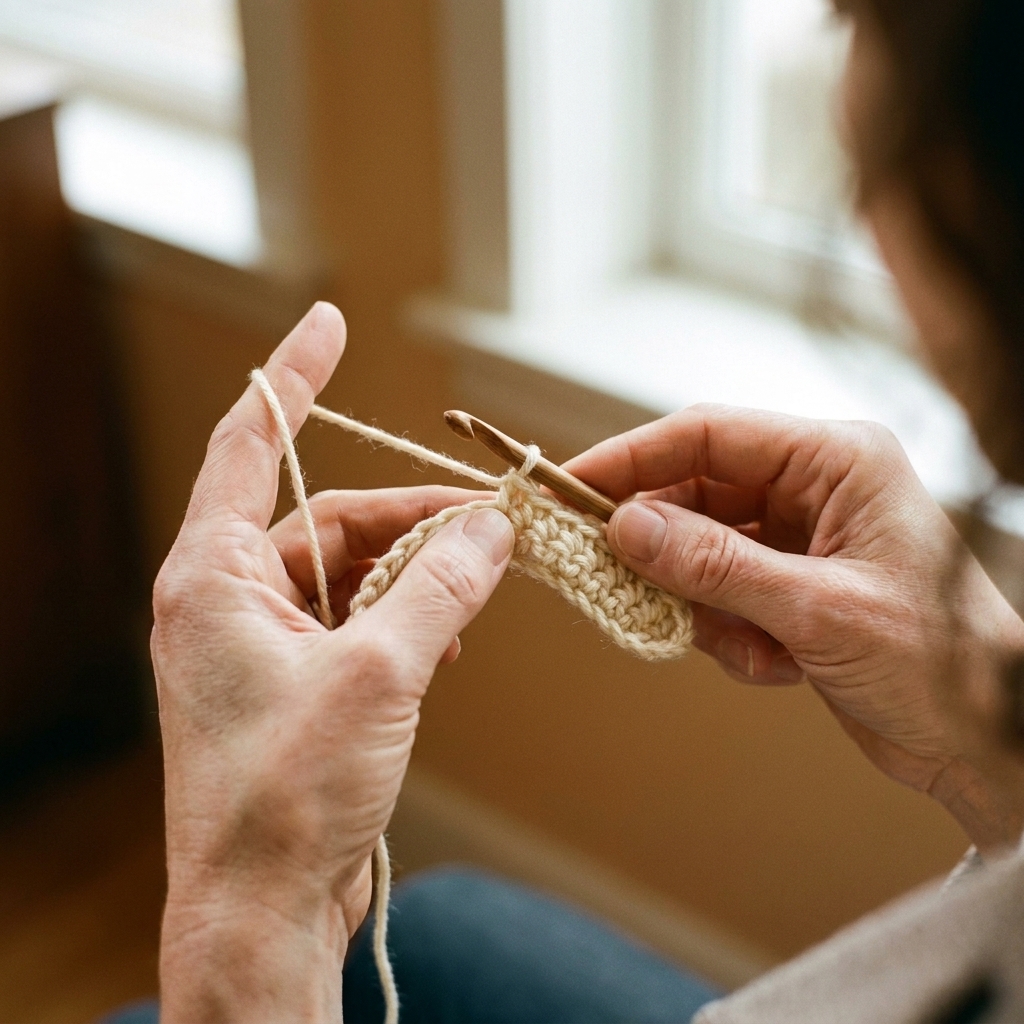
- Insert hook into the first chain you made (the chain closest to the slip knot). If you learned a method that tells you to insert in a slightly different spot, don’t panic. The goal is the same: work into that first chain so you build a little “base chain” along the bottom as you go.
- Yarn over, pull up a loop. You have 2 loops on the hook.
- Yarn over, pull through 1 loop. This makes the “chain” part of the next stitch.
- Yarn over, pull through 2 loops. This completes a single crochet.
- To make the next FSC: insert your hook into the little chain space at the bottom of the stitch you just made, yarn over and pull up a loop, yarn over pull through 1, yarn over pull through 2.
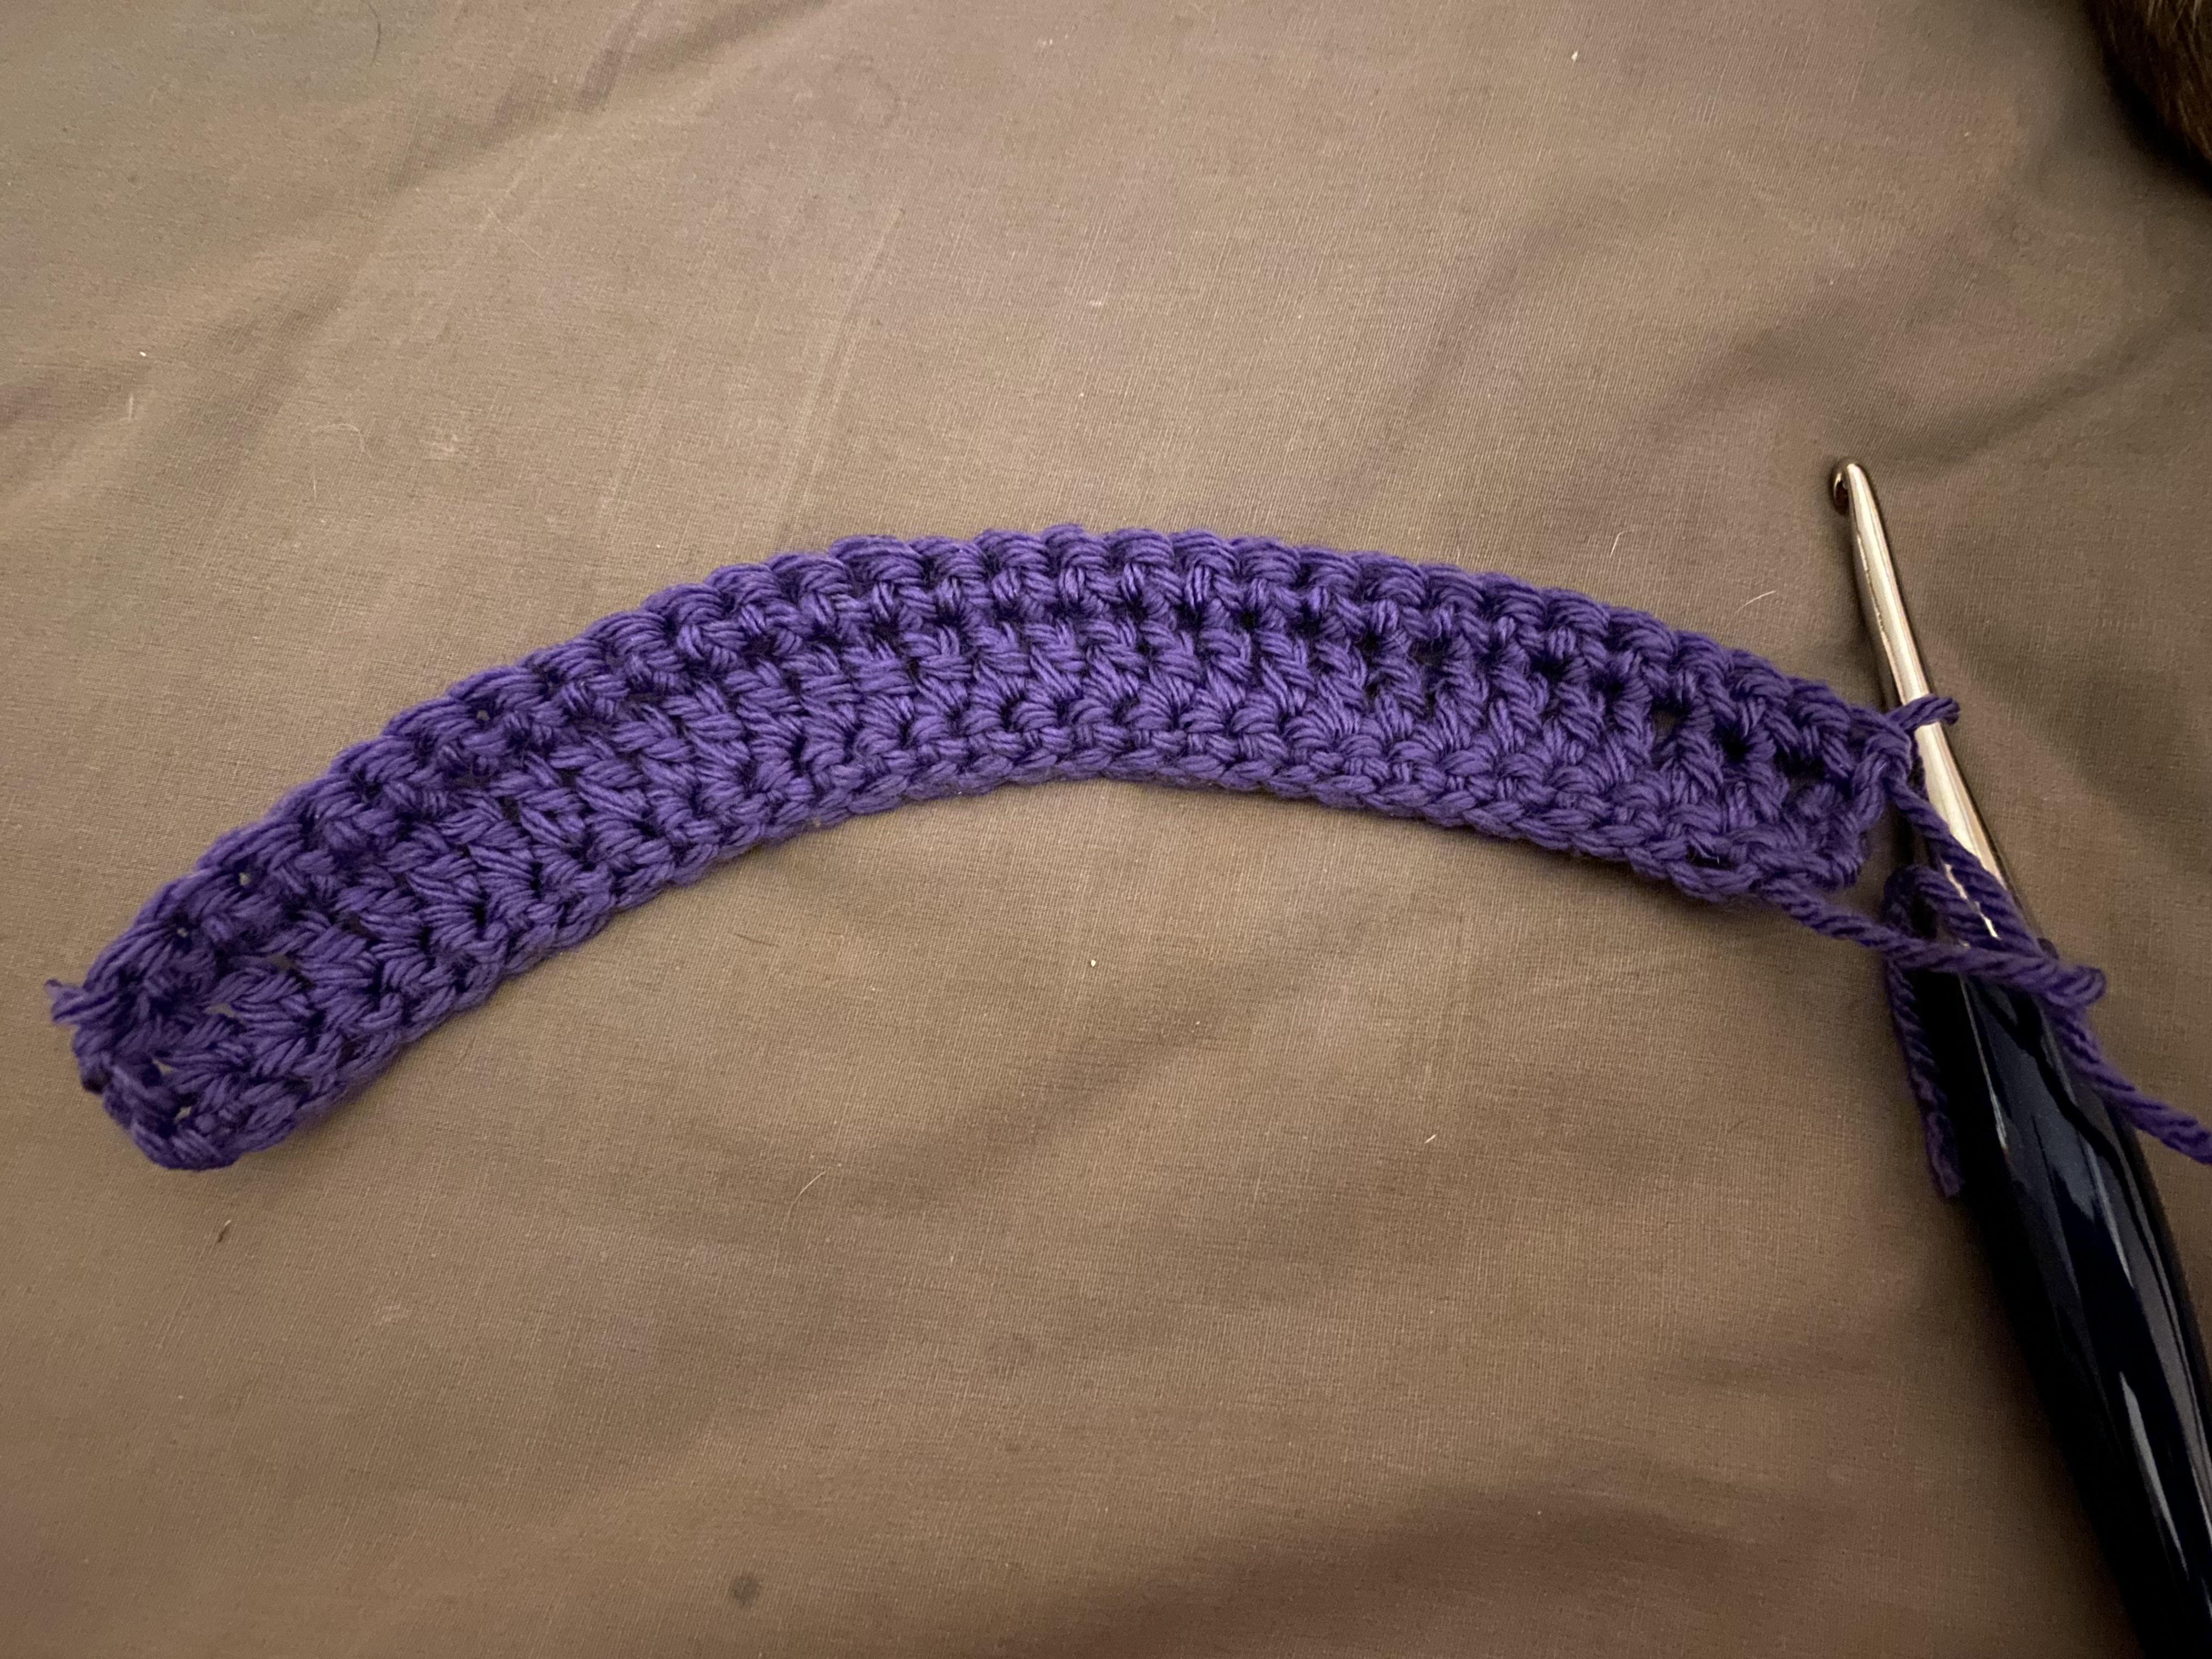
After a few stitches, you’ll see a neat row of V shapes along the bottom (your foundation) and the tops of the single crochets along the top.
Match the stitch height
If your pattern starts with taller stitches, the mismatch can be more obvious. In that case, consider the matching foundation stitch for the height you need, like foundation half double crochet or foundation double crochet, or size up your hook for the chain even more than you normally would.
When foundation stitches are the best choice
- You want a bottom edge with more give (great for garments, hats worked flat then seamed, and cozy blankets that get tugged).
- You hate working into a long chain.
- Your chain edge keeps shrinking even when you size up hooks.
Note: FSC replaces “chain X, then single crochet across.” It does not replace patterns that begin with “chain X, then work double crochet” unless you use the matching foundation stitch for that height (like foundation double crochet).
How to count so row one matches
Counting is where many rectangles go wobbly, especially on long starts like blankets. Here’s how to keep your stitch count aligned with the pattern whether you use a standard chain or foundation single crochet.
Counting a standard foundation chain
- Do not count the slip knot. It doesn’t count as a chain.
- Count each “V” along the top of the chain as 1 chain.
- If your pattern says “Ch 21, sc in 2nd ch from hook”, you will end up with 20 single crochets in row one.
Counting foundation single crochet (FSC)
- Each completed FSC stitch counts as 1 stitch in row one.
- So if your pattern wants 20 sc in the first row, make 20 FSC.
- If the pattern starts with a turning chain (like ch 1 for single crochet rows), you still follow the pattern’s turning instructions after the foundation row.
A counting trick for long chains
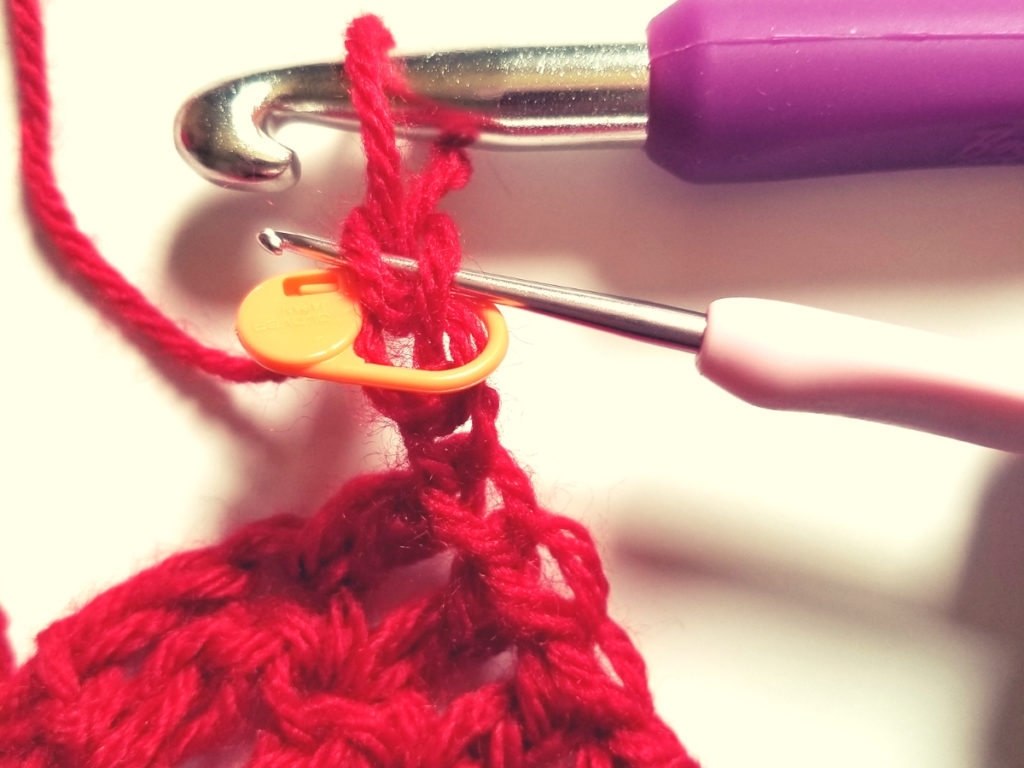
For scarves and blankets, place a stitch marker every 20 or 25 chains (or every pattern repeat). Then you only need to recount the last section if you lose your place.
Extra edge help
If your chain is fixed but your edges still look a little unruly, these small tweaks can help your rectangle stay rectangular.
Try the back bump
Instead of working into the top two loops of each chain, turn the chain and work into the single bump on the back. It can create a tidier edge that matches the top border better, and for some crocheters it also improves stretch. Fair warning: it can feel fiddly at first, even if the finished edge looks cleaner.
Keep turning chains relaxed
Turning chains and the first stitch of the row are where tension likes to sneak in. Keep that first loop on the hook relaxed, and make sure you can still insert your hook easily on the next row.
Block for polish, not rescue
Blocking can smooth a little waviness, but it can’t reliably fix a foundation chain that is genuinely too tight. Some fibers may relax a bit with wet blocking, but if the bottom edge is acting like elastic, it is usually worth redoing the start.
If nothing else works, try a different hook
Sometimes the tool is part of the problem. A hook with a very grippy throat, or yarn that splits and snags, can encourage you to tighten up without meaning to. If you keep fighting the chain, try a smoother hook material or a slightly different hook style and see if your tension settles.
Common questions
Why is my chain tight even when my stitches are loose?
Chaining uses a different motion than stitching, and it’s easy to cinch the yarn without realizing it. A larger hook for the chain or foundation stitches usually solves it.
Should my foundation chain be looser than the rest of my work?
Often, yes. For a flat scarf or blanket, the chain should stretch to match the width of the first row. A slightly looser chain prevents that bottom edge from pulling in.
Will a bigger hook for the chain make the edge look messy?
Usually it makes the edge look better, because the fabric can relax into a straighter line. If it looks too open, try going up just one hook size instead of two.
Is this the same issue as starting with a magic ring?
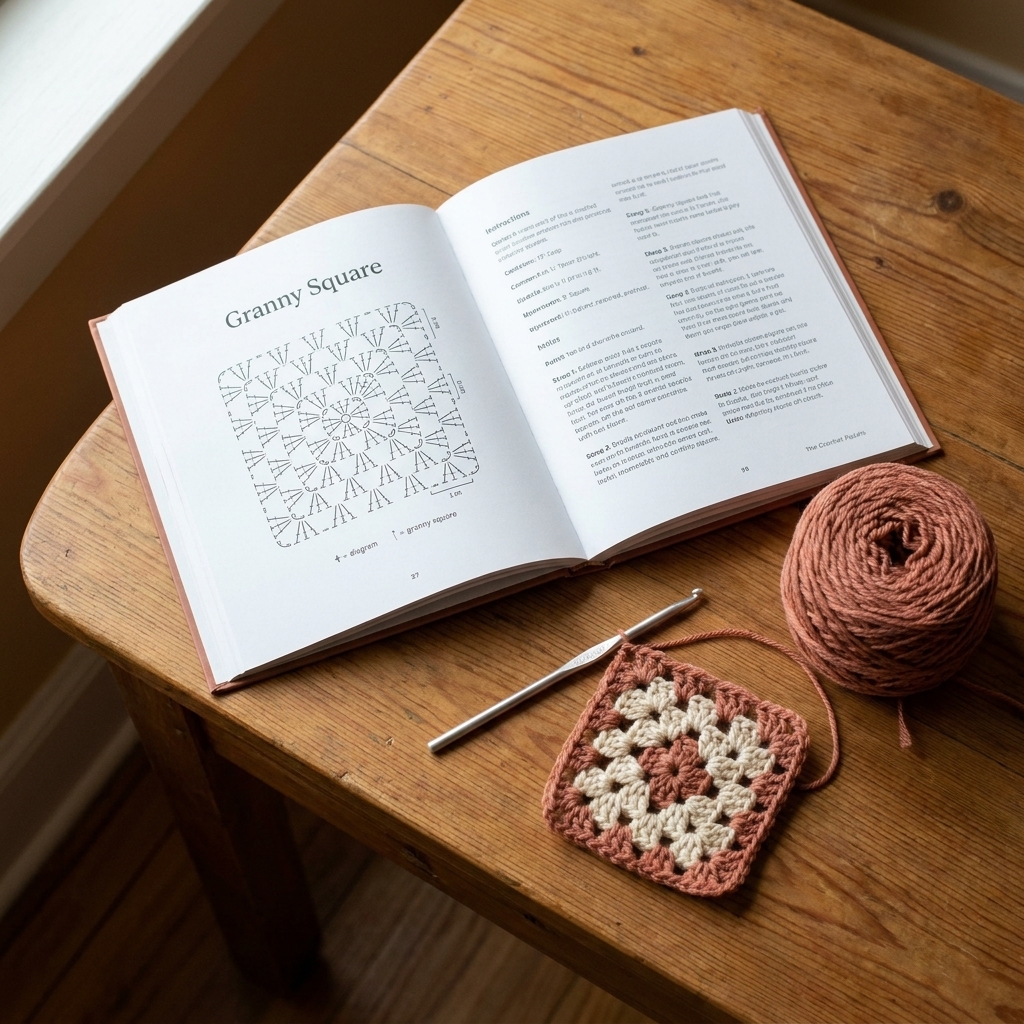
No. A magic ring is used for crochet worked in the round. A tight foundation chain is a flat, row-by-row start problem. Different beginning, different fix.
Checklist before row two
- The chain edge is not shorter than row one.
- Your hook slides into the chain without forcing it.
- The work lies flat on the table without curling at the bottom.
- Your stitch count matches the pattern.
If all four are true, you’re clear to keep going.
One more row. Then just one more.