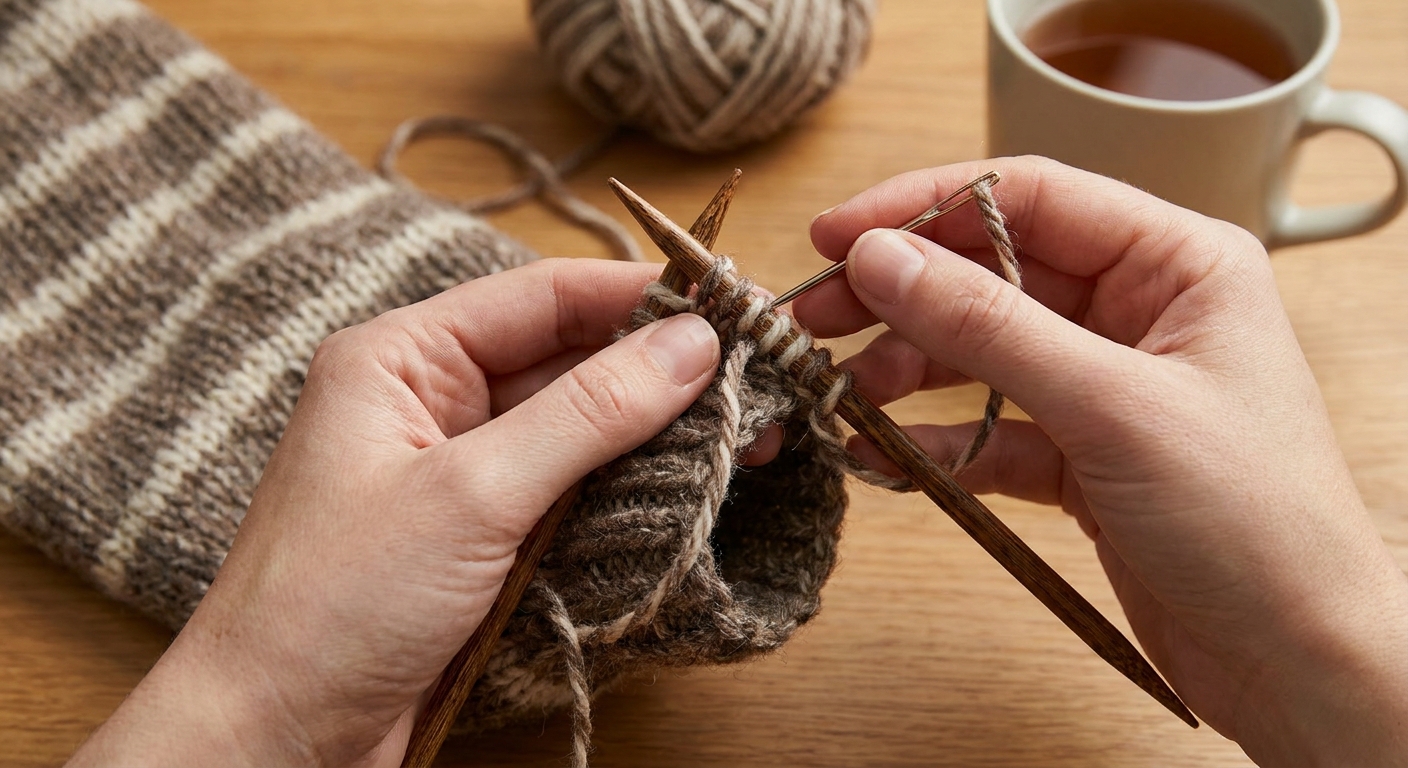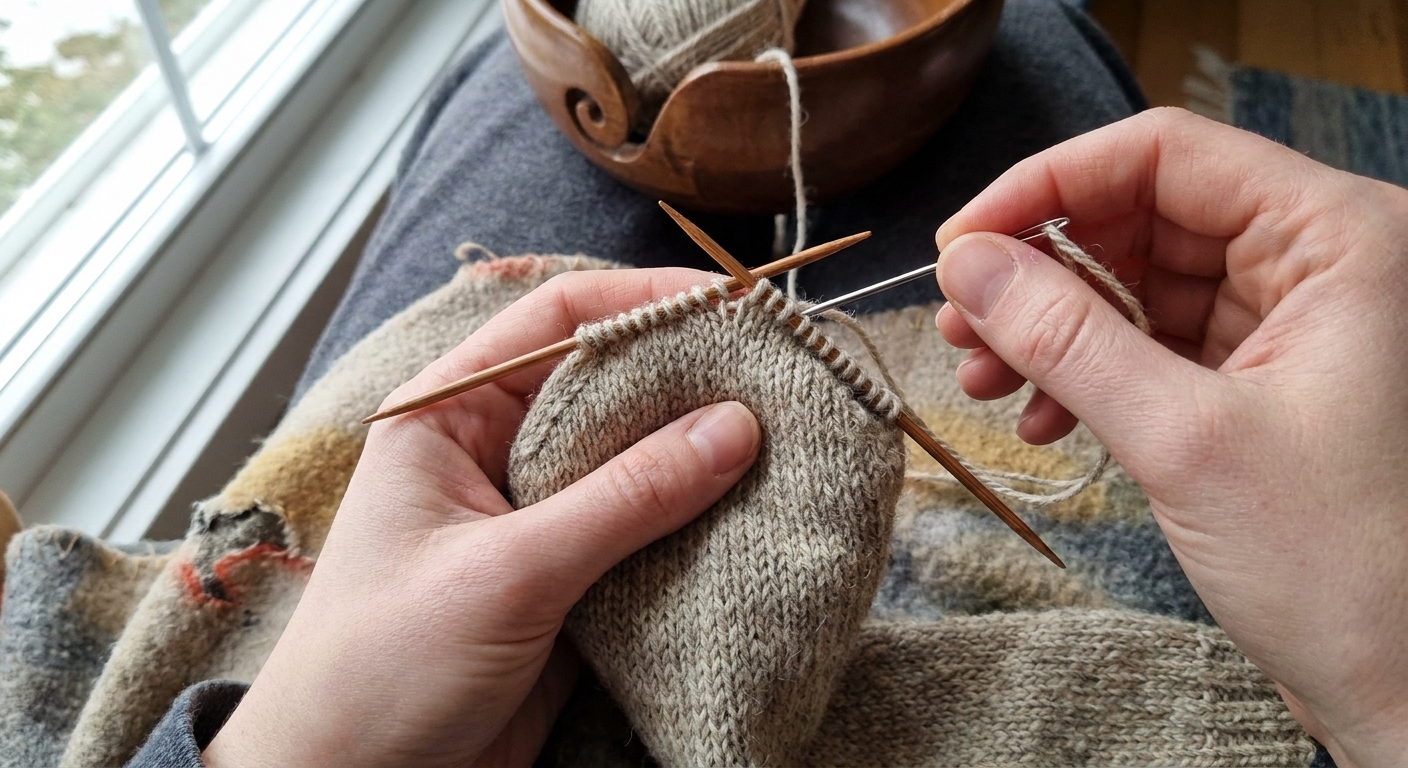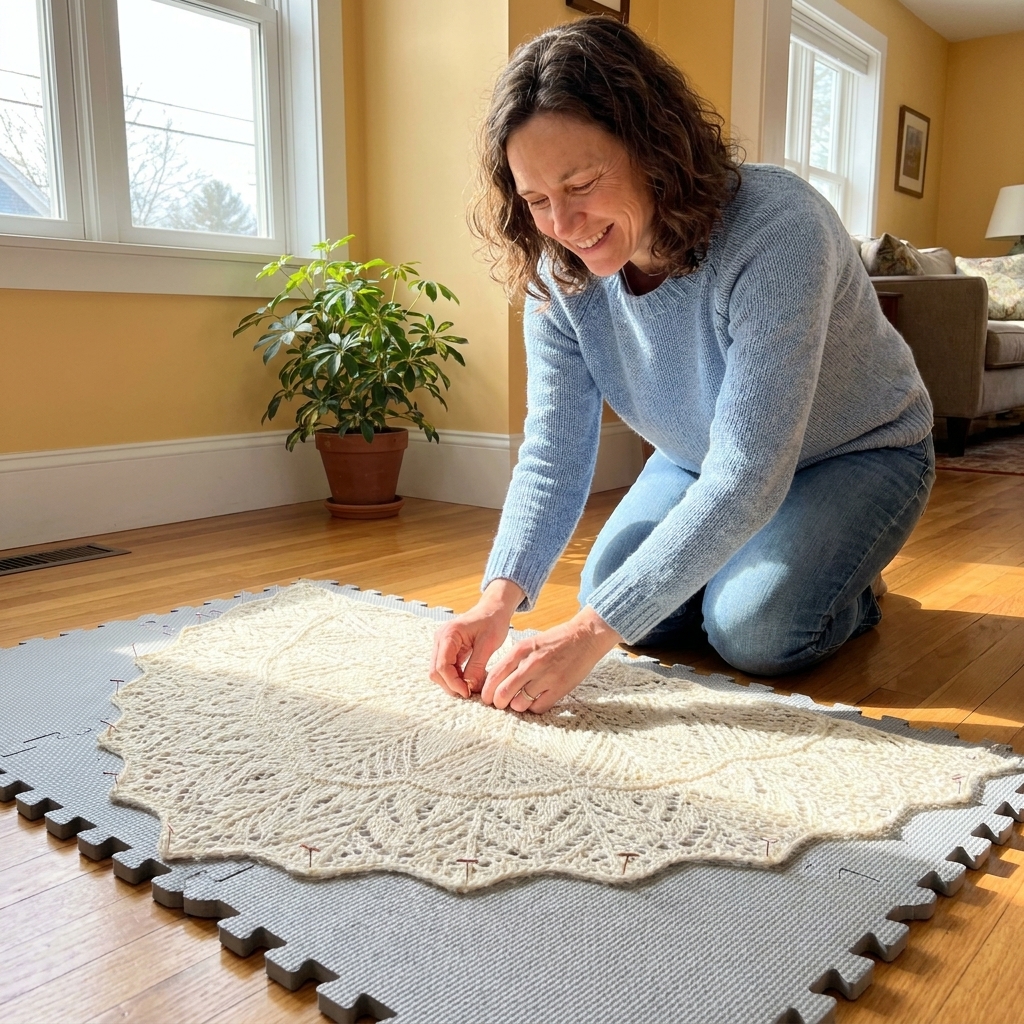
One more row. Then just one more.
If you want an edge that looks like a soft little tube hugging your knitting, an i-cord bind-off is the cozy finish. It wraps live stitches in a rounded cord, making it especially lovely on blanket edges, shawl borders, and necklines where you want structure without a sharp, flat line.
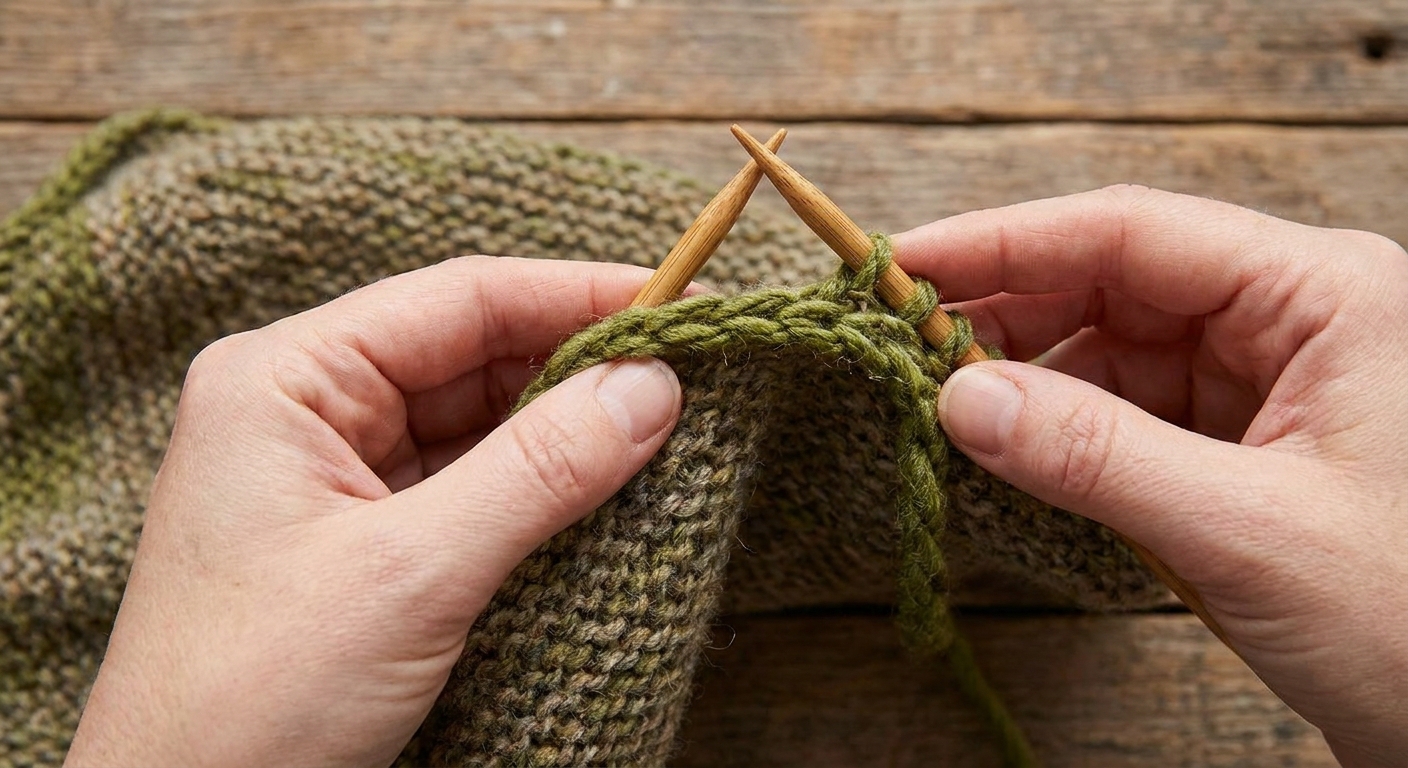
What an i-cord bind-off is
An i-cord bind-off is a bind-off that simultaneously creates:
- A bind-off edge (your live stitches get secured), and
- A small knitted tube (the i-cord) that sits along that edge.
For the classic version, you work with three i-cord stitches. Those stitches get reused again and again as you bind off each stitch from your project edge, which is what makes the cord look continuous and rounded.
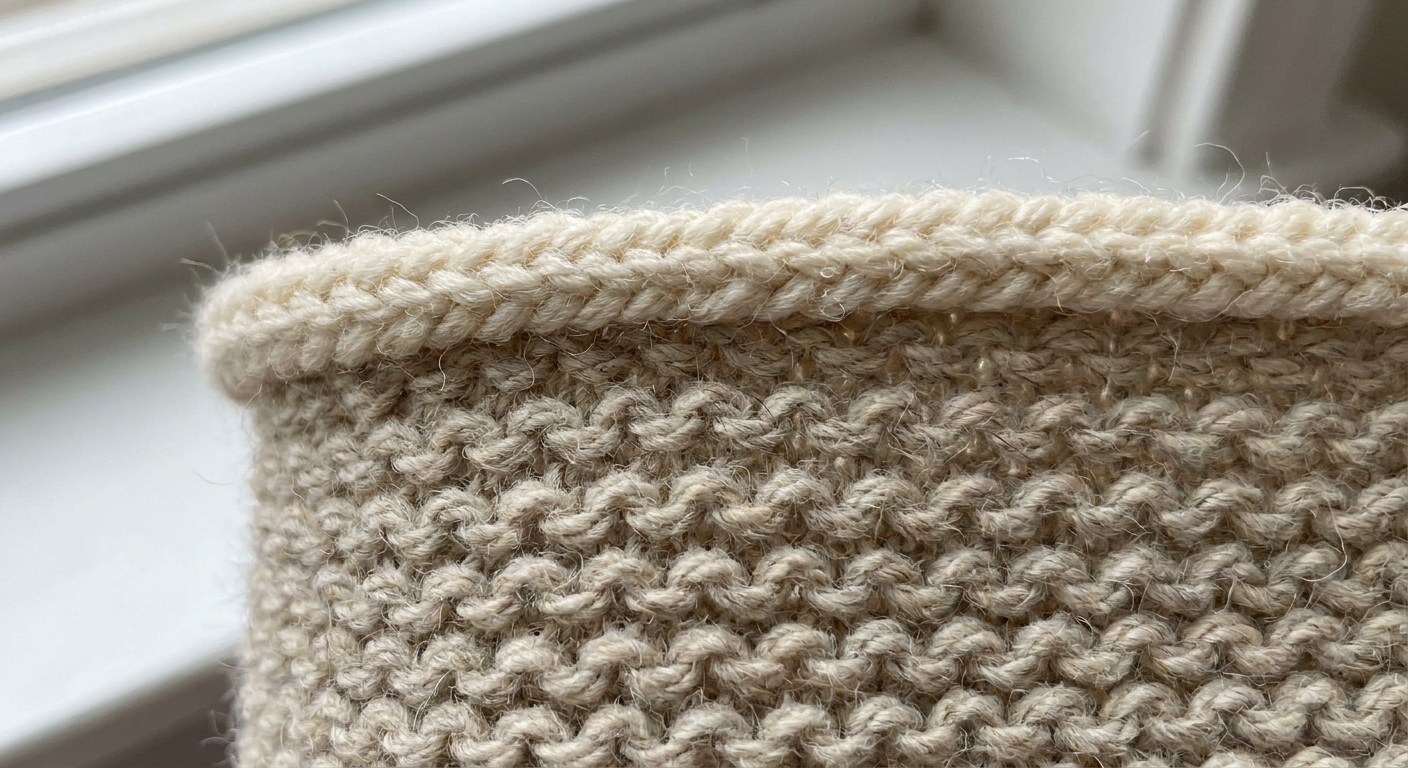
When to use it
I reach for an i-cord bind-off when the edge needs a little “frame.” It is decorative, slightly firm, and helps borders behave.
- Blankets: Gives a polished perimeter and helps edges look intentional.
- Shawls: Makes a clean outline that reads well in photos and in real life.
- Necklines: Adds a soft roll that can feel comfortable against skin.
- Cardigan fronts or hems: A tidy finish when you do not want ribbing.
It is not the stretchiest bind-off out there. If you need maximum stretch (like a top-down sock cuff), you may prefer a different method. But for a stable, rounded edge, i-cord is a star.
What you need
- Your project with live stitches on the needle.
- Working yarn still attached.
- A way to make 3 extra stitches before you begin (details below).
- A tapestry needle for weaving in and closing the end.
Needle tip: You can work the i-cord bind-off on the same needles your stitches are already on. Some knitters like using a needle one size smaller for the i-cord stitches to keep the cord snug, but it is optional.
Step-by-step: 3-stitch i-cord bind-off on live stitches
These steps assume your live stitches are on your left needle, ready to knit.
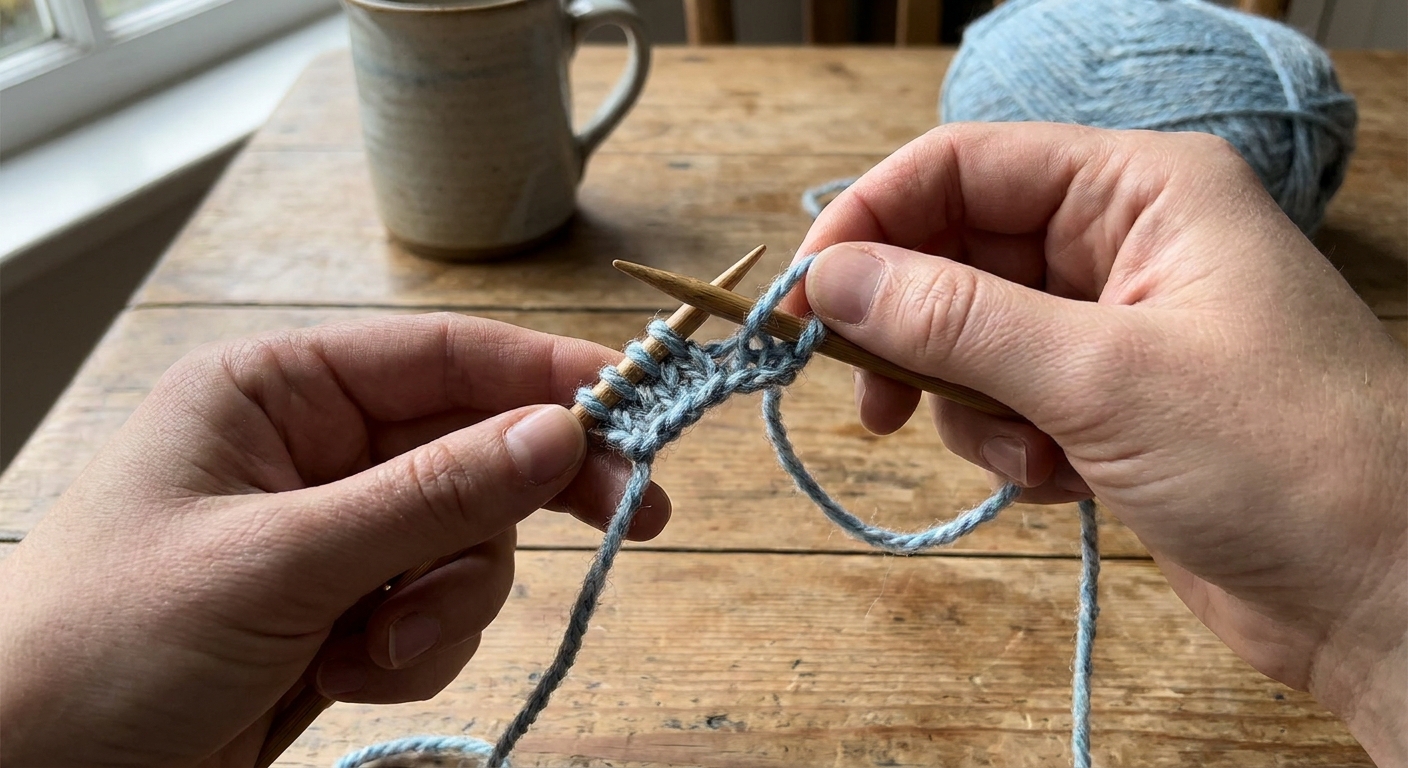
1) Cast on 3 stitches
At the beginning of the bind-off edge, add 3 stitches to your left needle. The most common method is a cable cast-on because it is firm and tidy.
- Insert right needle between the first and second stitch on the left needle.
- Pull up a loop of working yarn.
- Place that new loop onto the left needle.
- Repeat until you have cast on 3 stitches.
You should now have your original live stitches plus 3 new stitches at the start of the needle.
2) Knit the first 2 stitches
Knit the first two stitches from the left needle.
After this, you have worked 2 of your 3 i-cord stitches, with one i-cord stitch still waiting on the left needle, followed by your project stitches.
3) Knit 2 together through the back loop (k2tog tbl)
Next, knit the next stitch together with the first project stitch using k2tog tbl:
- Identify the next two stitches on the left needle. The first is your third i-cord stitch. The second is the first unbound project stitch.
- Insert your right needle through the back loops of both stitches.
- Knit them together as one stitch.
This single step is the “bind-off moment.” It uses up one project stitch, and you are left with 3 i-cord stitches again on the right needle.
Why through the back loop? Working through the back loop tightens the join and helps the cord sit snug against the edge instead of flaring outward.
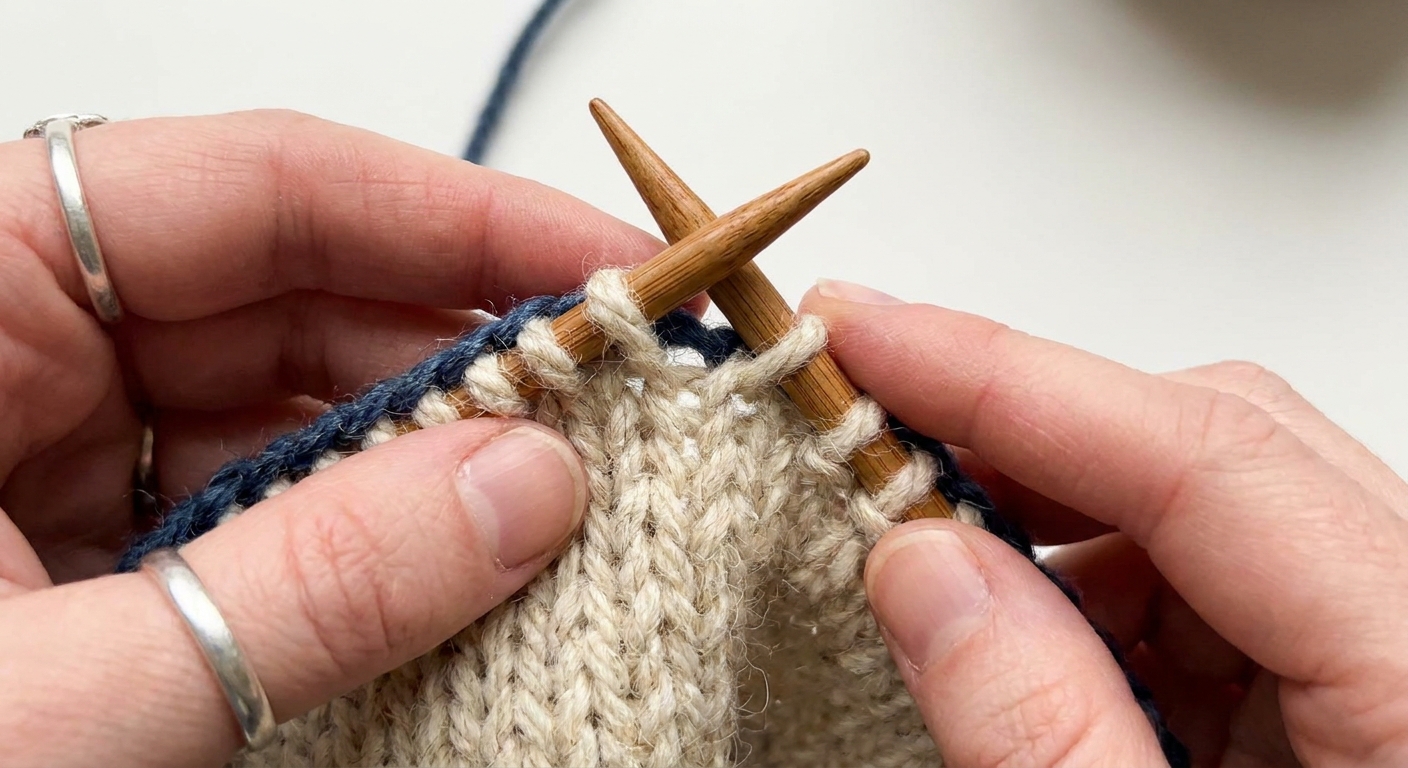
4) Slip 3 stitches back to the left needle
Without twisting them, slip those 3 stitches from the right needle back to the left needle.
Do not turn your work. You are sliding the i-cord stitches back so you can work them again, which is what forms the tube.
5) Repeat across the edge
Repeat the sequence:
- Knit 2
- K2tog tbl (third i-cord stitch with next project stitch)
- Slip 3 back to left needle
Keep going until all project stitches have been consumed by that k2tog tbl step. You will still have 3 i-cord stitches left at the end.
How the cord forms
In i-cord, the trick is that you keep knitting the same small group of stitches, but you slide them back instead of turning your work. That causes the working yarn to travel around the back, pulling the edges inward and making a tube.
In an i-cord bind-off, that tube is being made at the same time as each project stitch gets absorbed into the cord via the k2tog tbl. So the cord is continuously anchored to your edge.
Keeping it neat
A flared i-cord edge happens when the cord is looser than the fabric, or when the joins are not snug enough. Here are my favorite ways to keep it tidy.
Use k2tog tbl for the join
This is the classic adjustment that makes a big difference. If you accidentally work a plain k2tog (not through the back loop), the join can look softer and sometimes spreads.
Snug the yarn after the join
After each k2tog tbl, give the working yarn a small, consistent tug. Not a yank. Just enough to help the cord cuddle up to the edge.
Watch edge spacing
If your edge has larger stitches (for example, a loose garter border), the cord may look like it is sitting on top instead of hugging. Keeping your bind-off tension steady helps a lot.
Try a smaller needle
If your cord still looks loose, you can work the i-cord stitches on a needle one size smaller. You would still use the project needle to hold the live stitches, but knit the i-cord portion with the smaller needle tip if you are on interchangeable needles, or by switching needles if you are working flat.
Do a quick check
Lay your work down and see if the edge ripples. If it does, tighten slightly. If the edge cups inward, loosen slightly. Small changes early save you from a full frog later.
How to close the end
Once you have bound off the last project stitch, you still have 3 i-cord stitches left. Now you finish the cord end so it looks continuous.
Option A: Simple finish
This is my go-to when the end will land at a side seam or any spot that is not begging for perfection.
- Knit 1.
- K2tog (knit the next two stitches together). You now have 2 stitches on your right needle.
- Pass the first stitch over the second stitch. (1 stitch remains.)
- Cut yarn, leaving a tail about 8 to 10 inches.
- Thread the tail through the last stitch and pull snug.
That sequence keeps the math honest and gives you a tidy little taper instead of an awkward stop.
Option B: Graft the end to the start
If your i-cord bind-off goes around an entire neckline or blanket and meets back at the start, you can make the join nearly invisible by grafting the end of the cord to the beginning.
- Leave a yarn tail (8 to 12 inches) and cut the yarn.
- Thread the tail onto a tapestry needle.
- Align the end of the i-cord with the beginning edge where you cast on those 3 i-cord stitches.
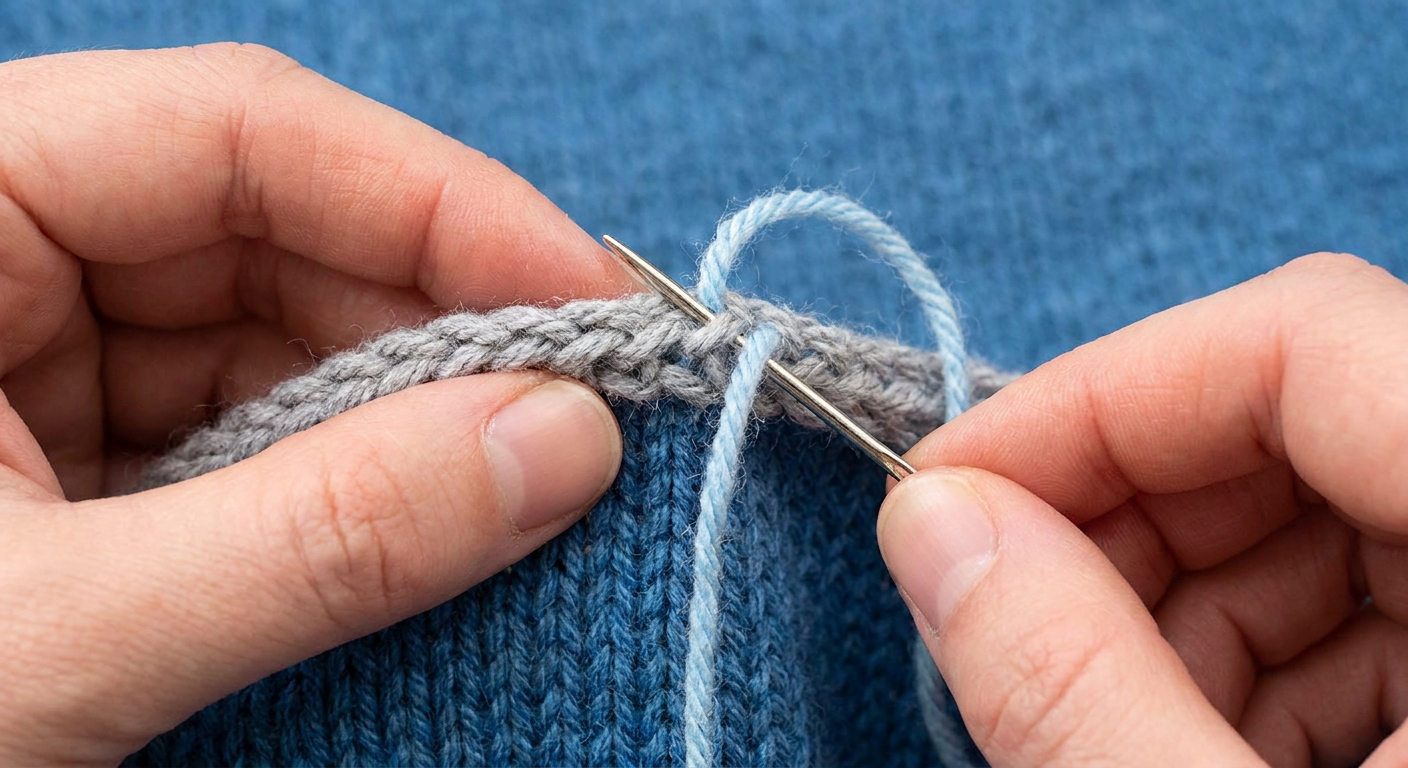
- Use the tapestry needle to duplicate stitch or graft stitch-by-stitch across the join, following the path of the knitted V’s so the cord looks uninterrupted.
If grafting feels fussy, duplicate stitch is a friendly option: you are basically tracing the stitches that are already there until the seam disappears into the cord.
Troubleshooting
My cord is too tight
- Loosen your tension on the k2tog tbl join.
- Try a needle one size larger for the bind-off.
- Block your piece and reassess. Some edges relax beautifully after washing.
My cord is floppy
- Tighten slightly after each k2tog tbl.
- Try a needle one size smaller for the i-cord.
- Make sure you are slipping the 3 stitches back neatly without stretching them.
I have gaps at the join
- Focus on the yarn tension right after the k2tog tbl step.
- Check that you are consistently working through the back loop for the join.
I forget the repeat
A tiny rhythm helps: knit, knit, join, slide. Knit 2, join 1 project stitch with k2tog tbl, slide 3 back.
Quick reference
- Cast on 3 stitches
- Repeat: k2, k2tog tbl (i-cord stitch + next project stitch), slip 3 back to left needle
- Finish the last 3 i-cord stitches and close the end (simple finish or graft)
FAQ
Can I use more than 3 stitches?
Yes. A 4-stitch or 5-stitch i-cord makes a thicker cord. The process is the same: knit (all but the last cord stitch), then join the last cord stitch with the next project stitch, then slip the full set of cord stitches back. A thicker cord can feel more substantial on blankets.
Does it work on garter stitch?
It does, and it looks very sweet on garter borders. Just keep an eye on tension because garter edges can be squishier, which sometimes encourages flare.
Is it the same as applied i-cord?
They are cousins. An i-cord bind-off works on live stitches and finishes them. Applied i-cord is often worked onto an already finished edge (like picking up stitches around a blanket) to add a cord afterward.
Should I block after?
If your project will be blocked, yes. Blocking helps the cord settle and the edge relax into its final shape. Just avoid stretching the cord aggressively. You want it to stay round.
A cozy last stitch
The i-cord bind-off is one of those techniques that feels like a little magic trick. You knit three stitches over and over, and suddenly your edge is wearing a perfectly rounded scarf of its own.
One more repeat. Then just one more.