One more round. Then just one more.
If the holidays are approaching at crochet-speed, ornaments are the coziest kind of quick win. They are small, satisfying, and perfect for using up those little yarn nuggets that have been living in your project bag.
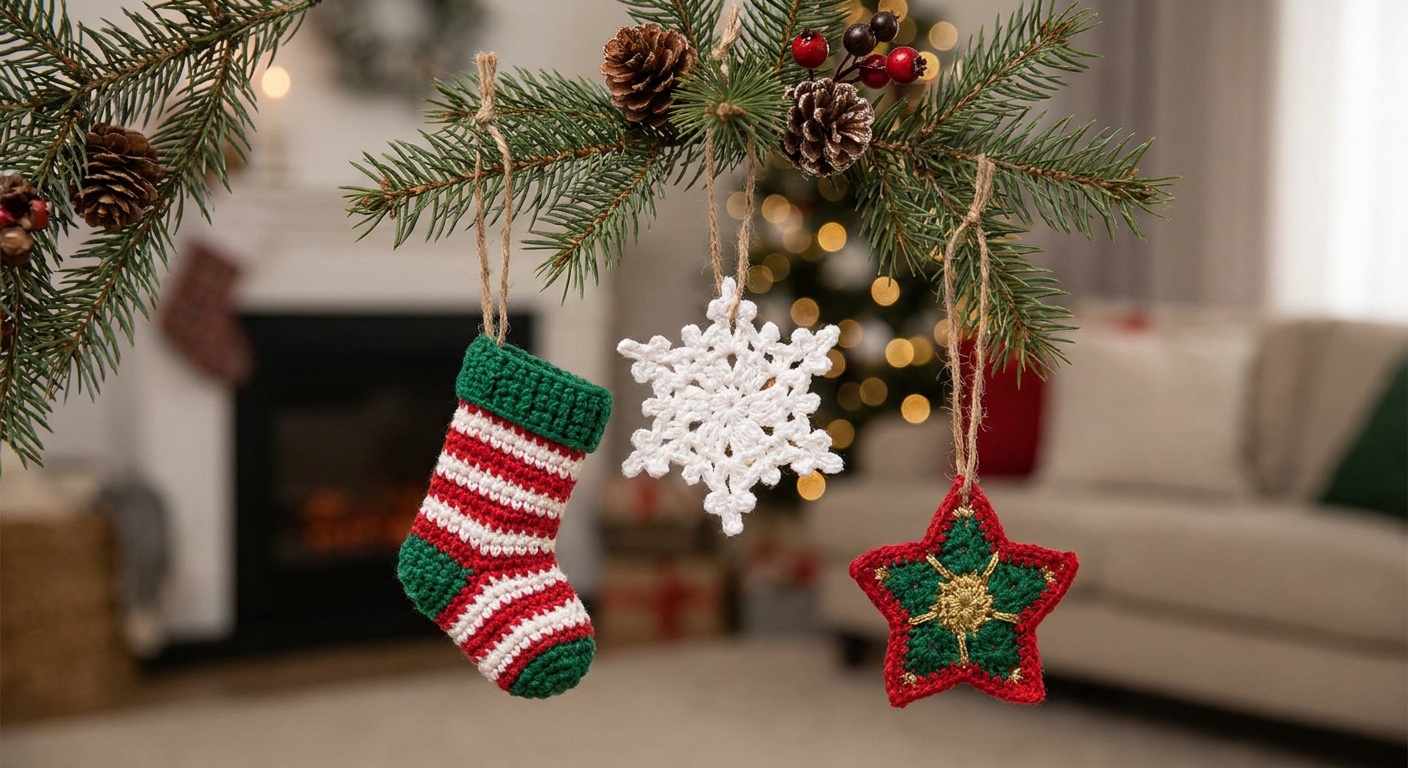
Below are eight quick crochet Christmas ornaments to tuck into branches, tie onto presents as gift toppers, or stack in a bowl like little handmade bonbons. Each idea includes a practical yarn and hook starting point, a realistic time estimate (depending on your speed and yarn choice), and the main stitches you will use.
Before you start: a tiny ornament toolkit
- Yarn: Worsted weight is one of the quickest common weights. Bulky can be even faster for big, bold ornaments, while sport or crochet thread makes finer details.
- Hooks: A 3.5 mm to 5.0 mm range covers most yarn ornaments. Use a smaller hook for firmer fabric. (Thread ornaments like snowflakes usually need much smaller hooks.)
- Notions: Yarn needle, scissors, stitch marker, and a small amount of stuffing for 3D pieces.
- Hangers: Ribbon, baker’s twine, embroidery floss, or a simple chain loop.
- Optional sparkle: Beads, sequins, or metallic thread held together with your yarn.
Quick sizing note: If you change yarn weight, your ornament will change size. The good news is ornaments do not have to be exact. Your tree will never complain.
Small safety note: If you add beads, bells, or sequins, keep ornaments out of reach of pets and small children who might treat them like snacks.
1) Mini crochet stocking
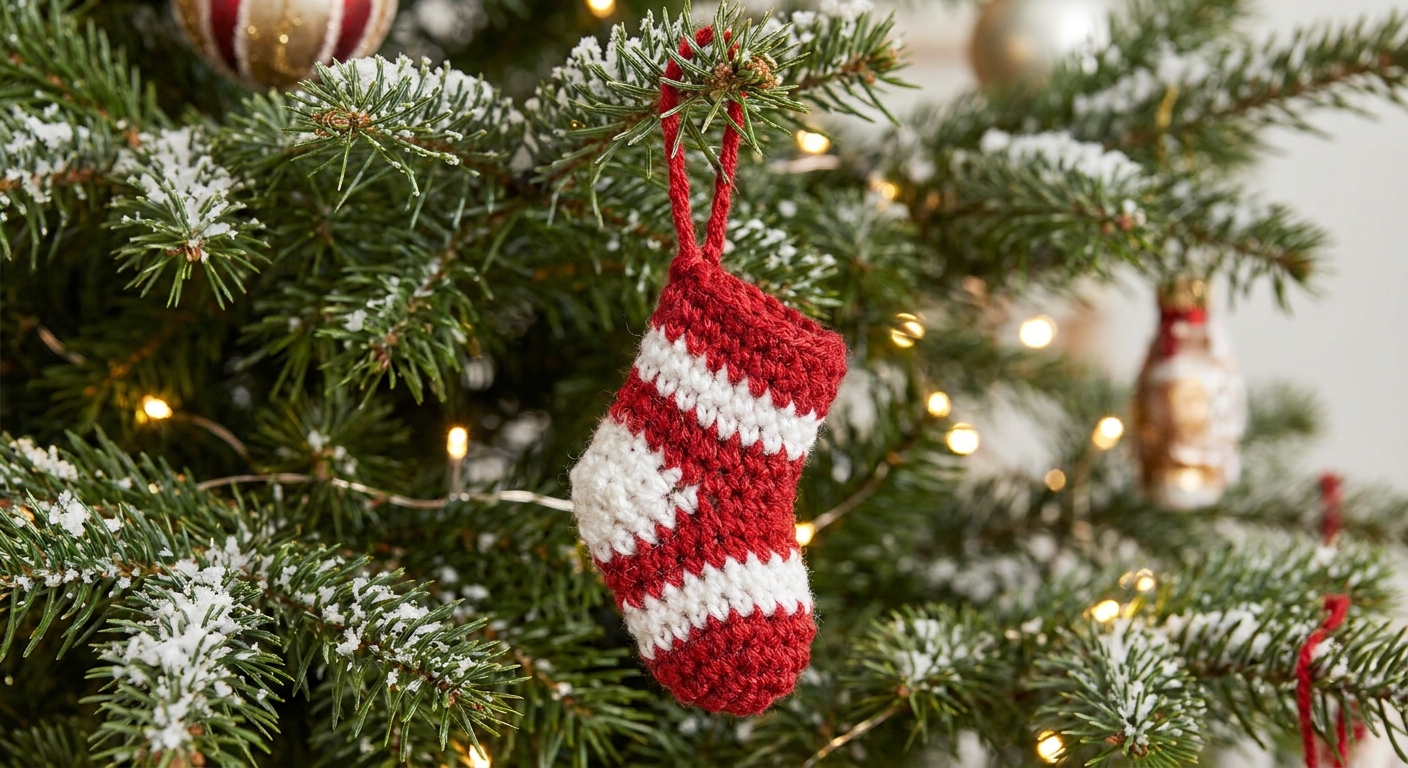
A tiny stocking is practically a holiday tradition in stitch form. Make a few, add initials with surface crochet, and suddenly everyone has a personalized tree moment.
- Yarn weight: Worsted (category 4)
- Hook size: 4.0 mm to 5.0 mm
- Time to finish: 20 to 35 minutes
- Main stitches: ch, sc, hdc, sl st, inc, dec
How it’s usually built: Start at the toe in the round, work the foot, turn for the heel, then continue up the leg. Add a cuff and a loop.
Finishing tip: For a crisp stocking shape, lightly stuff just the toe with a pinch of fiberfill, then flatten and seam the top edge only if needed.
2) Classic crochet snowflake
Snowflakes are quick, lacy, and extra satisfying because they go from floppy to magical with a little stiffening.
- Yarn weight: Crochet thread size 10 (or size 3 for bigger flakes). Thread sizing can vary a bit by brand.
- Hook size: 1.5 mm to 2.25 mm
- Time to finish: 15 to 30 minutes
- Main stitches: ch, sl st, sc, dc, picot (often), optional tr
Stiffening snowflakes (simple method):
- Mix white glue and water about 1:1, or use liquid starch.
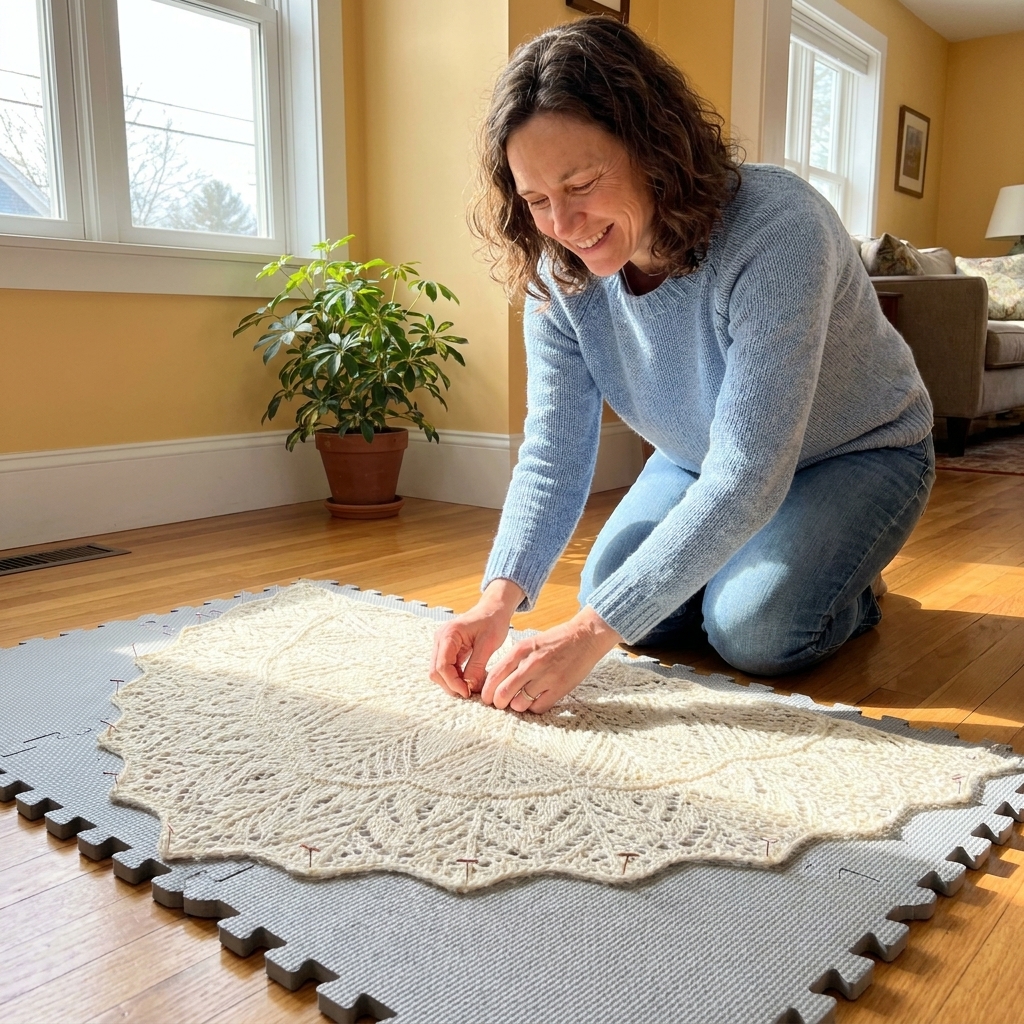
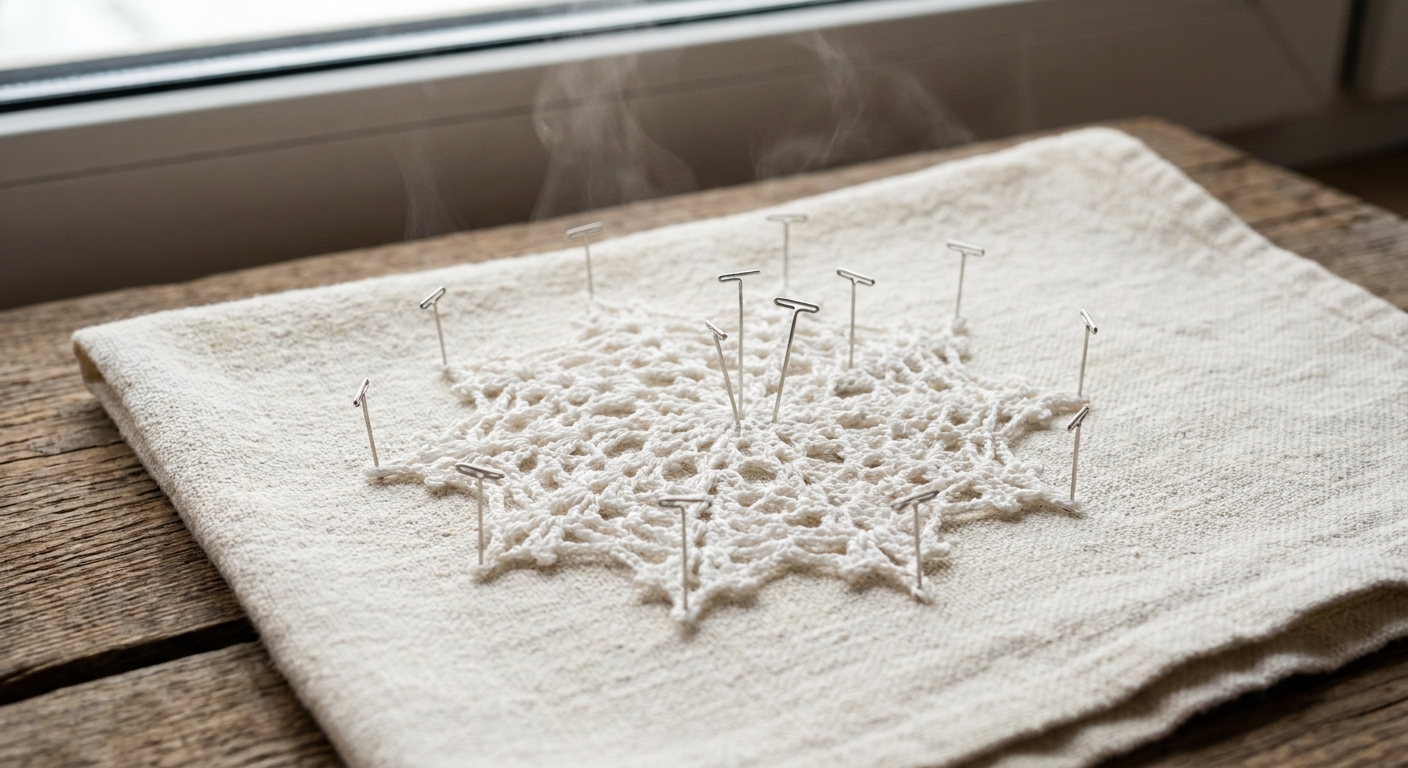
- Soak the snowflake, squeeze gently in a towel, then pin it into shape on a blocking board or towel.
- Let it dry fully before unpinning. Fully dry is the secret stitch here.
Good to know: Glue-stiffened snowflakes are not really washable, and some glues can yellow over time. If you want a clearer, longer-lasting finish, a clear fabric stiffener is a solid option.
Finishing tip: Add the hanging loop before stiffening so it dries neatly in place.
3) Striped candy cane
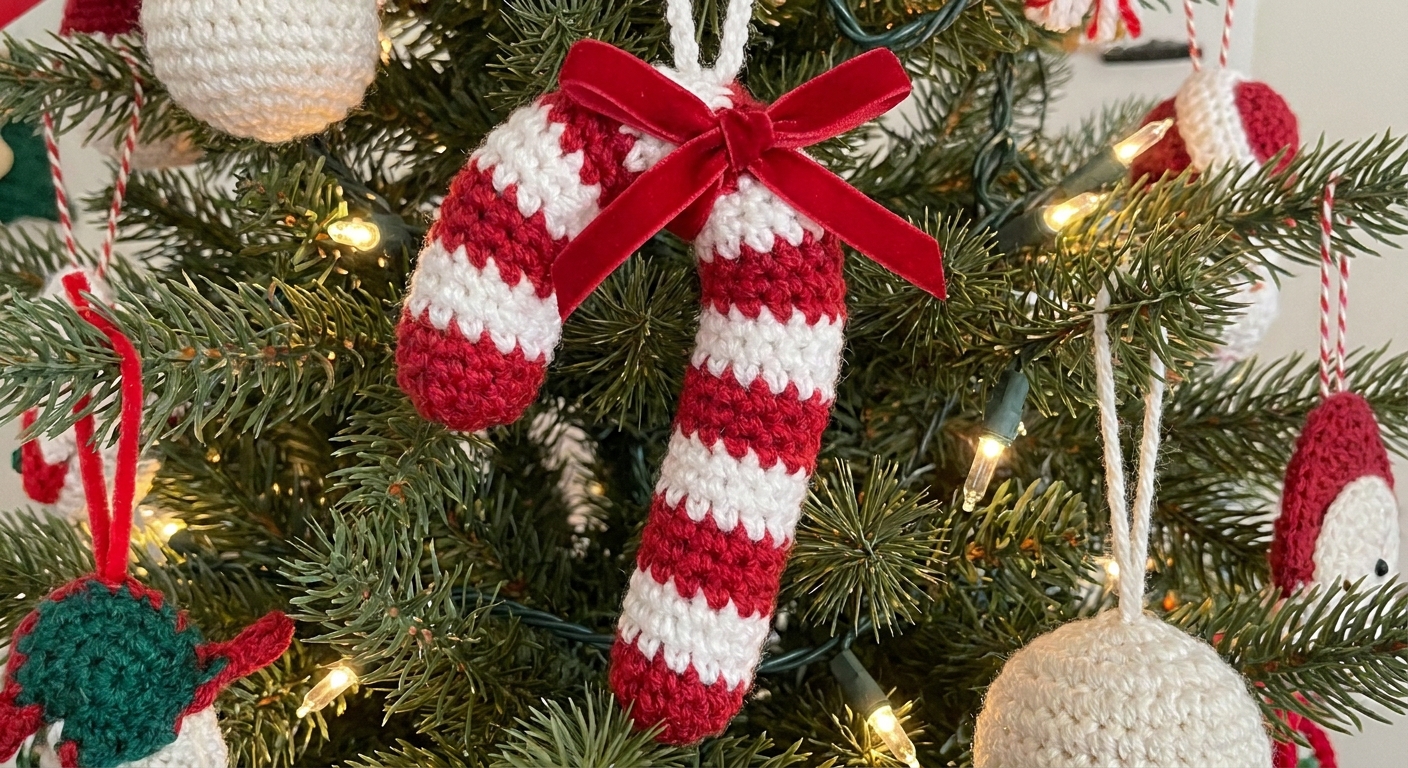
Candy canes look fancy, but they are basically a little tube with a curve. You can make them flat (quickest) or lightly stuffed (cutest).
- Yarn weight: Worsted (or DK for a slimmer cane)
- Hook size: 3.5 mm to 4.5 mm
- Time to finish: 20 to 40 minutes
- Main stitches: ch, sc, sl st, color change, optional BLO
Two easy construction options:
- Flat cane: Crochet a narrow strip with stripes, then shape and whipstitch the edges together.
- Tube cane: Crochet a small tube in sc, lightly stuff, then bend the top into the hook shape and stitch it in place.
Finishing tip: For clean stripes, carry the unused color up the inside of the tube so you do not have extra ends to weave.
4) Five-point star
Stars are great batch projects because the rhythm repeats, and they look charming in any color story, from traditional gold to modern snowy neutrals.
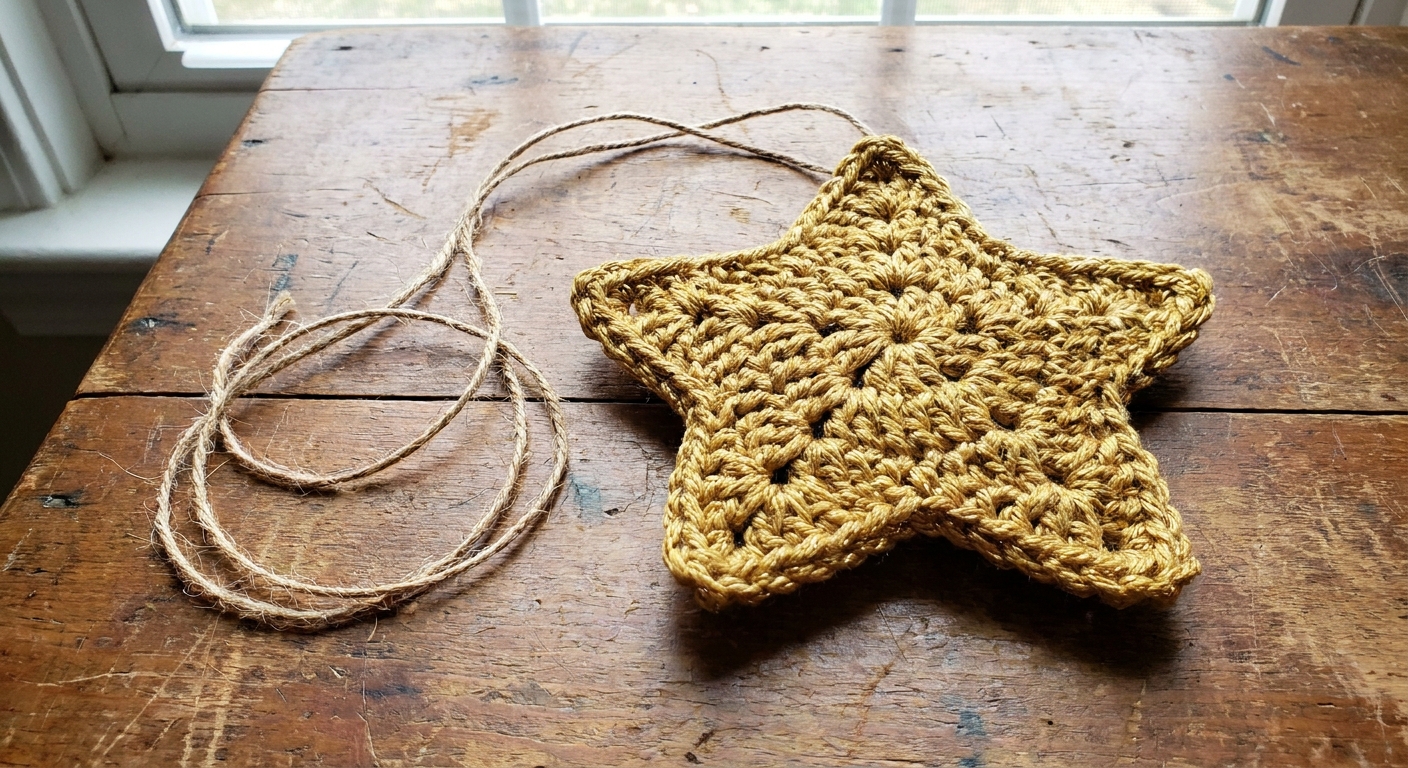
- Yarn weight: DK or worsted
- Hook size: 3.5 mm to 5.0 mm
- Time to finish: 10 to 25 minutes
- Main stitches: MR (magic ring) or ch ring, ch, sc, hdc, dc, tr, sl st
Finishing tip: If your star curls, a quick steam block or a spritz of water and a gentle pin-out will make points behave.
5) Mini hat ornament
A tiny hat is all cozy, no commitment. Add a pom pom, and it is basically a holiday giggle on a loop.
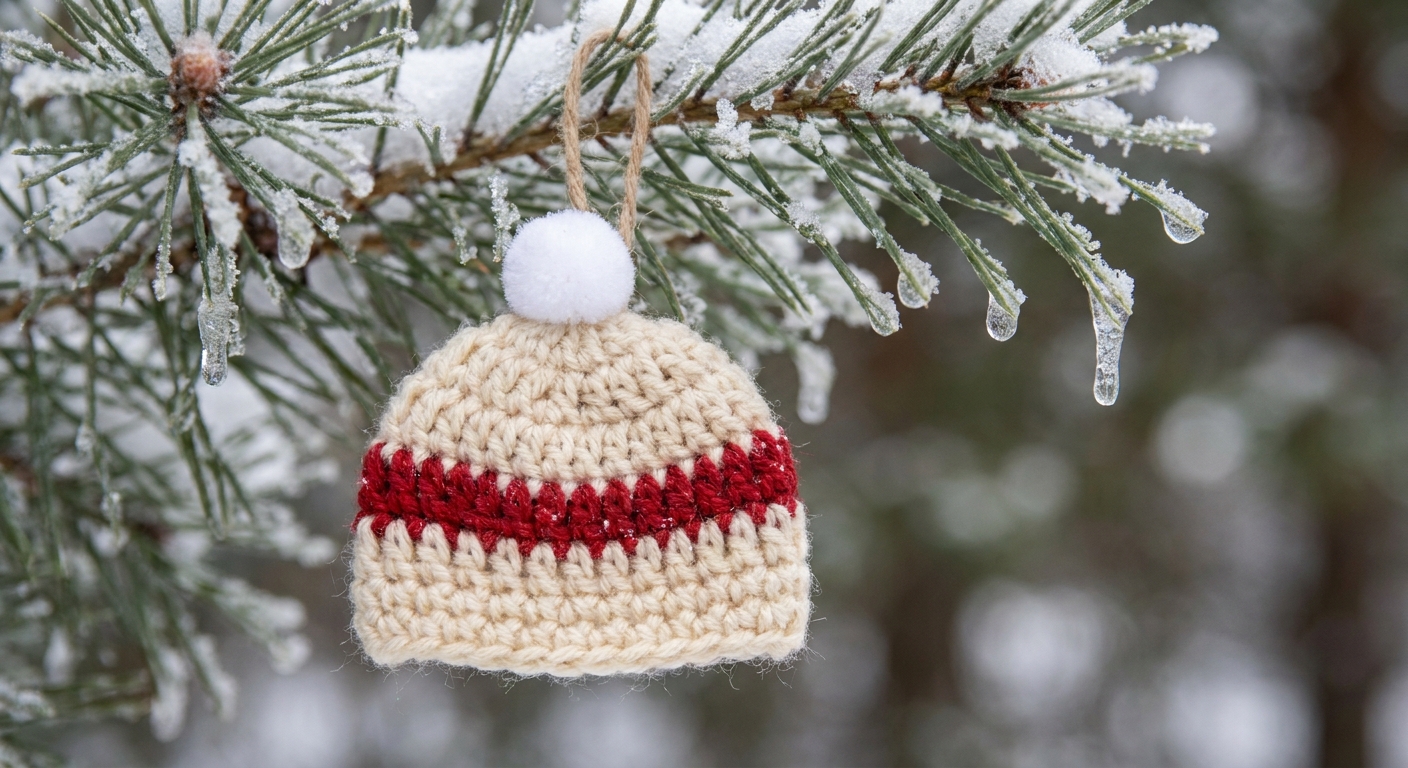
- Yarn weight: Worsted
- Hook size: 4.0 mm to 5.0 mm
- Time to finish: 20 to 35 minutes
- Main stitches: MR (magic ring), sc, hdc, inc, optional BLO for a ribbed brim
Finishing tip: If you want the hat to hold its shape without stuffing, insert a small rolled scrap of felt or yarn tail coil inside before closing.
6) Bauble cover
If you already have plain ball ornaments, this is the fastest way to make them look handmade. It is also wonderfully stash-friendly.
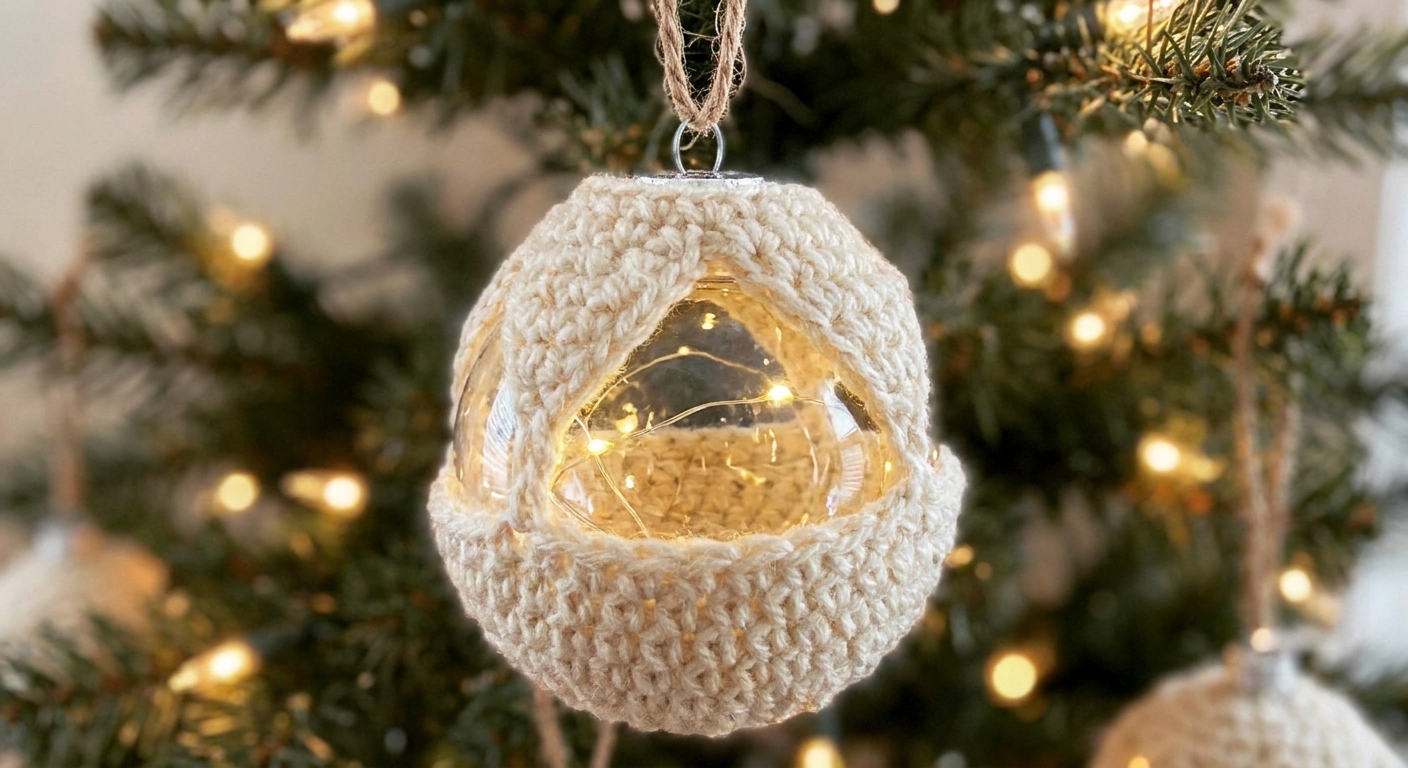
- Yarn weight: Sport, DK, or light worsted
- Hook size: 3.0 mm to 4.5 mm (aim for a snug fabric)
- Time to finish: 15 to 30 minutes
- Main stitches: ch, sc, hdc or dc, sl st, optional front post stitches for texture
How it’s usually built: Work a circle for the bottom, crochet straight up to match the ornament’s height, then decrease or cinch at the top near the cap.
Finishing tip: Thread your yarn tail through the final top stitches and pull tight like a drawstring. Knot securely, then tuck the knot under the ornament cap.
7) Tiny wreath ornament
Wreaths are perfect for texture play. Think bobbles, puff stitches, or simple chain loops with bits of greenery. Add a small bow and you are done.
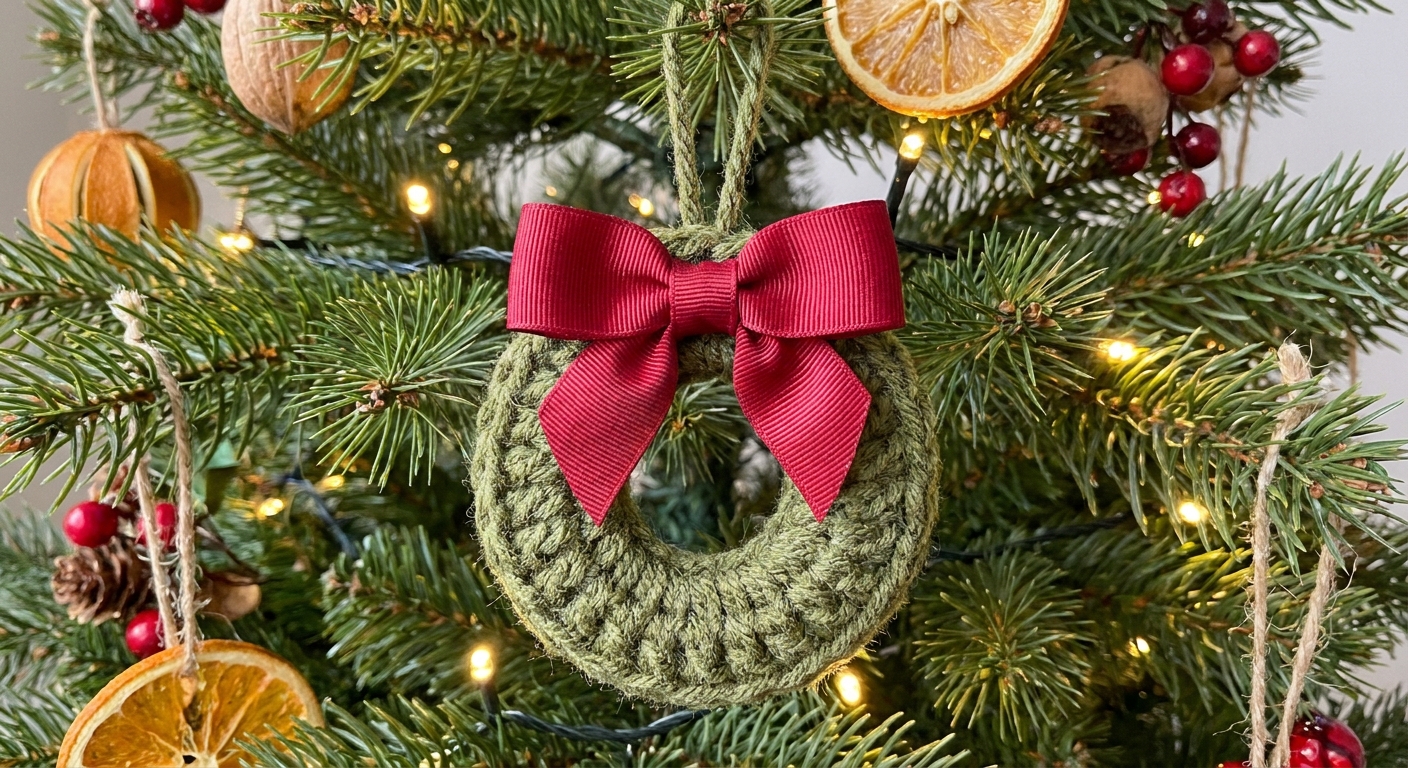
- Yarn weight: Worsted (green) plus small scraps for a bow
- Hook size: 4.0 mm to 5.0 mm
- Time to finish: 20 to 45 minutes
- Main stitches: ch, sc, sl st, optional puff or bobble stitches
Construction idea: Crochet around a small ring shape. This can be a plastic craft ring, a wooden ring, or even a ring you crochet first and then build on.
Finishing tip: Make the hanging loop part of the wreath top so it feels integrated, not like an afterthought.
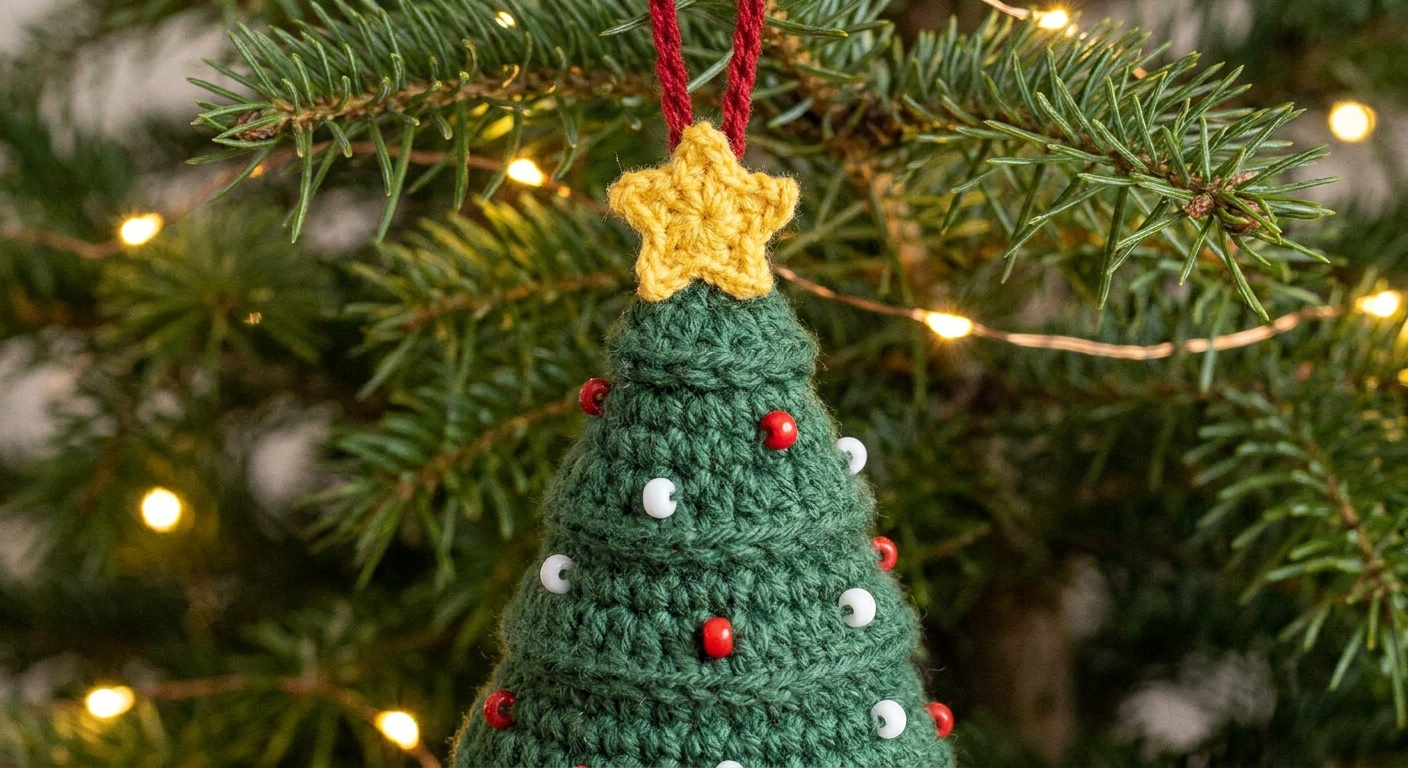
8) Mini Christmas tree
A tiny tree can be flat (quick and easy) or a small cone (still quick, extra cute). Either way, it is a wonderful scrap buster.
- Yarn weight: Worsted or DK
- Hook size: 3.5 mm to 5.0 mm
- Time to finish: 15 to 40 minutes
- Main stitches: ch, sc, hdc, dc, sl st, inc, optional picot edging
Finishing tip: For a cone tree, add just a whisper of stuffing so it stands proud, then stitch the bottom closed and hide your tail inside.
Finishing touches
Add a hanging loop that will not pull out
- Chain loop: Join yarn at the top, ch 15 to 25 (depending on desired drop), sl st back into the same spot, then weave ends in opposite directions.
- Thread loop: Use embroidery floss or thin ribbon. Pass through stitches at the top, knot, then pass the tails through again before trimming for extra security.
- Metal ornament hook: Stitch a small reinforced loop (a few tight sc stitches) and slide the hook through it.
Batch-make ornaments without getting bored
- Assembly line it: Crochet all bodies first, then do all hanging loops, then weave ends.
- Pick a palette: Two or three colors repeated across different shapes looks intentional, fast.
- Keep a “finishing cup”: Put ribbon bits, beads, and tiny bells in one container so you are not hunting mid-stitch.
- Gift topper trick: Tie one ornament onto a wrapped present with the bow. It becomes part of the gift, then it becomes part of the tree.
Stitch cheatsheet
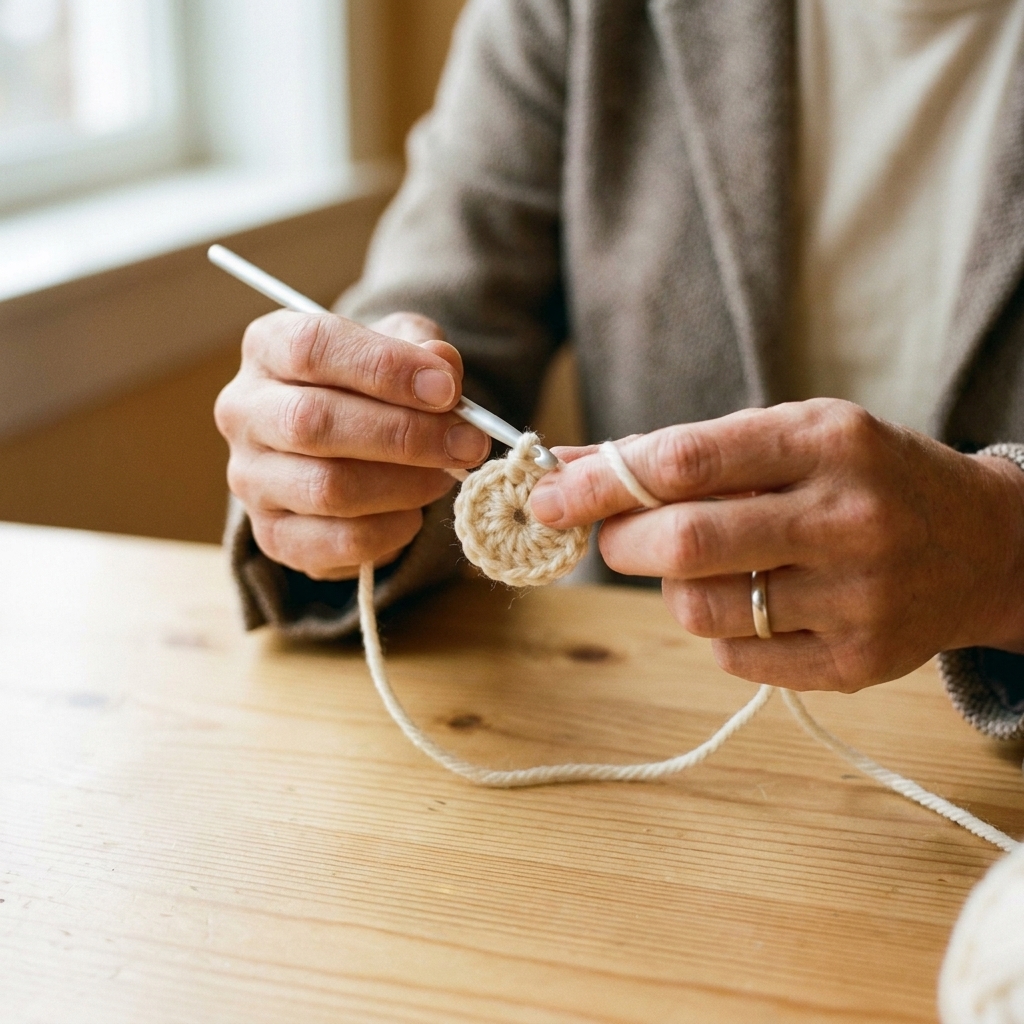
- MR: MR stands for magic ring (also called magic circle).
- Tighter fabric: Use a slightly smaller hook than the yarn label suggests, especially for 3D shapes.
- Clean color changes: For sc stripes, finish the last yarn-over of the final sc with the new color.
- Neater circles: If your rounds get a little pointy, try starting with a magic ring and tightening firmly, or add one extra increase round early.
- Weaving ends: Weave through at least three direction changes so ends do not sneak out mid-season.
If you are making a whole flock of ornaments, set a timer for 30 minutes, pick one design, and repeat. The tree fills up faster than you think.