One more row. Then just one more.
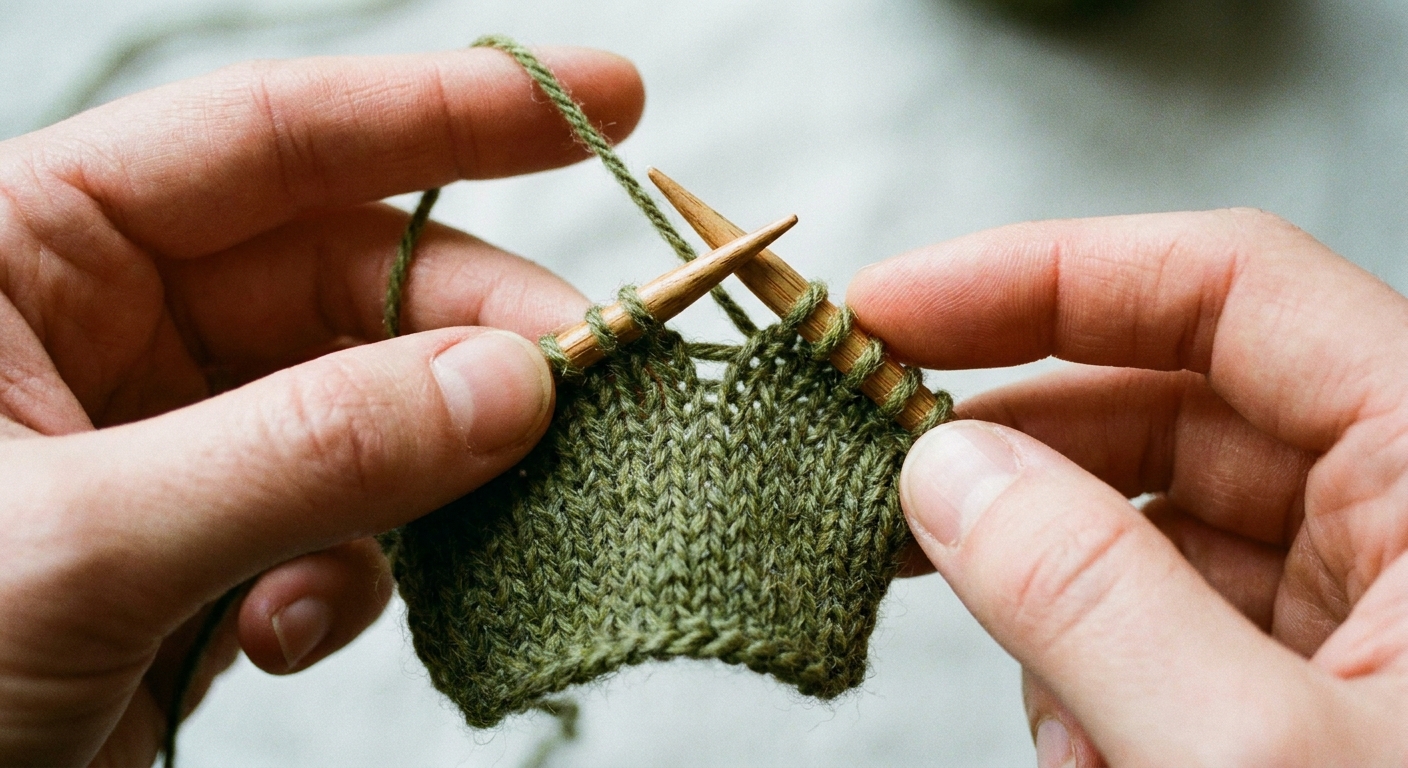
If you have ever stared at a pattern that says M1, then wondered, “But which one?” you are in good company. M1L and M1R are both make-one increases worked from the little strand of yarn between two stitches. The difference is the direction you lift and the direction you knit, which twists that strand and makes the new stitch lean left or lean right.
What M1L and M1R mean
M1 is shorthand for “make one stitch.” In many modern patterns, M1 means a twisted make-one increase worked from the bar between stitches (the strand of yarn between the stitch you just worked and the next stitch to be worked). Twisting that bar closes the hole so the increase looks neat. Because conventions vary, it is always worth checking the pattern’s abbreviations or notes if the designer provides them.
- M1L = Make 1 Left. The new stitch leans to the left.
- M1R = Make 1 Right. The new stitch leans to the right.
Both create one extra stitch. The lean is the whole point.
Where the bar is
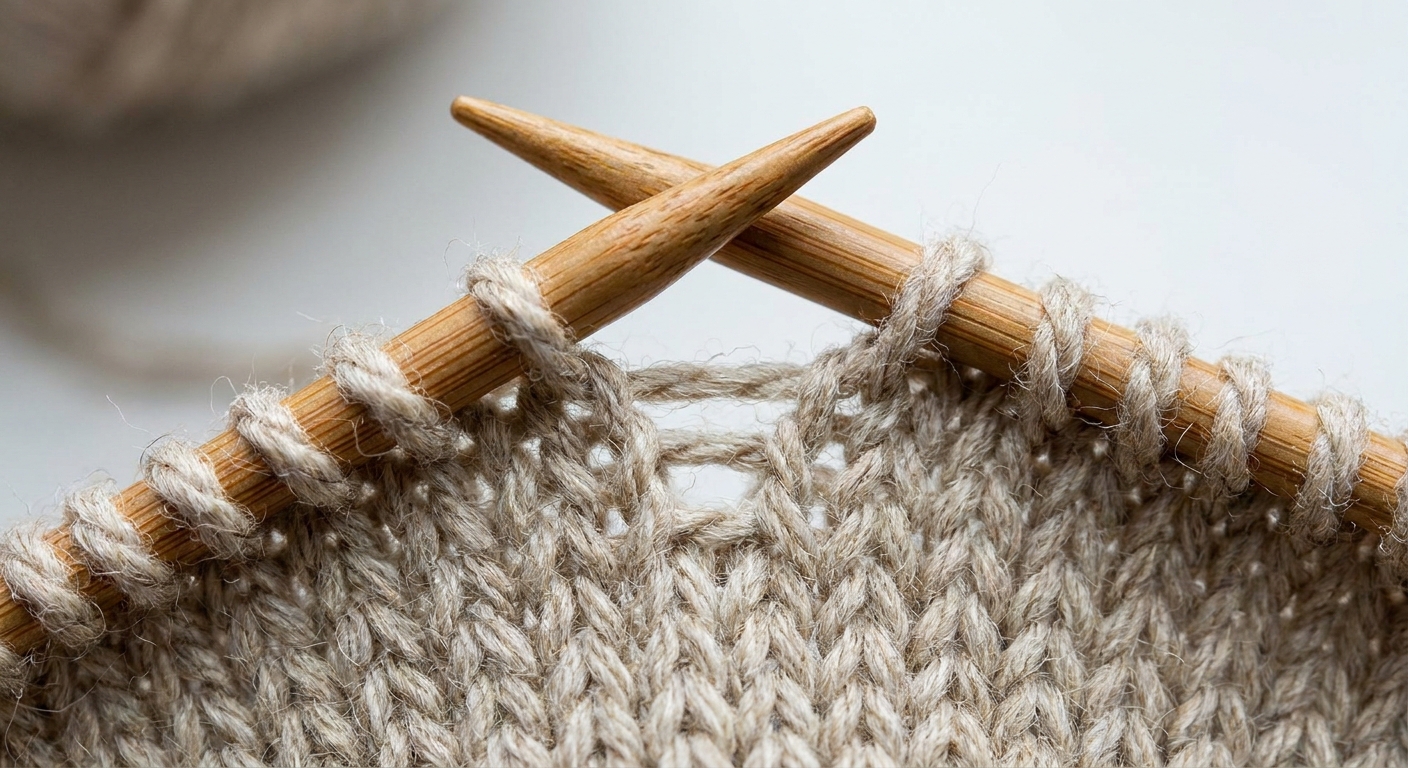
Pause between two stitches on your needles. You will see a strand of yarn bridging the gap. That is the “bar” (also called the strand between stitches). You will pick it up with the left needle, then knit into it to create a new stitch.
A helpful way to think about it is this: you are borrowing yarn from between stitches and turning it into a new stitch, then you twist it on purpose so it does not leave a little eyelet behind.
How to knit M1L
M1L uses the bar in a way that makes the new stitch lean left. Here is the cozy, no-rush path:
- Lift the bar from the front. With your left needle tip, pick up the bar from front to back.
- Knit through the back loop. Knit into the back of that lifted loop.
That combination twists the strand and aims the top of the new stitch toward the left.
Quick memory helper: For M1L, you lift from the front.
How to knit M1R
M1R uses the bar in the opposite direction so the new stitch leans right:
- Lift the bar from the back. With your left needle tip, pick up the bar from back to front.
- Knit through the front loop. Knit into the front of that lifted loop.
This twists the strand in the other direction and tips the new stitch toward the right.
Quick memory helper: For M1R, you lift from the back.
See it on a small swatch
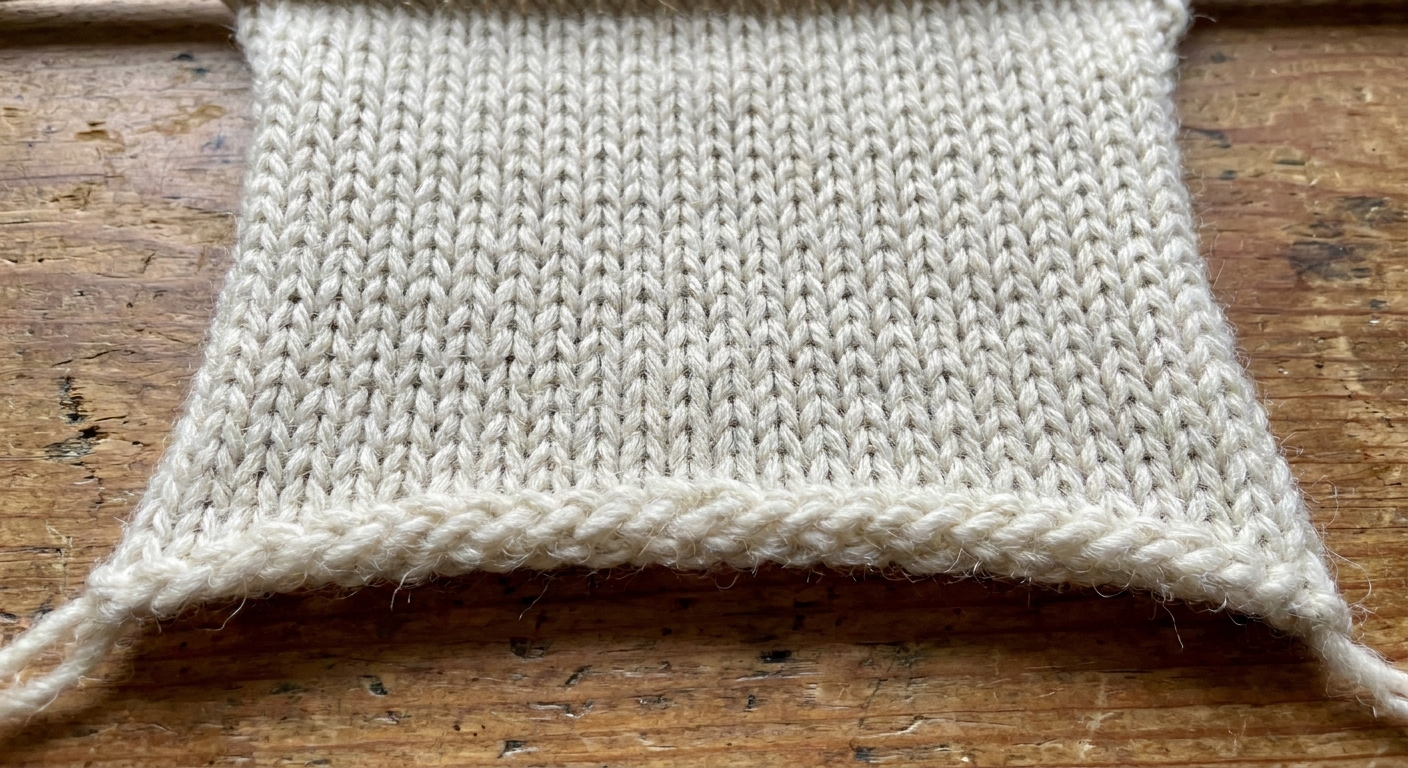
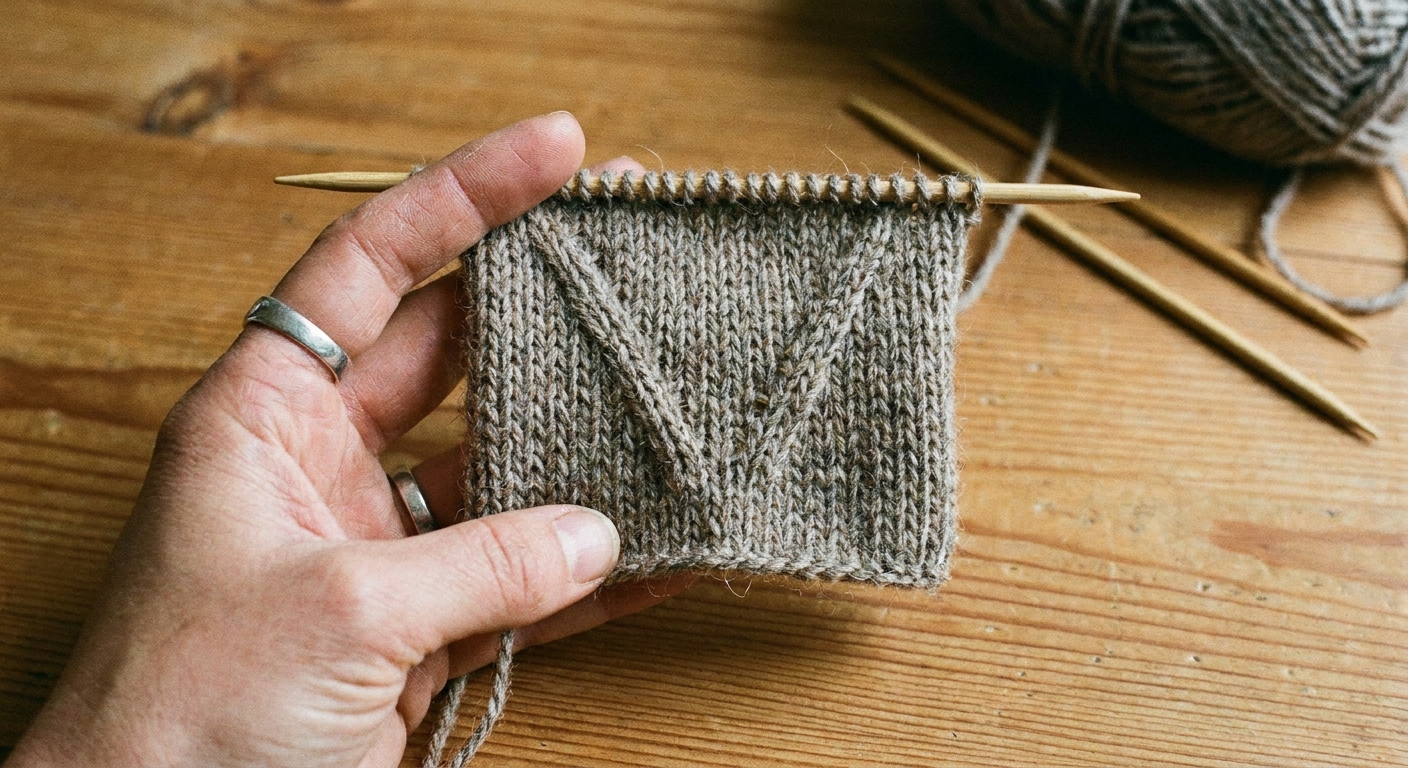
If you want the leans to click fast, knit a small stockinette swatch and place the increases as a mirrored pair. Stockinette makes the slant easy to read.
Mini swatch plan
- Cast on: 18 stitches (any smooth yarn helps you see the twist)
- Work: 4 rows stockinette (knit a right-side row, purl a wrong-side row)
- Increase row (right side): K5, M1L, K6, M1R, K5
- Next row (wrong side): Purl all
- Repeat that increase row a few times, always placing M1L on the left side of the center and M1R on the right side of the center.
After a few repeats, you will see two tidy lines that mirror each other. The M1L line angles left, the M1R line angles right. That mirrored look is exactly what you want in many garment shapes.
When a pattern says M1
Sometimes yes, sometimes not. Here is how to decide without unraveling your day.
When either lean is usually fine
- Casual shaping where symmetry is not visible, like a hidden increase under an arm, inside a pocket lining, or in a textured pattern that disguises the slant.
- Evenly spaced increases across a row where the designer is not building a strong “shaping line” you will notice.
In these cases, many knitters default to one method they like and use it consistently. Consistency matters more than direction when the fabric will not “read” the lean.
When the lean matters
- Sleeves, especially tapered sleeves where increases march up the fabric near the seam line.
- Raglan shaping, where you want crisp diagonal lines running from underarm to neckline.
- Any place you are intentionally making mirrored lines, like paired increases on either side of a center panel.
These are the spots where M1L and M1R earn their keep, because the lean makes the shaping look clean and intentional.
Using them for sleeves and raglans
For garment shaping, think about what you want the increase to “point” toward. Sometimes you want mirrored lines that aim inward toward a center panel, and sometimes you want lines that track an outer edge.
Along a sleeve
If your increases happen near each edge, you typically want the increases to mirror each other so both sides look balanced. On a sleeve worked from cuff to underarm, those mirrored leans often look best when they parallel the angled outer edges as the sleeve widens.
- Near the left edge of the fabric: M1L leans left, which tends to read as aiming outward toward the left edge.
- Near the right edge of the fabric: M1R leans right, which tends to read as aiming outward toward the right edge.
Patterns vary in wording and in where exactly they place the increase relative to the edge stitch. The goal is symmetrical, mirrored slants on both sides of the sleeve.
Along a raglan line
Raglan lines are those lovely diagonals that frame the body and sleeves. If your pattern uses make-one increases next to a raglan marker or a “seam” stitch, you generally want the increases to lean toward that line so the diagonal looks crisp. This idea works whether you are knitting top-down or bottom-up. The only thing that changes is where “before” and “after” land on your needles in the moment, so anchor yourself to the raglan line stitch or marker.
A common setup is a marker or a single stitch that becomes the raglan line. The increases happen on both sides of it. In that case:
- Increase just before the raglan line: Use M1R so it leans right toward the line.
- Increase just after the raglan line: Use M1L so it leans left toward the line.
If your pattern already specifies M1L or M1R, follow it. If it only says M1 on both sides, this is a sensible, tidy default that produces mirrored shaping.
Troubleshooting
“I see a little hole”
- You may have made a yarn over by accident instead of lifting the bar.
- You may have lifted the bar but knit it without twisting. For example, lifting front to back and knitting through the front loop, or lifting back to front and knitting through the back loop. Make sure you are knitting through the loop that forces a twist.
“It is so tight I can barely knit into it”
- That is normal at first. The bar is short yarn, and twisting it makes it snug.
- Use a needle tip with confidence and knit it in two steps: enter the loop first, then wrap and pull through.
- If you are a tight knitter, try working the increase with slightly pointier tips, or relax the tug on the working yarn right before you make the increase.
“My leans look backward”
This usually comes from swapping the lift direction or the knit-through direction. Recheck the pair:
- M1L: lift front to back, knit through back loop
- M1R: lift back to front, knit through front loop
Quick reference
| Increase | Lift the bar | Knit into | Lean |
|---|---|---|---|
| M1L | Front to back | Back loop | Left |
| M1R | Back to front | Front loop | Right |
If you are ever unsure mid-row, stop and look at the lifted bar on your left needle. Ask, “Which way do I need this stitch to lean?” Then choose the knit-through loop that twists it in that direction.
FAQ
Is M1 the same as M1L or M1R?
Not exactly. M1 means “make one,” but some patterns use it as a general instruction without specifying direction, and a few designers use M1 to mean a different type of increase. If the pattern cares about the lean, it will usually say M1L or M1R. If it does not, check the abbreviations or notes, then pick the version that makes the shaping lines look mirrored and tidy.
Can I substitute KFB for M1L or M1R?
Sometimes, but it will look different. KFB makes a visible bar on the front of the work. M1L and M1R tend to blend into stockinette more smoothly. If your pattern is designing crisp shaping lines, M1L and M1R are usually the better match.
Do I make M1L and M1R on the right side only?
Most patterns place them on right-side rows so the shaping is easy to read, but you can work make-one increases on the wrong side too. The mechanics are similar, but the “front/back” of the bar can feel confusing when you are looking at the other side of the fabric. If your pattern calls for it, follow the pattern carefully and consider placing a lifeline before you start shaping.