One more row. Then just one more.
If you have ever wanted your blanket, scarf, or washcloth edge to look a little more finished, a little more intentional, crab stitch is the tidy trick to keep in your project bag. Crab stitch is just reverse single crochet, worked in the “wrong” direction (meaning opposite your usual direction) so it naturally twists into a cute, rope-like cord.
What is crab stitch?
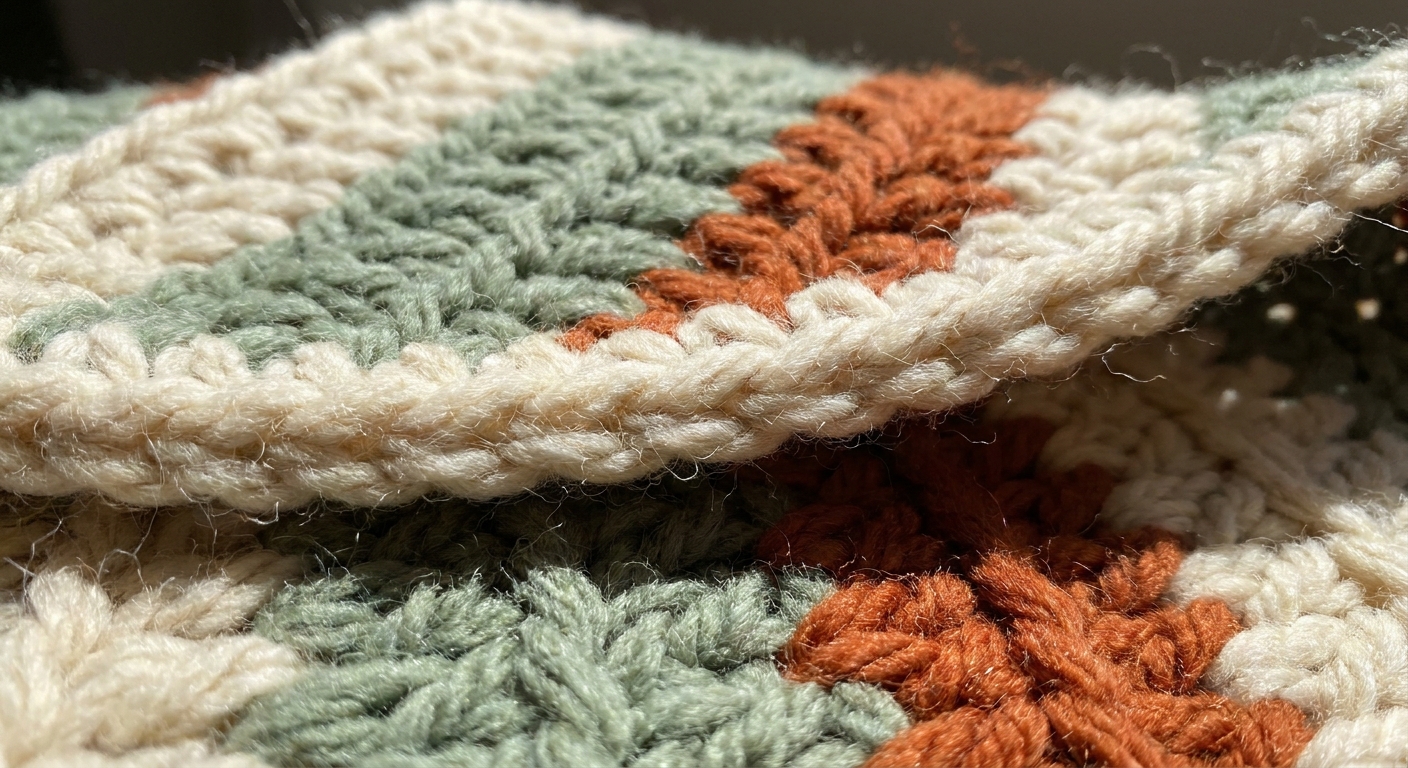
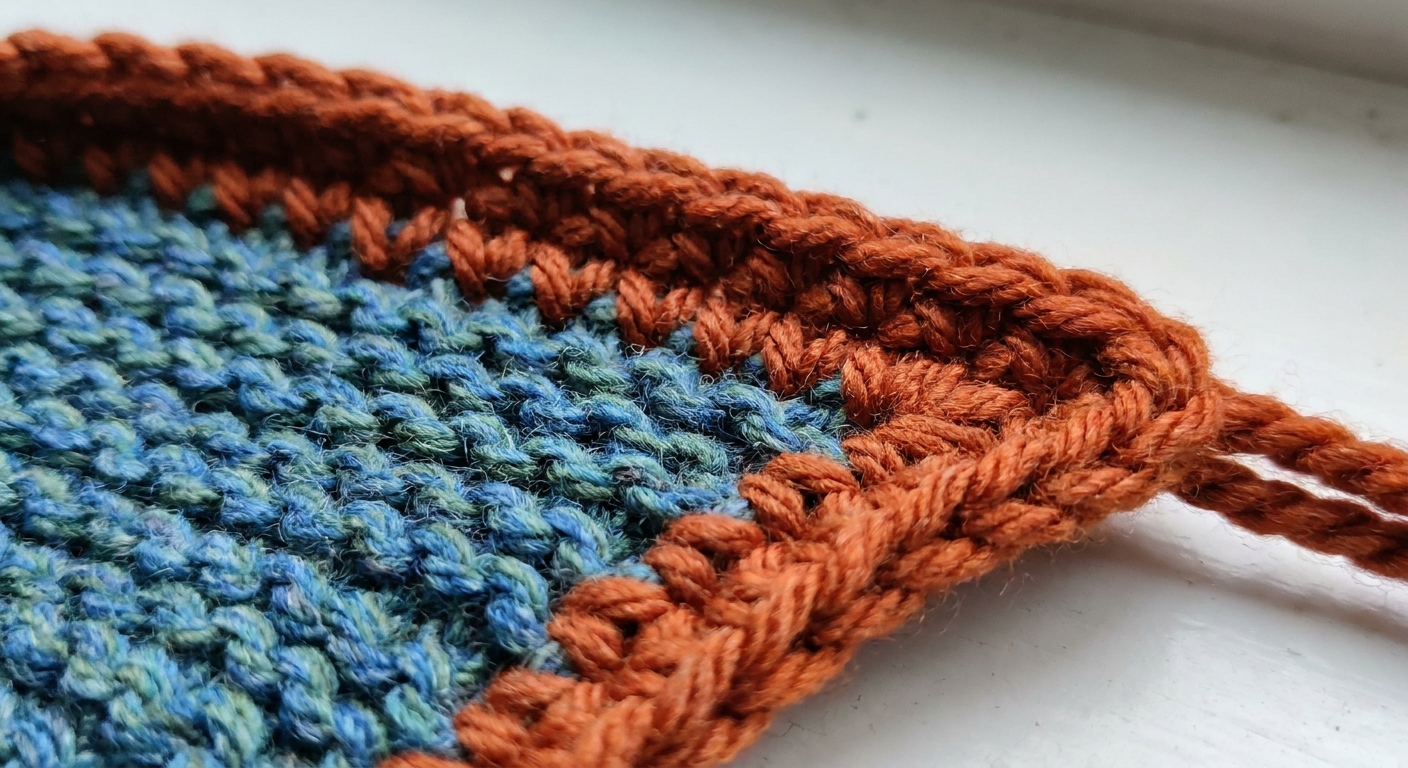
Crab stitch is the common nickname for reverse single crochet. Instead of working in your usual direction, you work backward along the edge. That backward motion adds a twist, creating a firm, rounded edge that looks like a tiny cord.
- Why it is loved: It stabilizes edges, looks polished, and hides little wobbles.
- How it feels: Slightly thicker and firmer than a regular single crochet edging.
- Where it shines: Blanket borders, garment hems, hat brims, potholders, cuffs, and giving knits a clean crochet finish.
Before you start
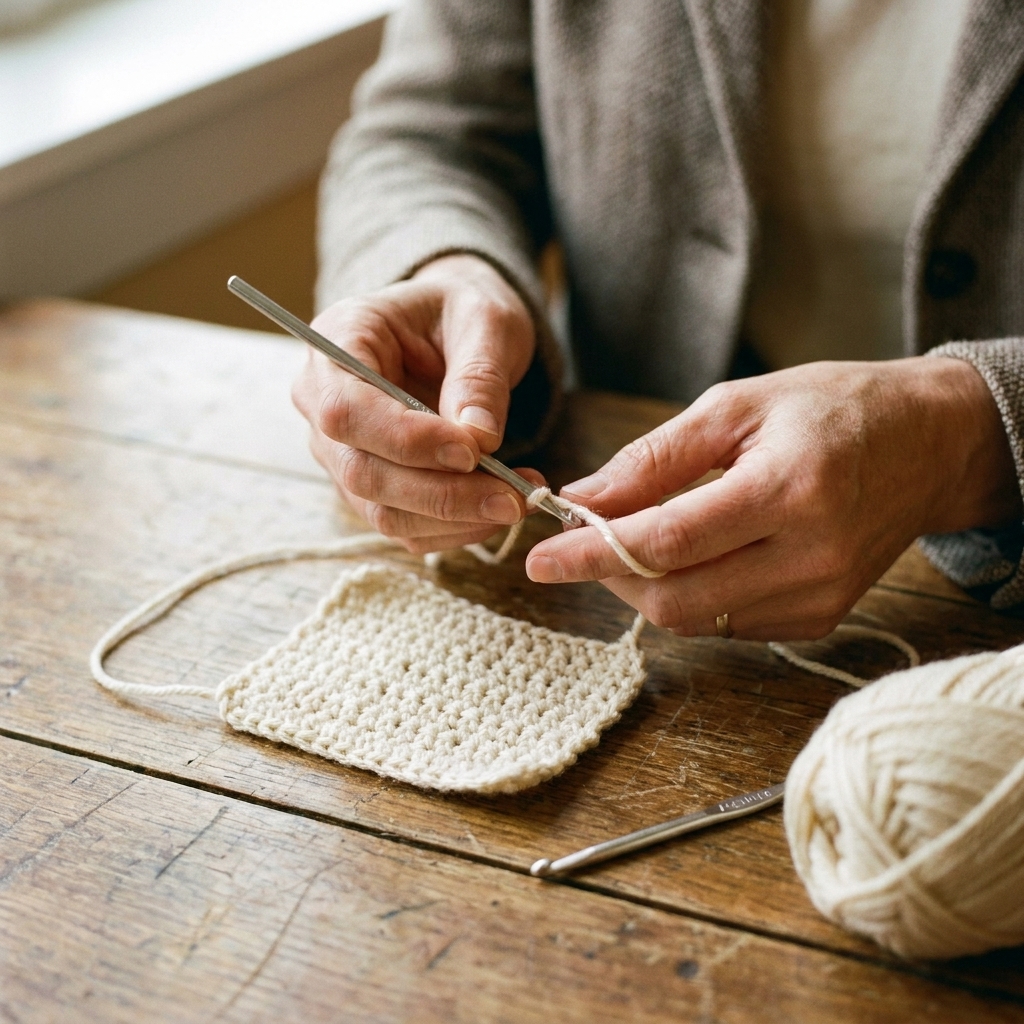
Materials
- Your project (crochet or knit)
- Yarn (often the same yarn as the project, or a contrast color for a crisp outline)
- Hook: usually the same size you used, or one size larger if your edges tend to pull tight
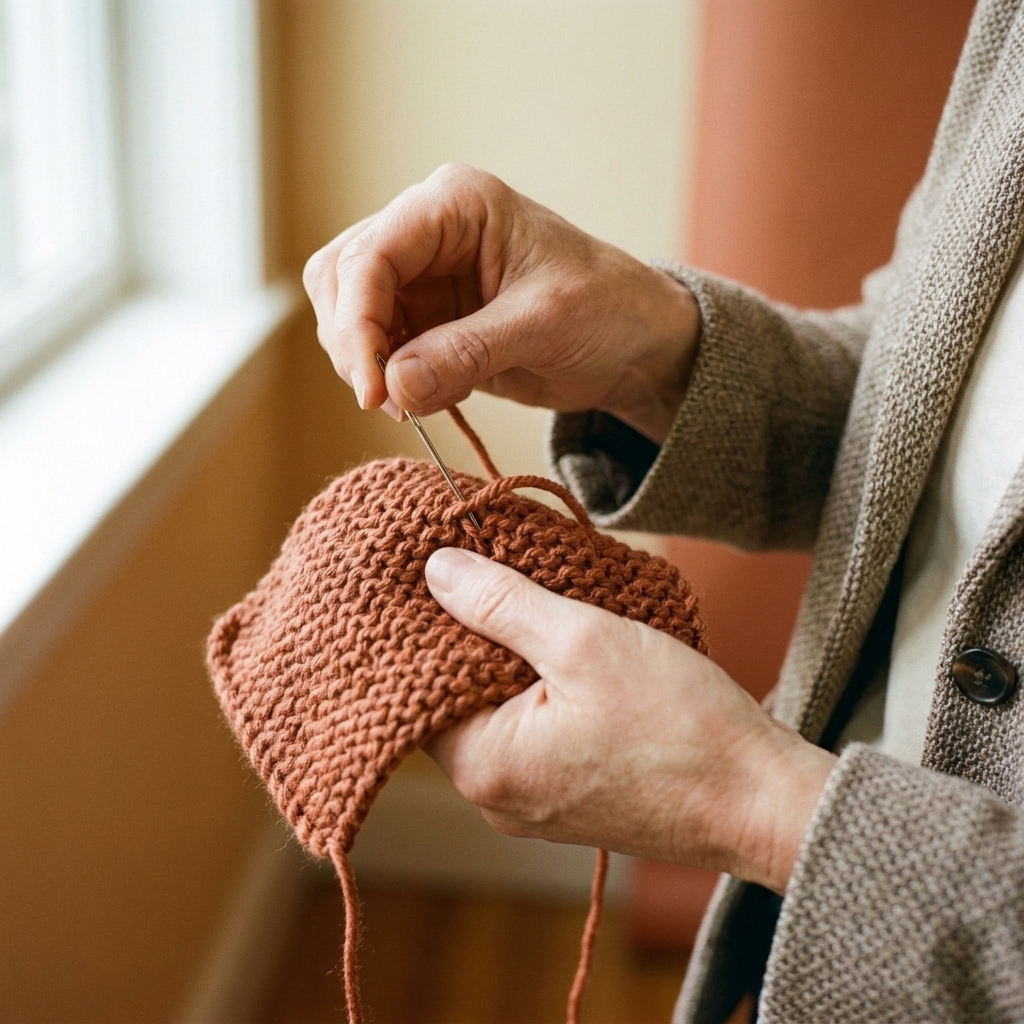
- Scissors and a yarn needle to weave in ends
Right-handed vs left-handed direction
Crab stitch is about working backward compared to your usual direction.
- Right-handed crocheters: work right-to-left.
- Left-handed crocheters: work left-to-right.
The goal is the same: you are moving opposite the direction you normally crochet in.
A quick note about ripping back
Crab stitch can be a little stubborn to frog neatly because of the twist. If you are new to it (or using a fuzzy yarn), practice on a swatch first, or plan to undo slowly with a yarn needle or the hook tip.
How to crab stitch
This is written for right-handed crocheters. If you crochet left-handed, reverse the direction.
Step by step
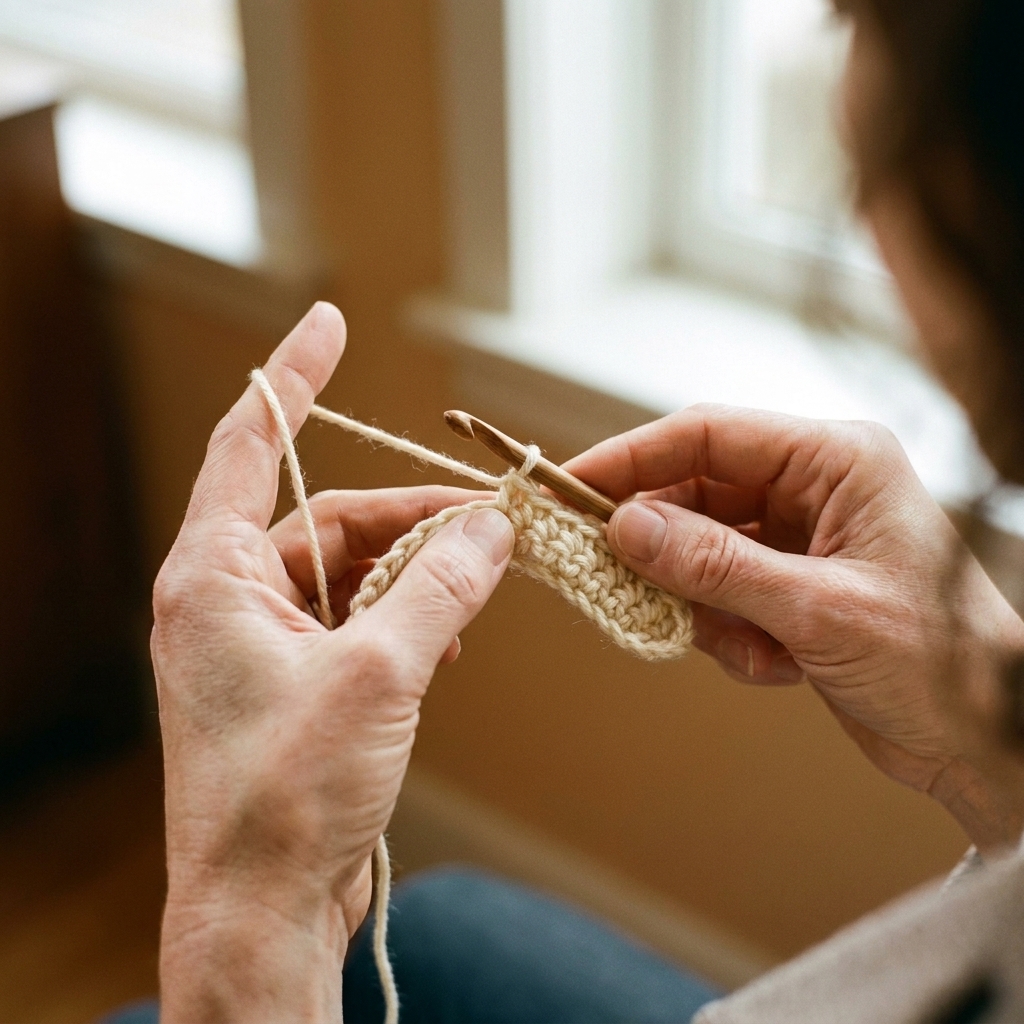
- Set up your yarn. Join yarn anywhere you want to start, usually at a corner or a seam. If yarn is already attached from the previous round, you can begin right away.
- Chain 1. This helps lift the edge, but try not to make it tall or loose. Think “just enough.”
- Insert your hook into the next stitch to the right. This is the stitch behind where you would normally go. (It can feel like the “previous stitch” because you are traveling backward.)
- Yarn over and pull up a loop. You will have 2 loops on your hook.
- Yarn over and pull through both loops. That is one crab stitch.
- Repeat. Each time, insert into the next stitch to the right, pull up a loop, yarn over, pull through both.
Tension tips
Crab stitch likes to tighten up. The biggest difference between a crisp cord and a wavy edge is usually tension consistency.
Keep your cord even
- Pull up your loops a touch taller than you would for regular single crochet. Not giant, just not tight and stingy.
- Let the hook do the work. If the fabric fights you, go up one hook size.
- Do not yank the working yarn after each stitch. That squeezes the cord and can cause rippling.
- Watch the twist. The rope effect comes from the backward direction. If it looks flat, you might be accidentally stitching forward.
Quick tip: If your edge starts to pucker, pause and make your next few stitches with a deliberately relaxed hand. Crab stitch forgives a lot, but it does not love being tugged.
Corners
Corners are where crab stitch can bunch up. The fix is simple: give the corner enough room to turn without overstuffing it.
For a 90-degree corner
- Work 1 crab stitch per stitch along the side.
- When you reach the corner stitch or corner space, try one crab stitch into the corner first.
- If the corner looks like it is pulling tight, add a second crab stitch into the same corner spot.
- If the corner looks ruffled or bulky, use only one and continue on the next side.
There is no single perfect number because yarn, hook, and stitch height all change the geometry. Your eyes are the best ruler here.
Blanket edges
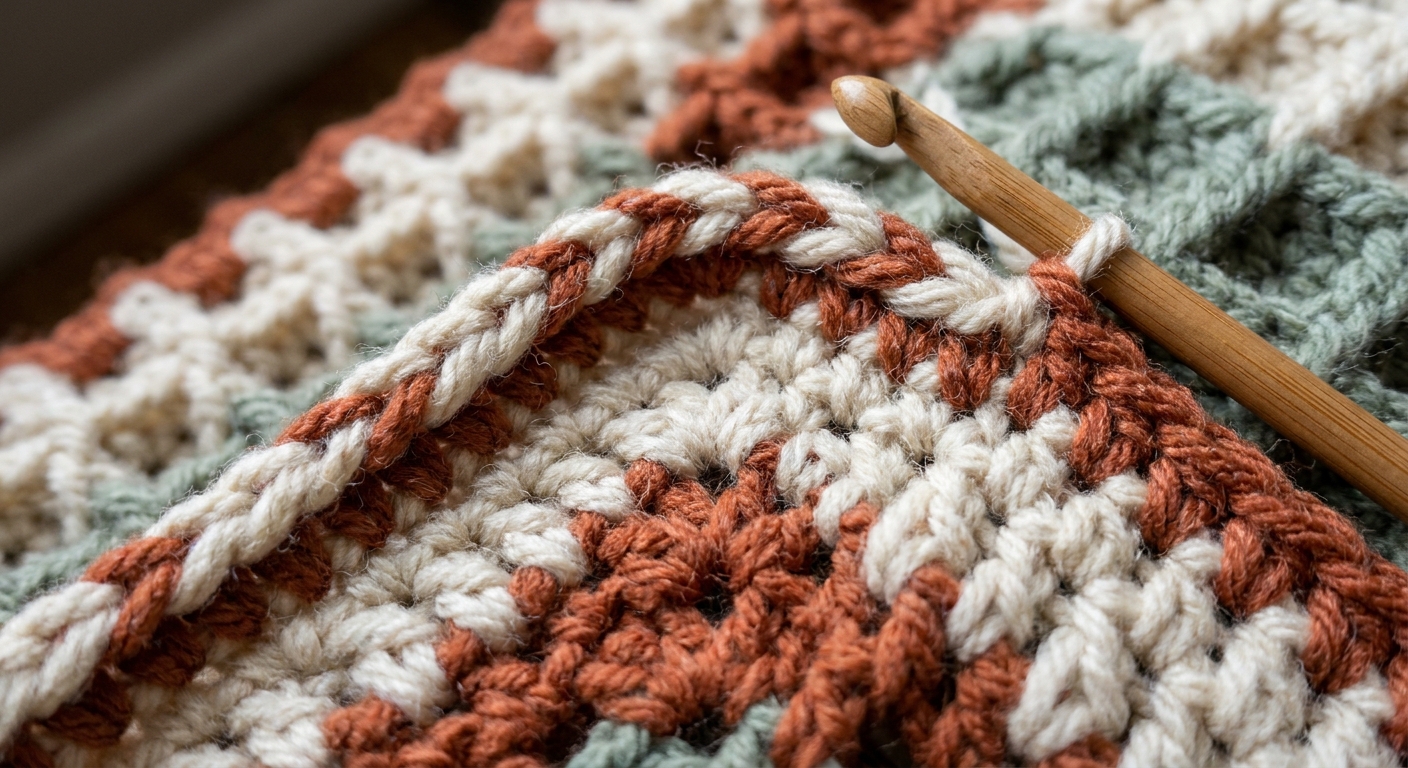
Crab stitch is a great last round on a blanket because it:
- gives a clean outline, especially in a contrast color
- adds a bit of structure to soft or drapey stitch patterns
- helps edges look intentional even if your side stitches are not perfectly even
Do you need a base round?
Sometimes yes. If your blanket edges are made of tall stitches (double crochet, treble) or have gaps, work a setup round of single crochet first. That gives crab stitch a tidy track to ride on.
- Along stitch-defined edges: often 1 single crochet per stitch, but let the pattern be your guide.
- Along row sides (the “raw” edges): place single crochets evenly by eye, then stop and lay your work flat every few inches. If it ripples, you likely added too many. If it pulls in, you likely added too few.
Where do I insert on row sides?
On the sides of rows, look for the little “bars” or spaces created by turning chains and stitch posts. Aim for a consistent insertion spot all the way down the edge, then make your crab stitch into the tops of those single crochets from the setup round. That way you are not guessing where to put the hook while working backward.
Crab stitch on knits
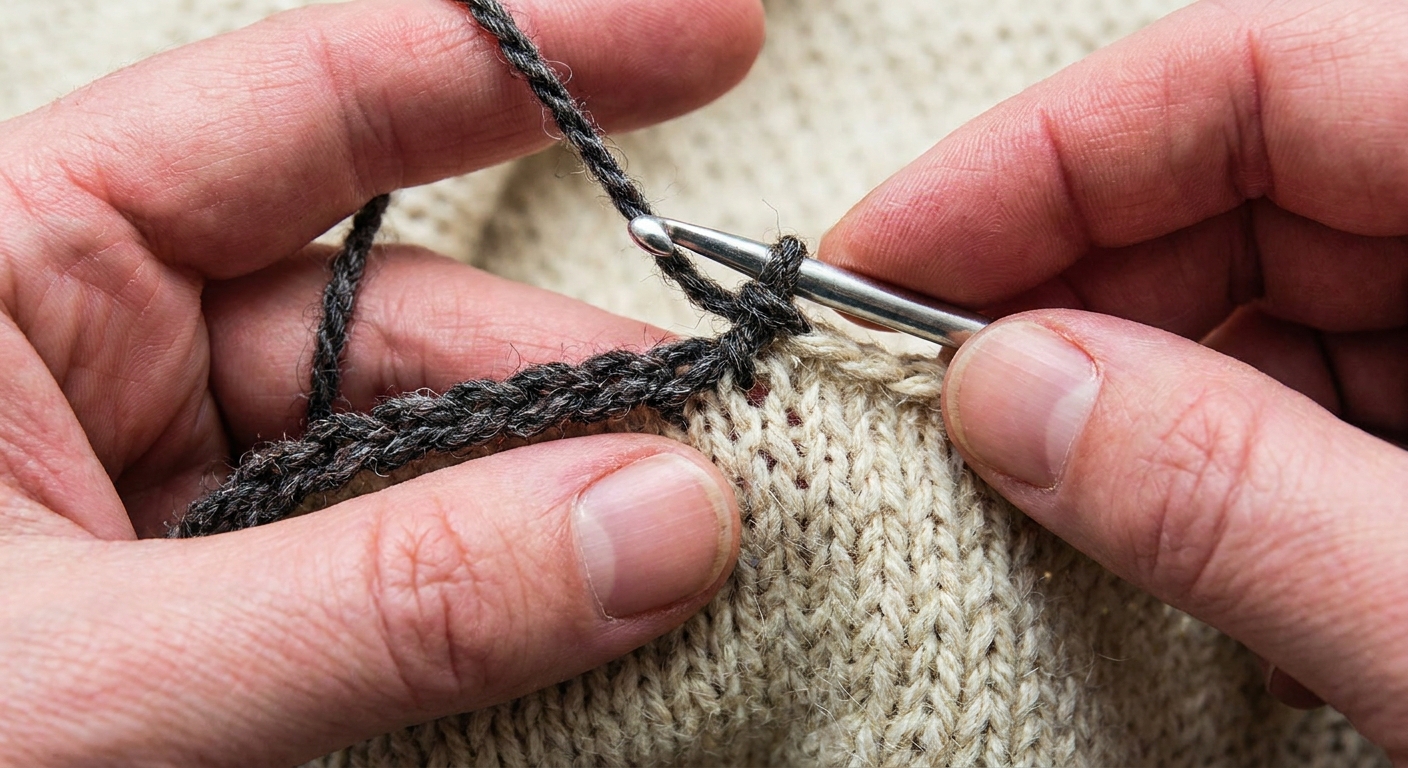
Crab stitch can finish knitting beautifully, but it needs something to anchor into. Knits do not have crochet stitch tops along the edge, so we make them.
Step 1: Add a base round
- Choose a hook. Often one size smaller than you would use for that yarn, so you do not stretch the knit too much.
- Join yarn. Attach at an inconspicuous spot, often near a seam.
- Single crochet evenly around. Insert your hook into the knit edge (through a loop or between stitches), yarn over, pull up a loop, yarn over, pull through both.
How many single crochets? Enough to lie flat. If the edge flares, you placed too many. If it puckers, you placed too few. Work a few inches, lay it down, and adjust before committing to the full round.
Step 2: Crab stitch into the base
Once you have a neat round of single crochet, crab stitch becomes easy: work reverse single crochet into each single crochet from the base round.
Right side vs wrong side
Crab stitch has a more pronounced rope look on one side. Before you commit to the full edge, work an inch or two and decide which side you want facing out, then keep that side facing you as you continue around.
Troubleshooting
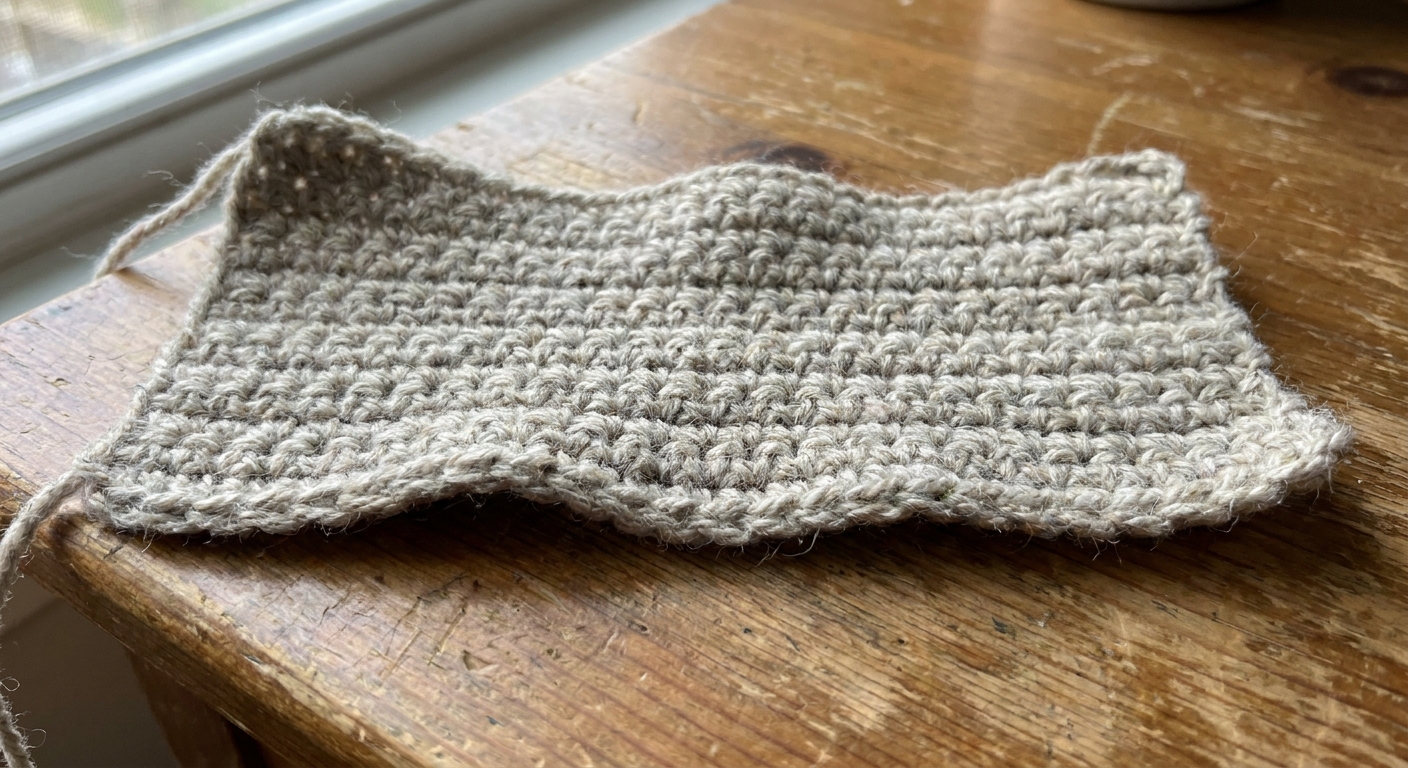
My edge is wavy
- If it waves along straight edges, you may be working too loosely, or you may have too many stitches in your setup round.
- Try a smaller hook, or space out your setup round stitches a bit more evenly.
My corners look ruffled
- This is usually from too many stitches in the corner.
- Try just one crab stitch in the corner stitch or corner space, and add a second only if it pulls tight.
My edge is curling or pulling tight
- This is the most common issue. Crab stitch runs snug.
- Go up a hook size, pull up loops a bit taller, and avoid tightening after each stitch.
I cannot get the hook into the stitch to the right
- Rotate your work slightly so the edge faces you.
- Use a hook with a sharper tip, or size up for this round.
- If the fabric is dense, work a setup round of single crochet first.
The rope does not look ropey
- Double-check direction. For right-handed crocheters, you should be moving right-to-left.
- Make sure you are inserting into the next stitch to the right, not the next stitch to the left.
Quick reference
- Name: Crab stitch
- Also called: Reverse single crochet
- Abbreviations: rsc, rev sc
- Direction (right-handed): Right-to-left
- Best tip: Relax your tension and pull up loops slightly taller
FAQ
Is crab stitch hard?
It feels awkward for the first few inches because you are working backward. After your hands learn the motion, it becomes a cozy, rhythmic finishing round.
Do I chain 1 before crab stitch?
Usually yes. A small chain 1 helps you start cleanly. Keep it snug so it does not create a noticeable bump.
Can I do crab stitch on any edge?
Yes, but it looks best when the edge is stable and even. If your edge has big gaps or uneven spacing, add a single crochet setup round first.
How do I join the last crab stitch to the first?
A common method is to slip stitch to the first crab stitch to close the round, then fasten off. If you want the join to be less noticeable, keep the slip stitch snug and weave the tail along the corded ridge. Some crocheters prefer an invisible join instead, especially on garments, so use the finish that matches your project.