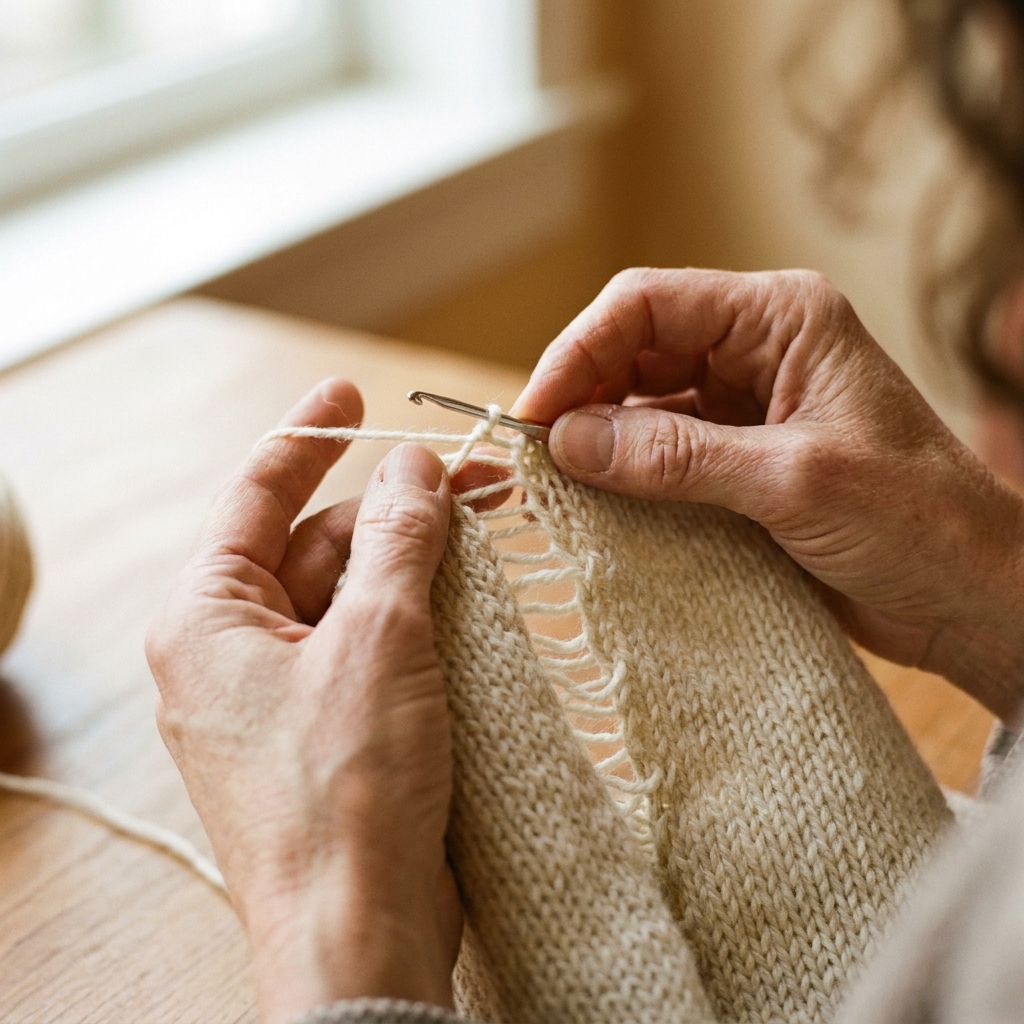
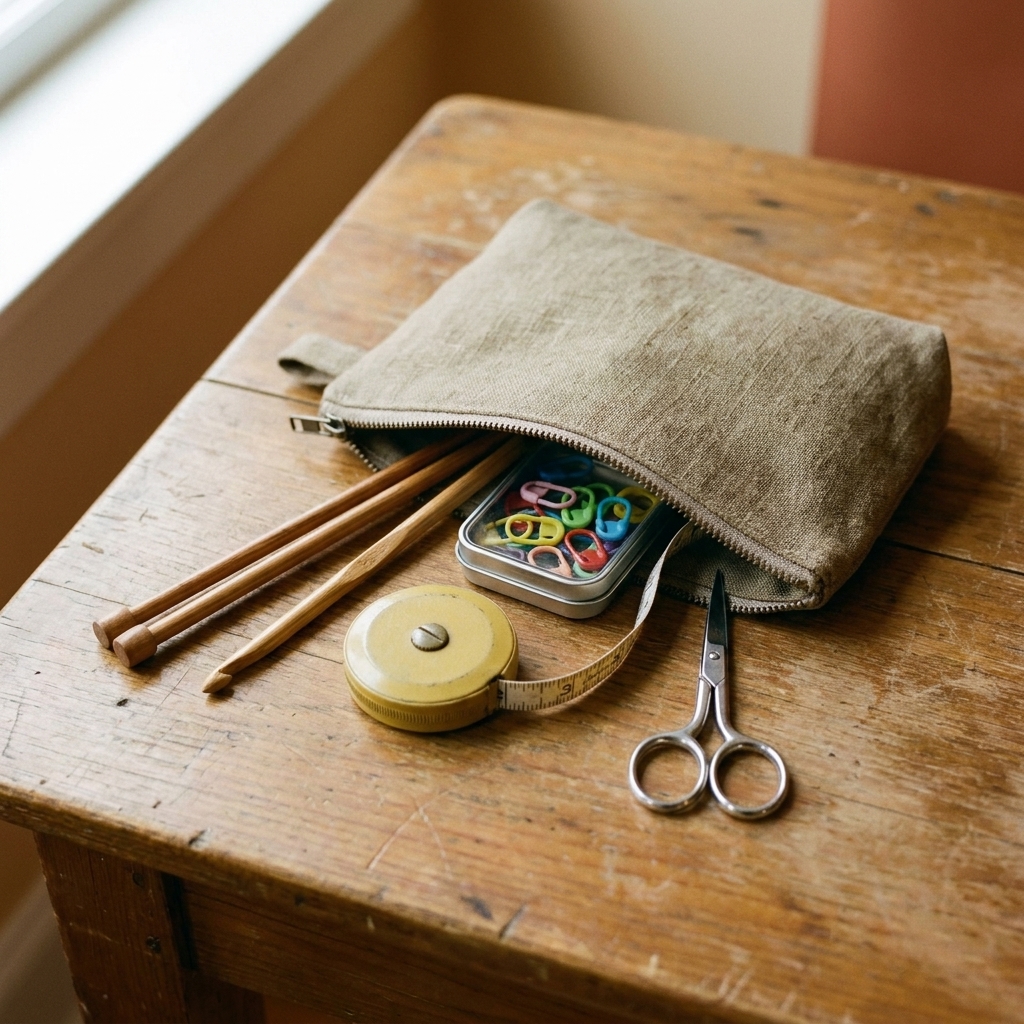
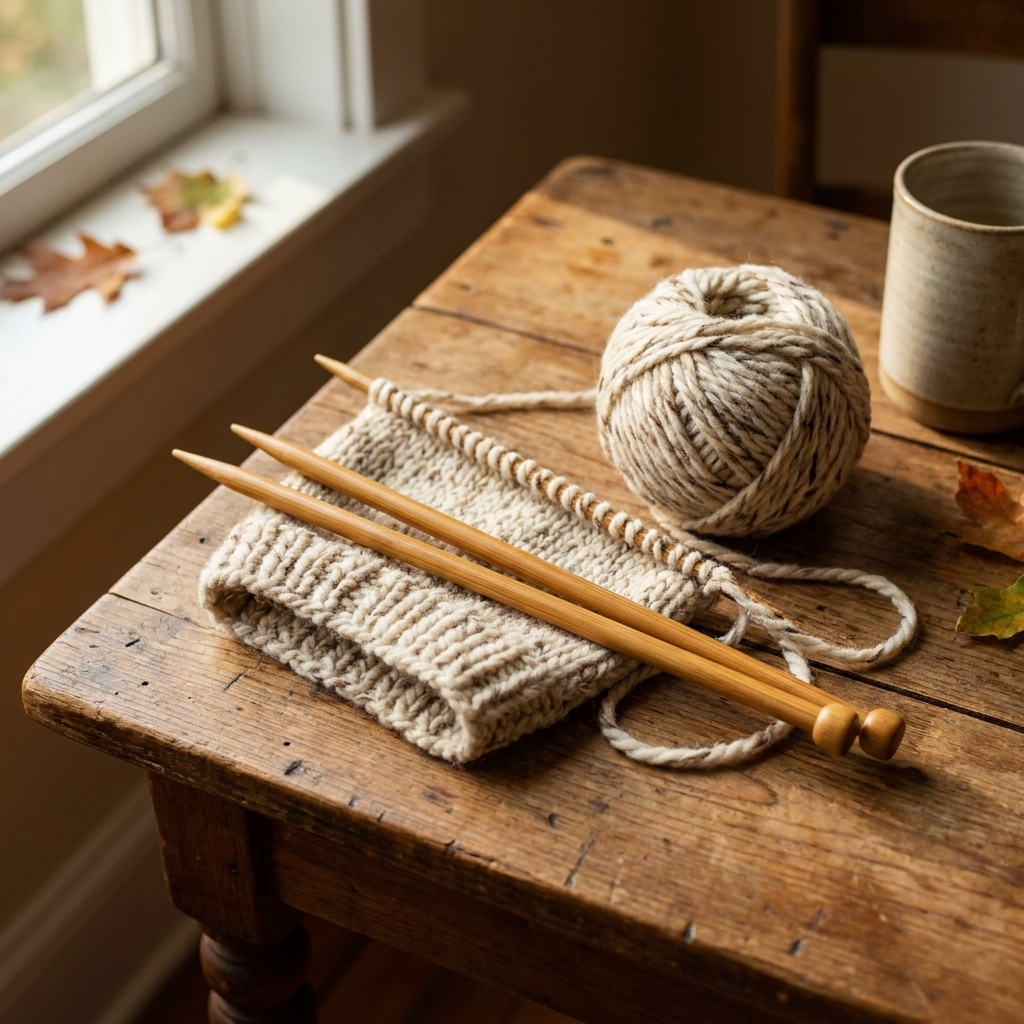
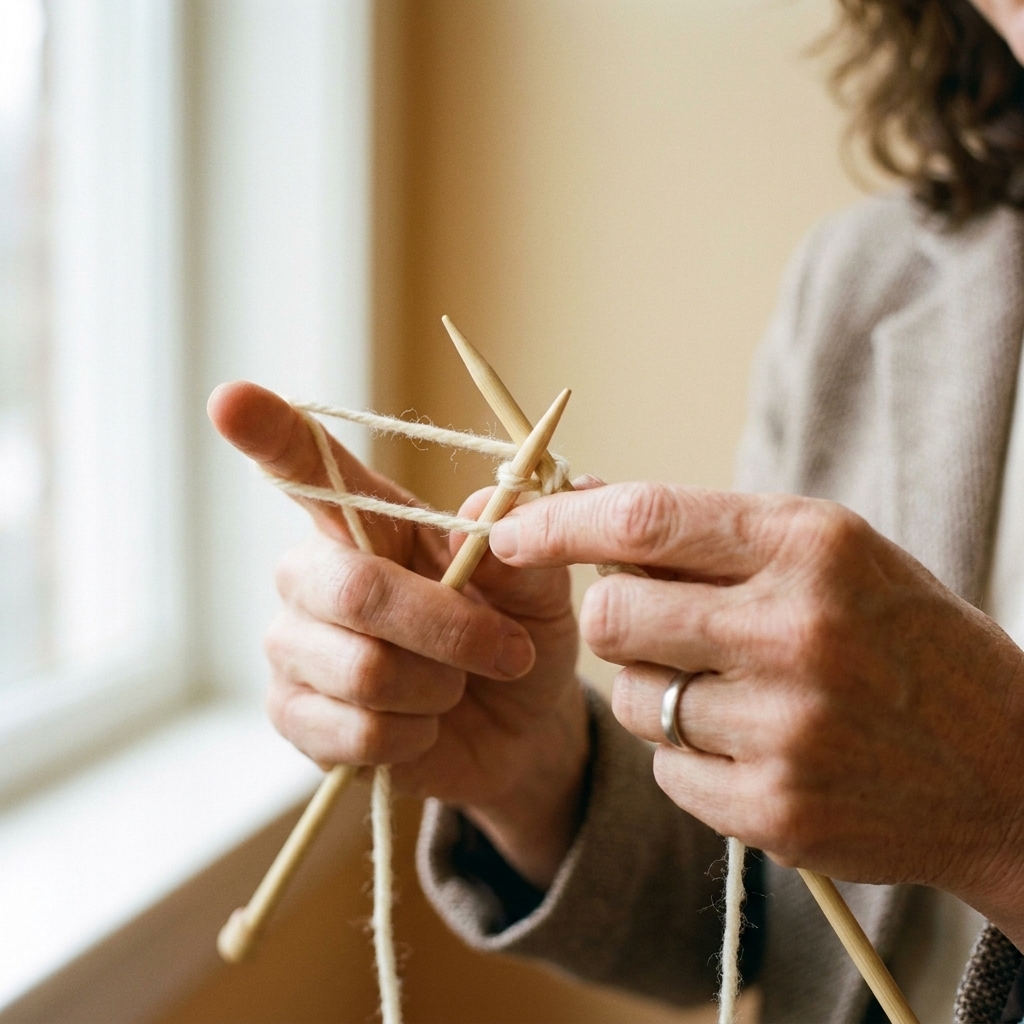
Cables look fancy. Cables feel fancy. Cables also have a reputation for being… a little scary. Like they require a secret knitter handshake and a very serious sweater budget.
Good news: a cable is simply a small group of stitches that swap places. That is it. You temporarily hold a few stitches to the front or back, knit the next stitches, then knit the held stitches. The “twist” creates that gorgeous ropey texture.
In this guide, I’ll walk you through three beginner milestones: (1) reading a basic cable chart, (2) using a cable needle without dropping everything, and (3) knitting two classics: a 4-stitch front cable and a 4-stitch back cable.
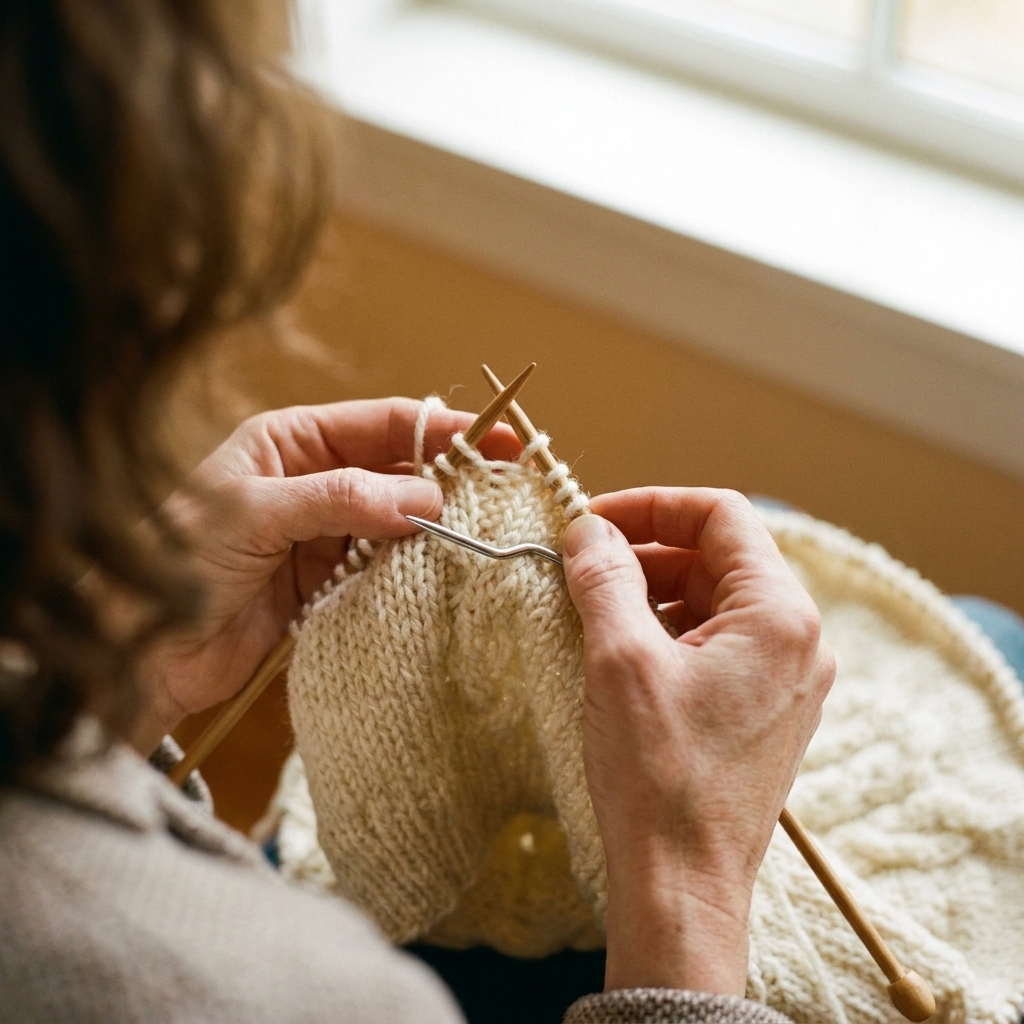
What a cable is
Think of a cable like braiding hair, but with stitches. You take a mini section of stitches, move them out of the way briefly, knit the next section, then knit the held stitches. That swap changes the order the stitches sit on the fabric, which creates the raised twist.
Cable vocabulary
- Cross: the moment you swap the stitch order.
- Hold to front (CF): the cable needle rests in front of your work, closer to you.
- Hold to back (CB): the cable needle rests behind your work, away from you.
- Cable repeat: how often the cross happens (for example, every 6th row).
If you only remember one thing, let it be this: in the common setup where you cross stitches on a right side row, holding stitches to the front often creates a left-leaning cable and holding stitches to the back often creates a right-leaning cable. But pattern keys can vary, so treat the abbreviations like the real source of truth. In this tutorial, C4F means hold to the front, and C4B means hold to the back, exactly as written below.
Tools and setup
What you need
- Yarn: smooth, light-colored yarn helps you see what’s happening. Avoid fuzzy yarn for your first cables.
- Needles: whatever size matches your yarn. Straight needles are fine, circular needles are also fine.
- Cable needle: a short needle used to hold stitches. A basic U-shaped or straight cable needle works great.
- Optional: a removable stitch marker to mark the start of your cable panel.
Practice swatch (recommended)
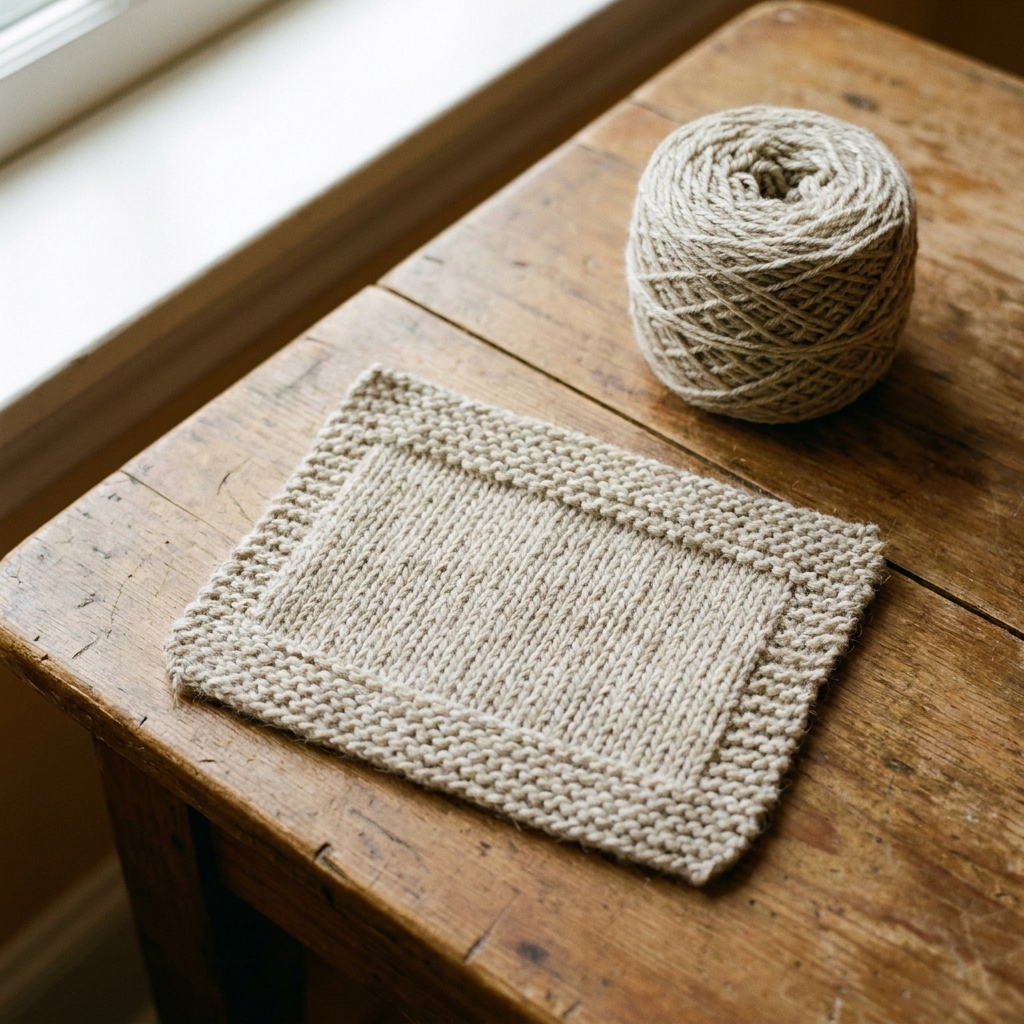
If you want a low-stress practice piece, cast on 18 stitches:
- 4 stitches garter border
- 10 stitches stockinette center (this is where we’ll cable)
- 4 stitches garter border
Work 6 rows like this (this creates stockinette in the center):
- Right side rows: knit 4, knit 10, knit 4
- Wrong side rows: knit 4, purl 10, knit 4
Now you have a tidy stockinette “stage” for your cable to perform on.
How to read cable charts
Cable charts can look like tiny pixel art. The trick is knowing two things: direction and symbols.
Direction
- Flat knitting, right side rows: charts are commonly read from right to left.
- Flat knitting, wrong side rows: charts are commonly read from left to right, unless the pattern tells you to ignore WS rows or only charts the right side.
Many beginner cable patterns work the cable crossings on right side rows only, with wrong side rows worked “as established” (meaning knit the knits and purl the purls as they appear). Still, always follow the chart key and the pattern notes, because designers do their own thing.
Symbols
Chart symbols vary by designer, but these are common for basic cables:
- A box often means a knit (on the right side) or a purl (on the wrong side), depending on the chart key.
- A cable symbol looks like two lines crossing. The key tells you how many stitches are involved and whether you hold to the front or back.
When you see something like “4-stitch cable,” it usually means you are swapping 2 stitches with 2 stitches. So yes, a 4-stitch cable is typically a 2-over-2 cross.
My sanity-saving tip
Before you knit, take a pencil (or a sticky note) and mark the row you are on. Cable rows have a way of making time feel bendy.
Cable needle basics
A cable needle is just a temporary parking spot. Your goal is to keep the held stitches secure and not twist them accidentally.
How to move stitches
- Knit to the start of the cable group.
- Slip the required number of stitches purlwise (as if to purl) from the left needle onto the cable needle. Slipping purlwise keeps them from twisting.
- Put the cable needle in front (CF) or in back (CB) of your work, depending on the cable direction.
- Knit the next stitches from the left needle.
- Knit the held stitches from the cable needle.
What it should feel like
Awkward at first. Completely normal. The first few crosses can feel like you need an extra elbow. Give it a couple repeats and your hands will suddenly go, “Oh. That’s all we’re doing?”
Knitting a C4F
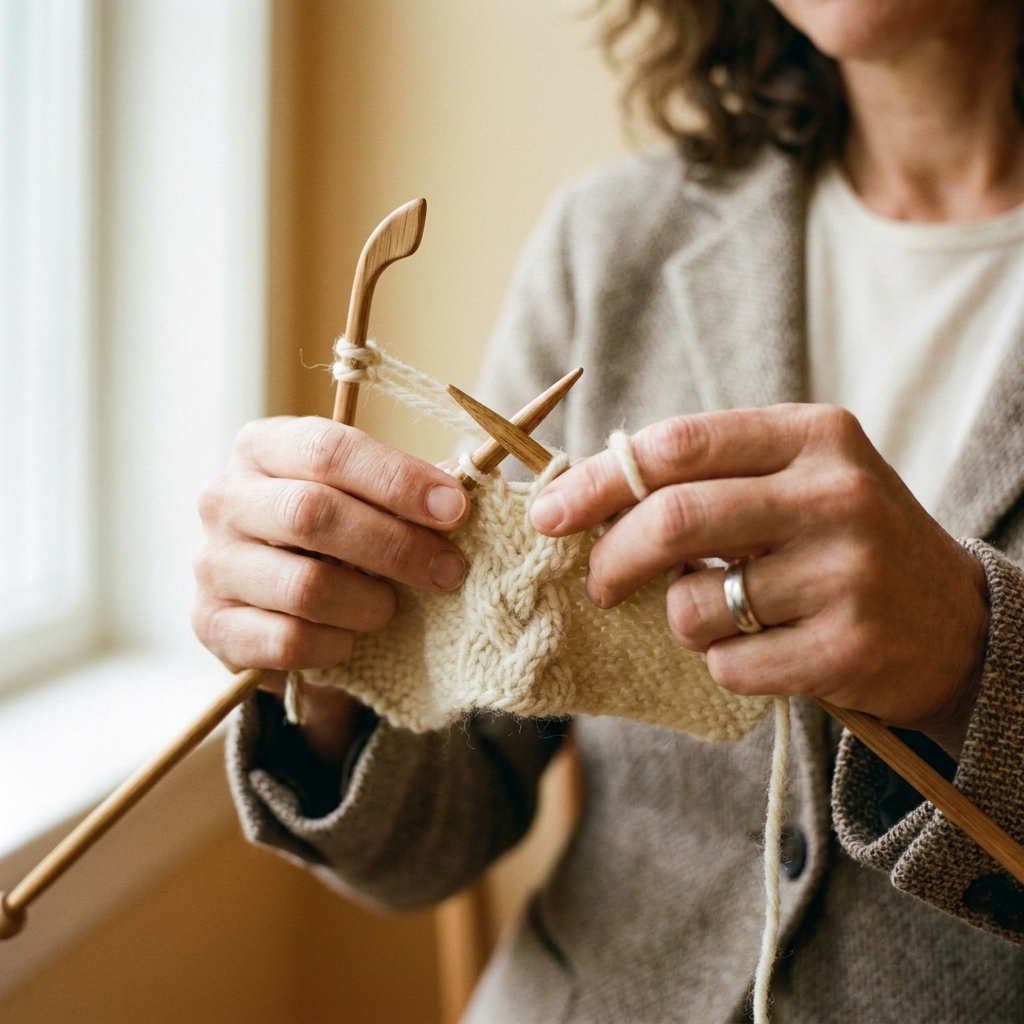
A 4-stitch front cable is commonly written as C4F. Translation: slip 2 stitches to a cable needle and hold them in front, knit the next 2 stitches, then knit the 2 held stitches.
Step by step
- Work to the cable. Stop when the next 4 stitches are the ones you want to cable.
- Slip 2 stitches purlwise onto your cable needle.
- Hold the cable needle to the front of your work. Those 2 stitches are now hanging out closest to you.
- Knit the next 2 stitches from the left needle.
- Knit the 2 stitches from the cable needle.
What you’ll see: with this C4F setup, the cable typically leans to the left.
C4F troubleshooting
- If the cable looks loose: after knitting the first stitch off the cable needle, give the working yarn a gentle snug. Not a tug-of-war, just a small firming up.
- If you dropped a stitch off the cable needle: pause. Put your knitting down. Use the tip of your right needle to pick it up and place it back on the cable needle or left needle. Stitches are surprisingly patient if you treat them kindly.
- If you can’t tell where the 4 stitches start and end: place a marker before the cable panel or use a contrast “lifeline” yarn through the row below your cable area.
Knitting a C4B
A 4-stitch back cable is usually written as C4B. Translation: slip 2 stitches to a cable needle and hold them in back, knit the next 2 stitches, then knit the 2 held stitches.
Step by step
- Work to the cable.
- Slip 2 stitches purlwise onto your cable needle.
- Hold the cable needle to the back of your work, away from you.
- Knit the next 2 stitches from the left needle.
- Knit the 2 stitches from the cable needle.
What you’ll see: with this C4B setup, the cable typically leans to the right.
Putting it together
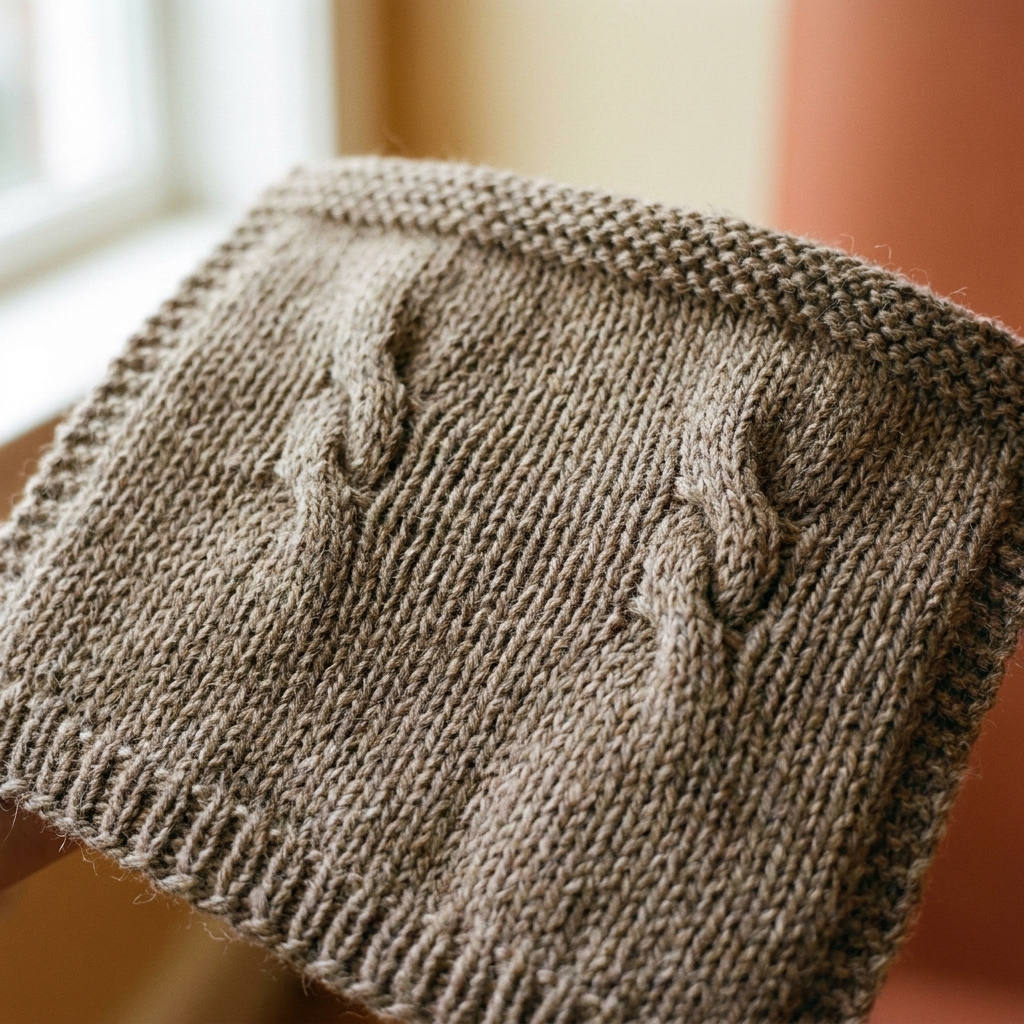
Most cable patterns repeat a cross every few rows to create a tall, twisting column. Cable crossings are often worked on right side rows, with the in-between rows used to keep the background fabric steady so the cable can stand out.
Here is a beginner-friendly rhythm you can use in your swatch’s 10-stitch stockinette center:
Option A: One cable
- Make the middle 4 stitches your cable stitches.
- Knit the other center stitches as stockinette background.
Example (right side cable row): knit to the cable, work C4F or C4B, then knit to the end of the row.
Repeat the cable row every 6th or 8th row for a classic look. Between cable rows, keep working stockinette (knit on RS, purl on WS) so the cable pops.
Option B: Alternate direction
If you do one C4F, then the next time you cable you do C4B, you’ll get a more “wiggly” cable column. It is a fun practice exercise because it trains your brain to follow the hold direction, not just the vibes.
Common questions
Do I need a cable needle?
For your first cable, I recommend yes. Cable-needle-free methods are totally real, but learning the “classic” way first makes everything else easier. Once you’re comfortable, you can explore cabling without a needle for speed.
Why are my cables tight?
This is usually a tension issue at the cross. Two fixes:
- Use a cable needle that is close in size to your main needle. If it’s much smaller, stitches can get squeezed.
- Relax your grip when knitting stitches off the cable needle. Your fabric should feel firm, not armored.
Why are my cables loose and gappy?
Small gaps can happen where the stitch order changes. Try gently snugging the working yarn after the first stitch worked following the cross. Also, make sure you are not stretching the stitches on the cable needle too far away from the work.
I messed up the cross. Do I have to rip everything out?
Nope. You have options:
- If you’re only a row past it: you can tink back (unknit stitch by stitch) to the cable row and redo it.
- If you’re several rows past it: consider leaving it. Truly. Many “mistakes” disappear once the fabric relaxes, and a handmade item with a little personality is still a handmade item.
Mini practice
If you want a quick win, knit this tiny cable panel inside any stockinette swatch:
- Row 1 (RS): Knit to the cable area, work C4F, knit to end.
- Rows 2 to 5: Work in stockinette (purl on WS, knit on RS).
- Row 6 (RS): Repeat C4F.
Do the same with C4B in a second swatch. Seeing the lean difference side by side is one of those “Ohhh” moments that makes cable charts instantly less mysterious.
A cozy pep talk
Cables are one of my favorite knitting confidence boosts because they look wildly impressive and are, at their core, just a tidy little stitch swap. Your first few might feel clunky. Mine sure did. I vividly remember thinking, “Surely real knitters don’t fumble this much.”
Plot twist: real knitters fumble all the time. We just keep going anyway, usually with a snack nearby.
When you’re ready, cables show up everywhere: hats, headbands, chunky scarves, and heirloom-level sweaters. One C4F and one C4B is all it takes to unlock the whole cozy kingdom.