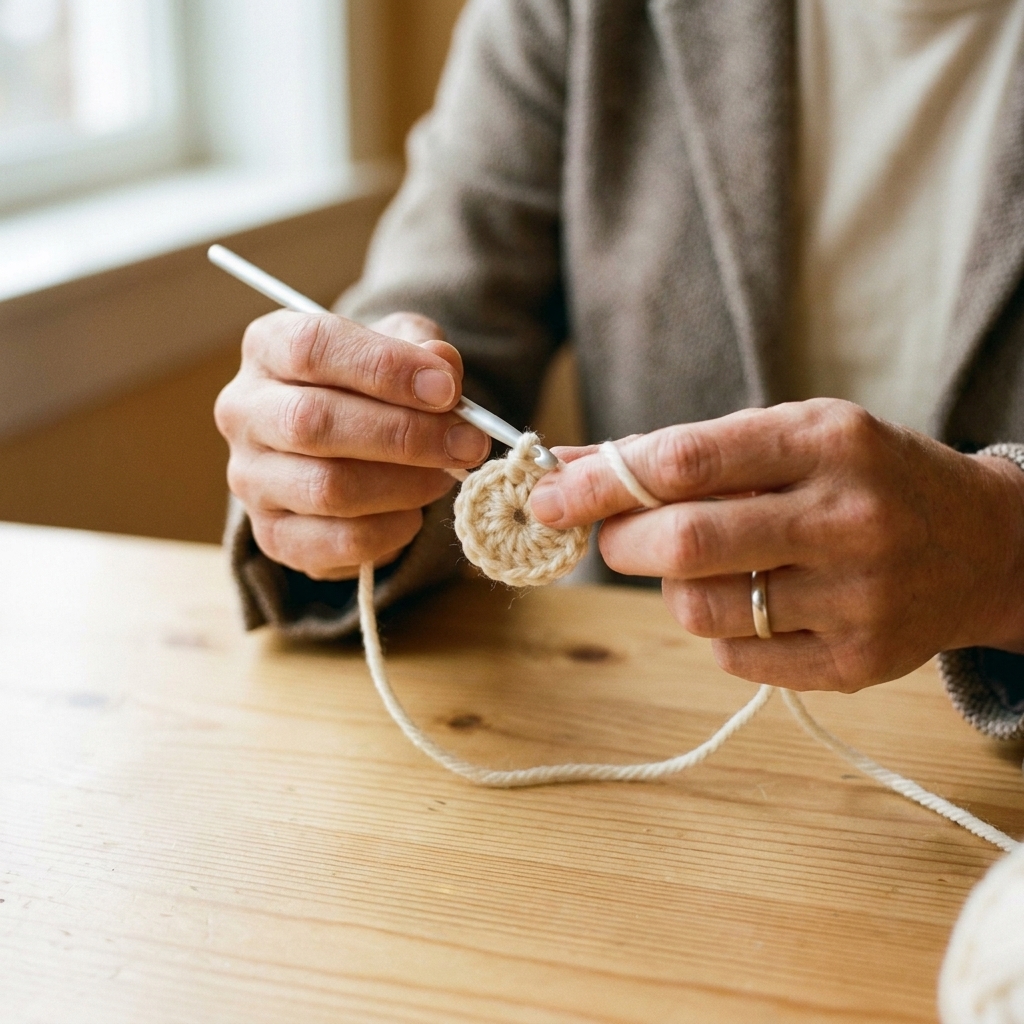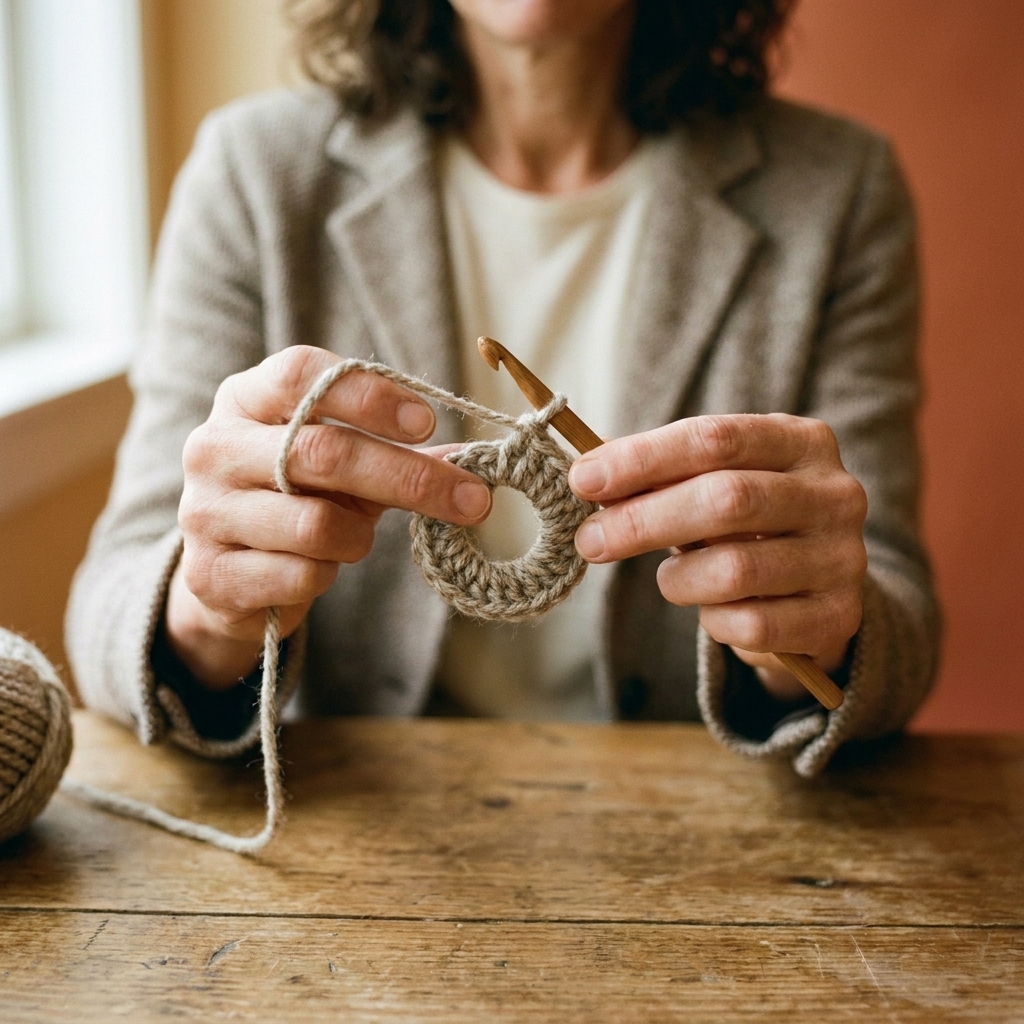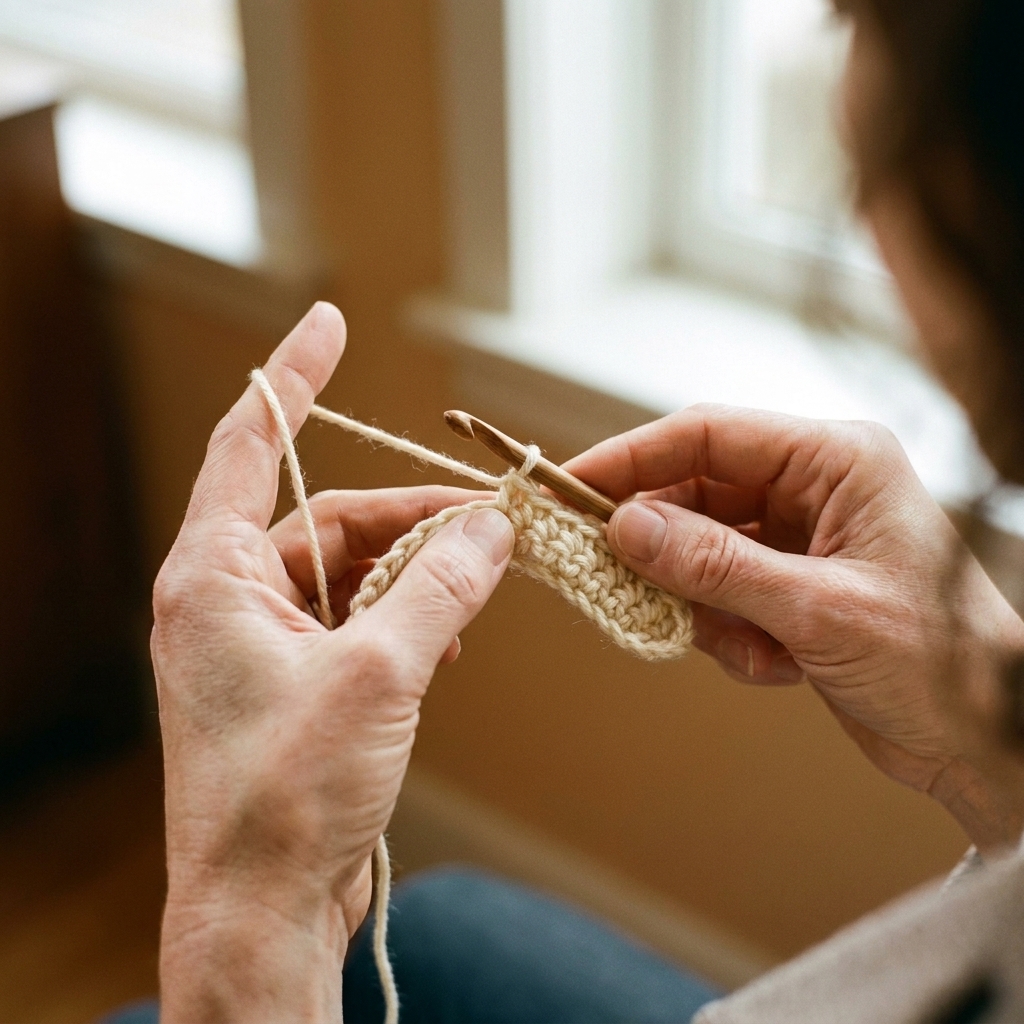
One more round. Then just one more.
If you have ever tried to crochet a nice, flat circle and watched it quietly become a tiny bowl or a ruffly wave, you are not alone. A crochet circle is basically a little math story you tell with yarn. When the increase count drifts, the fabric has to go somewhere, so it curves up or ripples out.
Let’s name the two most common “my circle won’t lie flat” failures, what causes each one, and how to check your stitch counts so you can fix it fast.
The two shapes that tell you what went wrong
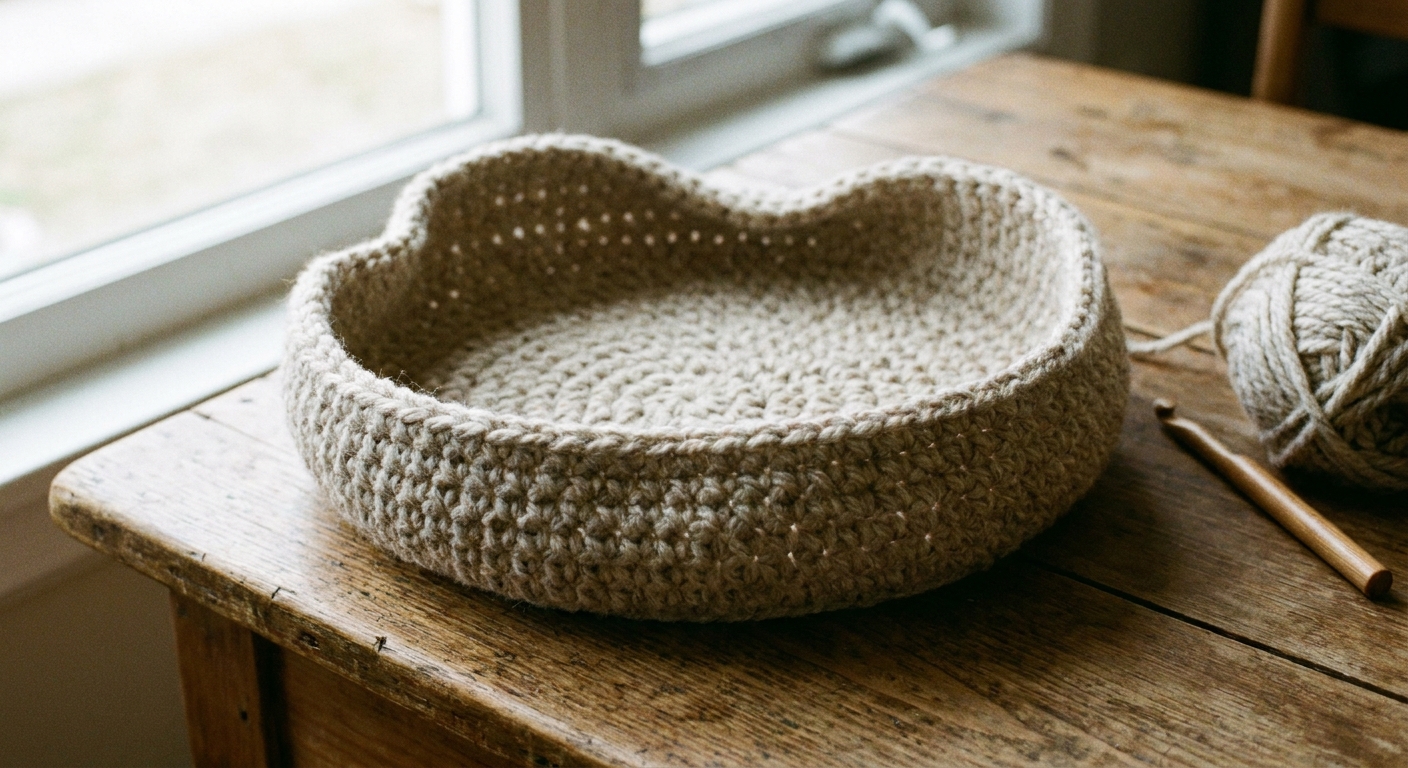
1) The cupping bowl
If your circle is curving upward like a shallow bowl, it is almost always because you do not have enough increases for the round you are on, or because your tension is getting tighter as you go.
- What it looks like: edges lift up, center looks tight, circle wants to become a hat top.
- What it means: the fabric is being asked to cover more area than you have stitches for, so it pulls inward and climbs upward.
- The usual cause: you missed an increase, accidentally skipped a stitch, or your “increase rhythm” is spaced wrong for that round.
One sneaky look-alike: an overly tight start (magic ring yanked closed, or a tight chain-2 start) can make the center pucker and mimic cupping even when later rounds are counted correctly.
2) The ruffled wave
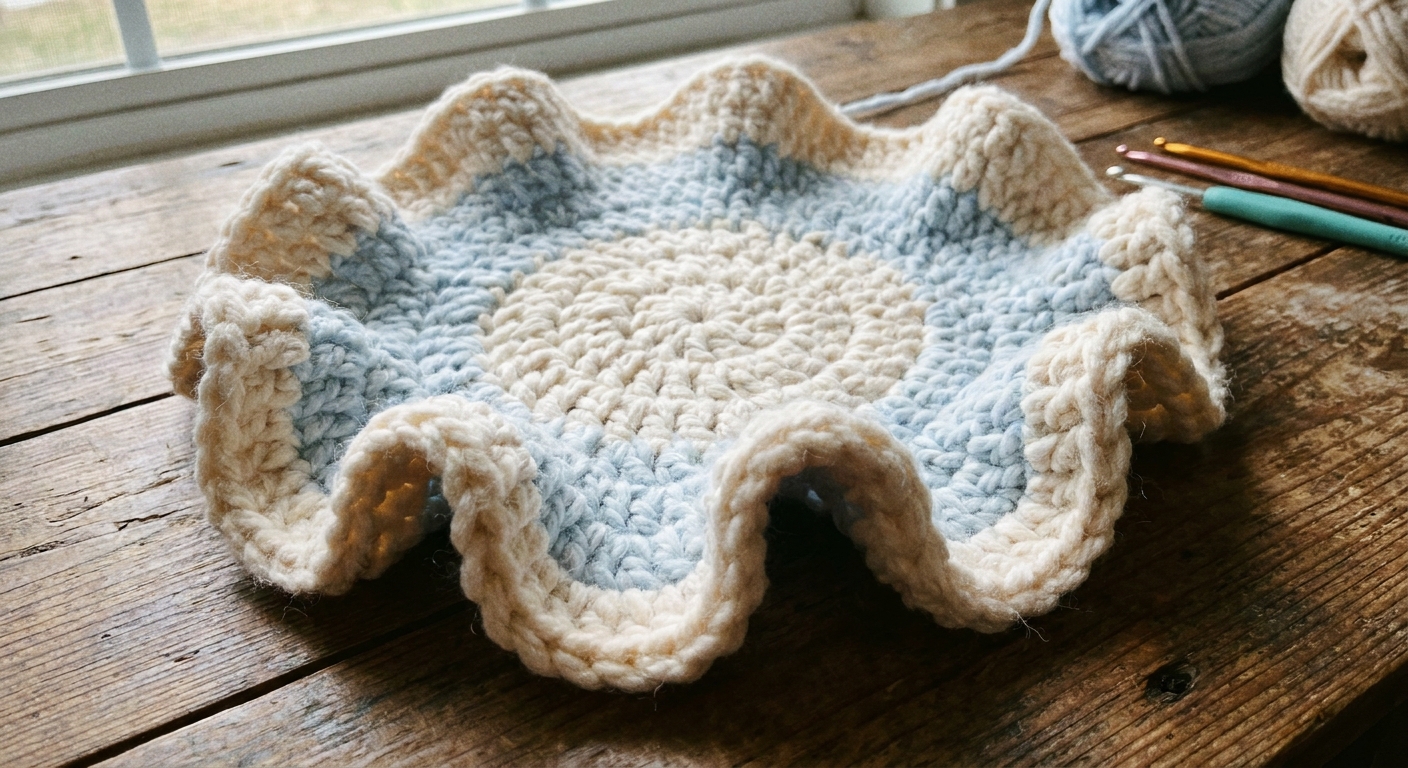
If your circle is rippling like lettuce or making a wavy little doily edge, you usually have too many increases, or your tension is getting looser in the outer rounds.
- What it looks like: extra fabric at the edge, waves or ruffles that will not smooth out.
- What it means: the round has more stitches than it needs to lie flat, so the excess fabric flares outward.
- The usual cause: you added an extra increase, repeated the increase section too many times, or worked increases too close together.
The flat-circle rhythm
Most simple crochet circles are built on a steady increase plan. The exact numbers depend on the stitch you use, your yarn and hook, and even how tightly you crochet that day. Still, many patterns follow a familiar idea: add a consistent number of stitches each round, and spread those increases evenly.
Single crochet circle math
For single crochet (sc), a very common flat circle starts with 6 increases per round. It is not the only way, but it is a classic starting point and it shows up everywhere.
- Round 1: 6 sc in a ring
- Round 2: increase in every stitch (12 total)
- Round 3: (sc, inc) repeat (18 total)
- Round 4: (2 sc, inc) repeat (24 total)
- Round 5: (3 sc, inc) repeat (30 total)
See the rhythm? Each round adds 6 stitches, and the number of plain sc between increases goes up by 1 each round.
If your yarn is very thick, your hook is small, or your fabric is naturally tight, you might find a pattern that starts with 8 instead. That is not “wrong,” it is just a different math story.
Half double and double crochet circles
Taller stitches need more room to spread out, so their “typical” increase rates are often higher.
- Half double crochet (hdc): often 8 increases per round
- Double crochet (dc): often 12 increases per round
You will still see variations (including 10) when designers are shaping for a specific gauge, drape, or texture. If you are following a pattern, trust its stitch counts first. If you are freehanding, pick an increase count and keep it steady, then adjust only if the fabric tells you to.
How to count rounds before you start the next one
This is the tidy habit that saves the most frogging: count at the end of every round. Not forever. Just until your circle is behaving.
Step 1: Mark the round start
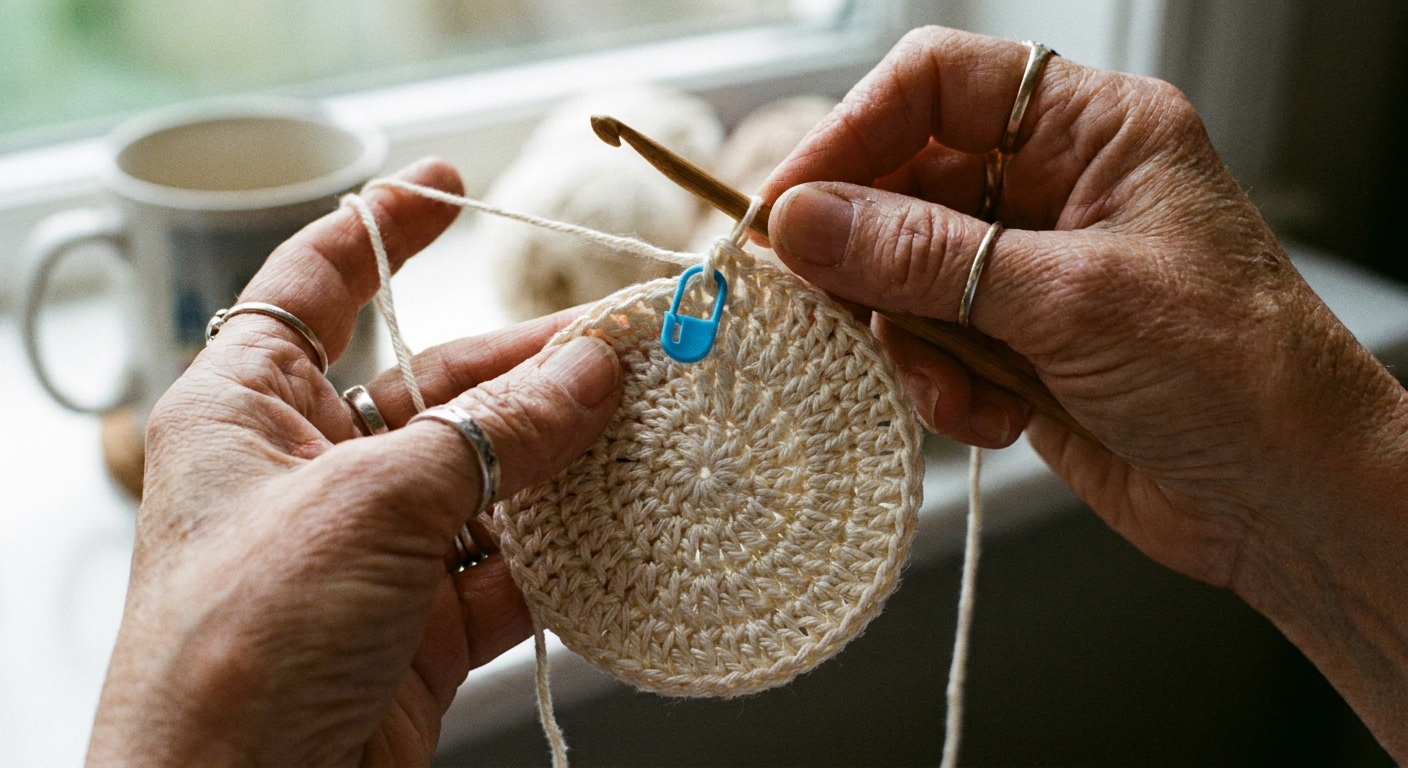
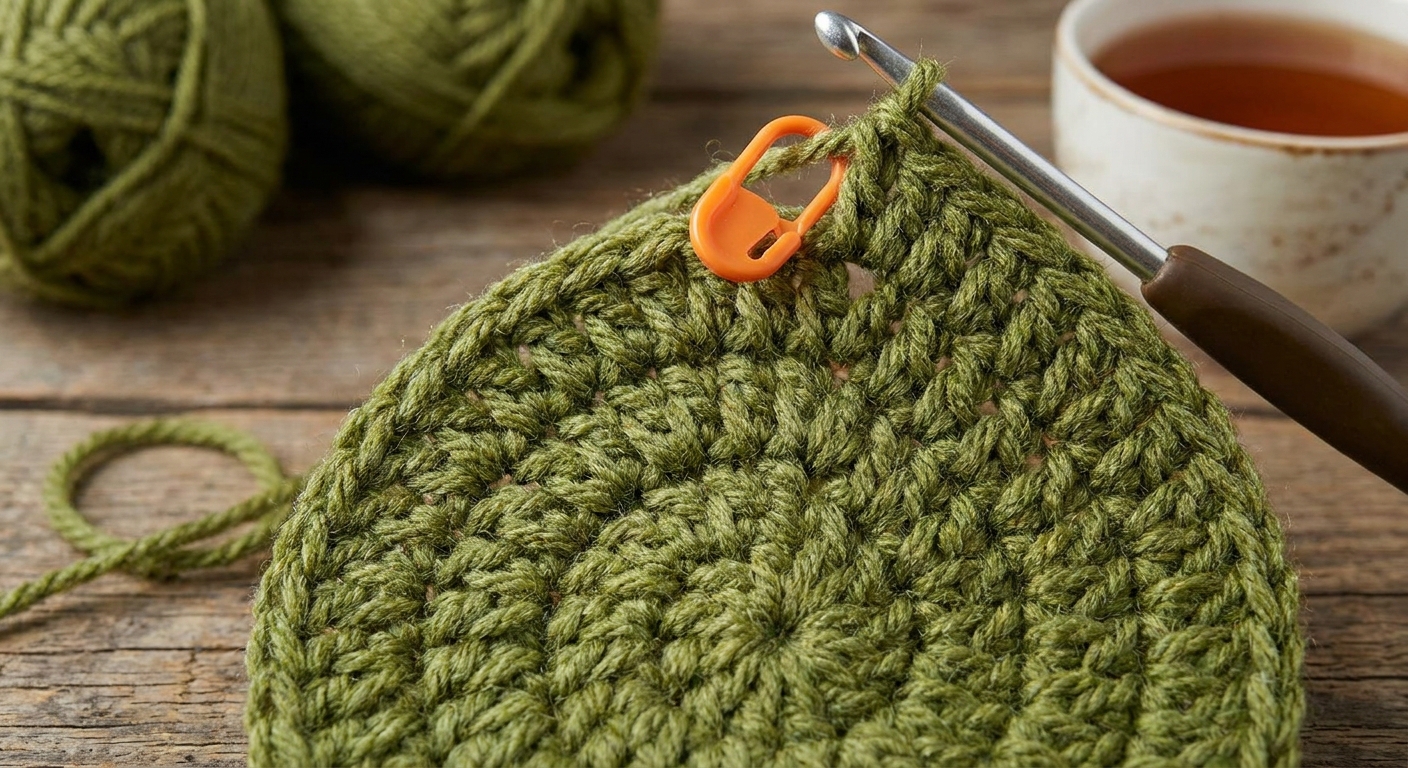
Use a stitch marker, a scrap of yarn, or a bobby pin. Put it in the first real stitch of the round.
If you are working joined rounds, this usually means the first stitch you make after any joining slip stitch and any starting chain. The chain often does not count as a stitch unless your pattern explicitly says it does. This is where off-by-one errors love to hide.
If you are working in a spiral, move the marker up into the first stitch of each new round as you go. No seam, but you do have to keep your place.
Step 2: Count total stitches
When you finish the last stitch of the round and you are about to begin the next round, pause and count the stitches in that round.
- If you are working a classic sc circle with 6 increases each round, your totals will usually go: 6, 12, 18, 24, 30, 36…
- If your total is short, expect cupping.
- If your total is high, expect ruffling.
Step 3: Count increases, not just stitches
If counting the entire round feels like counting sheep, count your increase points instead.
An increase is simply two stitches worked into the same stitch, regardless of stitch type (2 sc in one stitch, 2 hdc in one stitch, 2 dc in one stitch).
Example for a single crochet circle: you are looking for 6 increases in that round. That means 6 places where you worked 2 sc into the same stitch.
A quick way to check is to lightly pinch the circle into sixths like a little yarny pie and scan each section for one increase.
Quick diagnosis
If it cups
- Most likely: not enough increases, you skipped a stitch, or your tension tightened up.
- Check: Did your stitch count match what it should be for that round? Is your center pulled very tight?
- Fix: Usually you will want to pull back one round and redo it with the correct count. If the center is the culprit, relax the ring or starting chain before you redo the next round.
If it ruffles
- Most likely: too many increases, you accidentally increased where you meant to do one stitch, or your tension loosened up.
- Check: Did you add the right number of increases for the round?
- Fix: If the ruffle is strong, pull back one round and redo it. If it is just a faint wave, keep reading, it might settle.
When to frog one round
This is the part where I pull up a chair, slide you a stitch marker, and say: you do not have to fix everything immediately.
Pull back one round when
- Your stitch count is clearly off and the shape is already dramatic.
- You can point to the mistake, like “I have 7 increase spots, not 6.”
- The circle is getting worse each round. A bowl becomes a deeper bowl. A ruffle becomes a frill.
Let it rest when
- The circle is only slightly wavy right after finishing the round.
- You are using a springy yarn that relaxes after a few minutes.
- Your hands are crocheting tightly right now and you know your tension evens out later.
A gentle wave can disappear after the next round, after a careful block (fiber allowing), or simply after the piece sits flat for a bit. Crochet fabric has memory, but it also has moods.
If you do block, be cautious with heat and agitation. Some fibers love steam, others do not. When in doubt, test on a swatch or use the gentlest approach.
Other reasons circles misbehave
Tension changes
If your tension gets tighter as you go, the outer rounds shrink and can cup. If your tension gets looser, outer rounds spread and can ripple. Try a relaxed grip for a round and see if the fabric calms down.
Increases stacked in the same spots
Even with the correct number of increases, placing them directly above the increases from the previous round can create little corners or waves. Many patterns offset increases to smooth the circle.
If you are freehanding, try shifting where your first increase lands so the increase points spiral a bit instead of forming straight spokes.
Joins, seams, and extra stitches
If you join rounds with a slip stitch and chain, it is easy to accidentally count the join as a stitch or work into the wrong place at the seam. Keep the seam marked and be picky about where the first stitch of the round really is.
Spiral rounds avoid the seam confusion, but they make it easier to lose track of where a round ends. That stitch marker earns its keep either way.
Checklist before the next round
- Is your round start marked?
- Does your stitch total match what it should be?
- Do you have the correct number of increases for this round?
- Is the fabric lying mostly flat when you set it on the table?
If you can answer yes to those, your circle is doing its job. Even if it is not perfectly flat in your hands, it is probably close enough to continue.
Quick FAQ
How flat is flat enough?
If it sits on a table without turning into a bowl, and the edge does not wave wildly, you are good. Many circles look slightly lively until they are blocked or stitched into a bigger project.
Can I fix a cup by adding extra increases next round?
Sometimes, but it is risky. Adding extra increases can create a sudden ruffle later. If the cup is noticeable and your count is short, pulling back one round is usually cleaner.
My counts are right, but the edge still curls. Normal?
A little curl can come from tension, yarn twist, or just a freshly worked edge. Let it rest, then decide. If your stitch counts are right, you have earned a calm cup of tea and another round.