Opening your first pattern can feel like you have accidentally enrolled in a tiny, yarn-based foreign language course. k2, p2, rep, pm, sc, dc, FLO. It’s a lot.
Here is the cozy truth: patterns are not meant to be mysterious. They are meant to be repeatable. Once you learn where to look and what the usual pattern “building blocks” are, you will start seeing the same helpful structure over and over again in both knitting and crochet.
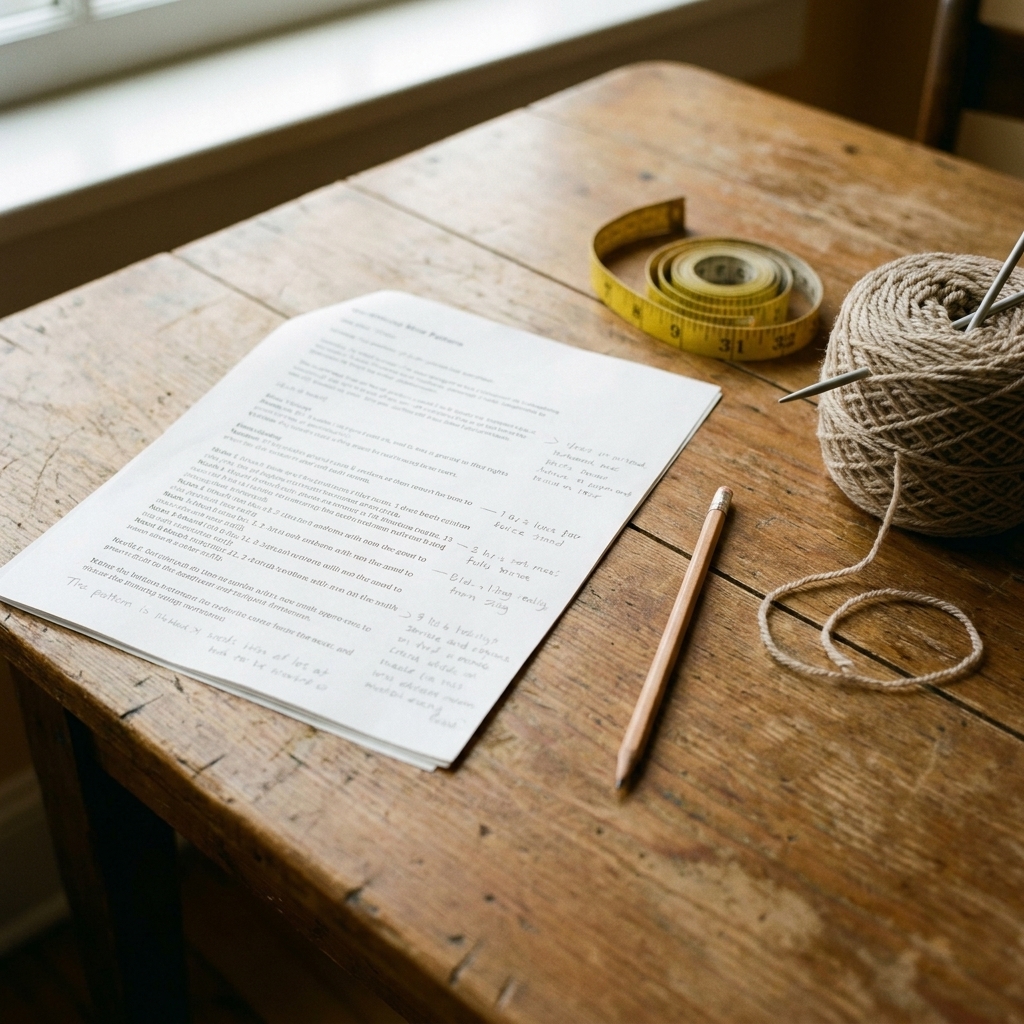
Let’s walk through exactly how to read your first knitting and crochet patterns, decode the abbreviations, and handle gauge without the stress spiral.
Start here: the pattern checklist
Before you cast on or make a slip knot, do a two-minute scan. You are looking for the information that decides whether this pattern will be fun or frustrating.
- Skill level (beginner, advanced beginner, intermediate)
- Sizes and how sizing is written (often multiple sizes in parentheses or brackets)
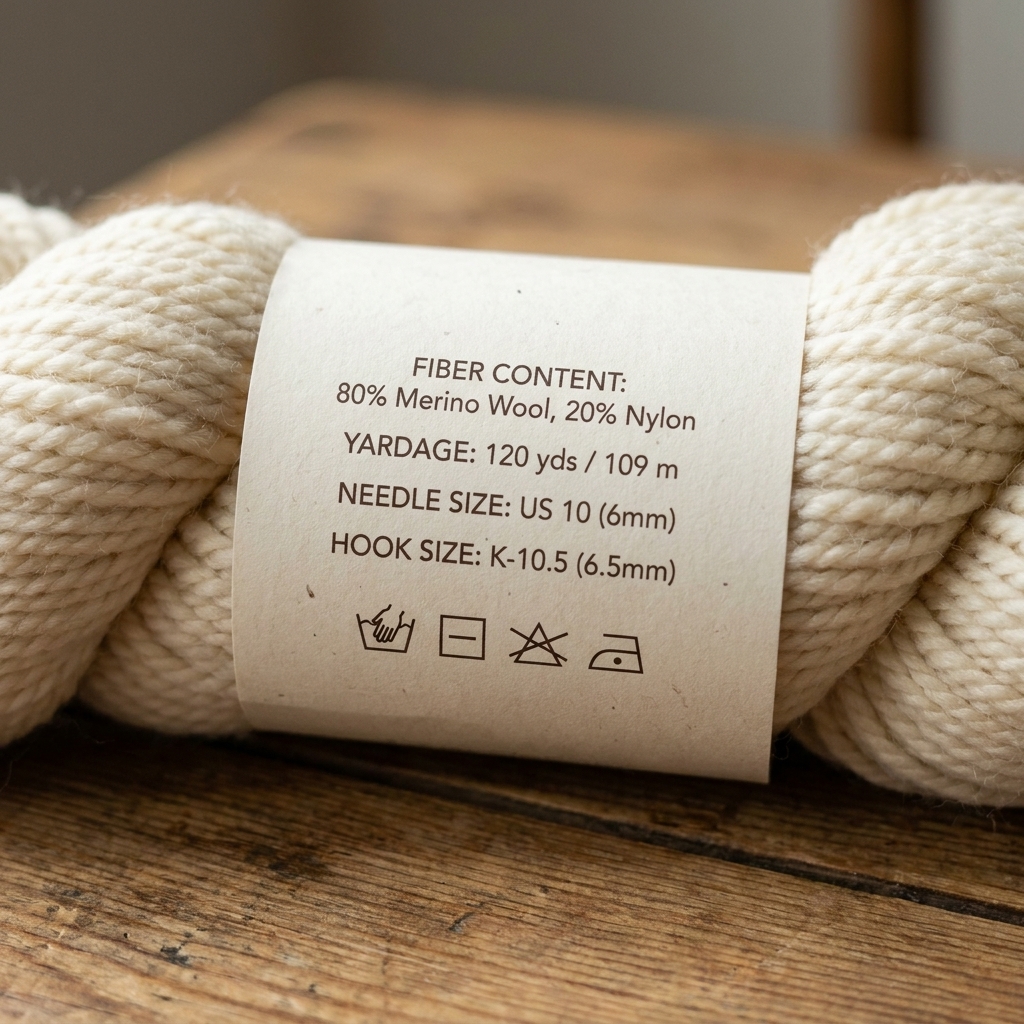
- Yarn weight and yardage or meterage required
- Recommended hook or needle size
- Notions (stitch markers, tapestry needle, buttons, etc.)
- Gauge (and whether it is crucial for fit)
- Construction (flat in rows, in the round, seamed, top-down, etc.)
- Special stitches and where the tutorial is (sometimes included at the end)
- Pattern notes (these are easy to skip and often answer the exact question you will have later)
If the pattern has a photo, take a slow look. Identify the fabric texture (stockinette, garter, ribbing, granny-style clusters, etc.) and the shaping areas (neckline, sleeves, crown of a hat). This makes the written steps feel less abstract.
Also: patterns may list measurements in inches, centimeters, or both. Make sure you are reading the unit you actually use before you commit to a size.
One more quick sanity check: yarn weights can be labeled differently across regions and brands. A designer’s “DK” might also be sold as “8-ply,” and “worsted” might show up as “10-ply” in some systems. If you are unsure, use the gauge and recommended yardage as your compass, and check the ball band for suggested needle or hook ranges.
Pattern layout: where people get stuck
Most knitting and crochet patterns follow a similar flow. Once you recognize the sections, you always know where to hunt for answers.
1) Materials and tools
This is where you will see yarn weight, brand suggestions, needle or hook sizes, and notions. Three beginner notes:
- You can usually substitute yarn as long as you match the weight and can meet gauge. If you substitute, pay attention to fiber content. Cotton behaves very differently than wool.
- Needle and hook sizes are suggestions, not commandments for meeting gauge. Designers pick a size to help most people land in the right neighborhood. You may need to go up or down.
- Sometimes the fabric is the point. Amigurumi is intentionally tight so stuffing does not show. Some lace wants extra drape and openness. In those cases, follow the pattern notes and the fabric photo, not just the number on the hook.
2) Abbreviations and terms
Some patterns list abbreviations near the front, some at the end, and some assume you already know them. If you do not see a list, do not panic. You can still read the pattern by identifying each abbreviation as you go.
One tiny but important detail: the same idea can be written in different ways. For example, you might see PM or pm for place marker. They usually mean the same thing unless the pattern notes say otherwise.
Casing varies by designer and publisher. Your best move is to match the pattern’s style so you do not accidentally treat two spellings like two different instructions.
3) Gauge
Gauge is the “tension agreement” between you and the designer. It tells you how many stitches and rows (or rounds) make a specific measurement, usually 4 inches or 10 cm.
When gauge matters most: sweaters, hats, socks, mittens, anything fitted.
When gauge matters less: scarves, blankets, dishcloths, some shawls. Even then, gauge affects yarn usage and finished size.
4) Pattern notes
These are the little sentences people skip, and then later we all end up whispering “why is this not working” into our tea. Notes might explain:
- Whether turning chains count as a stitch (crochet)
- Whether slipped stitches are knitwise or purlwise (knitting)
- How repeats are written
- Whether you should read charts right-to-left or left-to-right
- How stitch counts are calculated (for example, whether the turning chain is included)
5) The instructions
Instructions are usually broken into sections like Ribbing, Body, Sleeves, Finishing. In crochet you might see Base chain, Row 1, Edging, Assembly.
Beginners often struggle with:
- Multiple sizes in one line
- Repeats (what exactly is repeating?)
- Parentheses vs brackets
- “At the same time” instructions (common in knitting patterns)
- Knowing whether counts include turning chains (crochet)
- “Work in pattern” or “as established” (knitting speak for “keep doing what you’ve been doing”)
If you see “work in pattern” or “as established” and it feels vague, look back for the stitch pattern definition or the earlier rows where that pattern was introduced. The pattern already told you what “the pattern” is. This line is just telling you to keep it going.
Pattern punctuation and repeats
This is the part that makes patterns look like algebra. I promise it is friendlier than it looks.
One important rule: punctuation conventions vary by designer and publisher. The pattern’s notes and abbreviation list are the authority. Use the tips below as a starting point, not a universal law.
Parentheses ( )
- Often used for sizing: “CO 80 (88, 96) sts” means cast on 80 for the smallest size, 88 for the next, 96 for the largest.
- Sometimes used for instructions: “(k2, p2) across” means the sequence k2, p2 is repeated.
Brackets [ ]
Brackets often group stitches that are worked together as a set, especially in crochet. They are also commonly used for sizing in some patterns. If you see brackets, pause and check the notes so you know which job they are doing in this specific design.
- Example idea: “Work [2 dc, ch 1, 2 dc] in next st” means all of that happens in the same stitch or space.
Asterisks *
Asterisks show repeats.
- *...* or *... rep from * tells you what section repeats and where it restarts.
- Example concept: “*k2, p2; rep from * to end” means keep doing k2, p2 until you run out of stitches.
“Repeat X times”
If the pattern says to repeat something a certain number of times, use stitch markers or a simple tally on paper. Even experienced makers lose count if they trust their brain on a long day.
Gauge, explained simply
Gauge is simply: how big your stitches are.
If you knit tighter than the designer, your sweater comes out smaller. If you crochet looser, your hat comes out bigger. This is not a personal failing. It is just hands being hands.
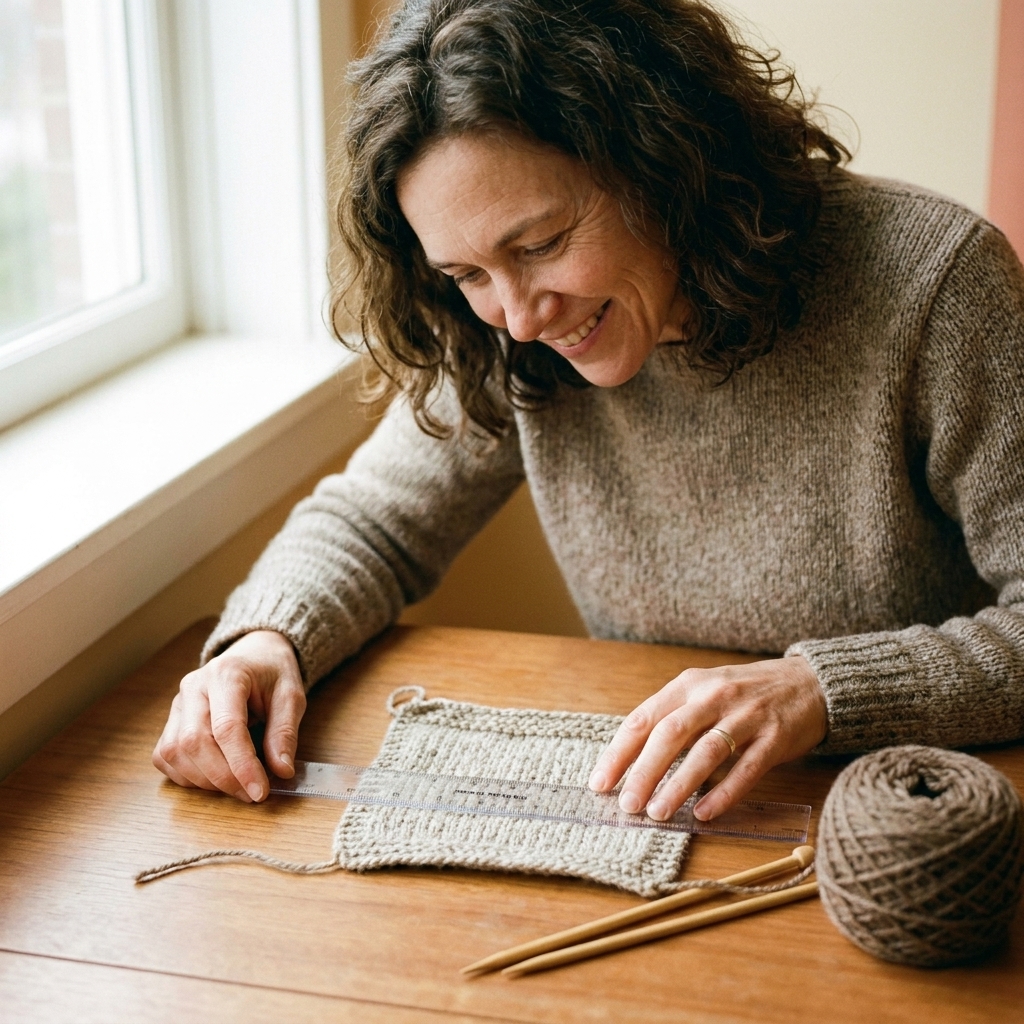
How to make a useful gauge swatch
- Use the recommended yarn or your chosen substitute.
- Use the stitch pattern named in the gauge section (stockinette, single crochet, etc.).
- Make it bigger than 4 inches. Aim for 5 to 6 inches so you can measure the center where stitches are most consistent.
- Wash and dry it the way you will treat the finished item. Some yarn relaxes or blooms after washing.
How to adjust if you do not match gauge
- Too many stitches per 4 inches (fabric is too tight): go up a needle or hook size and re-swatch.
- Too few stitches per 4 inches (fabric is too loose): go down a needle or hook size and re-swatch.
If row gauge is off but stitch gauge matches, you can often keep going and adjust length by measuring the piece instead of counting rows. Patterns will frequently say something like “work until piece measures X inches.” That is your best friend.
Common knitting abbreviations
Knitting abbreviations vary slightly by designer, but these show up everywhere. If you know these, you can follow a lot of beginner patterns.
- k: knit
- p: purl
- CO: cast on
- BO or cast off: bind off
- st(s): stitch(es)
- RS / WS: right side / wrong side
- rep: repeat
- pm / sm: place marker / slip marker
- k2tog: knit 2 together (decrease)
- ssk: slip slip knit (decrease)
- yo: yarn over (increase, makes an eyelet)
- M1L / M1R: make one left / make one right (increases)
- sl: slip (sometimes followed by knitwise or purlwise)
- tbl: through back loop
RS and WS
On simple scarves, it barely matters. On shaping, colorwork, and texture, it matters a lot. If a pattern says “Next row (RS),” that row is meant to be worked with the right side of the fabric facing you.
Common crochet abbreviations
Crochet has one extra twist: abbreviations can differ between US terms and UK terms. Most patterns will state which they use near the top. Check that line first if you can.
If they do not, here is a safer way to think about it: “dc” exists in both systems, but it means different stitches. In US terms, dc is a taller stitch (double crochet). In UK terms, dc is a shorter stitch (double crochet, which matches US single crochet).
Clues that often help:
- “sc” usually suggests US terms, because UK patterns typically do not use “sc” for single crochet. That said, some designers include both systems or use mixed-audience notation, so trust the pattern’s terminology note over everything else.
- “tr” and “dtr” show up in both systems, but they do not guarantee the same stitch height. In UK terms, tr is roughly the same stitch as US dc, and UK dtr is roughly US tr. When in doubt, compare the stitch instructions to the photo and to any stitch count changes.
- The fabric photo matters. A “dc” fabric in US terms is visibly taller and more open than a “dc” fabric in UK terms.
US crochet terms
- ch: chain
- sl st: slip stitch
- sc: single crochet
- hdc: half double crochet
- dc: double crochet
- tr: treble crochet
- sp: space
- st(s): stitch(es)
- rnd: round
- rep: repeat
- inc: increase (often “2 sc in next st”)
- dec: decrease (often “sc2tog”)
- FLO / BLO: front loop only / back loop only
Turning chains
This is a classic beginner frustration point. Patterns should tell you if the turning chain counts as a stitch.
- If it counts, you usually treat it like the first stitch of the row and you will often stitch into the top chain at the end of the row.
- If it does not count, you ignore it in stitch counts and often place the first stitch in the very first stitch of the row.
If your stitch counts are off by exactly one every row, turning chains are the first thing I would check.
Decode a pattern line
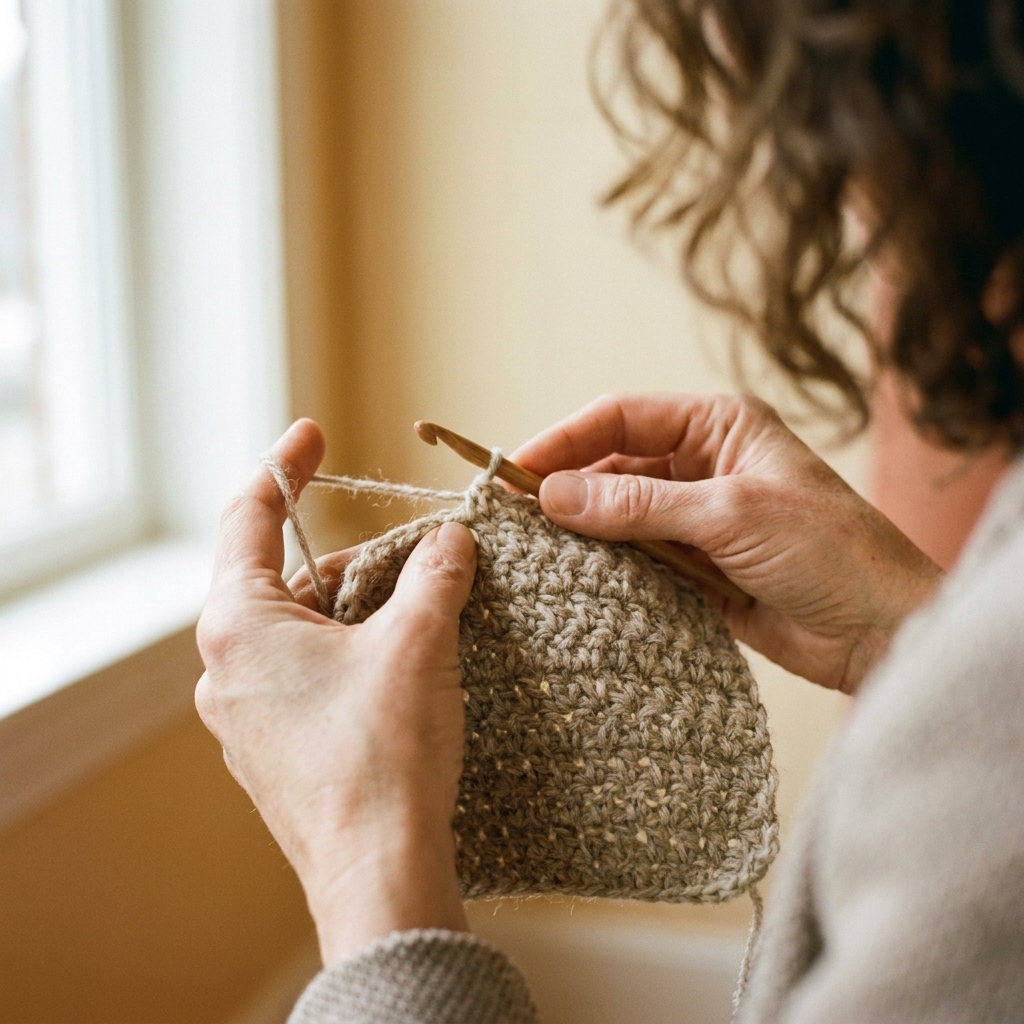
Let’s translate pattern language into plain English. You can practice the process on almost any pattern you have.
Step 1: Find your spot
Find the section header: “Cuff,” “Body,” “Crown decreases,” “Border,” “Sleeve.” Then find the exact row or round number you are on.
Step 2: Highlight three things
- Action stitches (knit, purl, sc, dc, etc.)
- Repeats (asterisks, brackets)
- Counts (stitch count at end of row or round)
Step 3: Rewrite it in your own words
This is my teacher trick. If a line feels intimidating, rewrite it as a short checklist.
Two quick examples
Knitting example line: “Row 1 (RS): k2, *p2, k2; rep from * to end.”
In plain English: On a right-side row, knit 2 stitches. Then repeat “purl 2, knit 2” until you reach the end of the row.
Crochet example line: “Row 2: Ch 1 (does not count as st), sc in each st across. (24 sts)”
In plain English: Make one turning chain, but do not count it as a stitch. Then single crochet into every stitch across the row. You should have 24 stitches when you are done.
Step 4: Check stitch count early
If a pattern gives stitch counts, use them. They are like little guardrails that keep you from wandering into the woods for five rows before realizing you missed an increase.
Step 5: Use stitch markers
You do not need a hundred markers, but you do need permission to use them. Place them:
- Between repeats
- At the beginning of rounds
- On increase or decrease points
- At the center front or center back of a garment
Charts vs written instructions
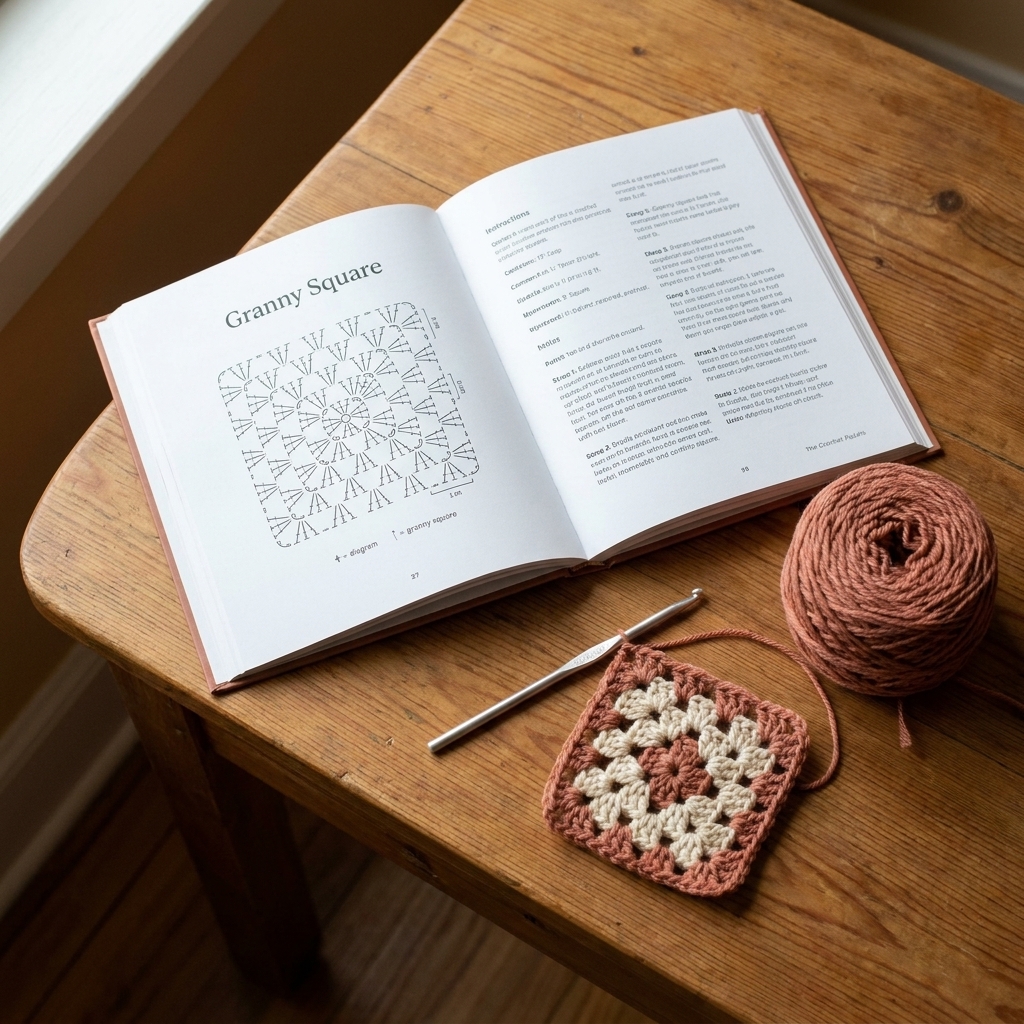
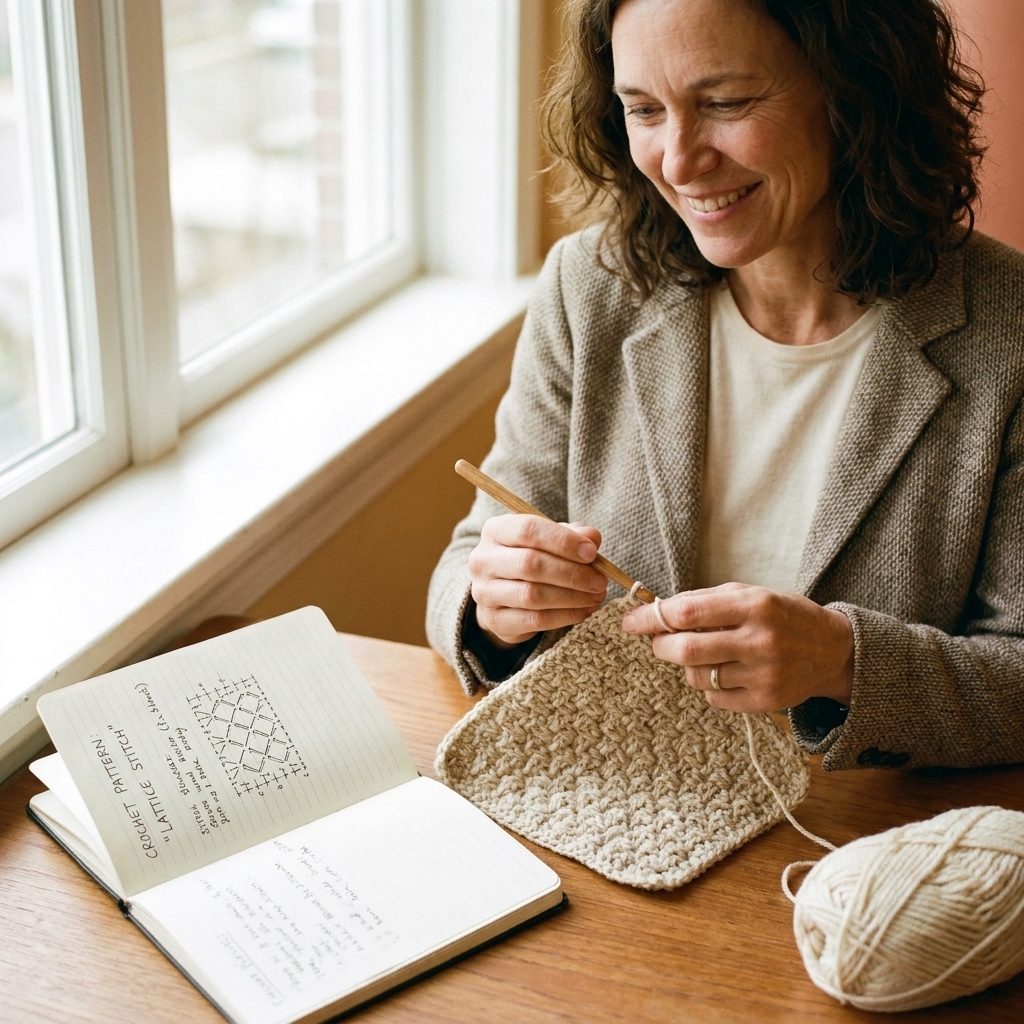
Some patterns include charts, especially for lace, cables, and colorwork in knitting, and for stitch patterns in crochet.
You are allowed to prefer written instructions. A chart is not “more advanced,” it is just another way to represent the same information.
Knitting chart basics
- Typically read right to left on right-side rows.
- Charts vary: some show every row (RS and WS), and you follow the row direction as shown. Others show RS rows only, and the WS rows are implied in the written instructions or pattern notes.
- Symbols represent stitches (knit, purl, yarn over, decreases, etc.).
Crochet chart basics
- Often read in rounds or rows following the direction of the project.
- Symbols represent stitch types and where they are placed (into stitches or spaces).
If you want a gentle entry point, choose a pattern that includes both charted and written instructions so you can cross-check.
Troubleshooting
“My stitch count is wrong, but I followed the line!”
- Check whether you repeated the correct section (start and stop points matter).
- In crochet, check whether the turning chain counts as a stitch.
- In knitting, check whether you accidentally added a yarn over or missed a decrease.
“The pattern says ‘work even’ and I do not know what that means.”
Work even means continue in the established pattern without increasing or decreasing. You are just making fabric, calmly, stitch after stitch.
“It says ‘at the same time’ and my brain blue-screened.”
This is common in knitting garments: you might be shaping armholes while also beginning neck shaping. The trick is to write the two instructions as two columns and check them off row by row.
“My project does not look like the photo.”
- Confirm you are using the same stitch pattern (stockinette vs garter, sc vs hdc, etc.).
- Confirm gauge.
- Confirm you are on the right size instructions.
- Remember that blocking and finishing can dramatically change how a project looks.
Keep your place
You can absolutely use an app or row counter, but you can also keep it delightfully low-tech.
- Print the pattern and use a pencil or highlighter.
- Use washi tape to underline the row you are on and move it as you go.
- Make tally marks for repeats.
- Write down your changes (needle size, hook size, extra length, anything). Future you will be so grateful.
And if you lose your place, welcome to the club. My yarn stash has its own zip code at this point, and I still occasionally set a project down, pick it up, and think, “Who made these choices?” Spoiler: it was me.
FAQ
Do I have to swatch?
If the item needs to fit a body part, I strongly recommend swatching. If it is a blanket or scarf, you can often skip it, but be aware the finished size and yarn amount may change.
What does “fasten off” mean in crochet?
It means you are finishing the yarn: cut the yarn, pull the tail through the last loop, and snug it down so it will not unravel.
What does “join” mean in crochet?
Usually it means connect the end of a round to the beginning with a slip stitch (or another joining method the pattern specifies).
What does “seam” mean in knitting or crochet?
It means you will stitch pieces together after working them, often with a tapestry needle and the yarn tail. Mattress stitch is common for knitting. Slip stitch or whip stitch seams are common in crochet.
What if the pattern uses abbreviations I have never seen?
Look for an abbreviations list first. If there is none, search the pattern for a “special stitches” section. If it is still unclear, treat it like a clue: look at the fabric photo and the stitch count changes. Many abbreviations describe an increase, decrease, or a cluster, and the stitch count will often confirm what is happening.
Your first pattern win
If you are brand new to reading patterns, pick a project that lets you practice the skill of following instructions without adding too many new techniques at once.
- Knitting: a garter stitch scarf, a basic ribbed hat, or a simple cowl in the round
- Crochet: a single crochet washcloth, a granny square project, or a double crochet scarf
Whatever you choose, remember this: patterns are not tests. They are friendly road maps. And if you take a wrong turn, you did not fail. You just learned where that particular road goes.