One more row. Then just one more.
If you have ever poured hours into a sweater sleeve that mysteriously turned into a baggy trouser leg, gauge is usually the little culprit quietly nibbling at the edges. The good news is that gauge is not a guessing game. It is a small, cozy rehearsal you can measure, adjust, and trust.
What gauge is
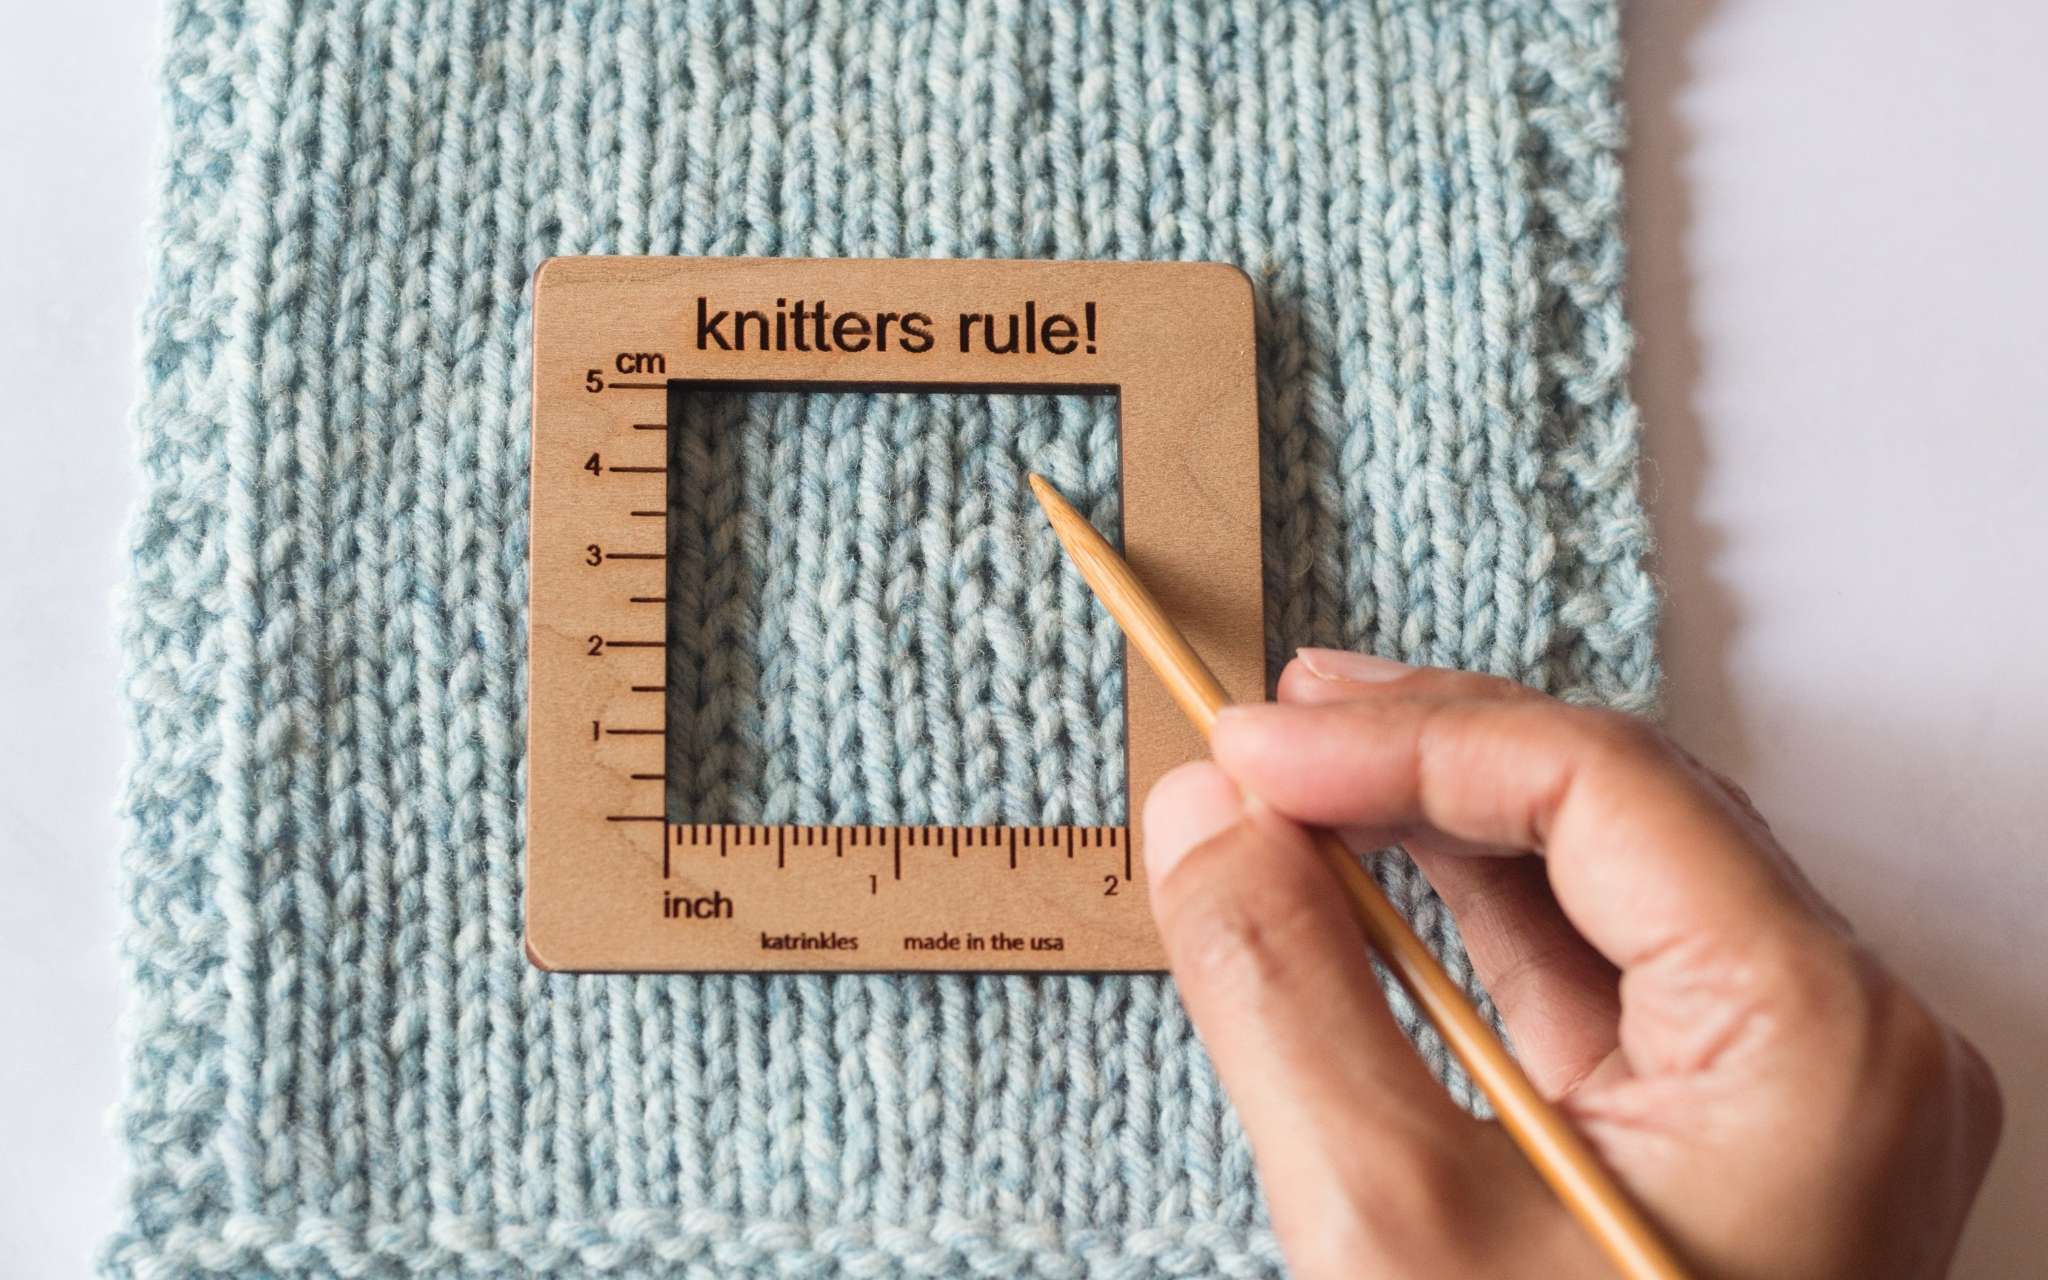
Gauge is how many stitches and rows you get in a certain measurement, usually 4 inches (10 cm). Patterns use gauge to predict finished size. If your stitches are bigger than the pattern expects, your project usually grows wider and looser. If your stitches are smaller, your project usually shrinks and feels tighter.
One more truth that saves headaches later: some fibers also change after washing and blocking, and they do not always change evenly. A yarn can grow in length more than width, or vice versa. That is why we swatch, wash, dry, then measure the fabric you actually made.
A gauge swatch works because it lets you knit the fabric the pattern is based on, then measure that fabric after it relaxes. Yarn blooms. Fibers settle. Some stitches stretch. Some bounce back. Measuring your actual fabric is the whole point.
What you need
- Yarn you plan to use for the project
- Needles in the size the pattern recommends, plus one size smaller and one size larger if you have them
- Scissors and a tapestry needle
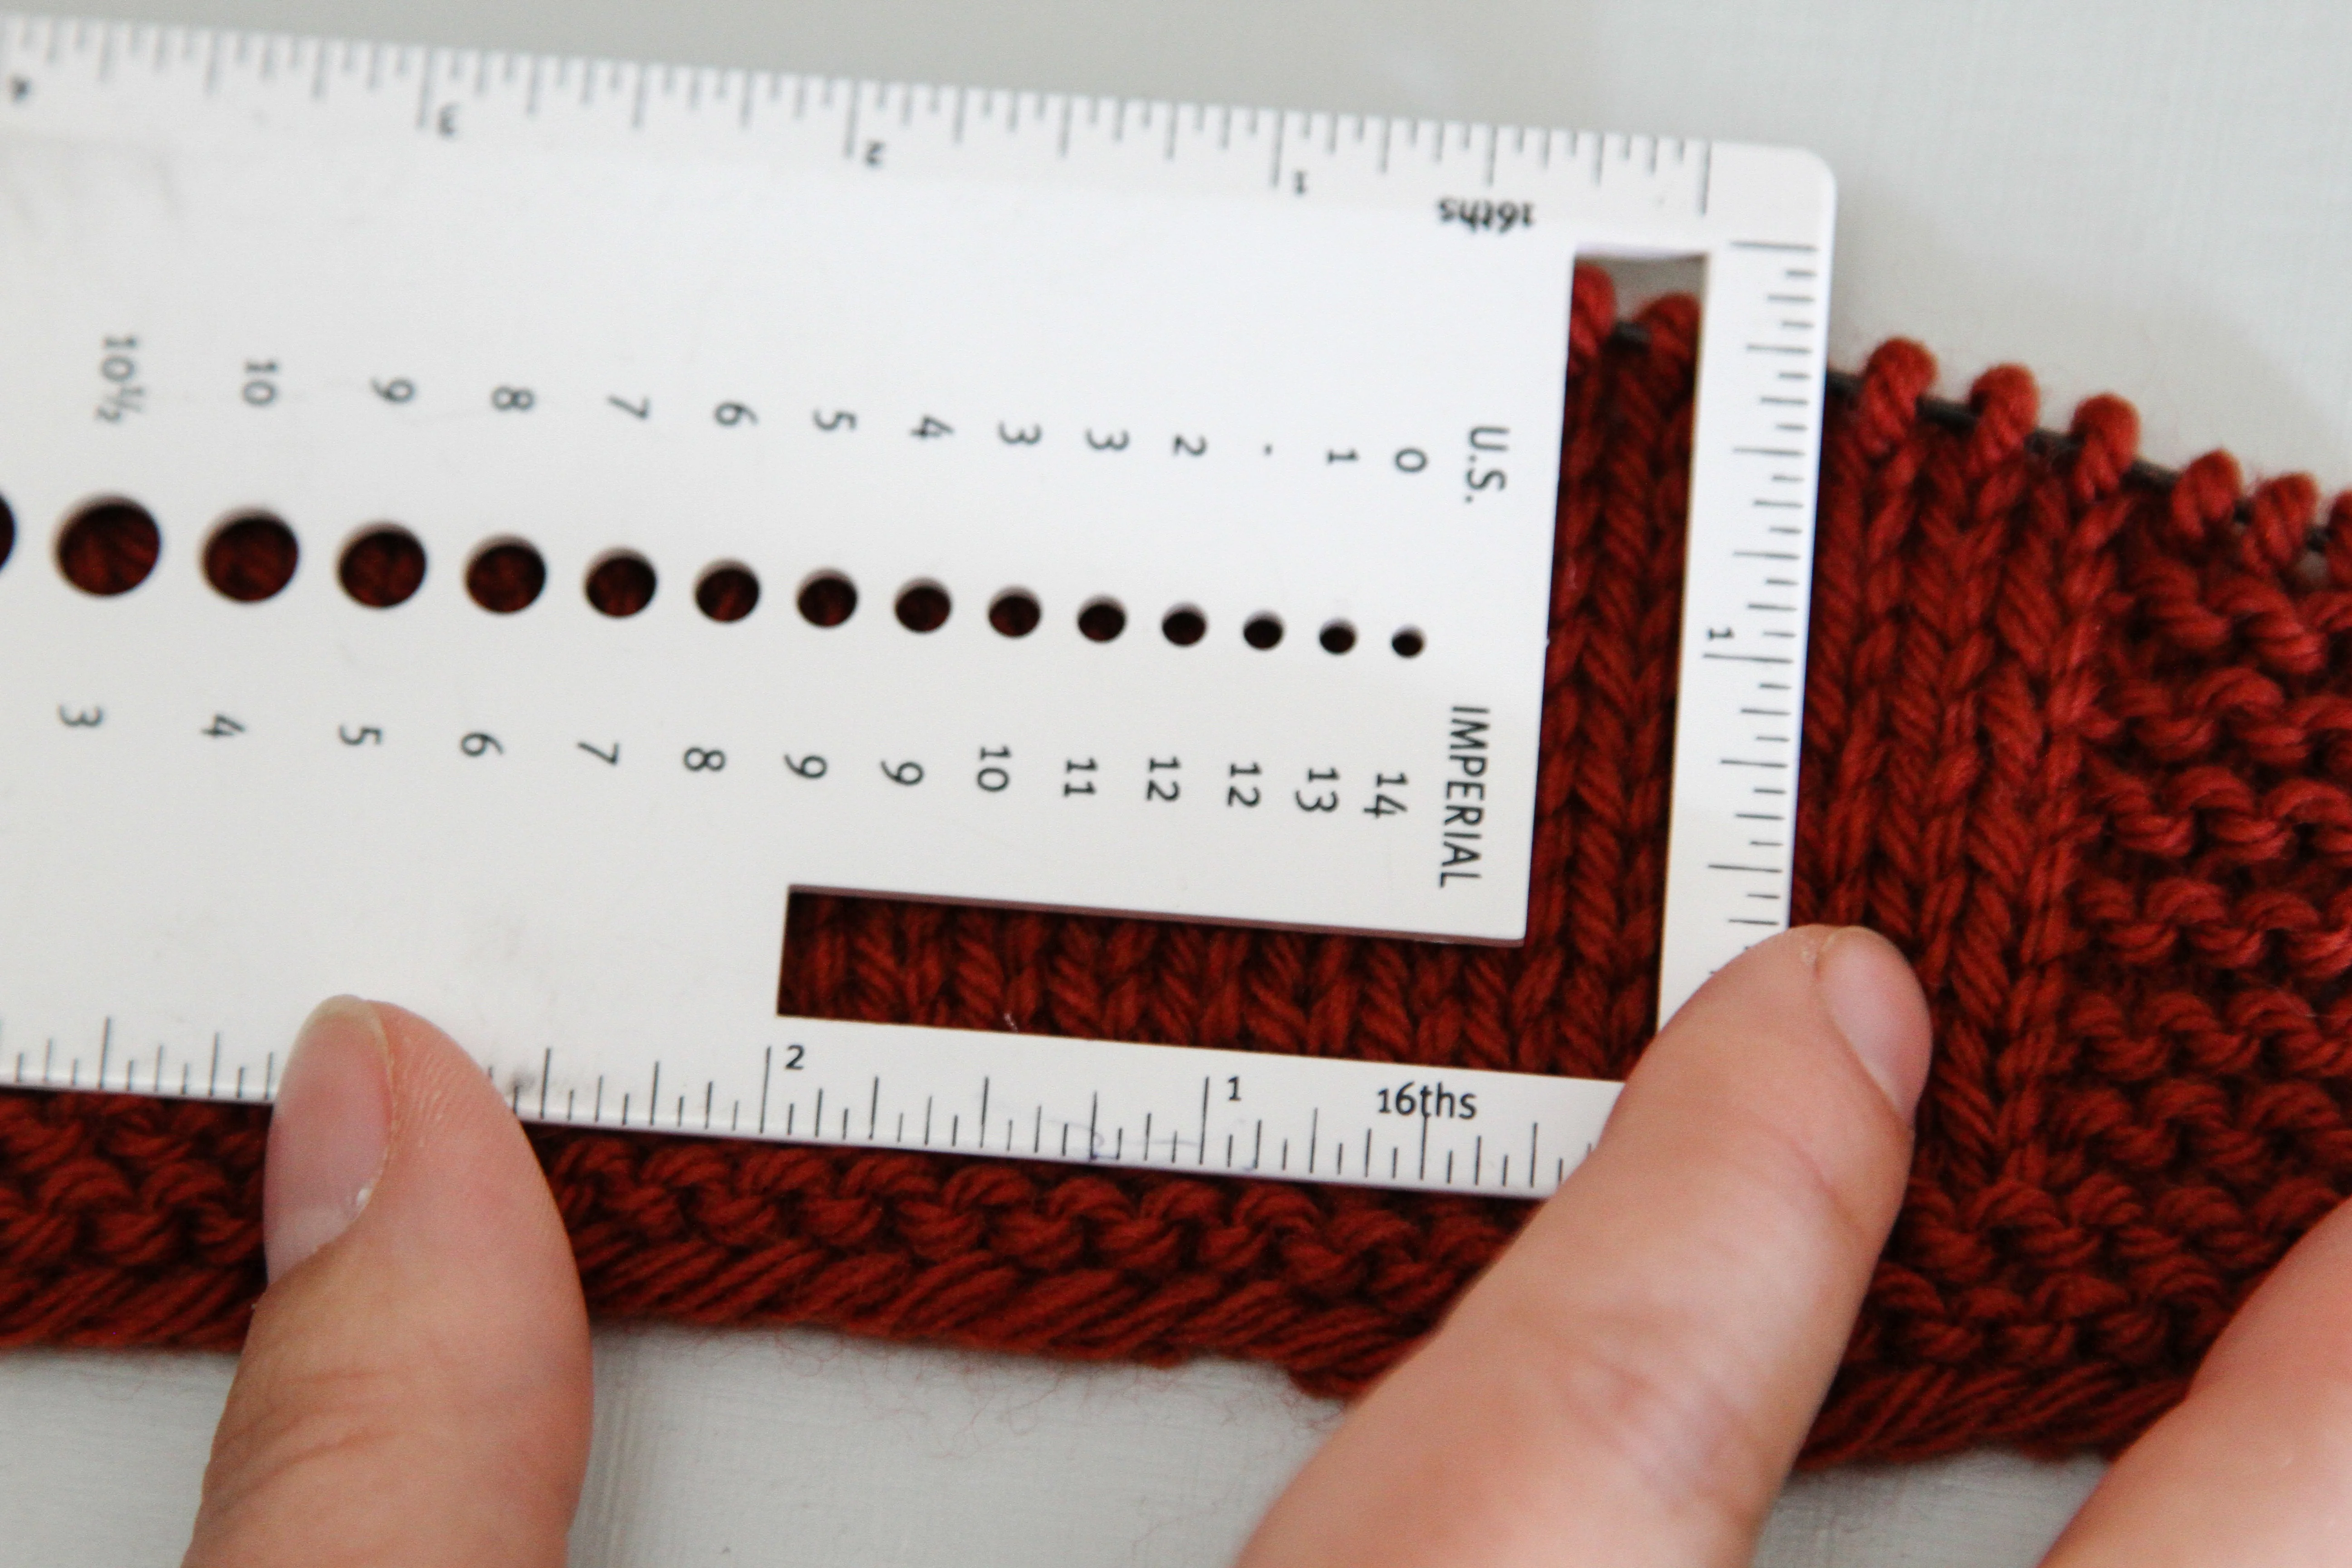
- A ruler or tape measure with clear inch marks
- Optional but helpful: a set of locking stitch markers or safety pins
Step 1: Read the gauge line
Most patterns list something like:
- Stitch gauge: X stitches per 4 inches in a specific stitch pattern
- Row gauge: Y rows per 4 inches in that same stitch pattern
Two key details matter:
- What stitch pattern? Stockinette, garter, rib, lace, colorwork, and cables can all measure differently.
- After blocking? If the pattern says “after blocking,” you measure your swatch after washing and drying the way the finished item will be treated.
Step 2: Cast on extra stitches
If a pattern gauge says 20 stitches = 4 inches, do not cast on 20 stitches. Edge stitches distort and lie to your ruler, so you want a clean center area to measure.
Instead, cast on enough stitches to create a middle section you can measure without the edges tugging things around.
- For a 4 inch gauge target, cast on at least 6 inches worth of stitches.
- Easy rule: add 8 to 12 extra stitches beyond the stitches listed for 4 inches.
Example: If 20 stitches = 4 inches, try casting on 28 to 32 stitches.
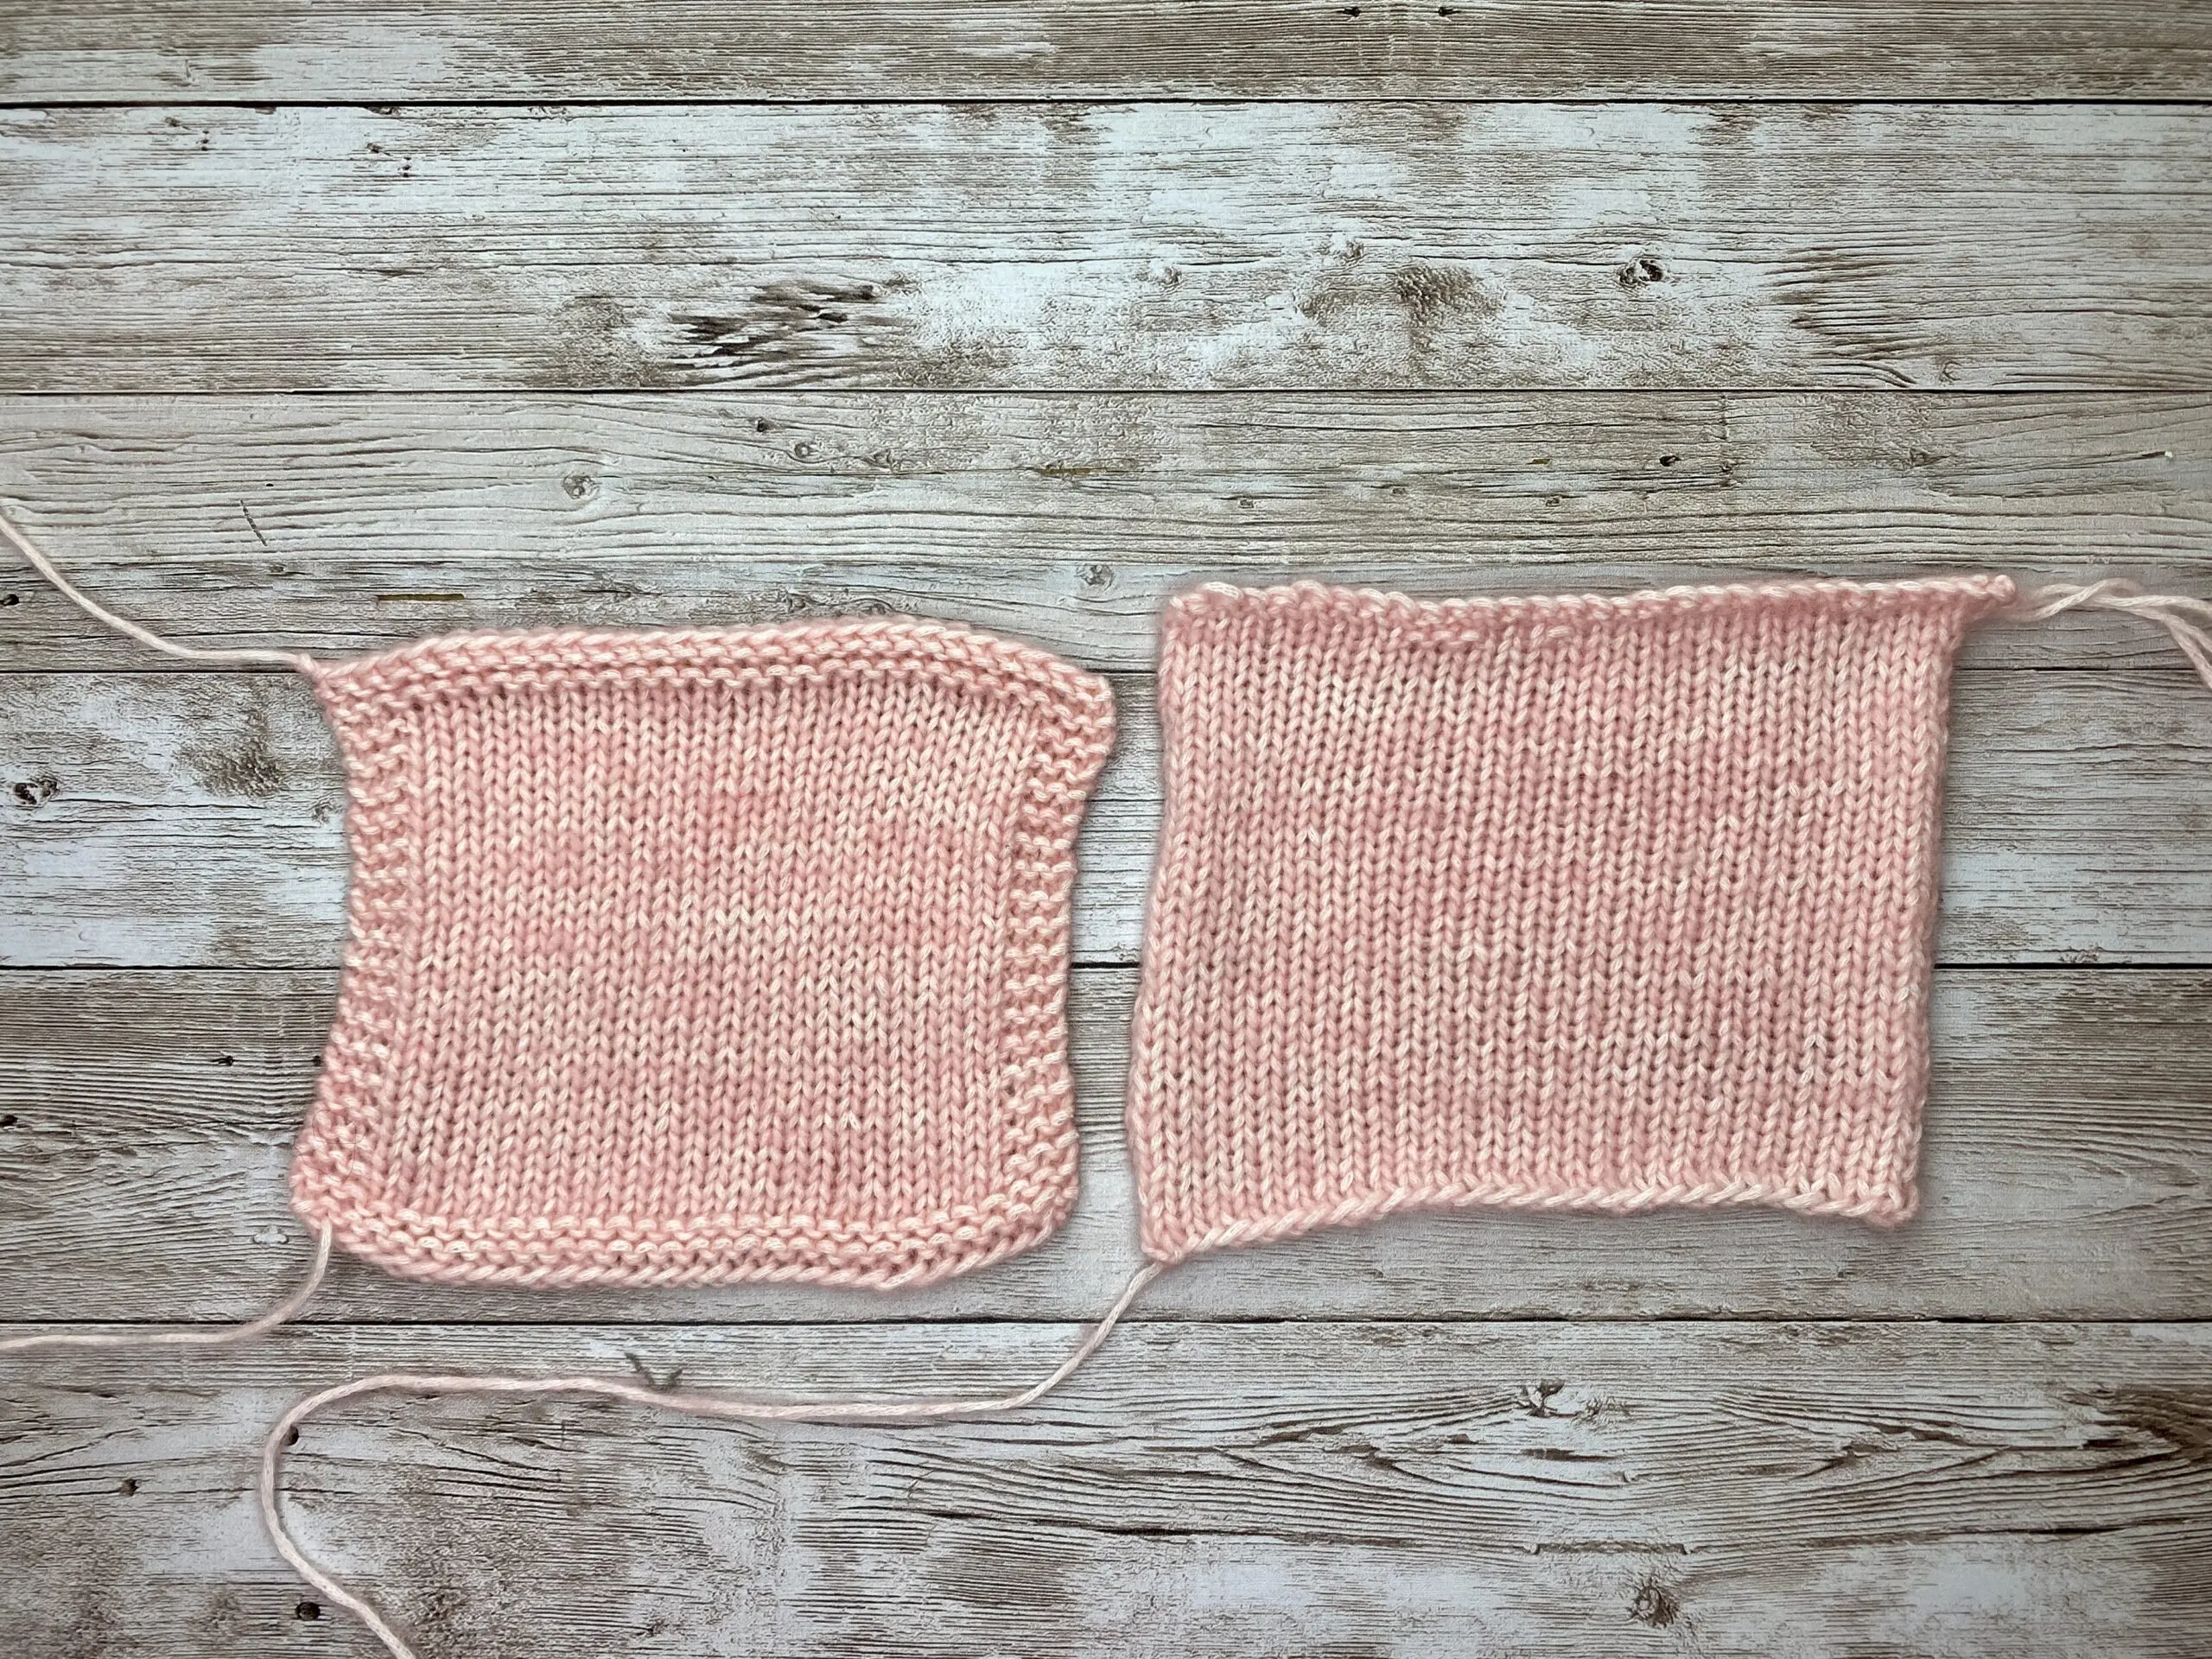
If the fabric is very curly (hello, stockinette), you can also add a small border to help it behave:
- Knit 3 to 4 stitches in garter at the beginning and end of every row
- Work 3 to 4 rows of garter at the bottom and top
That border is not what you measure. It is just there to keep the swatch from rolling into a yarn burrito.
Step 3: Knit enough fabric
Work the exact stitch pattern the pattern gauge specifies, and knit until the swatch is tall enough to measure in the middle.
- Aim for at least 5 to 6 inches tall of the pattern fabric.
- Bind off loosely so the top edge does not pinch the fabric.
If the project uses a stitch pattern that changes the fabric a lot (ribbing, cables, colorwork), swatch in that pattern. Ribbing pulls in. Colorwork can tighten up. Cables change the density. Measuring stockinette when the sweater is mostly rib is like measuring a scarf with a spoon.
Swatching in the round
If your project is knit in the round, consider swatching in the round too. A lot of us knit differently when we purl, and a flat swatch forces you to alternate knit and purl rows. That can throw your numbers off, especially in stockinette.
Two simple options:
- Knit a small tube: Cast on enough stitches to make a tube at least 6 inches around. Join and knit in the round until you have enough height to measure.
- The “floats” method: Knit across the right side, then slide the stitches back to the start of the needle and carry the working yarn loosely across the back. This lets you keep knitting all rows. Later, cut those strands so the swatch can lie flat for washing and measuring.
Step 4: Wash and dry it
This is the step many knitters want to skip. This is also the step that makes the measurement real.
Use the same care routine you plan for the final piece:
- If you will hand wash: soak gently, squeeze out water without wringing, then dry flat.
- If you will machine wash: use the same cycle and water temperature you will actually use later.
- If you will machine dry: dry the swatch that way too. Some yarns change dramatically with heat.
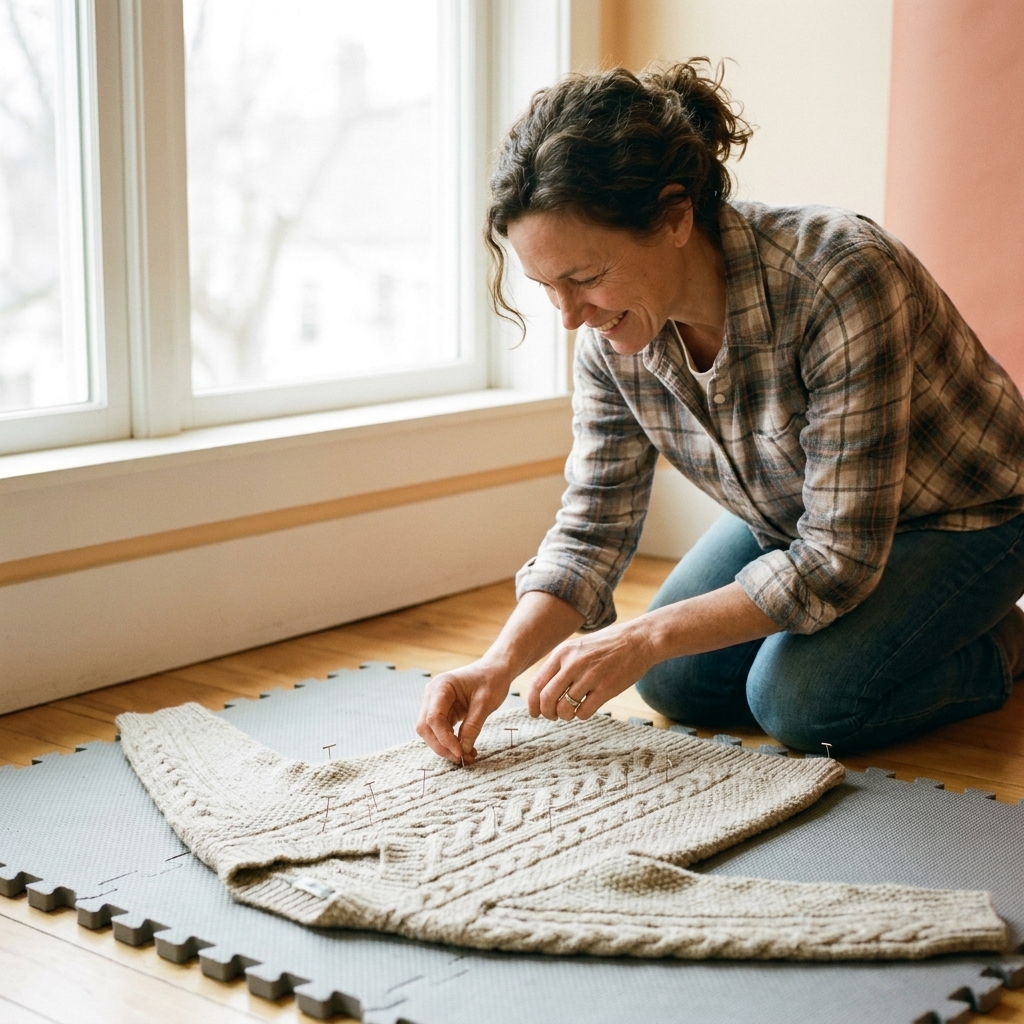
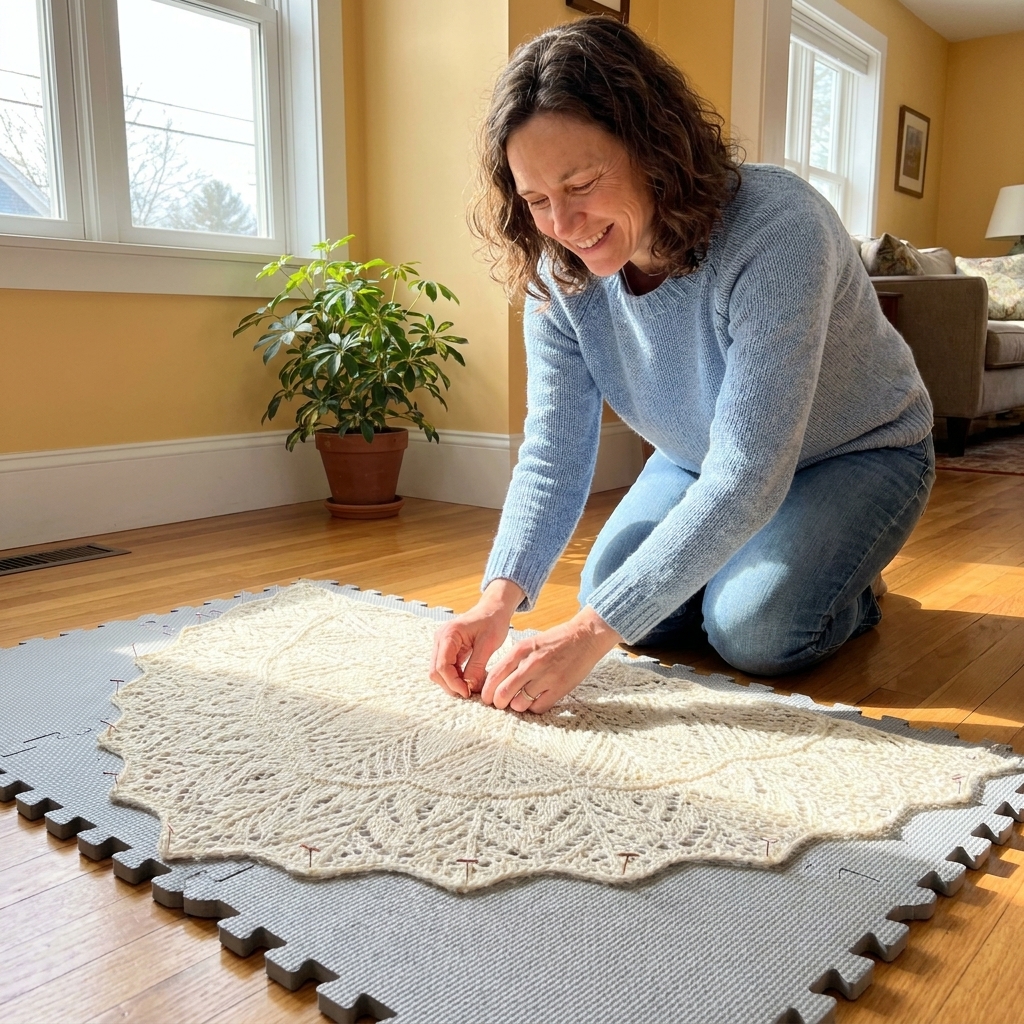
After washing, lay the swatch flat to dry in its natural shape. Smooth it gently. Do not stretch it into submission unless the project will be aggressively blocked the same way.
Step 5: Measure the center
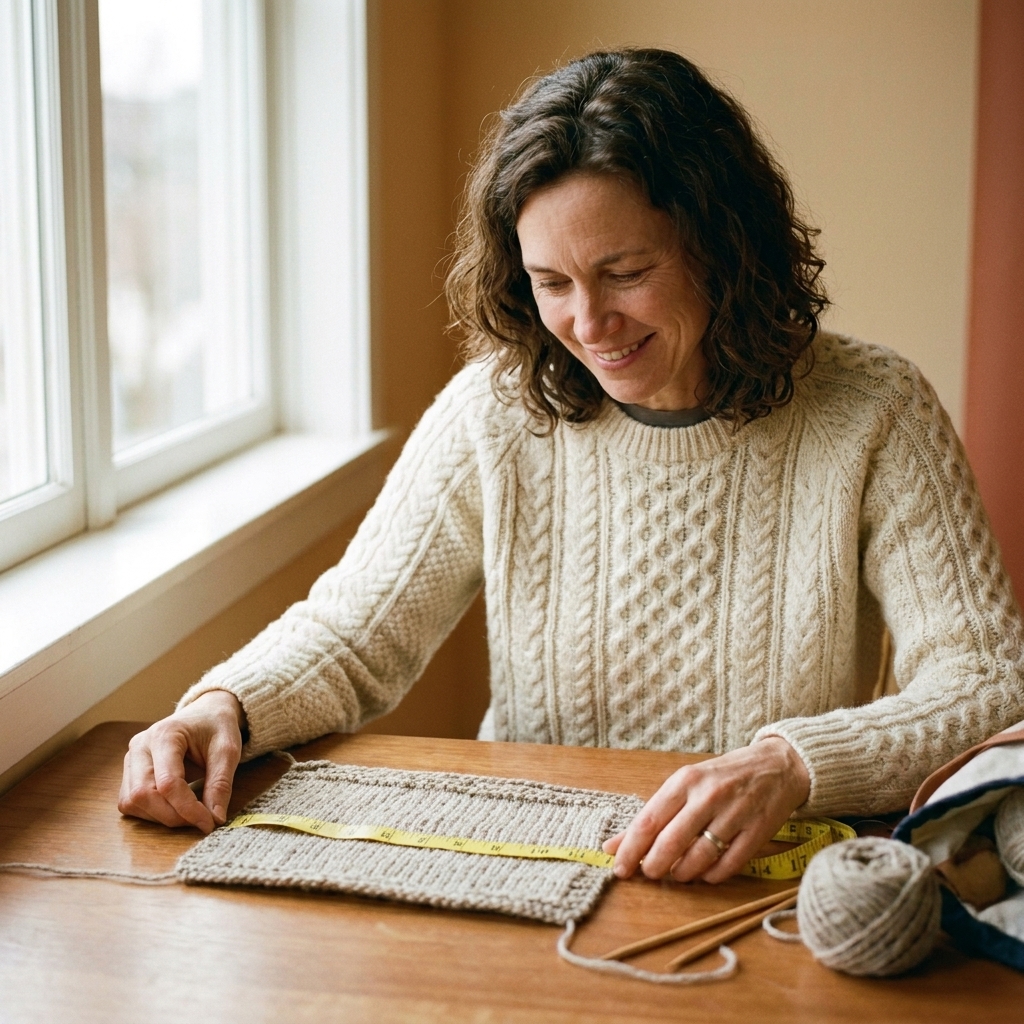
Once the swatch is fully dry, lay it on a flat surface. The goal is to measure stitches that are not warped by edges.
Here is the simplest method:
- Find the flattest, most even section in the middle.
- Lay a ruler across the fabric without stretching it.
- If you like, place two locking stitch markers exactly 4 inches apart, then count between them. This keeps your ruler from sliding.
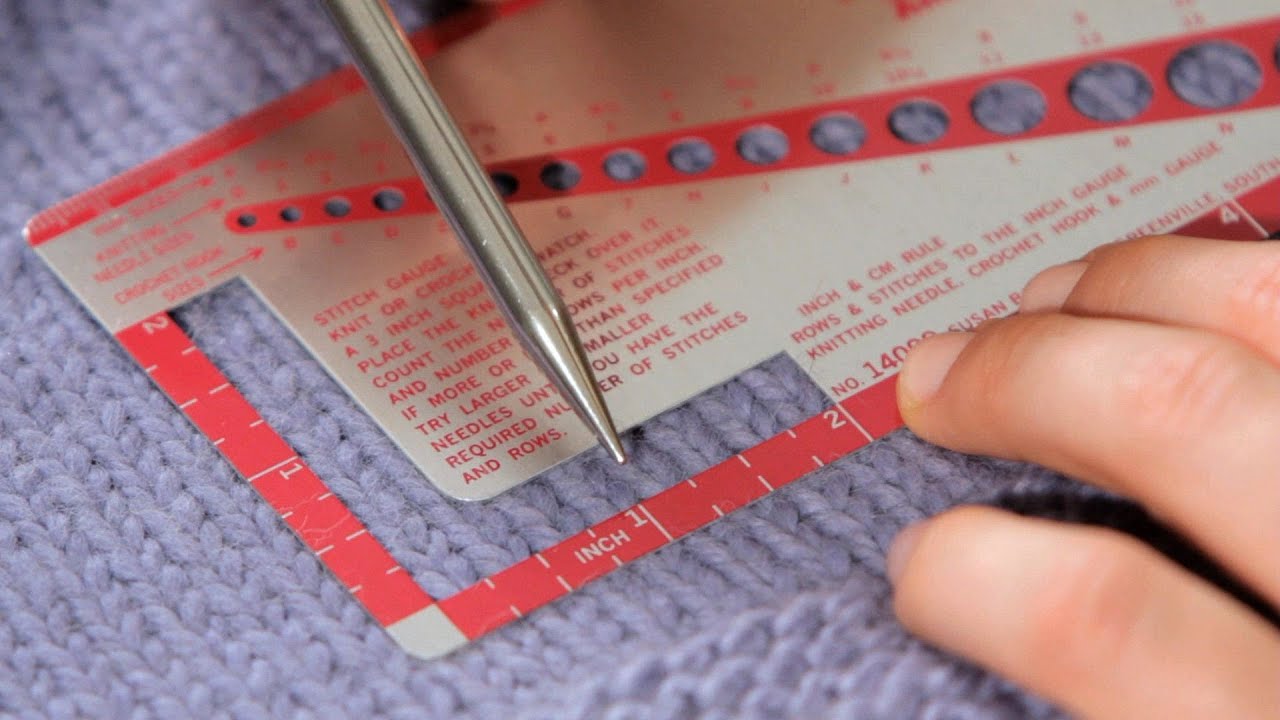
Step 6: Count stitches
Look at the little V shapes made by knit stitches. Each V is one stitch.
To measure stitch gauge
- Pick one stitch column in the center as your starting point.
- Count how many stitches fit in 4 inches.
- If you truly cannot fit 4 inches in your flat center area, count 2 inches and multiply by 2. It works, but it is less accurate because small counting errors double.
My tip: If the yarn is fuzzy or dark, counting can feel like chasing sheep through fog. Sliding a contrasting piece of yarn through a row can help your eyes track where you are.
Step 7: Count rows
Row gauge is the number of horizontal rows in a certain measurement. In stockinette, each row looks like a line of little smiles on the purl side and stacked V’s on the knit side.
To measure row gauge
- Rotate your ruler so it runs vertically.
- Choose a spot in the center of the swatch.
- Count how many rows fit in 4 inches.
Row gauge matters most when:
- A pattern tells you to knit for a specific number of rows (like shaping)
- You are working a charted motif that needs to land in the right place
- You want sleeves or body length to match the pattern without constant re-measuring
How to check your gauge
Compare your counts to the pattern gauge.
- If you have more stitches in 4 inches than the pattern: your stitches are too small, and your fabric is too tight.
- If you have fewer stitches in 4 inches than the pattern: your stitches are too big, and your fabric is too loose.
Stitch gauge usually drives size and fit more than row gauge, especially for circumference. If you can only match one perfectly, match stitch gauge first, then adjust length as you knit. If your pattern has heavy shaping, colorwork placement, or a chart that depends on row count, row gauge may deserve extra attention too.
When your gauge is off
Gauge is not a moral judgment. It is just a measurement. Here is how to nudge it.
Too many stitches (too tight)
- Go up one needle size and swatch again.
- If you are a very tight knitter, consider going up two sizes.
Too few stitches (too loose)
- Go down one needle size and swatch again.
- If you are consistently loose, go down two sizes.
Keep the yarn and your washing method the same so you only change one variable at a time.
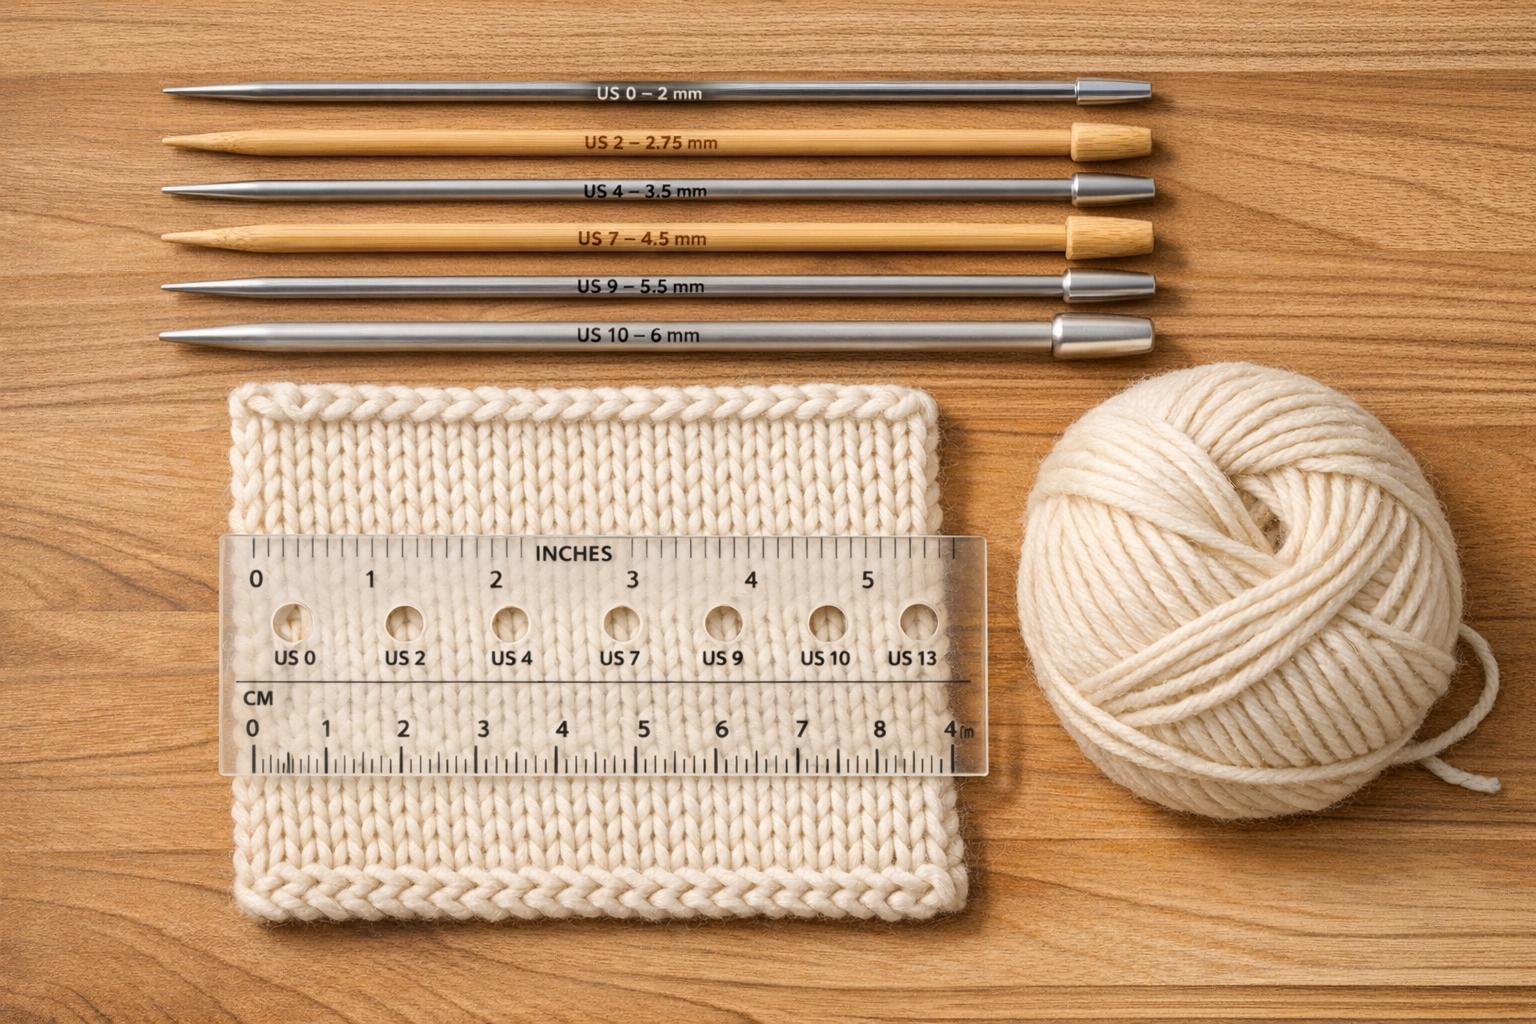
A quick needle example
Let’s say the pattern gauge is 20 stitches = 4 inches.
- Your swatch measures 22 stitches = 4 inches. That is tighter than the pattern.
- Try the next needle size up.
- Swatch, wash, dry, and measure again.
When you hit 20 stitches in 4 inches with the fabric you like, that is your needle size for the project, even if it is not the one listed in the pattern.
If needle changes do not fix it
Sometimes you can bounce around needle sizes and still not land on the pattern gauge, or you can hit the numbers but hate the fabric. That is not you being “bad at gauge.” It is information.
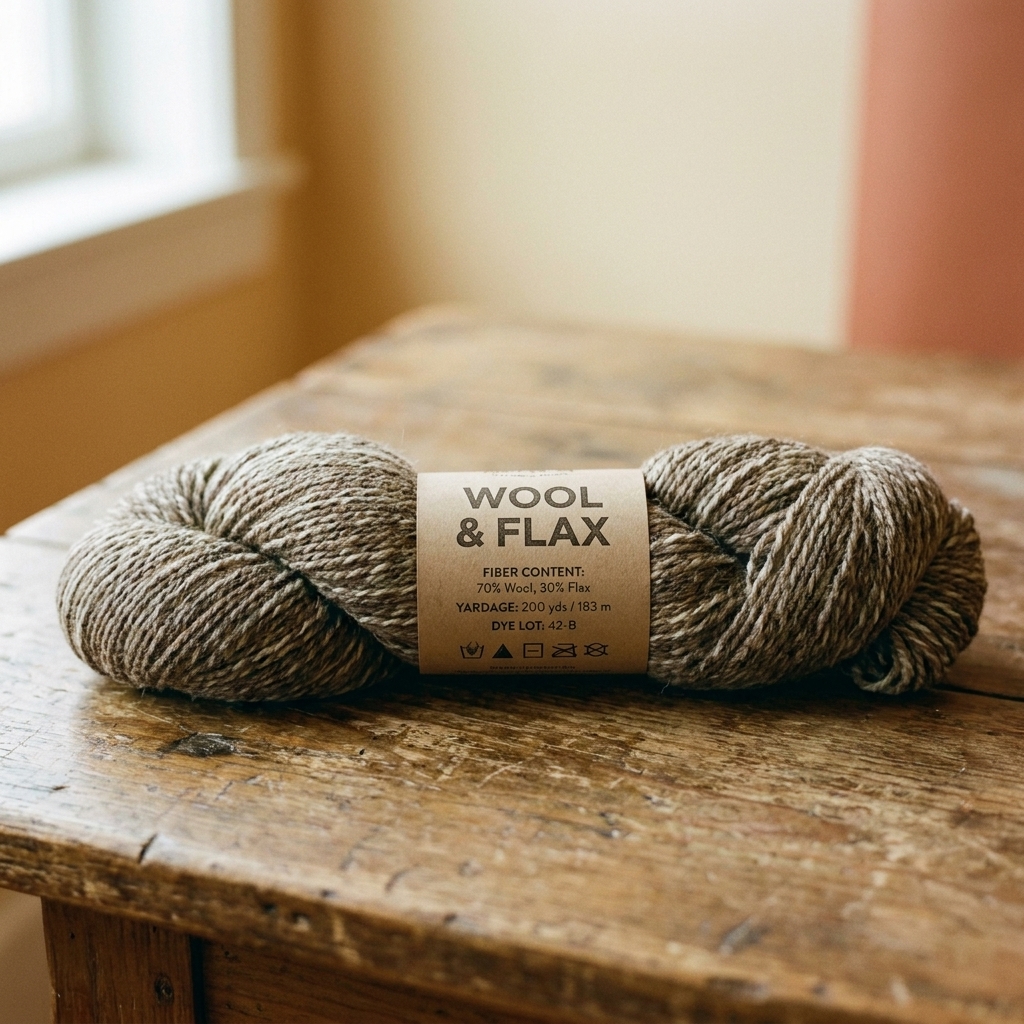
- Consider the yarn: fiber, ply, and construction matter. A woolen-spun yarn and a tightly plied yarn can behave very differently at the same stated weight.
- Change yarn if you need to: if the fabric is stiff or limp even when gauge matches, a different yarn may be the kinder choice.
- Do the math if you want to keep the yarn: you can choose a size based on your stitch gauge (or adjust stitch counts), but that is a separate project in itself.
This is also where ease sneaks in. The pattern’s intended fit (snug, relaxed, oversized) assumes the pattern gauge and a certain fabric drape. Getting the right gauge helps the sweater hang the way it was designed to hang.
Common snags
My swatch curls and I cannot measure it
Stockinette curls. It is doing what it does. Add a garter border next time, and measure in the center. Blocking helps too.
My stitch gauge matches, but row gauge does not
This is common. Match stitch gauge first, then plan to measure length in inches as you knit, or add and subtract rows where the pattern allows. If you are working a charted motif or shaping that is written strictly by rows, consider swatching again or adjusting row counts so the design lands correctly.
My swatch changed size after washing
That is exactly why you washed it. Use the post-wash measurement. The finished item will behave like the washed swatch.
My fabric feels wrong even when gauge matches
Gauge can match at different needle sizes if you change how you knit. Choose the needle size that gives you a fabric you like, then confirm the measurement again after washing. If the fabric is still not right, it may be a yarn choice issue rather than a needle issue.
Swatching checklist
- Cast on extra stitches so the center can be measured
- Knit the same stitch pattern the project uses (and swatch in the round if the project is in the round)
- Make it big enough to measure in the middle
- Bind off and wash and dry the way you will treat the finished item
- Measure stitch gauge and row gauge without stretching
- Adjust needle size and repeat if needed
It is a small square of patience that saves a whole sweater’s worth of sighing later. One more row. Then just one more.