One more row. Then just one more.
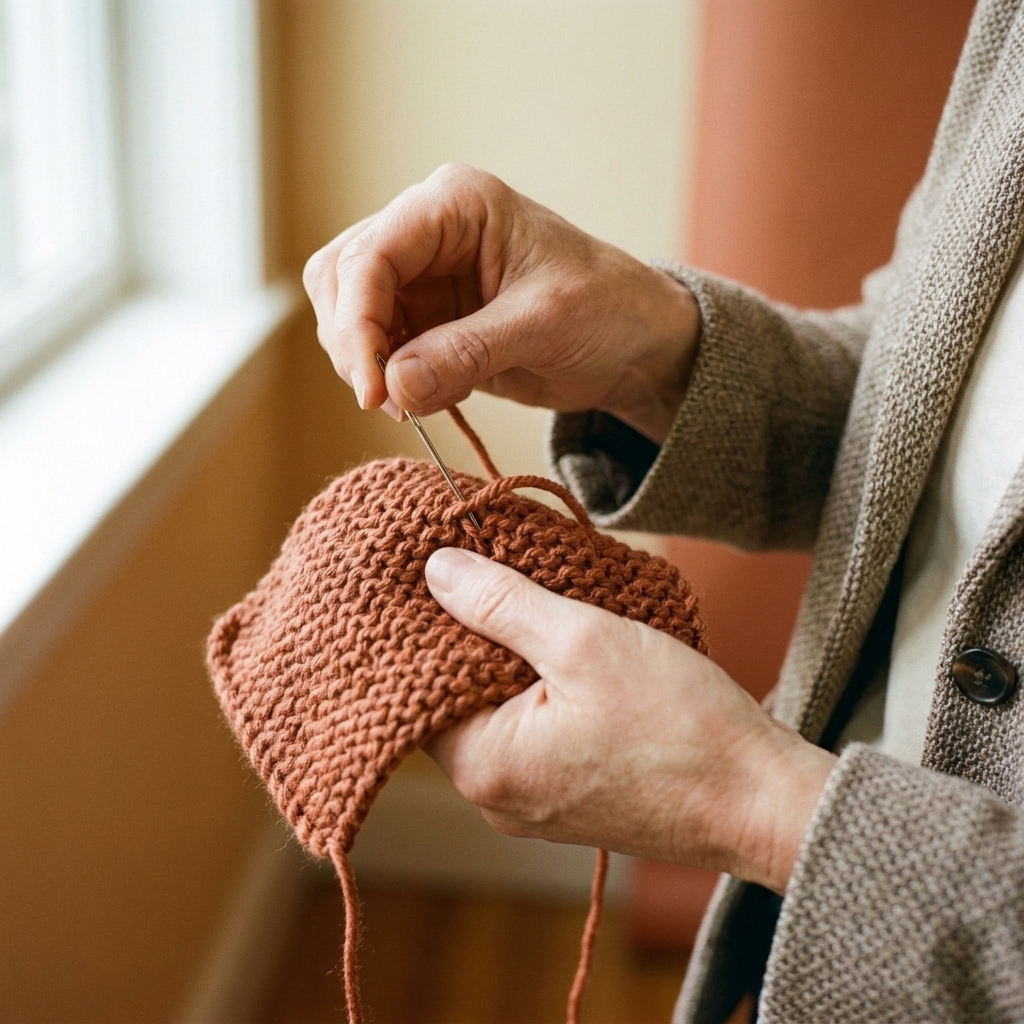
And then it happens: the yarn thins, the center-pull goes hollow, and your skein is down to a worried little tail. Joining a new skein does not have to mean a bulky bump or a knot that sneaks to the front. With the right method for your fiber, you can make a join that is tidy, secure, and easy to hide.
When to start a new skein
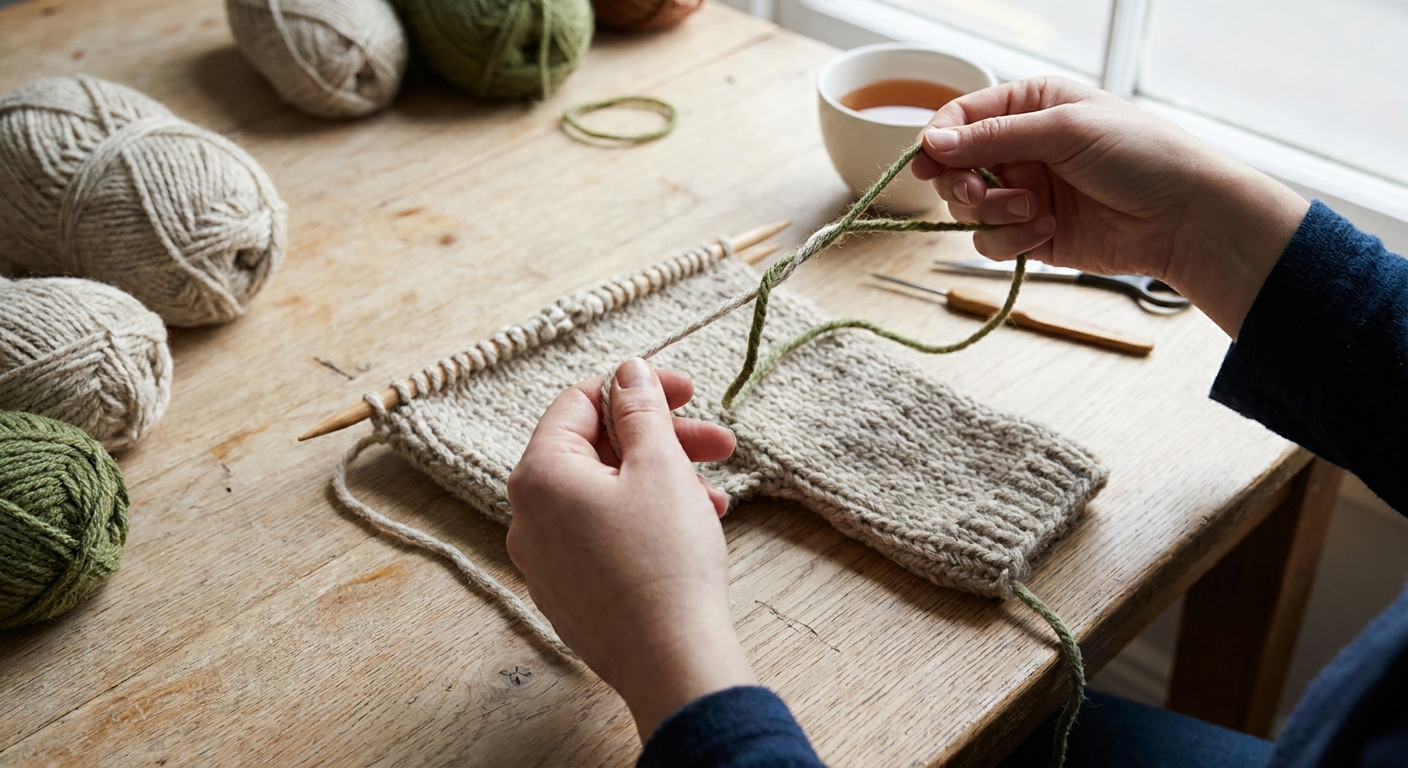
The best time to join is when you still have enough yarn to work with. If you wait until you have a 2 inch tail, most joins become stressful. Aim to join when you have:
- 6 to 10 inches (15 to 25 cm) left if you plan to weave in ends.
- 10 to 20 inches (25 to 50 cm) left if you want a Russian join or magic knot, because you need overlap.
- A clear stopping point, like the beginning of a row, the side of a piece, or the underarm area of a sweater.
If you are working colorwork, lace, or anything where stitch definition really matters, join a little earlier than you think. It gives you room to place the join where it will disappear.
Where to place the join so it stays hidden
A join can be strong and still look obvious if it lands in the wrong spot. Here are the coziest hiding places.
Best spots in flat knitting or crochet
- At an edge: Join at the start or end of a row so any tiny change in thickness sits in the turning edge.
- Inside a future seam: Side seams, shoulder seams, and underarm seams are excellent at swallowing joins.
- Under an arm or along a side: For sweaters, the underarm and side body are forgiving zones.
Best spots in the round
- At the beginning of round area: Especially if it will be under an arm, down a side, or near a back-of-neck region.
- Inside a section with texture: Ribbing, seed stitch, moss stitch, or bobbles hide joins better than smooth stockinette or plain single crochet.
Try not to join right on the front center of a garment, right on a cable crossing, or in the middle of a lace motif. Those areas love to spotlight any extra bulk.
Choose the right join for your yarn
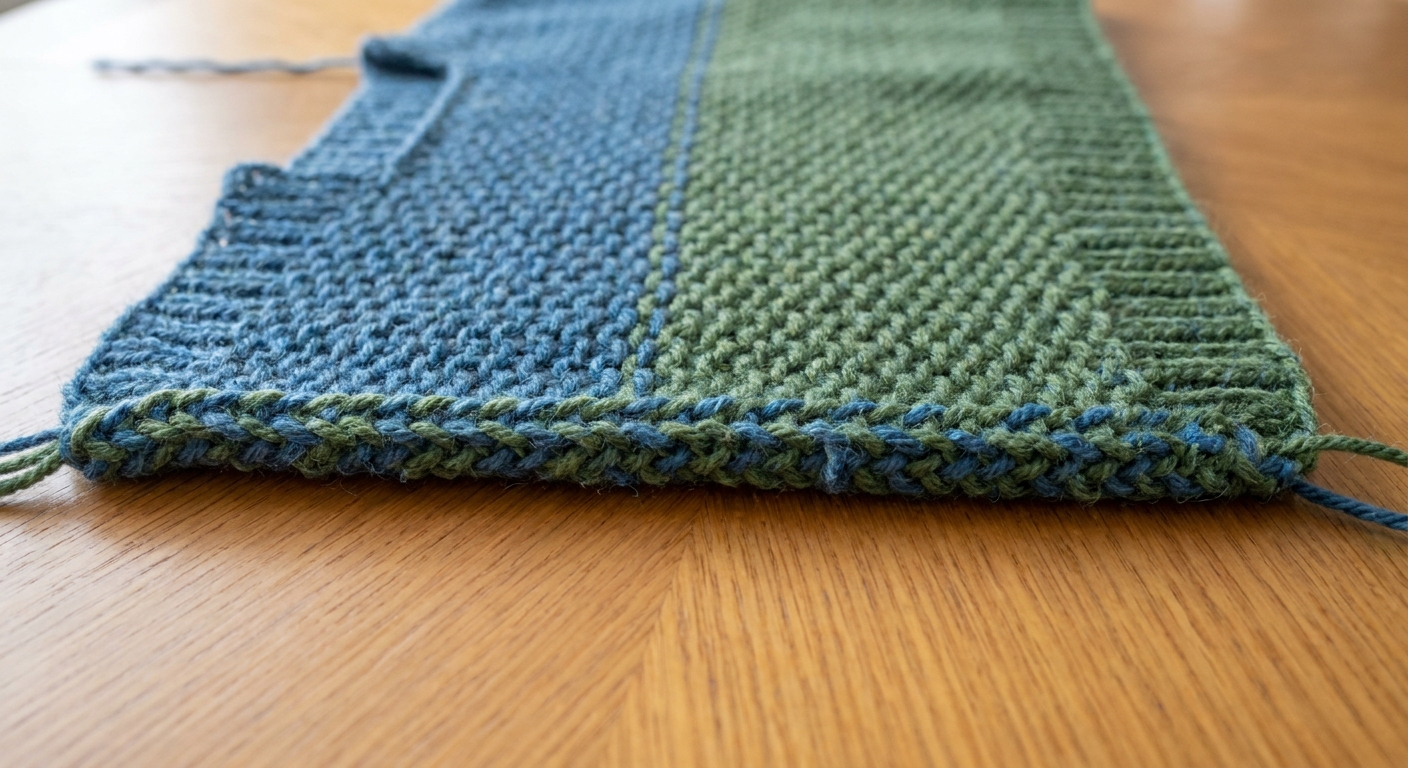
Different fibers behave differently. Some want to felt together. Some refuse. Some get slippery. Here is the quick match-up, then we will walk through each method step by step.
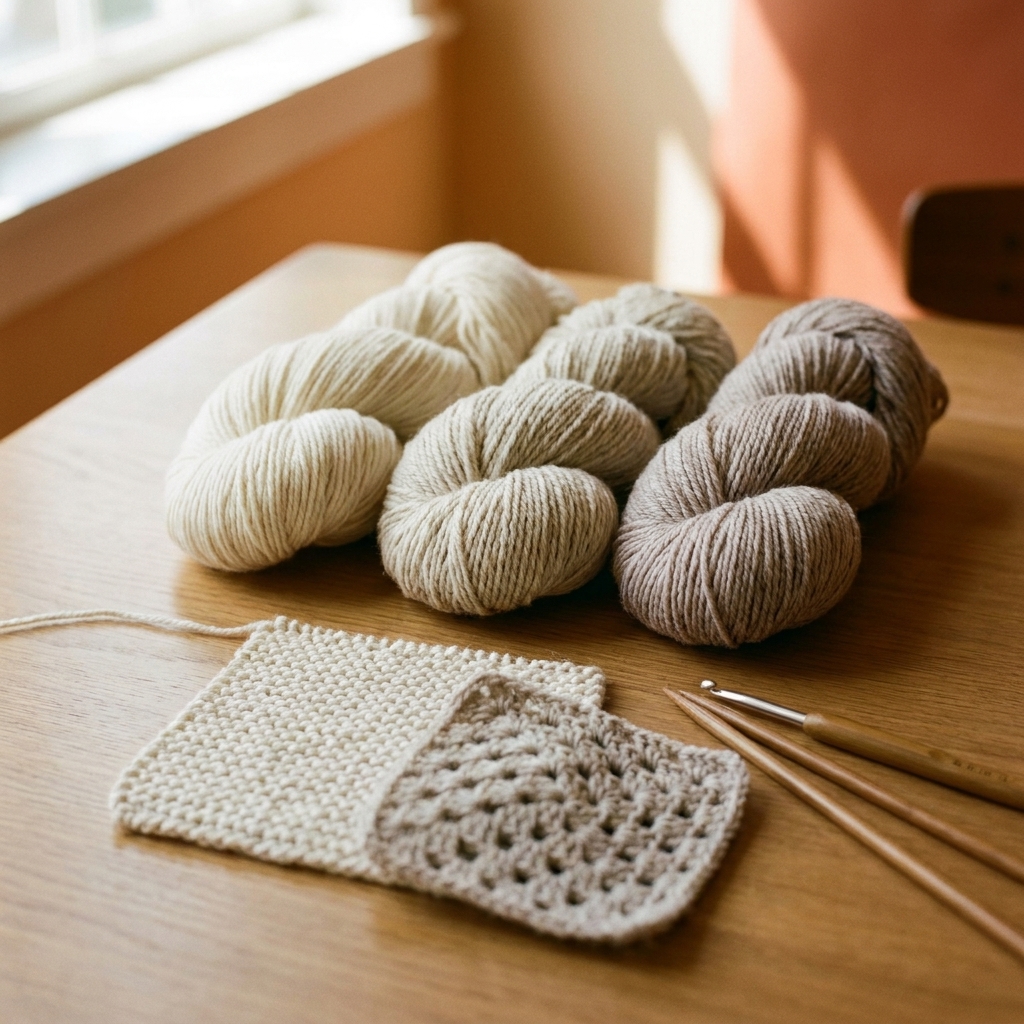
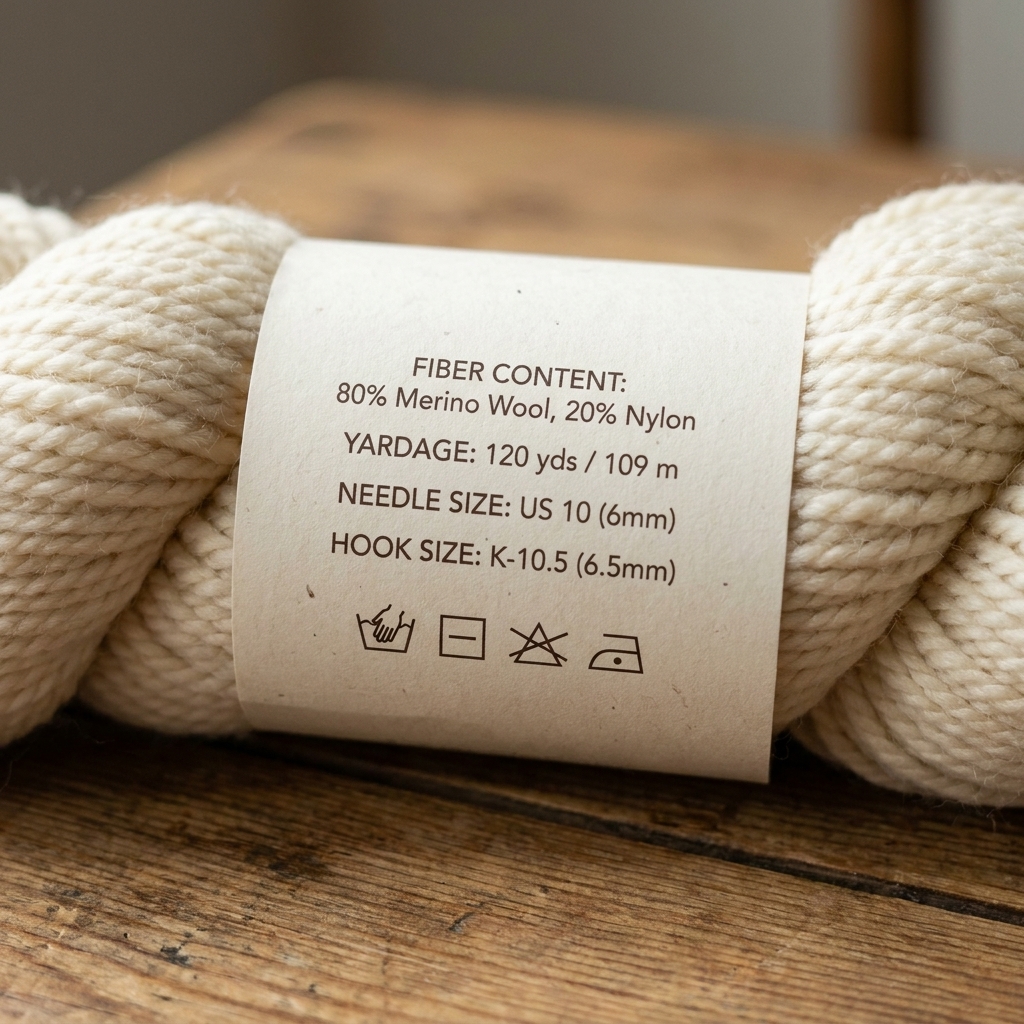
- Russian join: Great for plied yarn (multiple strands twisted together). Works well for many fibers, including wool blends, cotton, and acrylic, as long as the yarn has plies you can split and a bit of grip.
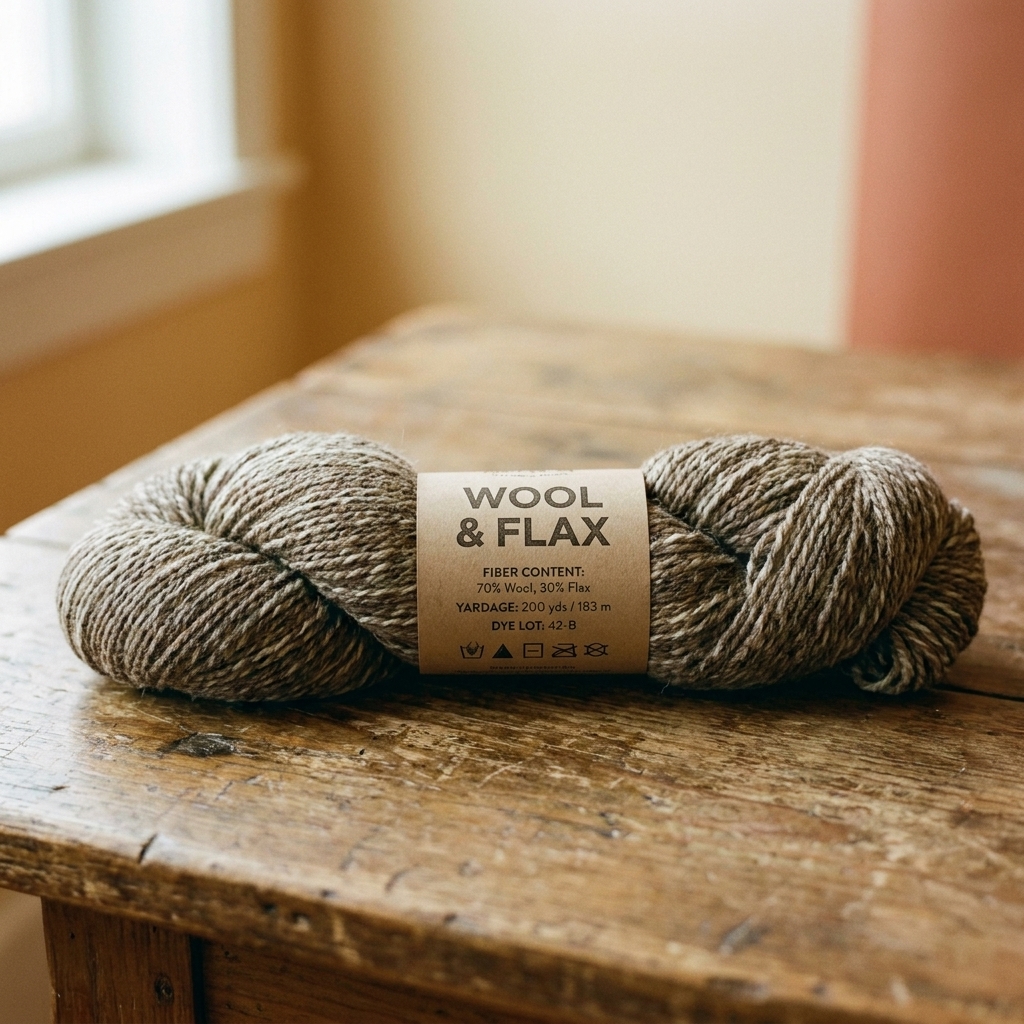
- Spit splice: Best for feltable animal fibers like wool and some alpaca blends. Not suitable for cotton, linen, silk, or acrylic.
- Magic knot: Useful for fibers that will not felt and for slippery yarns. Often chosen for cotton and acrylic, especially in crochet where a join can be pulled hard.
Russian join (plied yarn)
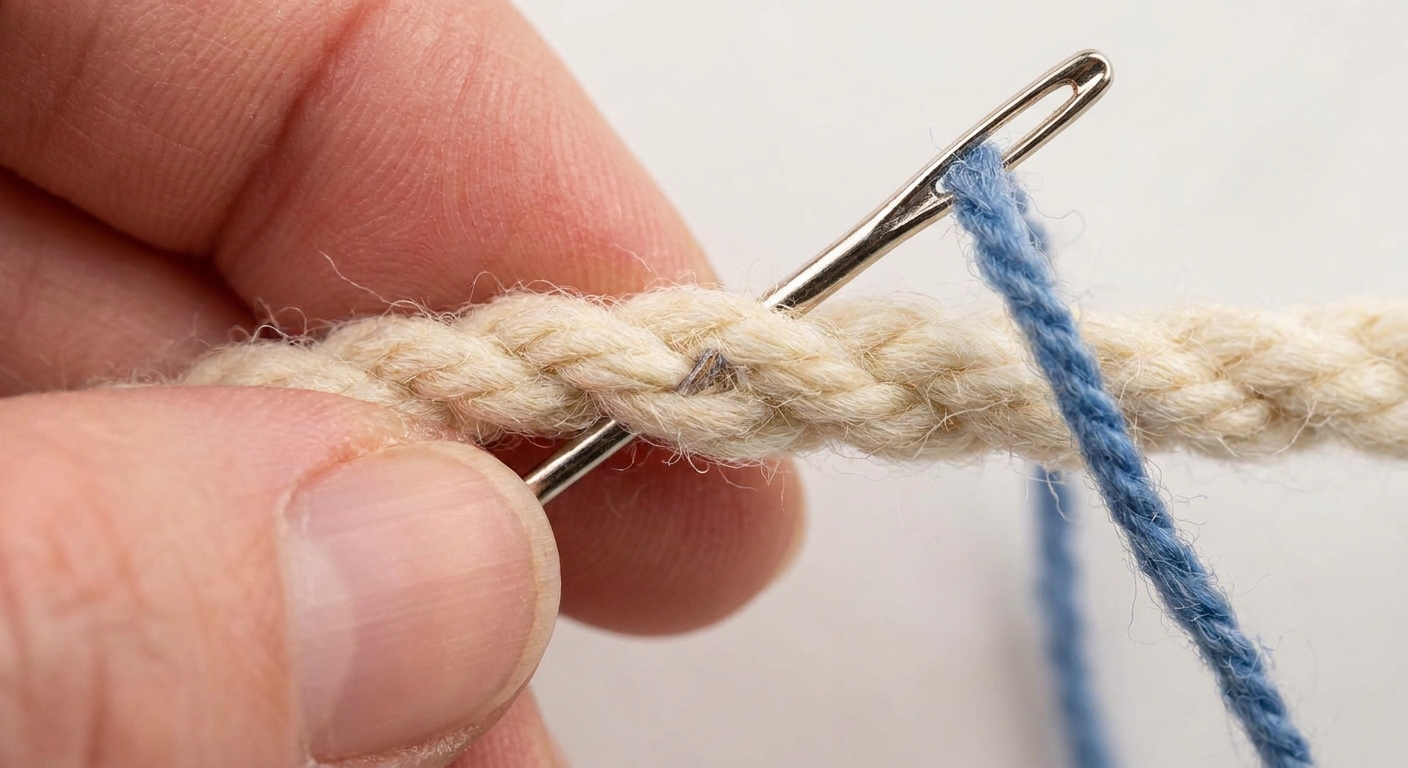
The Russian join makes a tidy, knot-free connection by threading yarn back through itself. The key is that the two yarns get linked first, then each tail gets buried, so the join stays truly joined.
What you need
- A tapestry needle with an eye large enough for your yarn
- Two yarn ends, each with at least 6 inches (15 cm) to work with, though 8 to 10 inches is more comfortable
Step by step
- Unply the old yarn end slightly, just enough to open a path between plies.
- Thread the tapestry needle with the old yarn end.
- Run the needle through the center of the old yarn for about 2 to 3 inches (5 to 7.5 cm), following the twist of the plies, but do not pull the tail all the way through. Leave a small loop at the exit point.
- Put the new yarn end through that loop and pull the loop snug so the two yarns are linked together.
- Now bury the new yarn tail: unply the new yarn end a bit, thread it on the needle, and run it back through the center of the new yarn for 2 to 3 inches. Pull through so the tail disappears inside its own yarn.
- Finish and smooth: tug gently on the working strands to snug the join, then stroke the doubled area so it sits neatly. If you have fuzz, trim only stray bits, not the buried tails.
When the Russian join shines
- Wool and wool blends where you want a smooth join without a knot
- Cotton, if it is plied and not extremely slippery
- Acrylic, sometimes, if the yarn has enough texture and you can bury a long enough tail
When to avoid it
- Single-ply yarn or loosely spun yarn that splits into fluff
- Very slick yarns where the buried tail can creep out
If you are unsure, tug firmly on the join before continuing. If it creeps, choose the magic knot instead and bury the tails.
Spit splice (feltable wool)
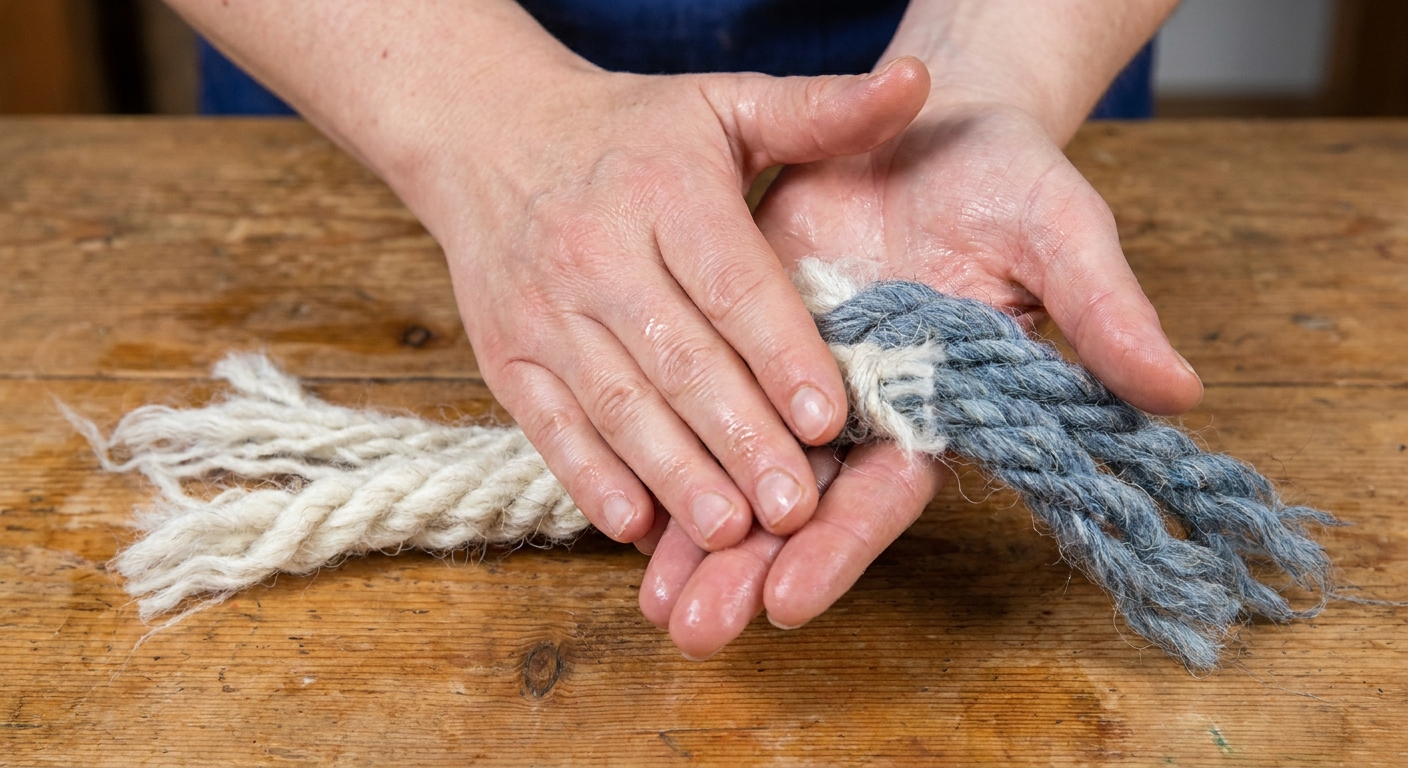
The spit splice is a classic for wool that wants to felt. You overlap the ends, add moisture, and rub so the fibers grab each other. When it works, it feels like the yarn was never cut.
Works on
- Feltable wool (non-superwash is most reliable)
- Some animal-fiber blends that still have enough wool content to felt
Not for
- Superwash wool (often too smooth to felt well)
- Acrylic, cotton, linen, bamboo, silk
Step by step
- Split each yarn end into two halves for about 3 inches (7.5 cm). If your yarn is 2-ply, separate the two plies. If it is 4-ply, split into two groups of two plies.
- Trim one half from each end, so each yarn end tapers. You want an even thickness once overlapped, not a doubled rope.
- Overlap the tapered ends so they intermix over about 3 inches.
- Moisten the overlap. Traditionally this is done with saliva, but warm water works too.
- Rub briskly between your palms or against a fabric surface for 10 to 20 seconds, then check. If the fibers are grabbing, rub a bit more.
- Let it rest a moment, then give a firm tug. A good splice will hold like it is one continuous strand.
If the splice pulls apart, your yarn may be superwash or too smooth. Switch to a Russian join (if plied) or a magic knot and plan to bury tails.
Magic knot (no felting)
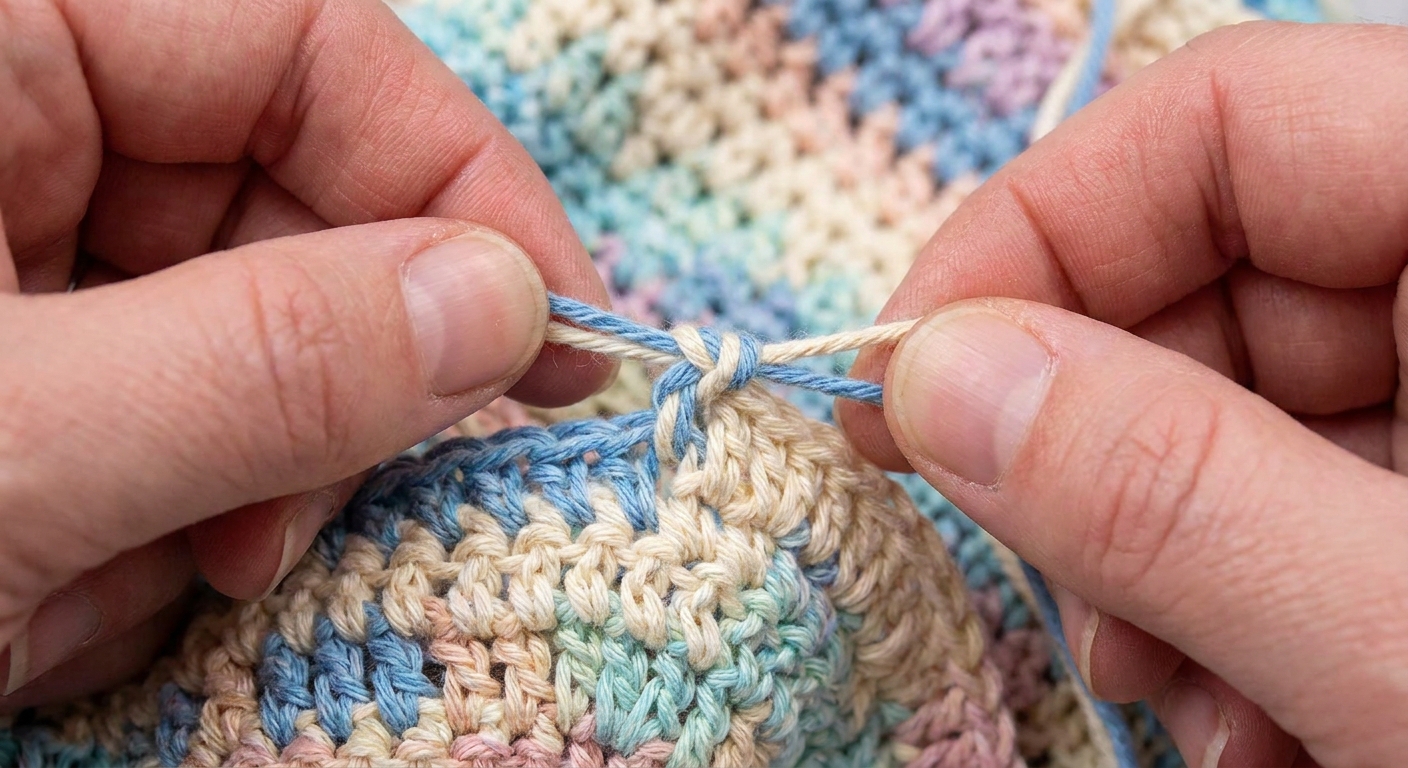
The magic knot uses two overhand knots that lock against each other. It is compact and strong, which is why many crocheters use it for high-tension projects like bags and blankets. It is also handy for cotton and acrylic where felting is not an option.
Important note about knots
Knots can be the safer choice when you need strength, but they can also work loose if tails are too short or if the yarn is very slippery. The fix is simple: leave enough tail to bury.
Step by step
- Lay the old yarn and new yarn parallel, with ends pointing in opposite directions and overlapping by about 6 inches (15 cm).
- Tie the old yarn around the new yarn with an overhand knot. Tighten firmly.
- Tie the new yarn around the old yarn with another overhand knot. Tighten firmly.
- Pull the standing parts (the long working strands) so the two knots slide together and lock.
- Tug hard to test. If it slips, retie more snugly or choose a different method.
- Trim tails carefully, but not too close. Leave at least 1/2 inch (1 to 1.5 cm) so the tail does not pop out of the knot.
Where the magic knot is most useful
- Acrylic and acrylic blends
- Cotton and cotton blends
- Slippery fibers where a buried tail might migrate
Where to be cautious
- Next-to-skin items like cowls or hats, because you might feel the knot
- Very lacy fabric, because the knot can be visible
If a knot feels too bold for the front of your fabric, place it at an edge, or in a seam allowance area, and bury both tails well.
Best joins by fiber
Fiber matters, but structure matters too. Here is a practical guide for reliability.
- Acrylic: Usually most secure with a magic knot plus buried tails. A Russian join can work on some textured, firmly plied acrylics, but test it with a firm tug.
- Cotton: Often best with a magic knot plus buried tails. A Russian join can work nicely on plied cotton, especially matte, grippy cottons.
- Single-ply yarn: Skip the Russian join. Consider a spit splice if it is feltable wool. Otherwise, choose a magic knot or simply switch skeins by leaving tails and weaving them in securely.
When in doubt, choose the join you can test. Tug now, relax later.
When a knot is best
Even if you love knot-free joins, there are times a knot earns its keep:
- High-tension crochet like market bags, straps, and dense amigurumi
- Very slippery yarn where buried tails can creep out over time
- Hard-wearing items like socks and mittens, especially in stress zones
- Short yarn tails where you do not have enough length for a Russian join
If you knot, place it thoughtfully. Tuck it into a seam area if possible, or at the edge of a row so it can be hidden neatly.
How long to leave tails
Even the best join benefits from a sensible tail, especially with slick fibers. These lengths are cozy and safe:
- Weaving in ends only: leave 6 inches (15 cm) on each end.
- Magic knot: leave enough to tie comfortably, and after tightening, make sure you still have at least 1/2 inch (1 to 1.5 cm) on each side of the knot, then bury the tails if you can.
- Russian join: allow 2 to 3 inches (5 to 7.5 cm) of buried length inside the yarn, plus extra handling room.
- Spit splice: plan for 3 inches (7.5 cm) of overlap.
When you bury tails, run them through multiple direction changes if possible. A little zigzag path helps lock them in place, especially in smooth yarns.
Quick fixes
My join made a bump
- Move the join to an edge or seam area next time.
- For Russian joins, keep the buried sections smooth along the twist and avoid extra overlap.
- For spit splices, taper more aggressively by trimming half the plies on each side.
My spit splice will not felt
- The yarn may be superwash or not wool-heavy enough. Switch to a Russian join or magic knot.
- Use warm water and rub longer, but stop if the yarn starts to fuzz badly.
My knot is poking out
- Slide it to the wrong side if you can, or position future knots at the edge.
- Leave longer tails and bury them through the fabric.
Cozy rule
If your yarn will felt, splice it. If your yarn is plied, Russian join it. If your yarn is slick or stubborn, knot it and bury the tails like you mean it.
One more row. Then just one more.