One more row. Then just one more.
That is often how sweater wear happens too: one more day of elbows-on-desk, one more snag on a zipper, one more wash. Suddenly you have a hole, and your lovely knit is trying to become fringe.
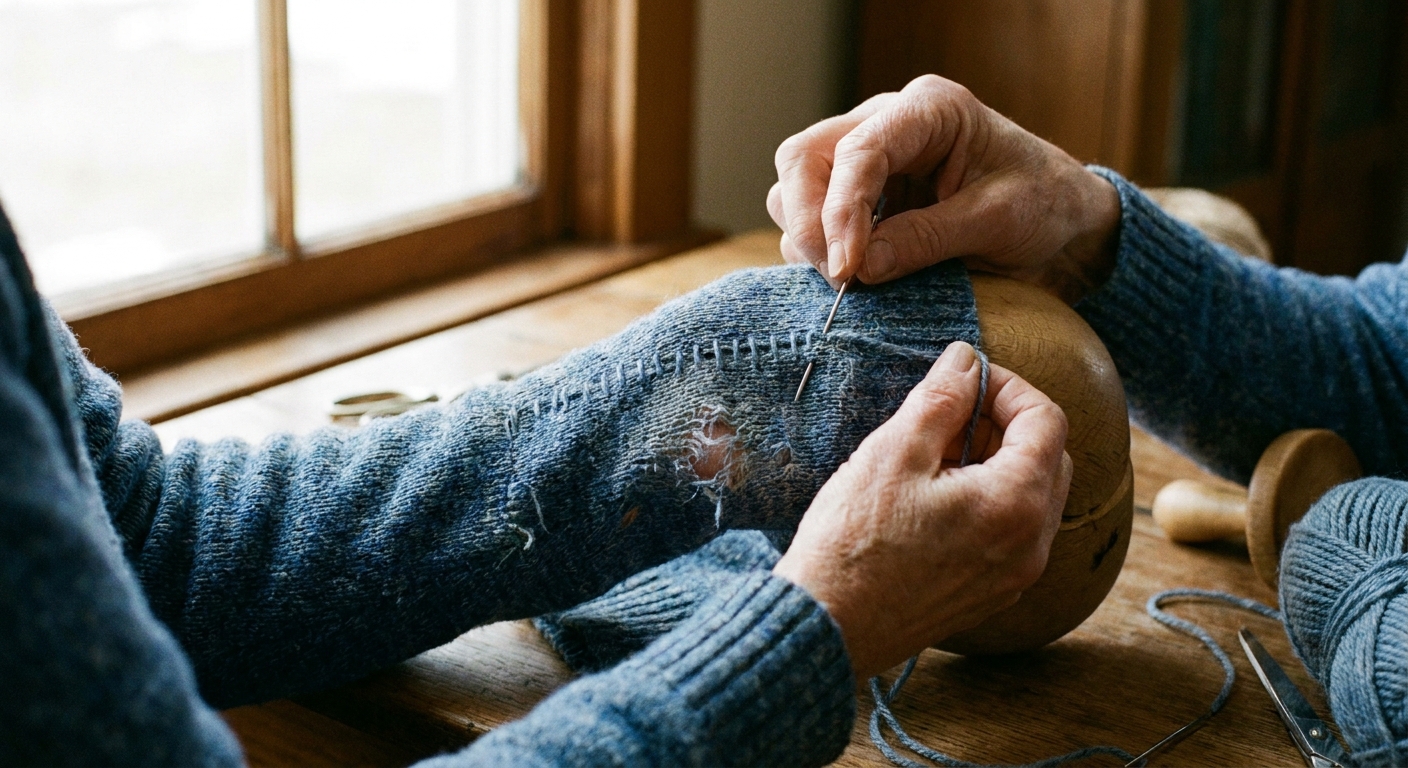
The good news: a woven darn is a tidy, sturdy fix that looks right at home in knitted fabric. We will anchor into the sound stitches around the hole, span the gap with vertical threads, then weave horizontal threads over and under so everything lies flat.
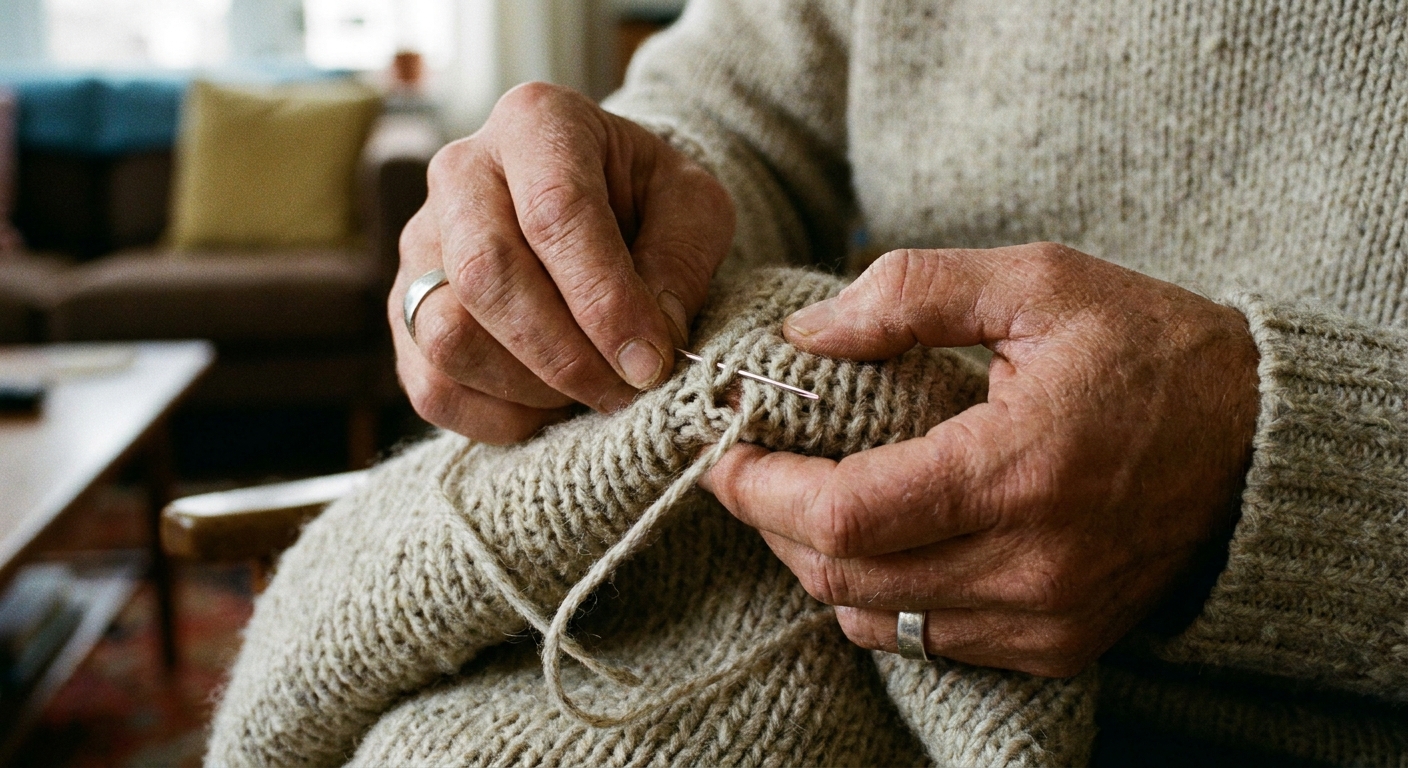
What a woven darn does
A woven darn replaces missing fabric by creating a new little grid of yarn that is anchored into the healthy stitches around the hole. It is especially useful when:
- Stitches are missing (a true hole, not just a dropped stitch ladder).
- The area is worn thin and you want a sturdier patch than a simple stitch pick-up.
- The yarn is fuzzy or textured and a darn will blend better than a crisp seam.
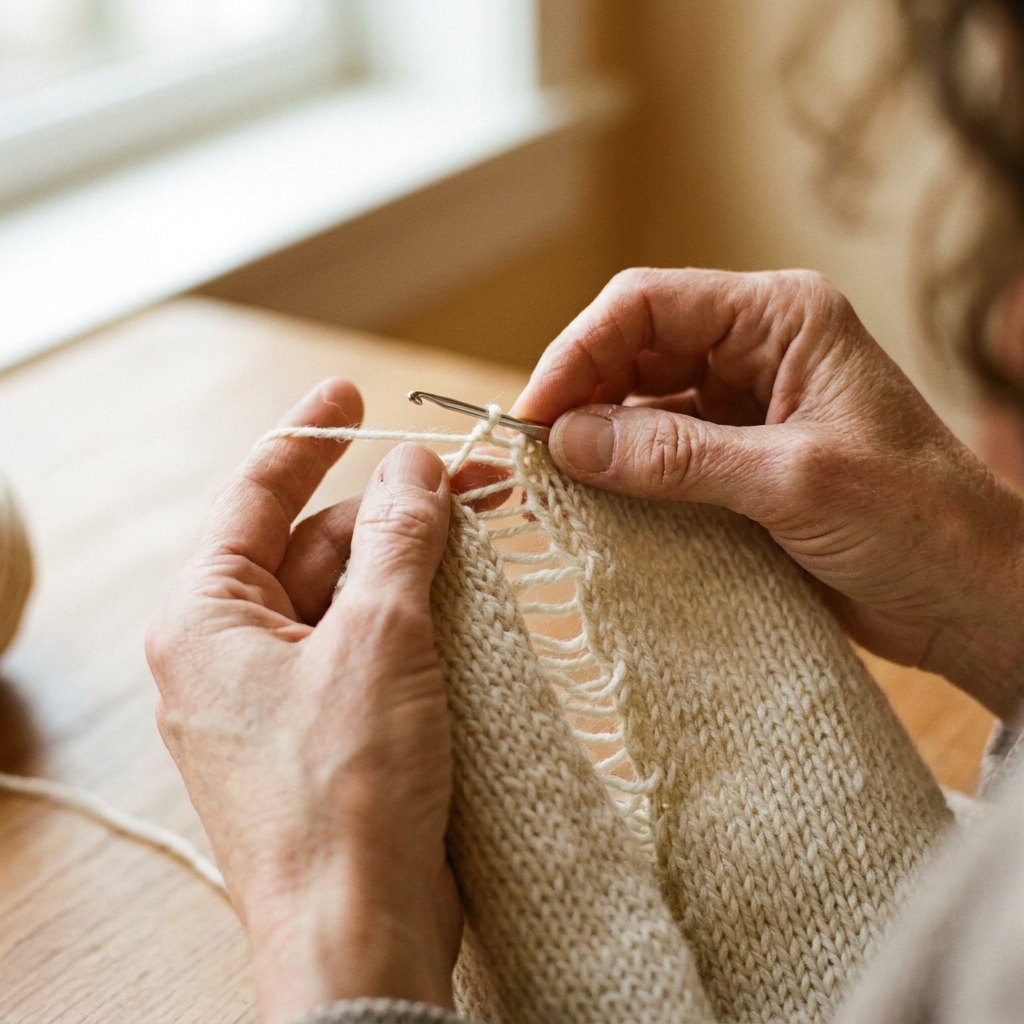
If you only have a single dropped stitch that has run down a column, you can often ladder it back up with a crochet hook instead. For a real gap, darning is your cozy hero.
Quick note: On very open lace, deep ribbing, or chunky cables, a woven darn can read like a little windowpane. In those spots, Swiss darning (duplicate stitch) or a small knit-in patch can blend more naturally.
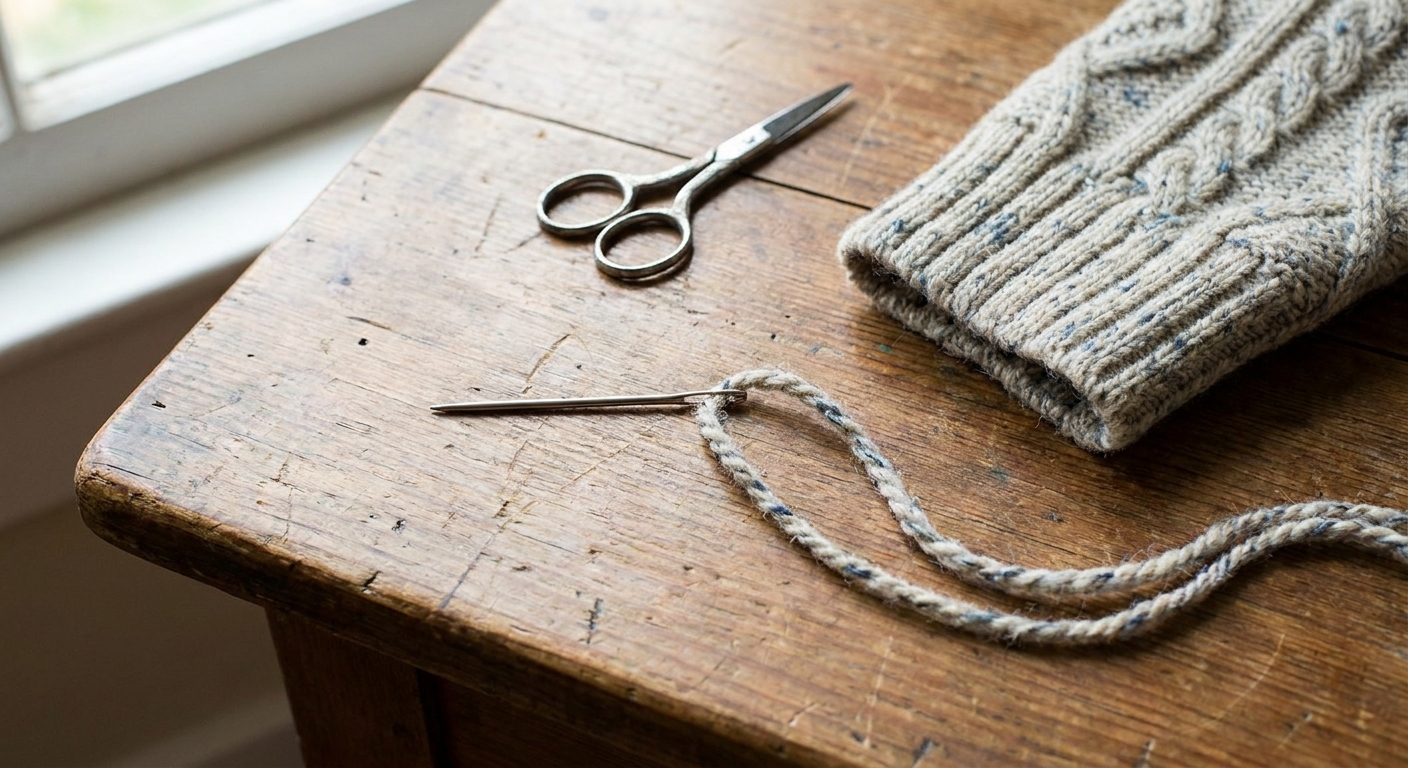
What you need
- Matching yarn, ideally the same yarn as the sweater. If you do not have it, choose a similar fiber and weight. For color, a slightly darker match often disappears better than a lighter one, but trust your eye with heathers, marls, and shiny fibers.
- Blunt tapestry needle (also called a darning needle).
- Small sharp scissors.
- Something to put inside the sweater to keep the area smooth: a darning mushroom, an embroidery hoop, or even a clean jar.
- Optional: a locking stitch marker or safety pin to tame any loose loops.
Before you start
1) Check the fabric around the hole
Gently stretch the fabric around the hole. You are looking for stitches that still have some spring and do not look threadbare. Those are your anchor stitches.
If the area is very thin, plan to darn a little wider than the hole itself. Think: a comfortable border of healthy knitting all the way around.
2) Stop any running stitches
If the hole happened because the yarn broke, nearby loops can start to unravel. Use a locking stitch marker or safety pin to catch any live loops near the edge before you begin. You can also use a few temporary basting stitches in scrap yarn to hold things steady.
3) Tame loose loops and tails
If you see long loops at the edge of the hole, do not cut them. Those loops are valuable yarn that helps you see the original stitch structure. You can catch them into the darn as you weave.
4) Support the fabric
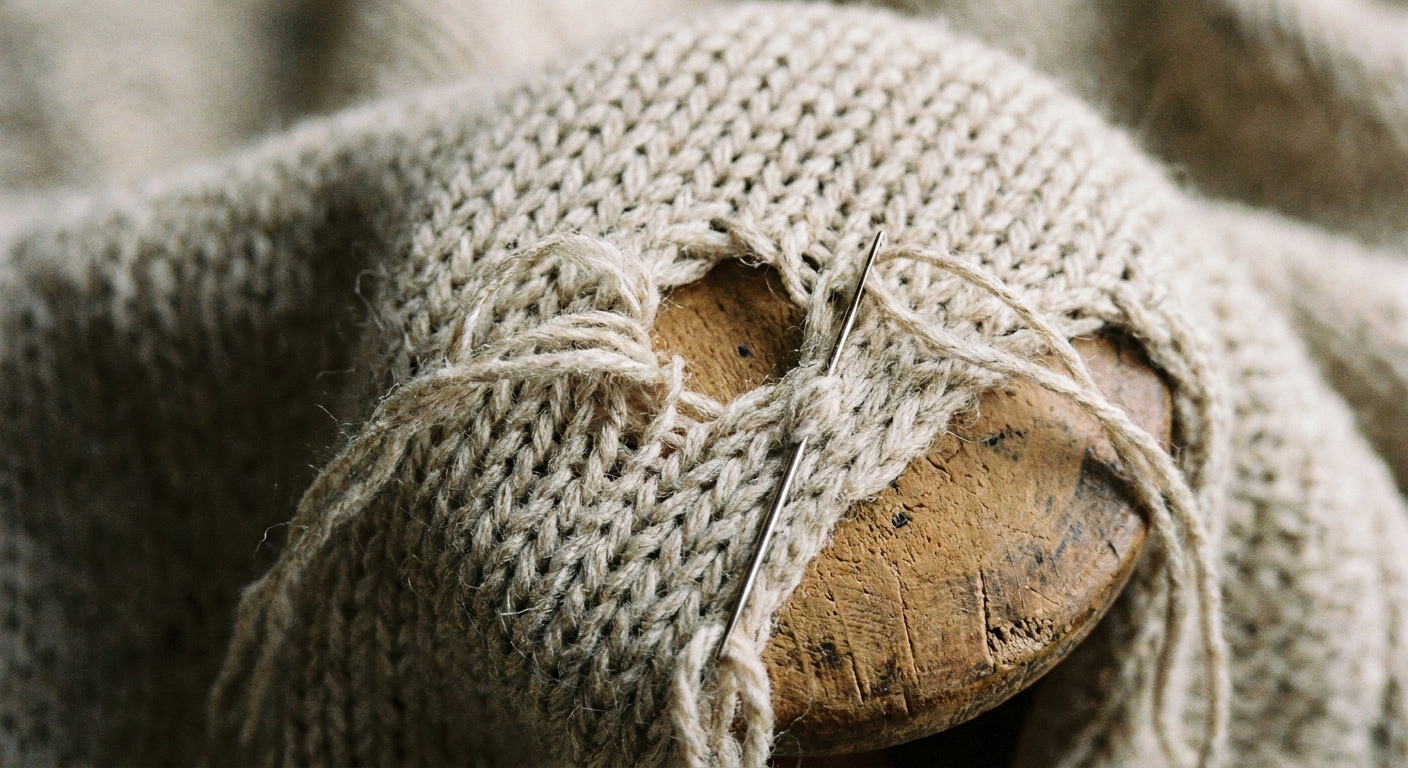
Slip your darning mushroom, hoop, or jar inside the sweater so the hole is held flat, not stretched tight. Flat is the goal. Tight makes a stiff patch that puckers later.
If you use an embroidery hoop, do not crank it down. You want gentle support, not distorted stitches.
Woven darning
We are going to build a tiny woven patch in three phases: anchoring, laying the vertical strands, then weaving the horizontal strands.
Orientation helps. Here, vertical means along the knit columns (up and down the body or sleeve), and horizontal means across the knit rows.
Step 1: Anchor the yarn
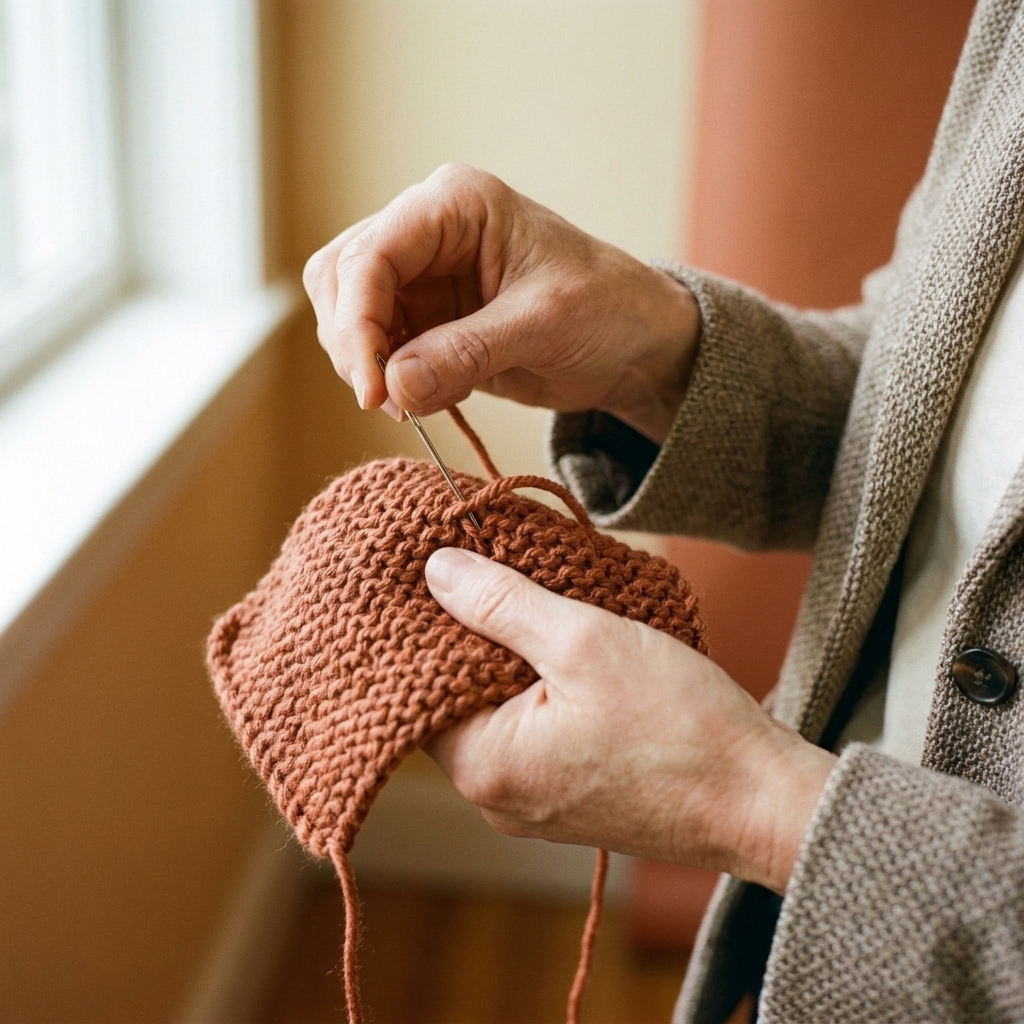
Thread your blunt tapestry needle with a length of matching yarn. Aim for about 18 to 24 inches so you are not wrestling a mile of yarn through the fabric.
On the wrong side of the sweater, weave the yarn tail through a few nearby stitches to secure it. You want it snug, but not cinched.
Tiny rule: No knots if you can help it. Knots make bumps that rub.
Step 2: Stabilize the edge
With the sweater still supported, bring your needle up on one side of the hole, just outside the ragged edge where the stitches look strong.
Work a simple perimeter around the hole by taking small bites into the existing knit stitches. This creates a stable border so the darn does not pull through. If your hole is tiny, you can think in terms of anchoring points at the four sides. If it is larger or the fabric is worn, make it a full ring.
- Keep your bites consistent, catching full strands of yarn, not just fuzz.
- Stay in healthy fabric. If you stitch into worn fibers, the patch can tear out later.
Vertical strands
Step 3: Lay the vertical strands
Now you will lay parallel strands of yarn across the hole. These are your vertical foundation threads.
- Bring the needle up on one side of the hole in sound fabric.
- Take it straight across the hole to the opposite side.
- Insert the needle into sound fabric and take a small anchoring stitch.
- Come back up very close to where you went down, then travel across again.
Repeat until the hole is covered with evenly spaced vertical strands. Space them about the width of the sweater’s stitch columns, and slightly closer if the fabric is very worn.
Extend the strands a little beyond the hole into healthy fabric on both sides. That extra bite of good knitting is what keeps the patch from popping loose later.
Keep it flat: The strands should rest on the surface without pulling the hole narrower. If the fabric starts to pucker, loosen your tension.
Horizontal weaving
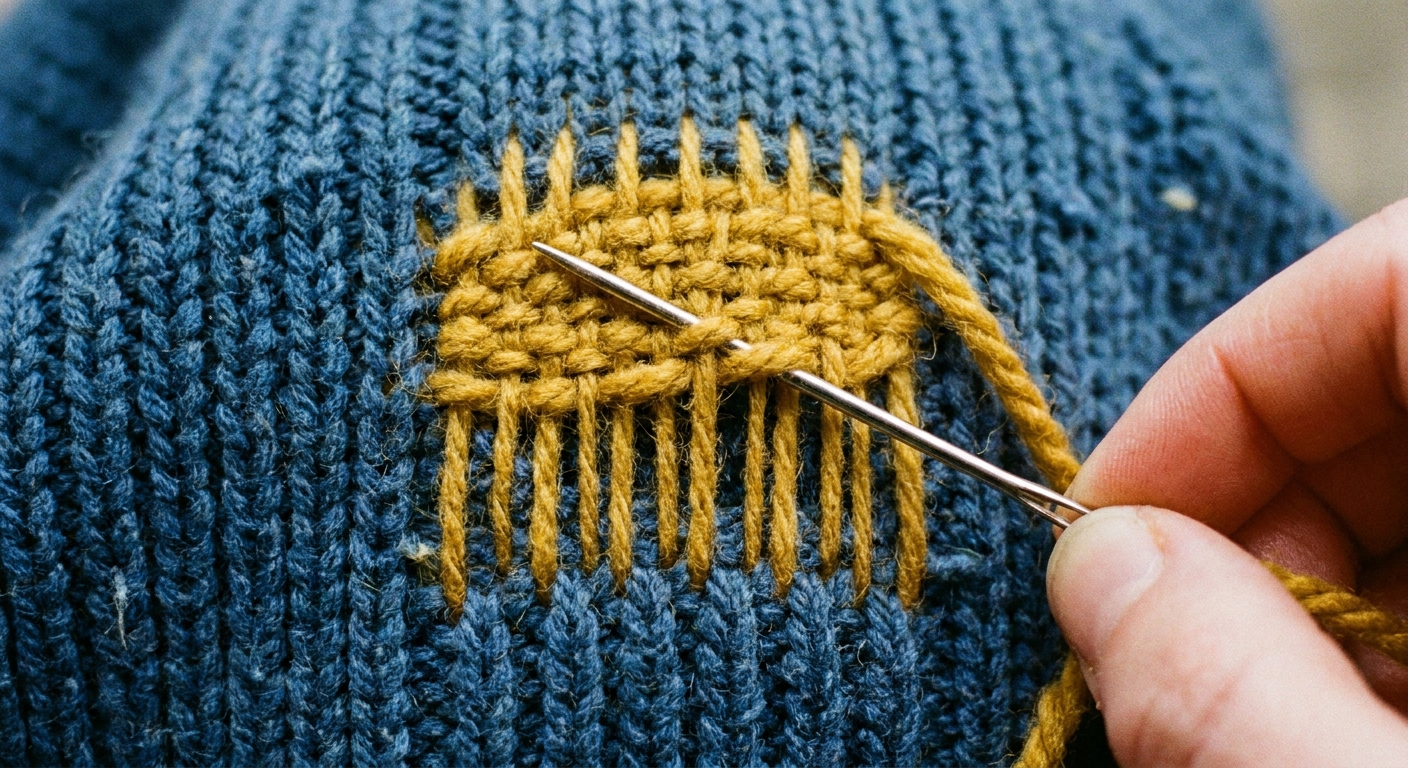
Step 4: Weave across
Turn your attention 90 degrees. You will now weave horizontal passes through the vertical strands to create a neat little woven patch.
- Bring the needle up in sound fabric just above one corner of the hole.
- Travel across the hole, weaving over the first vertical strand, under the next, and so on.
- When you reach the far side, take a small anchoring stitch in sound fabric.
- Come back across for the next row, alternating the over-under pattern (so where you went over before, you go under now).
After every few rows, pause and use the needle tip to gently nudge the weaving into place. You want an even, filled-in patch that matches the surrounding knit density as much as possible.
Finish and blend
Step 5: Soften the transition
Once the hole is fully covered, weave a few extra horizontal rows into healthy fabric beyond the gap. This softens the transition and strengthens the border.
If the surrounding area is thin, it is better to make the patch slightly larger than you think you need.
Step 6: Secure the tail
On the wrong side, weave the yarn tail through several stitches, changing direction once or twice so it locks in place. Trim close, but leave a short tail (about 1 to 2 cm) after weaving in, especially if the yarn is smooth or springy.
Step 7: Reset the fabric
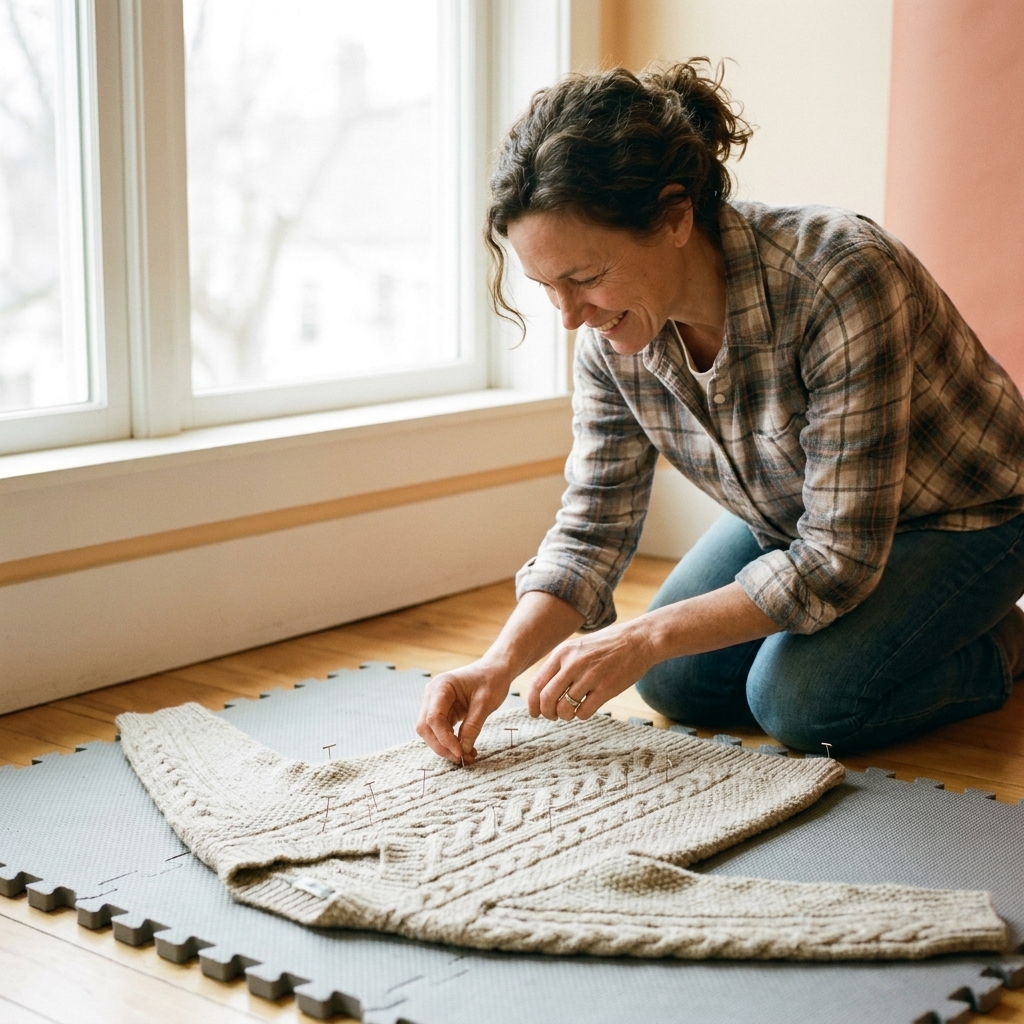
Take the sweater off the darning support and gently smooth the area with your fingers. If you can, lightly steam-block from a distance or mist with water and let it dry flat. Do not press hard. You are encouraging the stitches to relax, not squashing them.
If your sweater is acrylic or another heat-sensitive fiber, skip steam and use light misting instead.
Reinforce thin elbows
Elbows often give you a warning phase: the fabric looks shiny, fuzzy, or thin long before it becomes an actual hole. Reinforcing early is one of the kindest things you can do for a favorite sweater.
What you will do
You will add a second layer of support using simple running stitches, then you can add another pass to create a soft mesh. This spreads stress over a wider area and slows down wear.
Step by step
- Support the elbow area over a darning mushroom, hoop, or a rolled towel inside the sleeve.
- Thread matching yarn onto a blunt tapestry needle.
- Work running stitches across the thinning area, catching the knit stitches lightly. Keep rows parallel and evenly spaced, extending into healthy fabric around the thin zone.
- Add a second layer by working another set of running stitches perpendicular to the first, forming a gentle grid.
- Secure the tail by weaving it through nearby stitches on the wrong side.
Tip: Use a slightly thinner yarn than the sweater yarn if you want a less noticeable reinforcement. Use the same yarn if you want maximum durability.
Troubleshooting
The patch puckers
- Cause: tension too tight on the vertical strands or the woven rows.
- Fix: gently loosen by nudging the woven rows with the needle tip, redistributing slack. If it is severe, undo and redo with looser tension and the fabric supported flat, not stretched.
The patch is bulky
- Cause: yarn too thick, too many strands, or weaving too densely.
- Fix: try fewer vertical strands or switch to a slightly thinner yarn for the darn.
The hole keeps growing
- Cause: the surrounding stitches are worn and not sound enough to anchor.
- Fix: expand outward into healthier fabric and make a larger darn. A wider border is stronger than a tiny patch right at the break.
The darn stands out
- Cause: color or texture mismatch, or the weave is much denser than the knit.
- Fix: match fiber and fuzz where possible. After washing, many darns bloom and blend in. You can also lightly tease the surface with your fingers to encourage fuzz to mingle.
Quick FAQ
Right side or wrong side?
You can do either, but many knitters prefer weaving with the right side facing so you can judge how visible the repair is. Just make sure your tails are secured neatly on the wrong side.
Wash before darning?
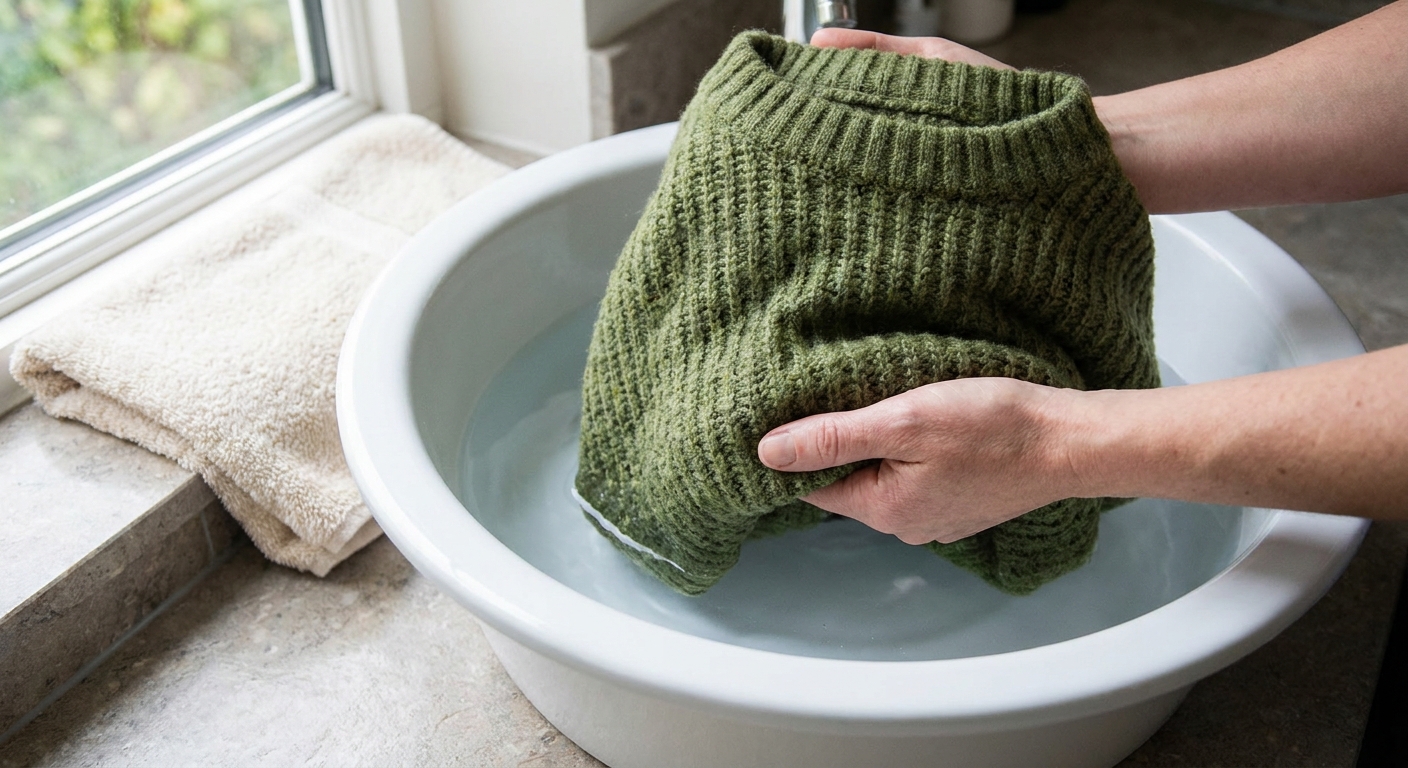
If the sweater is dusty or has oils in high-wear spots, a gentle wash and full dry can make stitches easier to read and help you match tension. Just be sure it is completely dry before you stitch.
Can I darn with non-wool yarn?
You can, but try to match the sweater’s behavior. Wool in a wool sweater tends to flex and wear similarly. Smoother yarns can be durable too, but a big mismatch in stretch and hand can make the repair feel odd, and very slick yarns can sometimes rub against surrounding fibers over time.
How big should a woven darn be?
Big enough to anchor into healthy knitting. For a small hole, that often means at least 1/2 inch of strong fabric beyond the damaged area on all sides, and more if the fabric is thin.
One last stitch
A good darn is not about making the sweater pretend nothing happened. It is about giving the stitches a second chance to hold hands again.
If you want, take a quiet minute when you are done and run your fingers over the repair. Flat. Steady. Ready for one more row, then just one more.