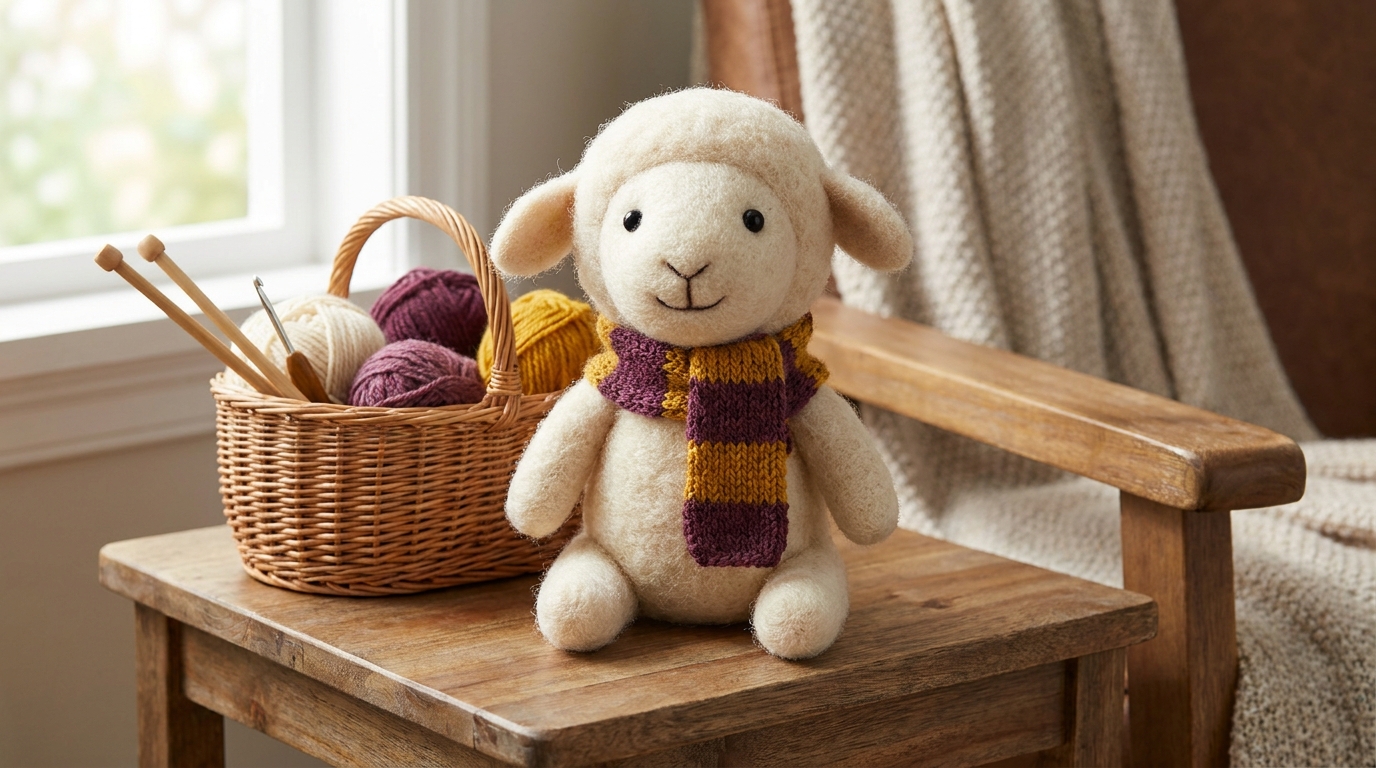
One more row. Then just one more.
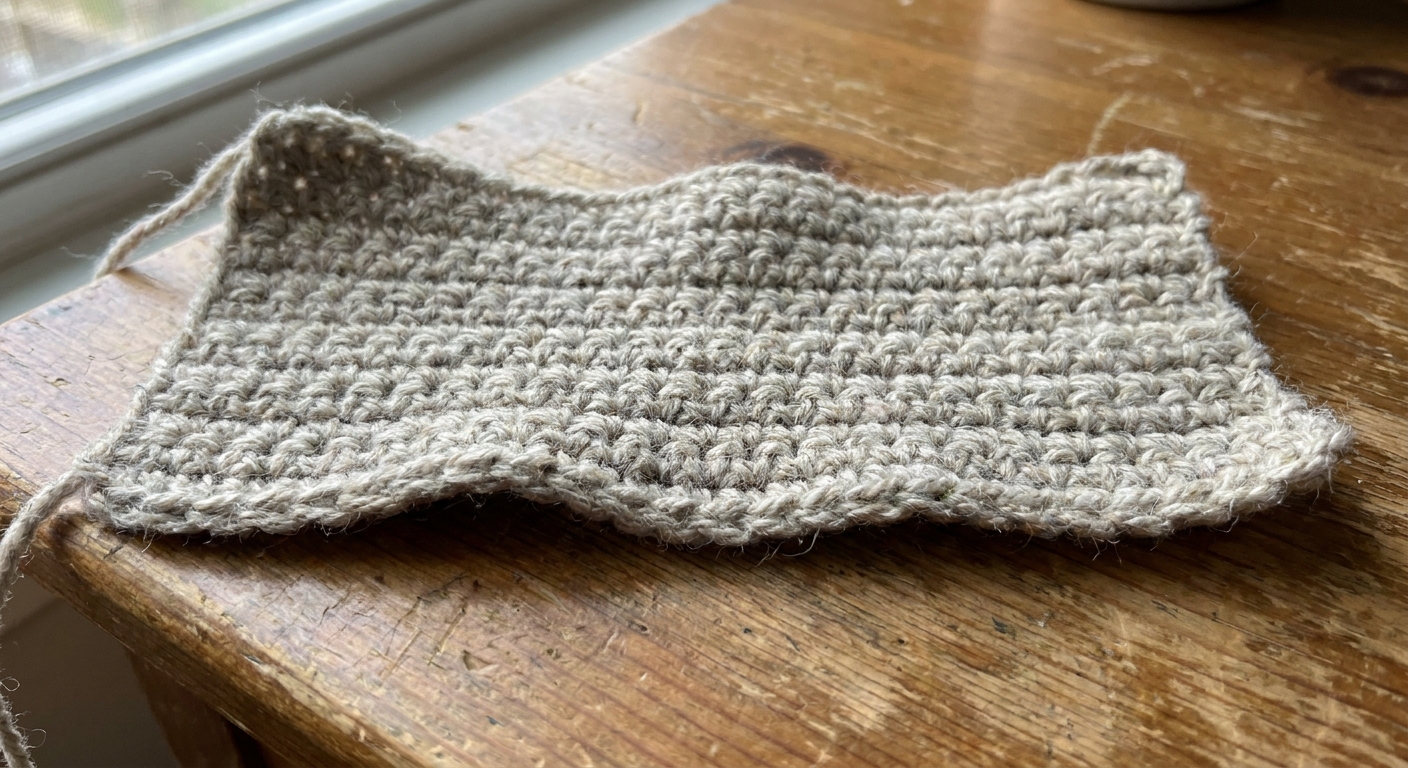
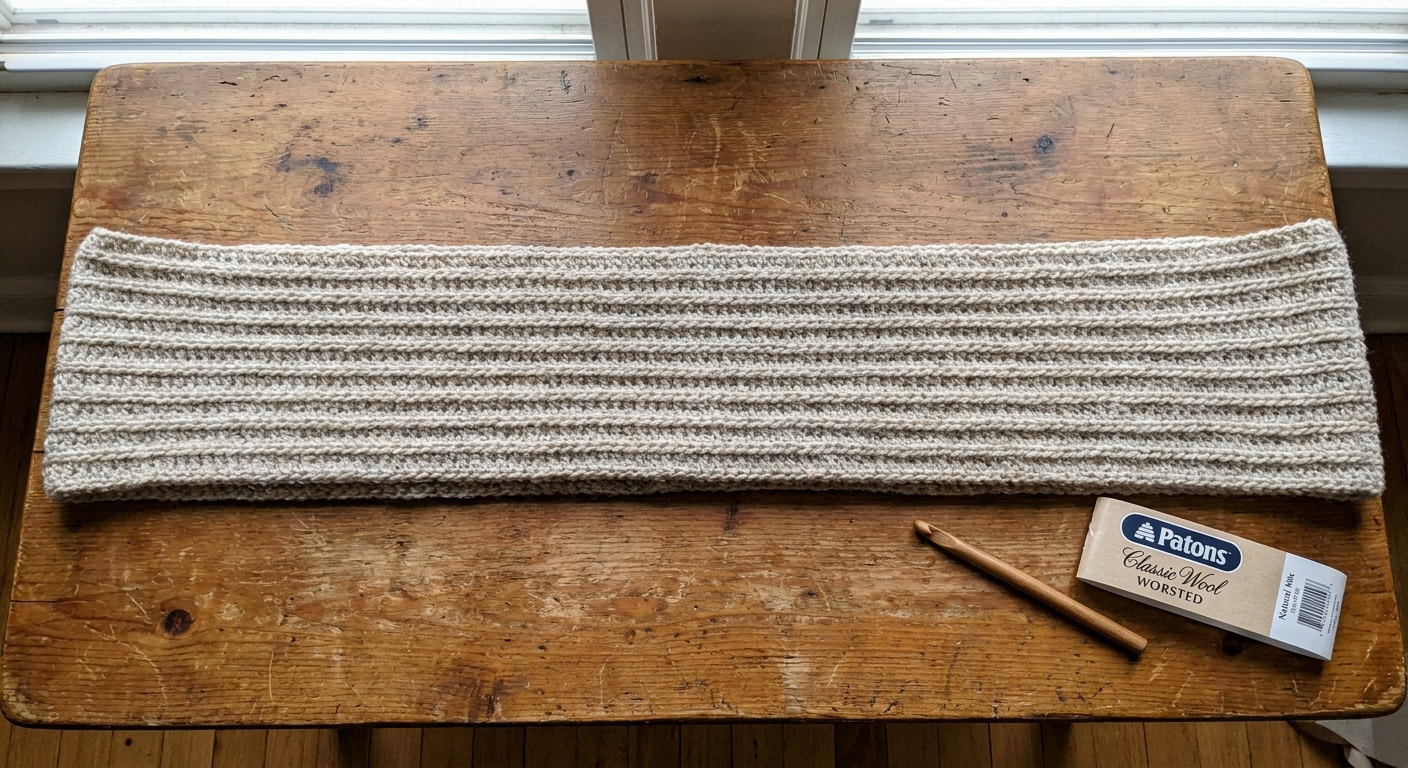
If you want a scarf that looks knit-like, feels squishy, and still stays beginner-friendly, back-loop single crochet is the coziest little trick. You will crochet a simple rectangle, but working into just the back loop makes the fabric pop into soft ribs that stretch and drape beautifully.
What you will make
- Project: Adult ribbed scarf
- Stitch: Back-loop single crochet (BLO sc)
- Finished size (approx.): 7 in wide x 60 in long (18 cm x 152 cm)
- Skill level: Beginner, with a calm, repeatable row pattern
This scarf is worked sideways so the ribs run lengthwise along the scarf (that knit-like look). Your starting chain controls the scarf length, and the number of rows controls the width.
Supplies
- Yarn: Worsted-weight yarn (Category 4), about 300 to 400 yards (approx.), depending on width, length, and fringe
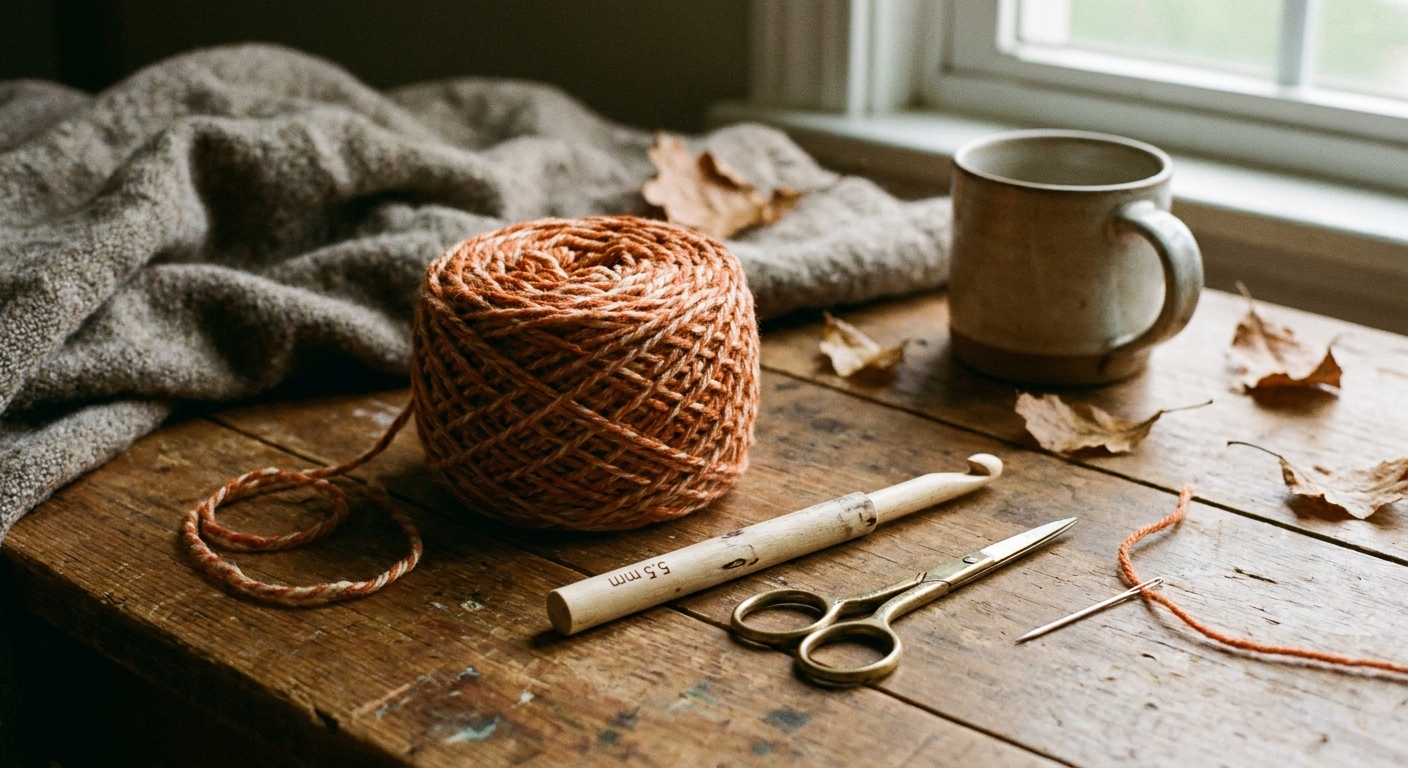
- Hook: 5.5 mm (I-9) crochet hook (a common, beginner-friendly size for worsted)
- Notions: Scissors, tapestry needle for weaving in ends
- Optional: Stitch marker (helpful for the first and last stitch of each row)
Yarn tip: A smooth, light-colored yarn makes it easier to see the back loops while you are learning. Busy color changes can hide your loops and make counting tougher.
Long-chain tip: A chain of 200 can feel like it takes forever. Keep your chain loose (or chain with a hook one size larger, then switch back for Row 1) so the end does not get tight and stiff.
Stitches and abbreviations
- ch = chain
- sc = single crochet
- BLO = back loop only (work into the back loop of the stitch)
- st(s) = stitch(es)
- turn = turn your work to start the next row
Find the back loop
Look at the top of a crochet stitch and you will see a little V. That V has two strands:
- The strand closer to you is the front loop.
- The strand farther from you is the back loop.
For this scarf, you will insert your hook under only the back loop for nearly every stitch after the first row. That is what creates the ribbing.
Beginner ribbed scarf pattern
Length target: about 60 inches
Width target: about 7 inches
Starting chain (controls length): ch 200
Important: Chain counts are always a little personal. If you want a truer 60 inches, chain until your chain measures about 60 inches (without stretching it), then add 1 more chain to start the row.
Row 1
ch 200.
sc in the 2nd ch from the hook and in each ch across. Turn.
Stitch count: 199 sts
Row 2 (repeat row)
ch 1 (does not count as a stitch).
Starting in the first stitch, BLO sc in each stitch across. Turn.
Stitch count: 199 sts (the ch 1 is not included)
Row 3 and onward
Repeat Row 2 until your scarf measures about 7 inches wide. You do not repeat Row 1.
How to measure width: Lay the scarf flat and measure from edge to edge across the short side (the direction your rows are stacking up).
Stitch count (every row): 199 sts
How many rows for 7 inches wide?
Row count depends on your personal tension and yarn. As a beginner-friendly target, plan on about 26 to 32 rows total for a roughly 7-inch width.
- If your ribs feel narrow and tight, you might need closer to 32 rows.
- If your ribs look tall and relaxed, you might reach your width closer to 26 rows.
The best method is to measure as you go. If you want it wider, keep going. If you want it slimmer, stop earlier.
Optional gauge shortcut: Not required, but if you want to estimate faster, crochet 10 rows, measure that width, then do the math for your goal.
Neat edges
Count the first and last stitch
When you turn, the first stitch of the new row is right at the edge. It is easy to skip it by accident. If your scarf starts tapering, that is usually why.
- Place a stitch marker in the first stitch of the row for the first few rows.
- Make sure you work into the last stitch of the row before turning.
Keep the turning chain relaxed
You will make a ch 1 at the start of each row. Keep it relaxed so the edge stays smooth and not pinched. Remember, the ch 1 does not count as a stitch in this pattern.
Watch the rib direction
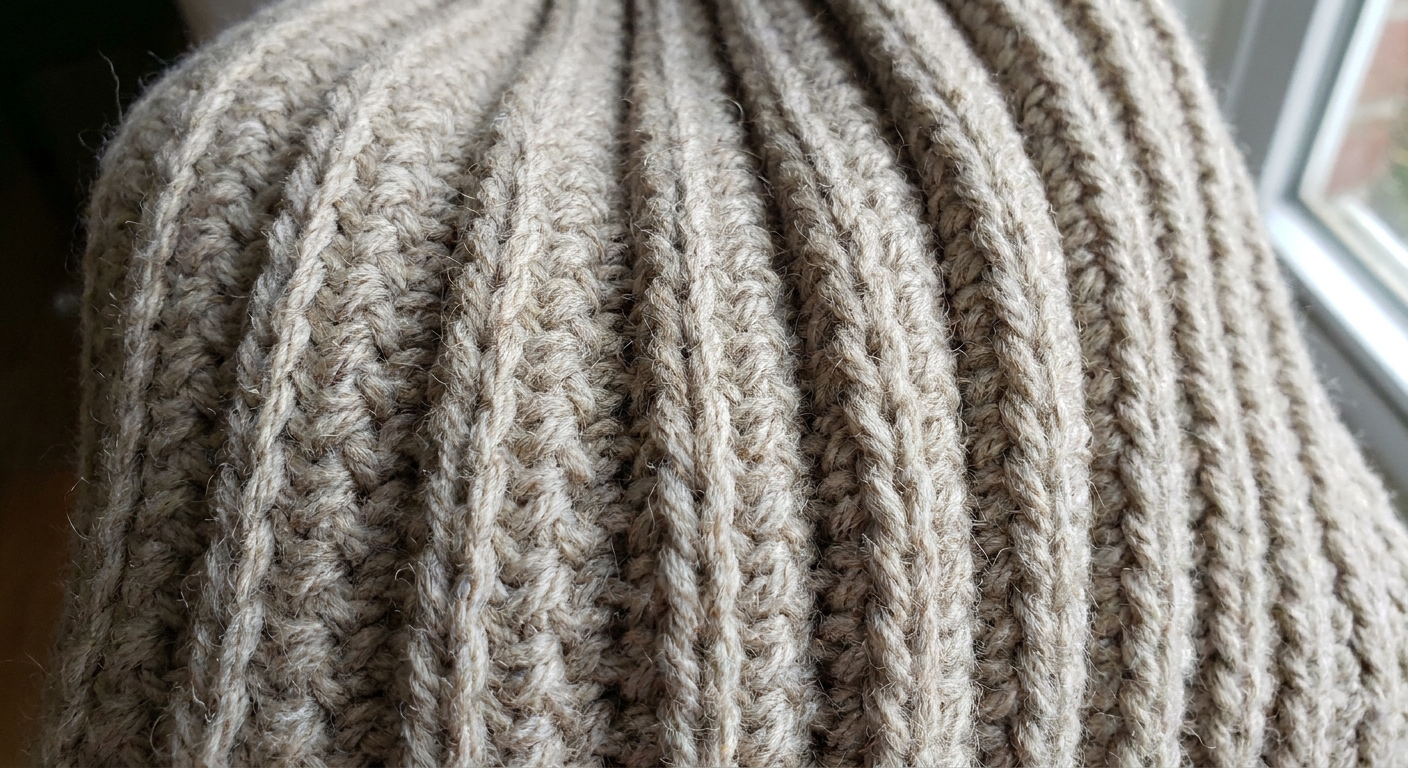
Because you are crocheting this scarf sideways, the ribs will run lengthwise along the scarf. That is the detail that makes it look extra knit-like when worn.
Finishing
Fasten off
When your scarf is the width you want, cut the yarn leaving a tail about 6 to 8 inches long. Yarn over and pull the tail all the way through the last loop on your hook to secure it.
Weave in ends
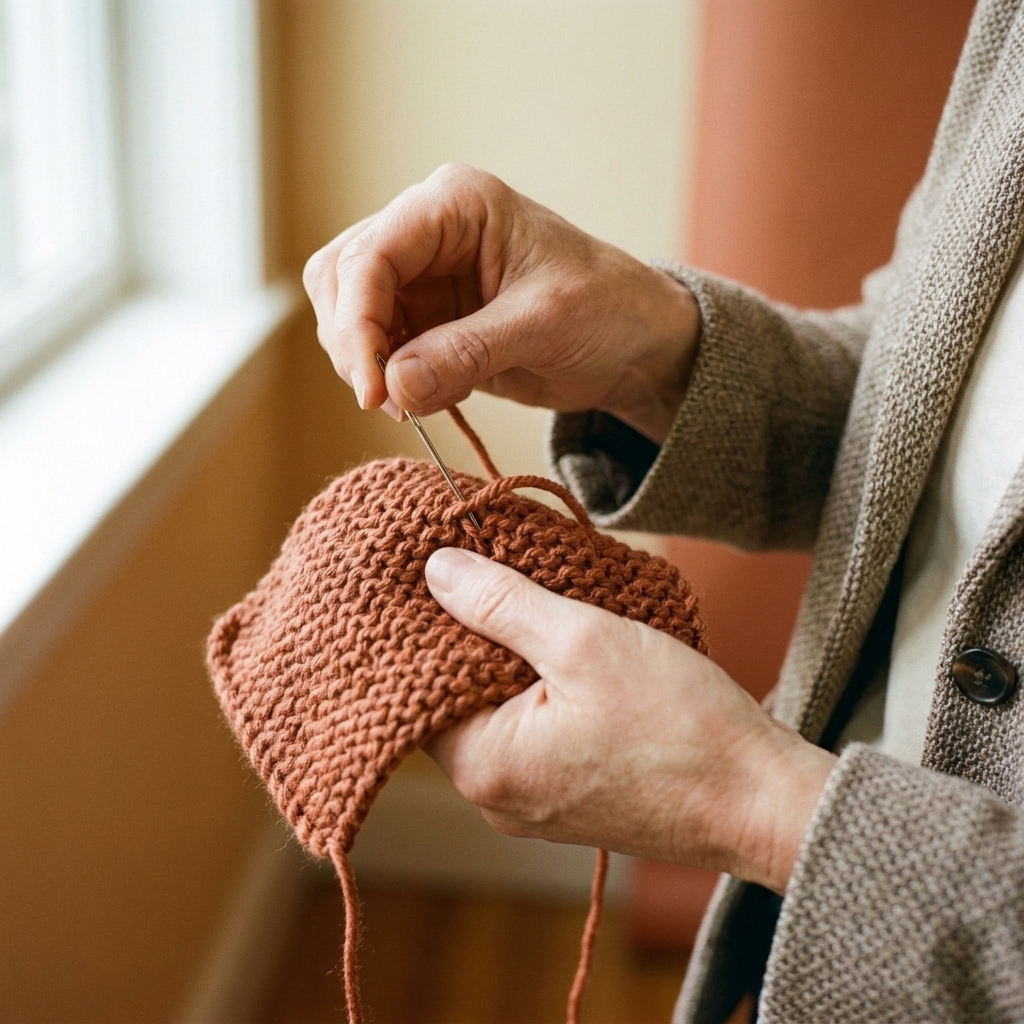
Thread the tails onto a tapestry needle and weave them in along the ribbing on the wrong side of the scarf. Move in one direction, then change direction once to help it stay put. Trim the excess.
Optional fringe
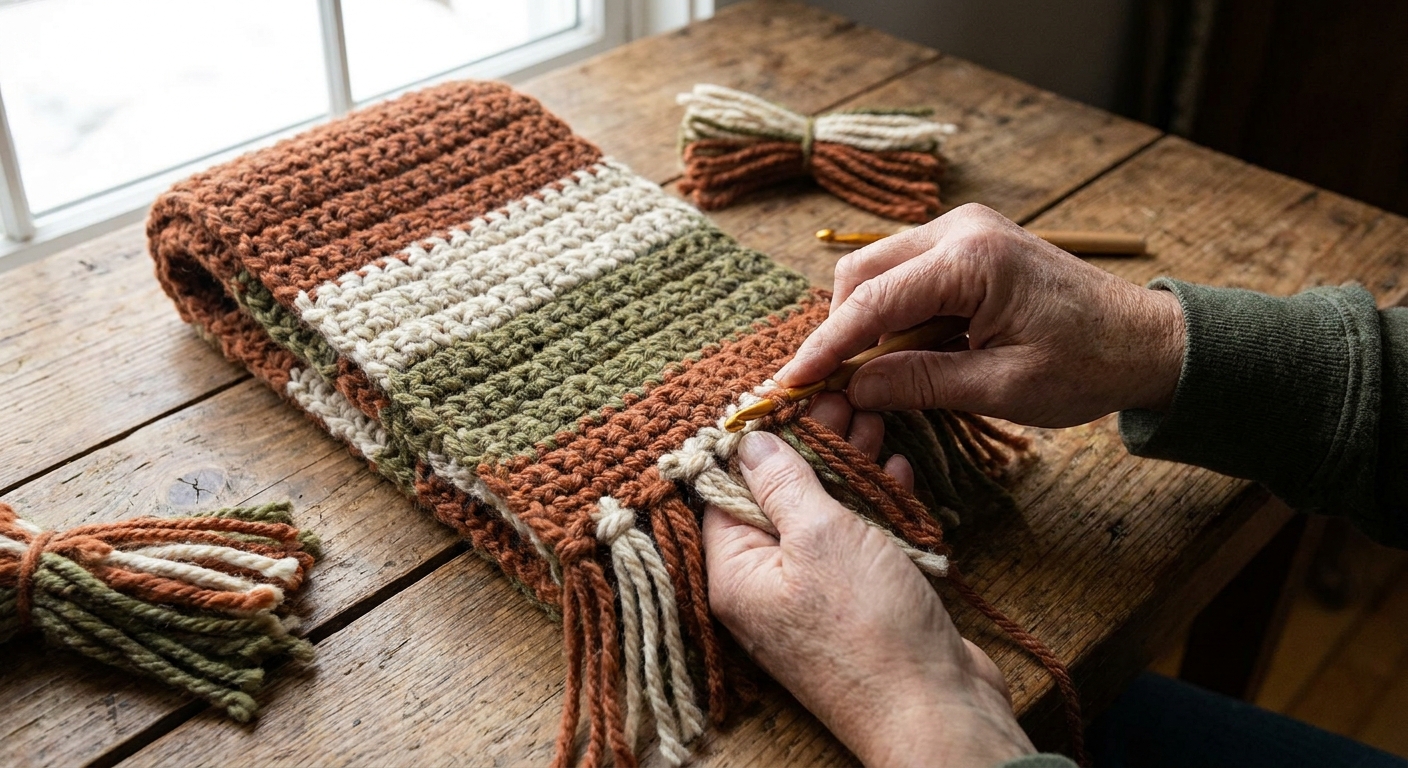
If you want fringe, add it to both short ends.
- Cut strands about 10 to 12 inches long. (They will fold in half.)
- Use 2 strands per fringe for a fuller look, or 1 strand for a lighter look.
- Fold strands in half, insert your hook through an end stitch, pull the fold through to make a loop, then pull the tails through the loop and tighten gently.
- Repeat across the end, spacing evenly.
- Trim fringe so both ends match.
Quick help
Why does BLO single crochet make ribs?
When you work into only the back loop, the unused front loop lies forward and creates a raised ridge. Repeating that row after row builds a stretchy, ribbed texture.
My scarf is longer or shorter than 60 inches
If you have not gone far, restart with a different chain count. Add chains to make it longer, subtract chains to make it shorter. If you are already happily stitching, keep going and call it your perfect length. Scarves are forgiving.
Do I need to block this scarf?
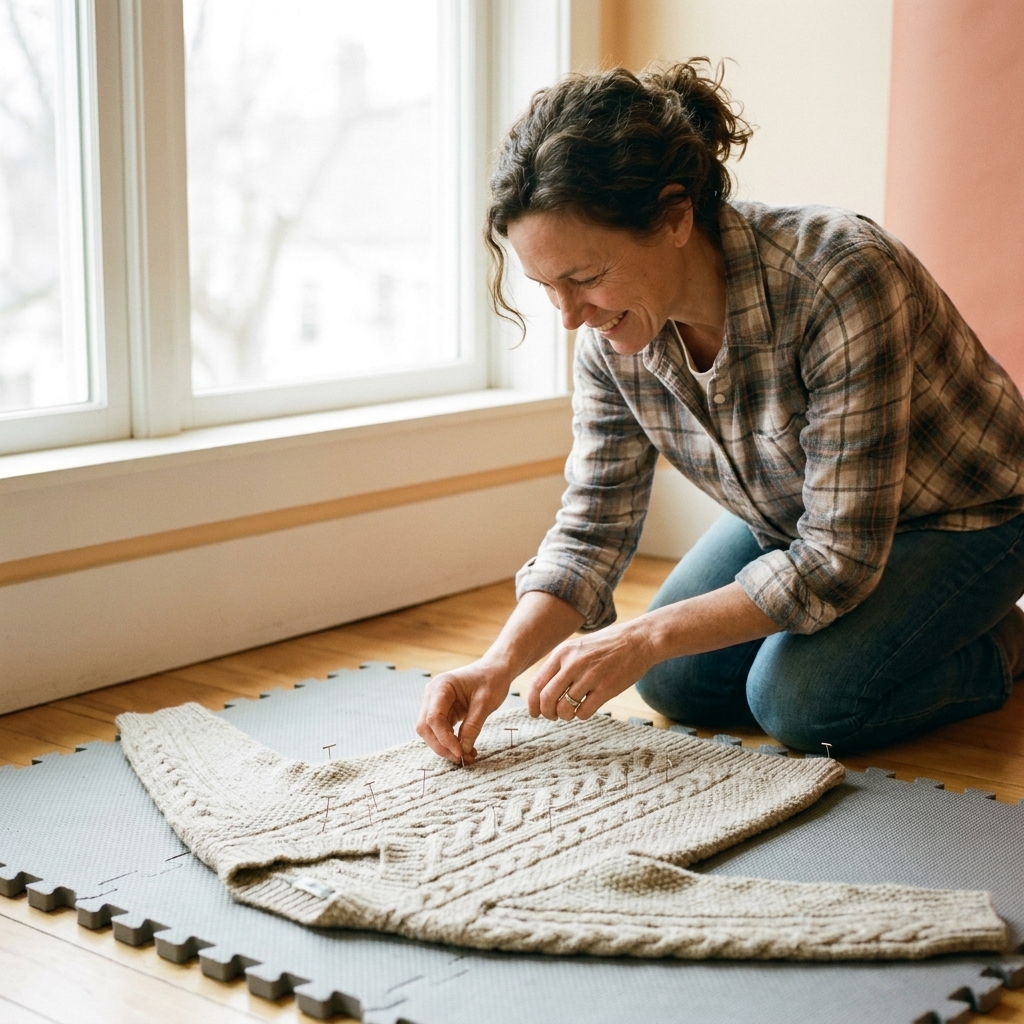
You usually do not need to block a worsted-weight acrylic or wool-blend scarf. If your edges look a little wavy, a gentle steam block or a light wet block can help relax the fabric. If you steam acrylic, keep the steamer or iron hovering and never press directly on the yarn, since high heat can flatten or melt fibers. Always check your yarn label first.