One more row. Then just one more.
If you have ever looked at a C2C blanket and thought, “That looks like pixels made of yarn,” you are exactly right. Corner-to-corner crochet, or C2C, is built from small blocks (often called tiles) worked on the diagonal. You start in one corner, increase one block per row until you reach the width you want, then decrease to shape it into a square or rectangle.
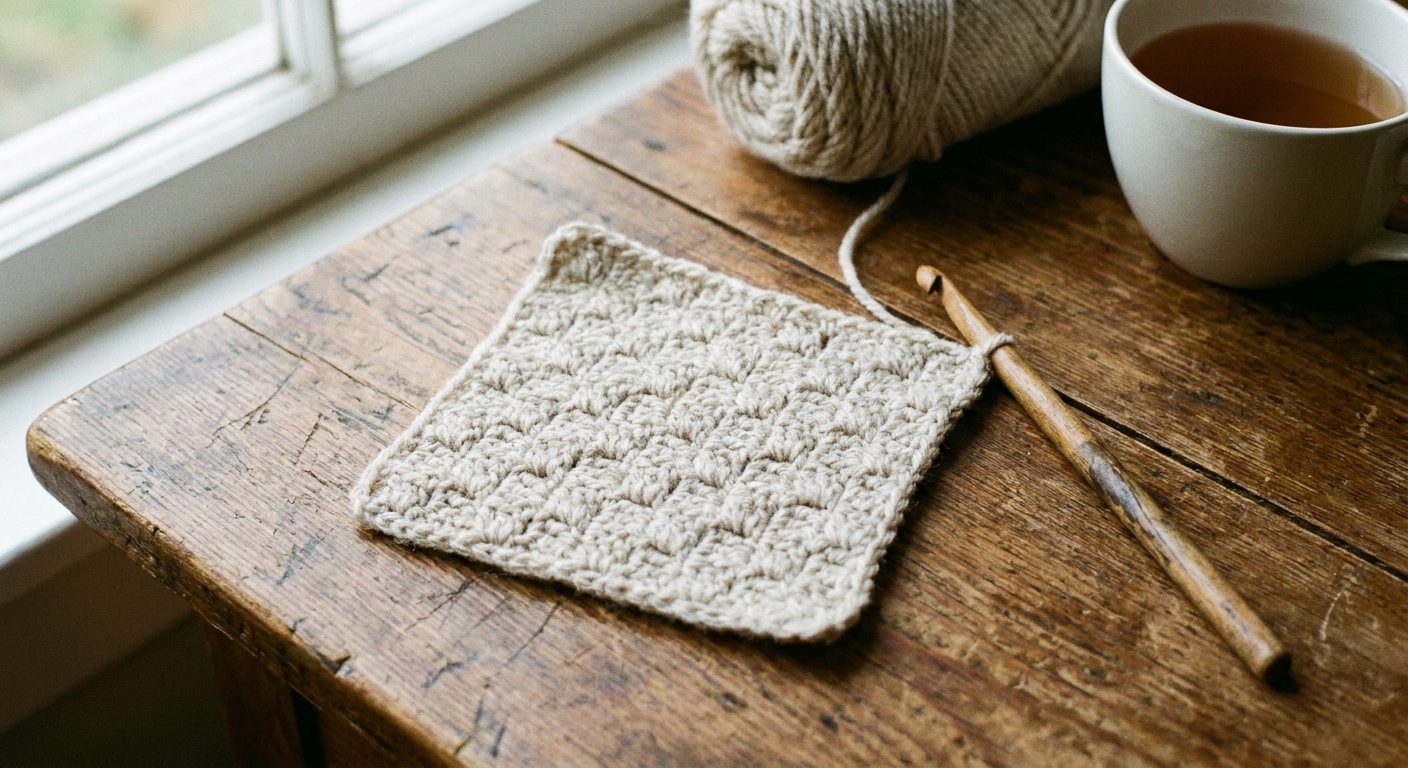
What C2C is, in plain yarn terms
C2C is a construction method. Instead of long rows across the top of your work, you crochet little blocky clusters and step diagonally upward as you go.
- Each block is typically a 3 double crochet cluster worked into a chain space.
- Between blocks you slip stitch into the next chain-3 space to move over, then make the next block in that space.
- Each row adds a new block at the beginning (increasing) until you stop increasing and start decreasing.
There are other C2C styles (like half double crochet C2C, also called mini C2C), but the classic beginner version uses double crochet. That is what we will do here.
Supplies for your first C2C swatch
Pick something smooth and not too fuzzy so you can see the blocks clearly.
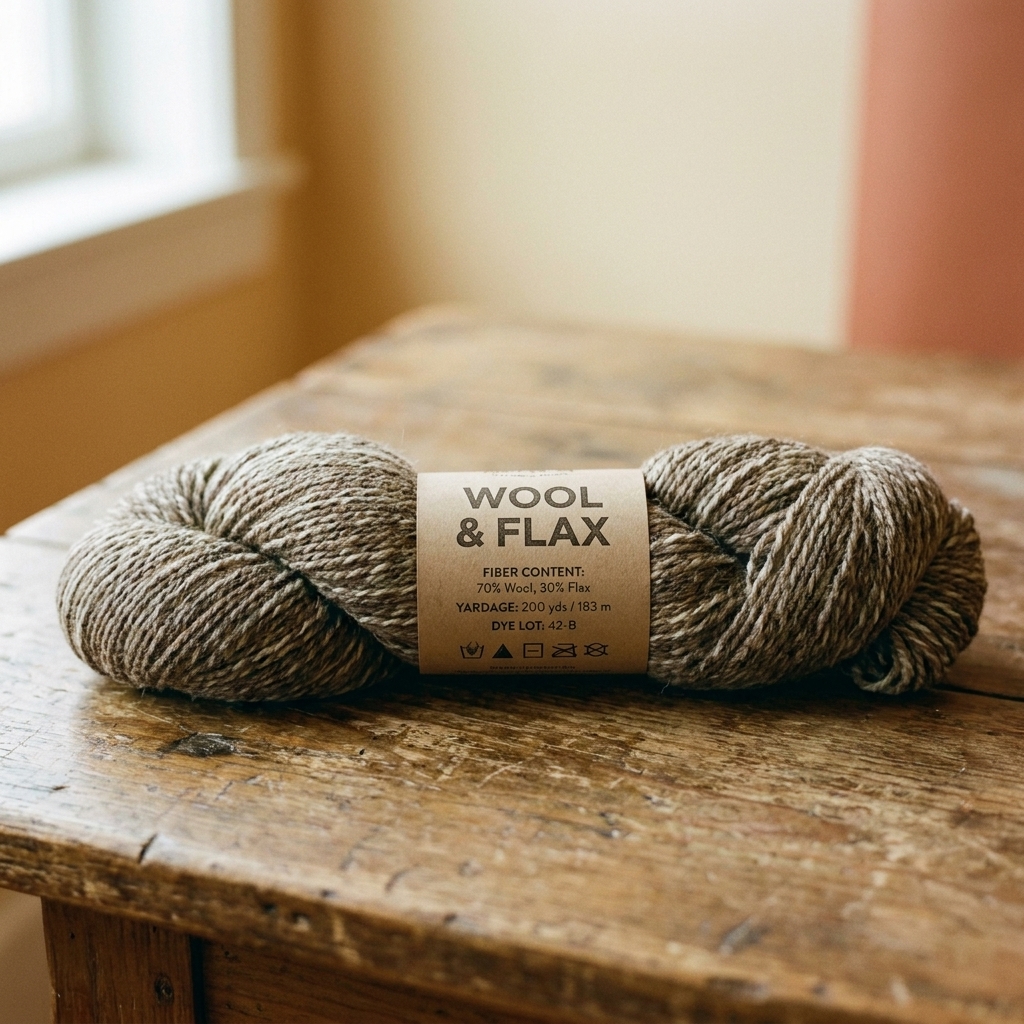
- Yarn: Worsted weight (Category 4) acrylic or wool blend in a light color
- Hook: 5.0 mm (H-8) crochet hook
- Extras: Scissors and a yarn needle for weaving in ends
If you already have yarn picked, simply choose the hook size recommended on the yarn label and you will be in the cozy zone.
C2C basics: the block recipe
Quick translation for the abbreviations you will see:
ch= chaindc= double crochetsl st= slip stitch
The C2C block (tile)
Most classic C2C patterns use this same tile:
ch 3(this forms the chain-3 space at the side of the tile)3 dcinto that same chain-3 space
That is the block. The diagonal magic is in how you travel from one space to the next.
The between-block move
To get from one block space to the next, you do one simple move:
sl stinto the next chain-3 space
Once you are in that space, you make the next block: ch 3, then 3 dc in the same space.
Where do I put my hook?
In C2C, you usually work into chain-3 spaces, not into individual stitches. Those spaces are your “little doorways” from block to block.
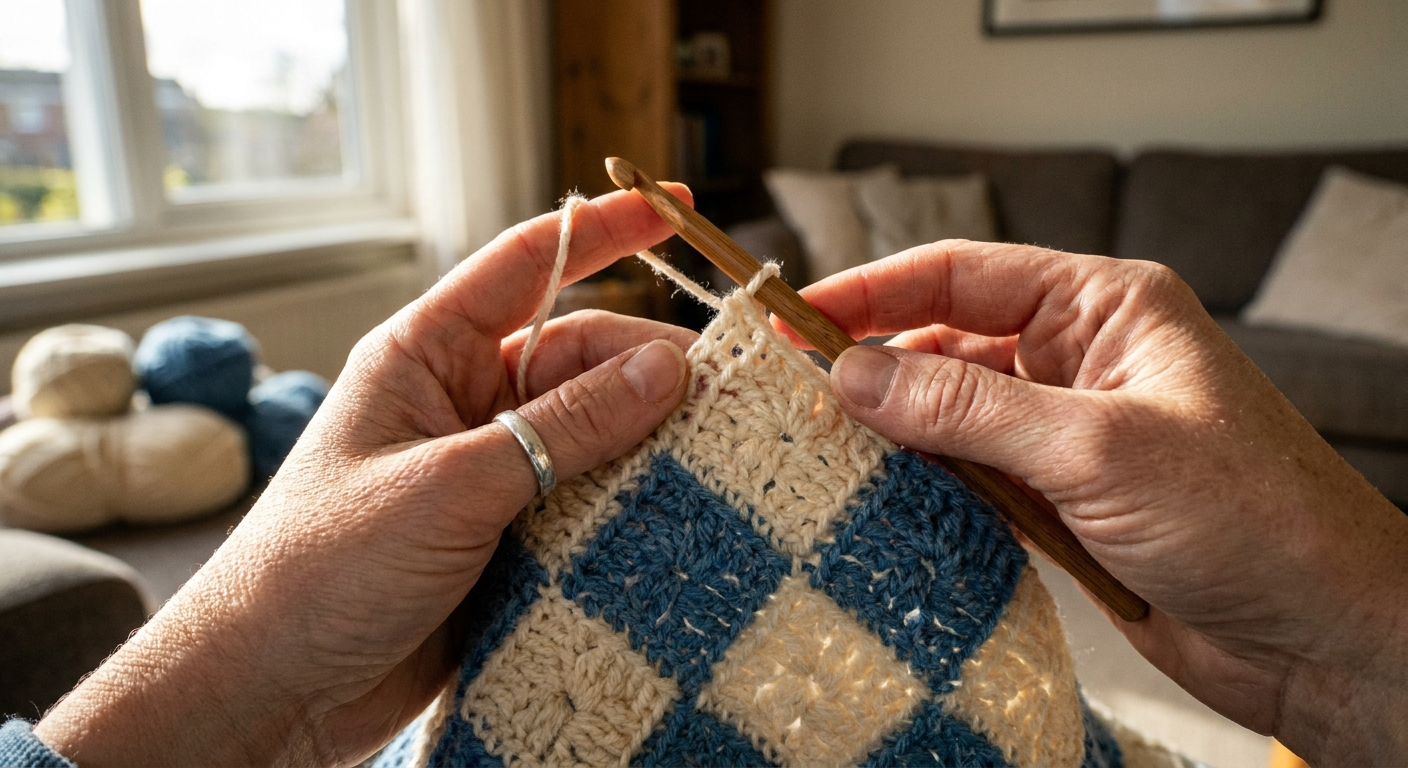
How to start C2C (Row 1 and Row 2)
We will build the very first corner. Take it slowly. Your stitches are learning where they live.
Row 1 (your first block)
ch 6- Working into the 4th chain from the hook, make
1 dc - Make
1 dcin each of the next 2 chains (3 dc total)
You have made one block. That initial ch 6 includes a little gap that counts as a chain-3 space later. It is the gap made by the first 3 chains of your ch 6.
Row 2 (increase to 2 blocks)
ch 6and turn your work- Work
1 dcin the 4th chain from the hook, then1 dcin each of the next 2 chains (this is your first block of the row) - Slip stitch into the chain-3 space on the previous row (the gap made by the first 3 chains of Row 1)
ch 3, then work3 dcinto the same chain-3 space
Now you have 2 blocks, stacked diagonally and actually connected, which is the secret sauce.
How the increase works
For classic C2C, you increase by starting each new row with a brand-new block built from ch 6. That fresh block becomes the first block on the new diagonal row.
At the start of every new row, you turn your work. Then you work across the row by repeating the same rhythm in each available chain-3 space: sl st to the next space, then make a block there (ch 3, 3 dc).
Keep going until you have worked a block into the last chain-3 space of the row. When you reach the end of a row, that row is complete. On the next row, you will turn again as part of the new row start.
Increase row checklist
- Start of row: turn your work
- Make the new edge block:
ch 6, thendcin the 4th chain from the hook and in the next 2 chains (3 dc total) - For each remaining chain-3 space:
sl stinto the next chain-3 space, thench 3+3 dcin that same space - End of row: you should have one more block than the row before
If your edges look bumpy, check your turning chain. The chain-6 at the start is doing two jobs: it creates a block and it creates the chain-3 space you will work into later.
How to count blocks
In C2C, we count blocks, not stitches. It is wonderfully tidy.
- Count along one edge (one side of your triangle or square). Each visible tile is one block.
- Row count equals block count on the edge while increasing. Example: after you complete 10 rows, your edge will be 10 blocks long.
A helpful habit: pause at the end of each row and count the blocks you just made. Catching an oops on Row 6 is much kinder than discovering it on Row 60.
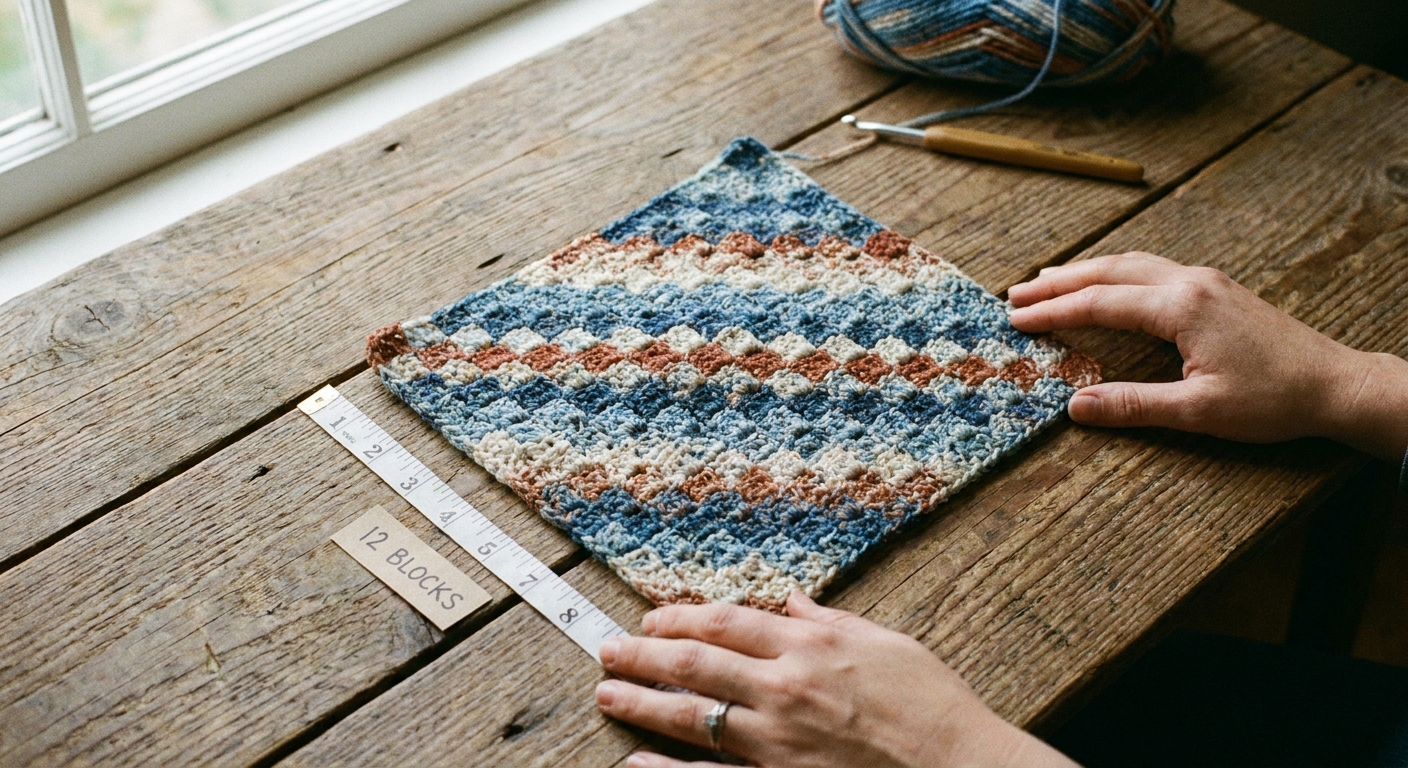
How to decrease in C2C
You decrease when you want to stop the piece from getting wider. In a square, you increase until the two edges are the same length you want, then you decrease until you close the final corner.
The decrease is simple: instead of building a new block with ch 6, you slip stitch over to the next chain-3 space so you can start working blocks without adding width.
Decrease row step-by-step
- Turn your work.
- Slip stitch across the top of the first 3 double crochets: work a slip stitch into the top of each dc (under the top loops, just like you would for a normal stitch).
- Slip stitch into the chain-3 space.
ch 3, then work3 dcinto the same chain-3 space (your first block of the row).- Continue across the row:
sl stinto the next chain-3 space, thench 3and3 dcinto that same space, repeat.
At the end of a decrease row, you will have one fewer block than the row before.
When do I start decreasing for a rectangle?
Rectangles have three phases:
- Phase 1: Increase until you reach the rectangle’s width (count blocks along the top edge).
- Phase 2: Keep the width steady while the length grows. Practically, that usually means you will increase on one edge and decrease on the other, so one side keeps expanding while the opposite side stays even.
- Phase 3: Decrease on both ends to close the final corner.
Which edge you increase on depends on which side you want to keep growing. The good news is you do not have to memorize it. Count your blocks, and let the edges tell you what is happening.
Practice project: a small C2C square
This mini square is your training ground. No pressure. Just blocks behaving politely.
Goal
A 10-block-by-10-block practice square using worsted weight yarn and a 5.0 mm (H-8) hook.
Instructions
- Increase section: Work C2C increase rows (turn each row) until one edge measures 10 blocks.
- Decrease section: Then switch to C2C decrease rows (turn each row) until you are back to 1 block.
What you should see
- First you will have a triangle that grows: 1, 2, 3 blocks per row.
- At 10 blocks wide, your work will look like a half square.
- After you begin decreasing, the other half forms and you will close into a neat square.
If your square is leaning or lopsided, count your blocks on both edges. C2C is honest. It will always tell you when you added an extra block somewhere.
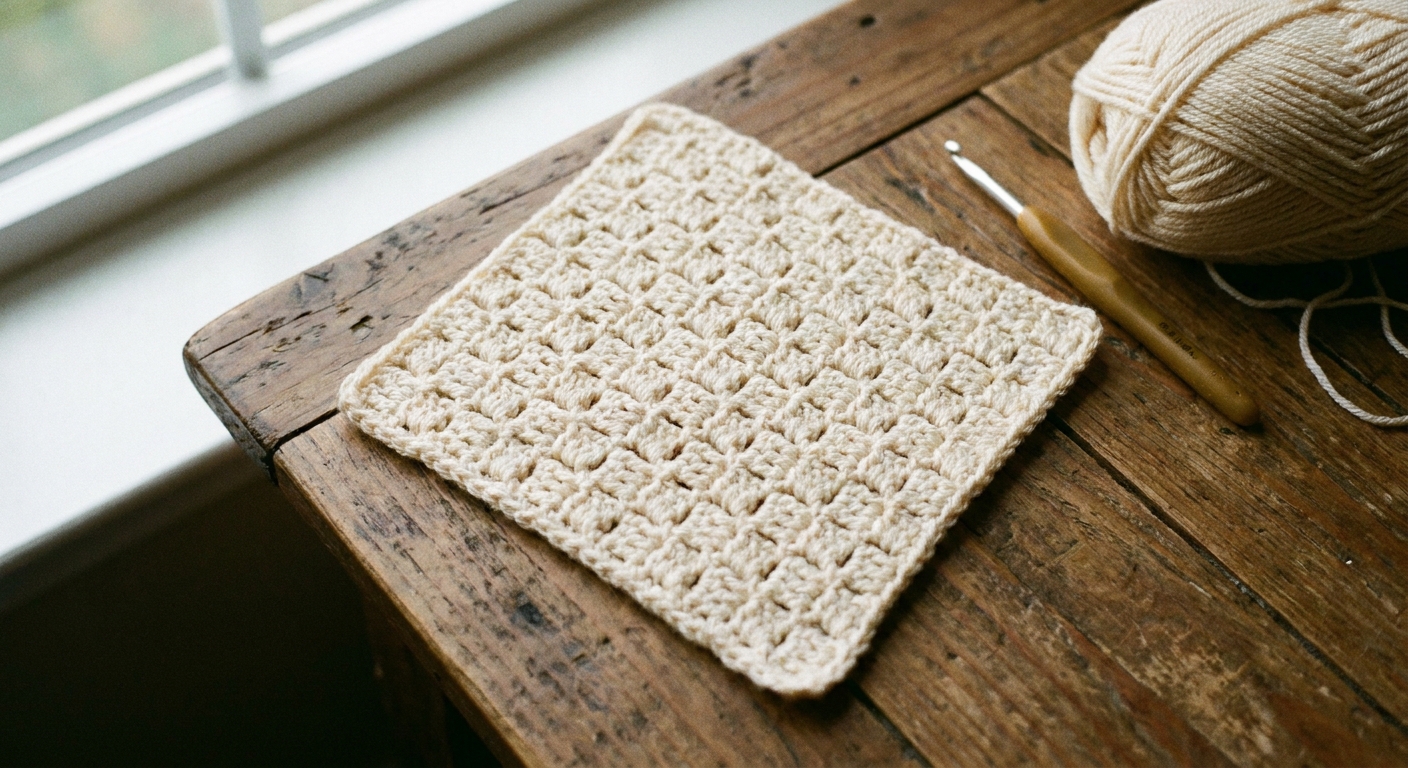
Fasten off and weave in ends
When you finish your final decrease row and have one block left, cut your yarn leaving a tail (around 6 inches is a comfortable amount).
- Yarn over and pull the tail through the last loop on your hook to secure it.
- Thread the tail onto a yarn needle.
- Weave in through the backs of several stitches, change direction once, then trim.
C2C fabric has lots of cozy nooks, which makes weaving in ends pleasantly secure.
Troubleshooting
My blocks have holes that look too big
Try a slightly smaller hook, or tug your chain-3 a bit snugger. C2C naturally has little spaces, but they should look even and intentional.
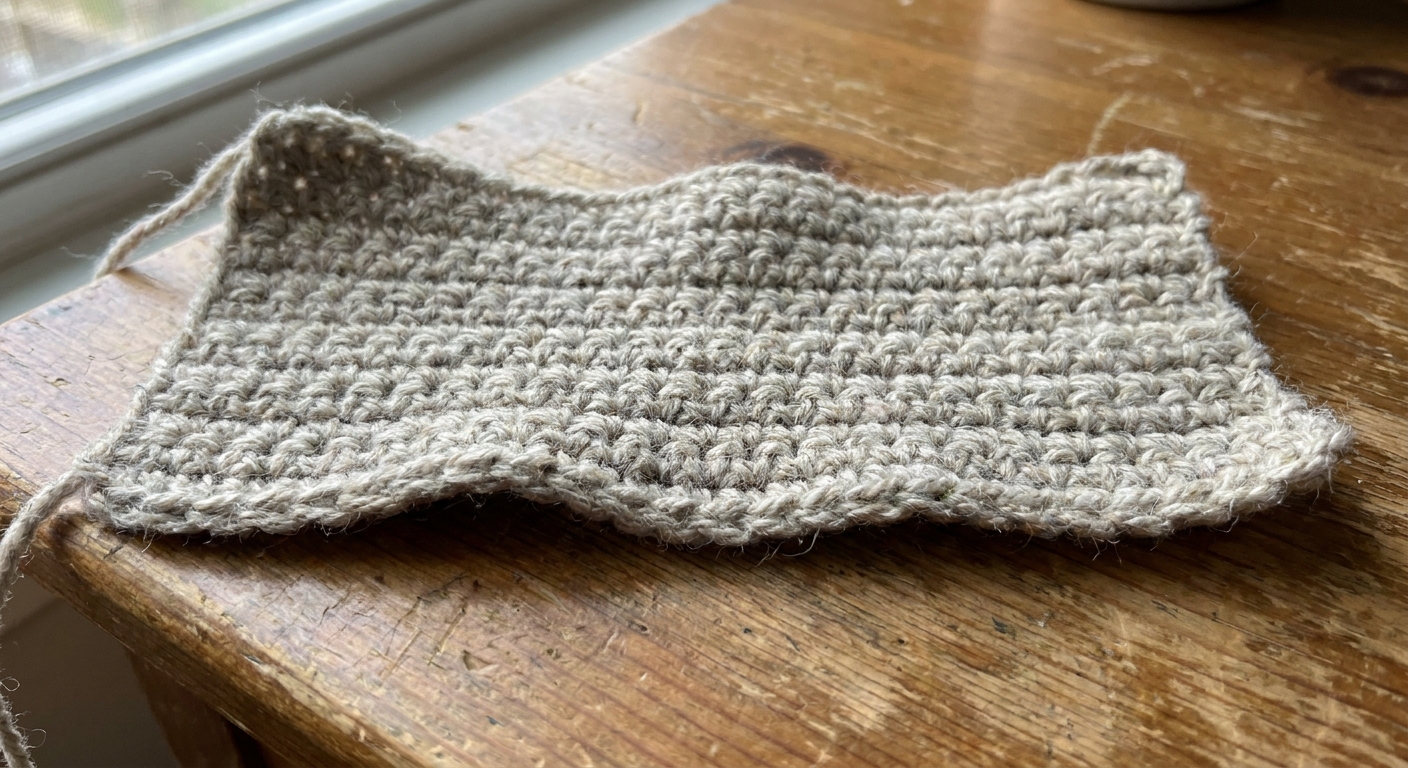
My edges are wavy
This is often a turning or start-of-row issue. Make sure you are turning your work at the start of each row, and on increase rows make sure you are doing ch 6 (not 5, not 7). Also check that you are joining each new block space with a sl st into the chain-3 space before you ch 3 and make your 3 dc.
I lost track of where to put my 3 dc
Look for the chain-3 spaces. If you find yourself trying to work into random stitches, pause and hunt for the next open square space between blocks.
My square is not a square
Count blocks along the edges. If you increased past 10 blocks (or decreased too early), the shape will skew. C2C math is all block counts.
Quick C2C cheat sheet
- Block (tile):
ch 3,3 dcin the same chain-3 space - Between blocks:
sl stinto the next chain-3 space, then make the next block - Increase row start: turn,
ch 6, then dc in the 4th chain from the hook and in the next 2 chains - Decrease row start: turn, sl st in the top of each of the first 3 dc, sl st into the chain-3 space, then
ch 3+3 dcto form the first block - Counting: count blocks along the edge, not stitches
- Square recipe: increase to desired width in blocks, then decrease back to 1
One more cozy tip
If you plan to change colors for stripes or pixel pictures, practice one color change on your swatch first. The best time to learn where to join the new yarn is when your project is only 10 blocks wide and feeling forgiving.
When you are ready, your blanket is just this same square, only bigger. One block at a time. One more row. Then just one more.