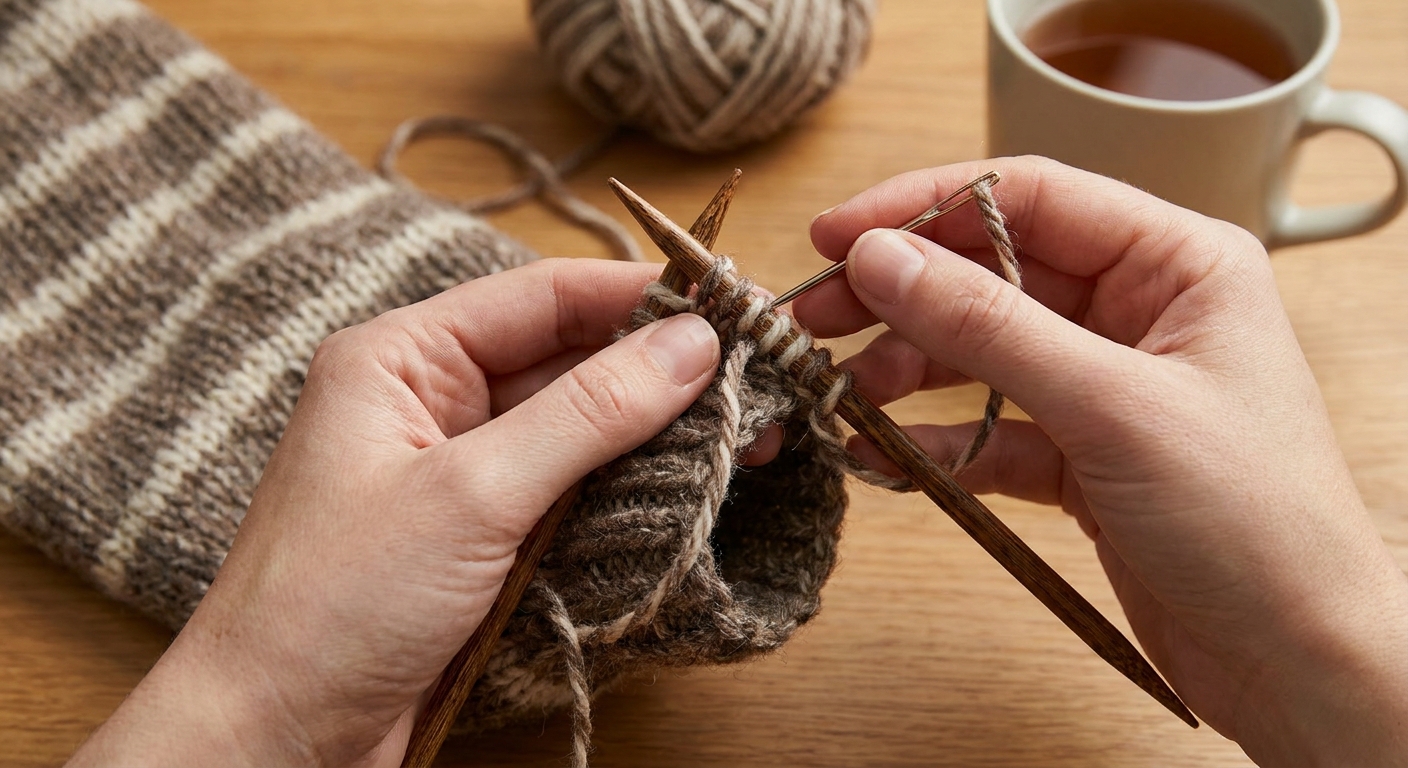
One more row. Then just one more.
If you love a ribbed cuff that looks like it simply grew from the yarn, the Italian tubular cast-on is the tidy little secret. It gives 1x1 rib a rounded, elastic edge with no hard cast-on ridge. It also pairs beautifully with stretchy bind-offs when you want the beginning and end of a project to feel equally comfy.
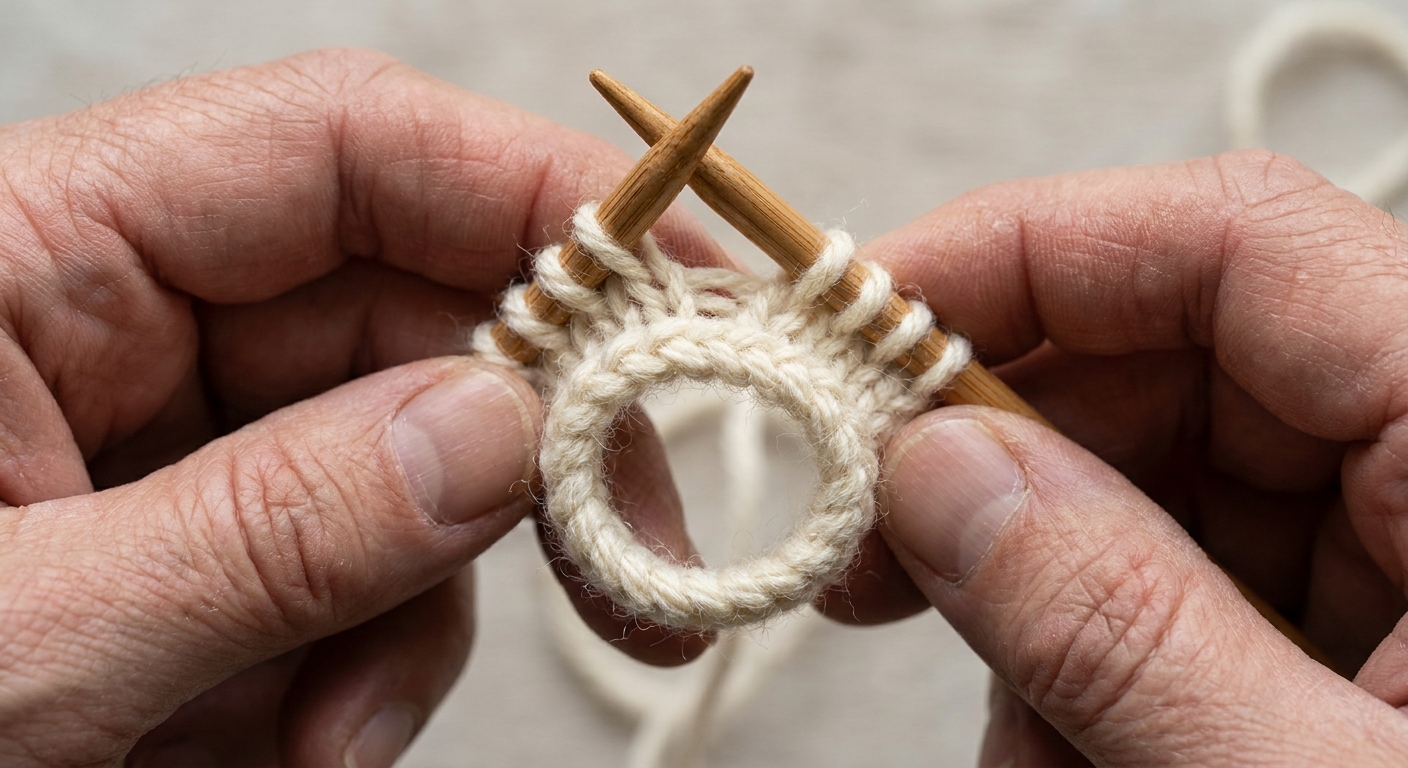
What makes it tubular
The Italian tubular cast-on creates a softly rounded edge that mimics the look of a tiny tube. Instead of a visible cast-on chain sitting at the bottom, the first stitches roll under slightly, making the edge look smooth and continuous.
Compared with a standard long-tail cast-on:
- Italian tubular: rounder, springier, and visually seamless for ribbing.
- Long-tail: fast, sturdy, and neat, but usually forms a clearer line at the edge.
This is why tubular cast-ons are favorites for hat brims, sweater hems, sock cuffs, and mitten cuffs worked in 1x1 rib.
Before you start
Stitch multiple
For 1x1 rib, cast on an even number of stitches. That’s it. Even is the magic word.
What you need
- Your working yarn
- Needles for your project
- A spare needle or the second needle tip if you are using circulars
- Optional but helpful: a removable stitch marker to mark the first stitch
Yarn tail note: This method uses a long-tail setup, so leave a tail that feels generous. A practical rule is about 1 inch (2.5 cm) per stitch, plus an extra 6 to 8 inches (15 to 20 cm) for weaving in. If you would rather not guess, wrap the tail around your needle about 10 times, measure that length, then multiply for your stitch count.
If you are joining in the round: Cast on, then lay your needle flat and make sure every stitch is facing the same way before you join. A tubular edge is so smooth that a twist can hide until it is too late.
Step 1: Cast on
The heart of the Italian tubular cast-on is an alternating setup that matches 1x1 rib. You will cast on stitches so they already want to become knits and purls.
This is the part many tutorials skip in writing, so here is the concrete, do-this-next version.
Yarn and hand position
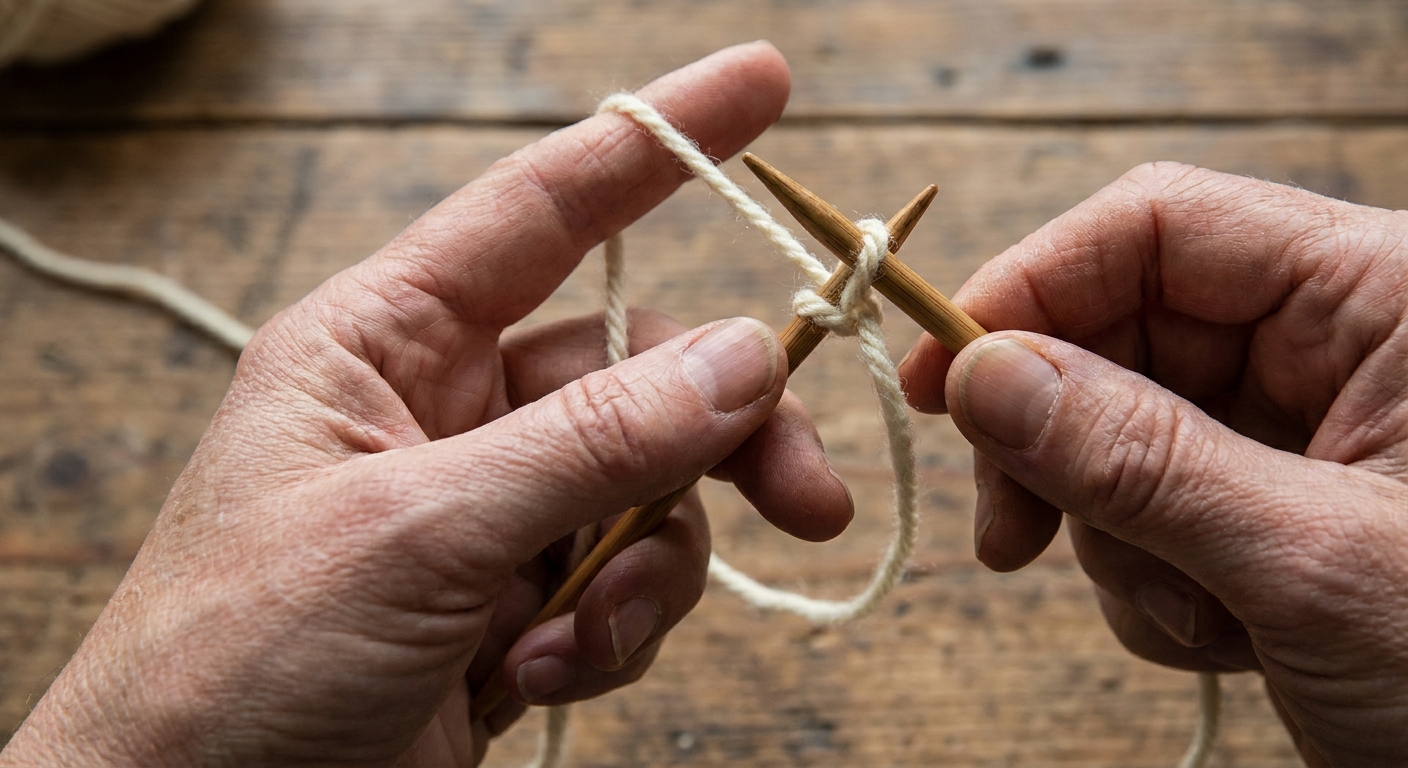
- Make a slipknot and place it on your needle. This counts as your first stitch unless your pattern says otherwise.
- Hold the needle in your right hand.
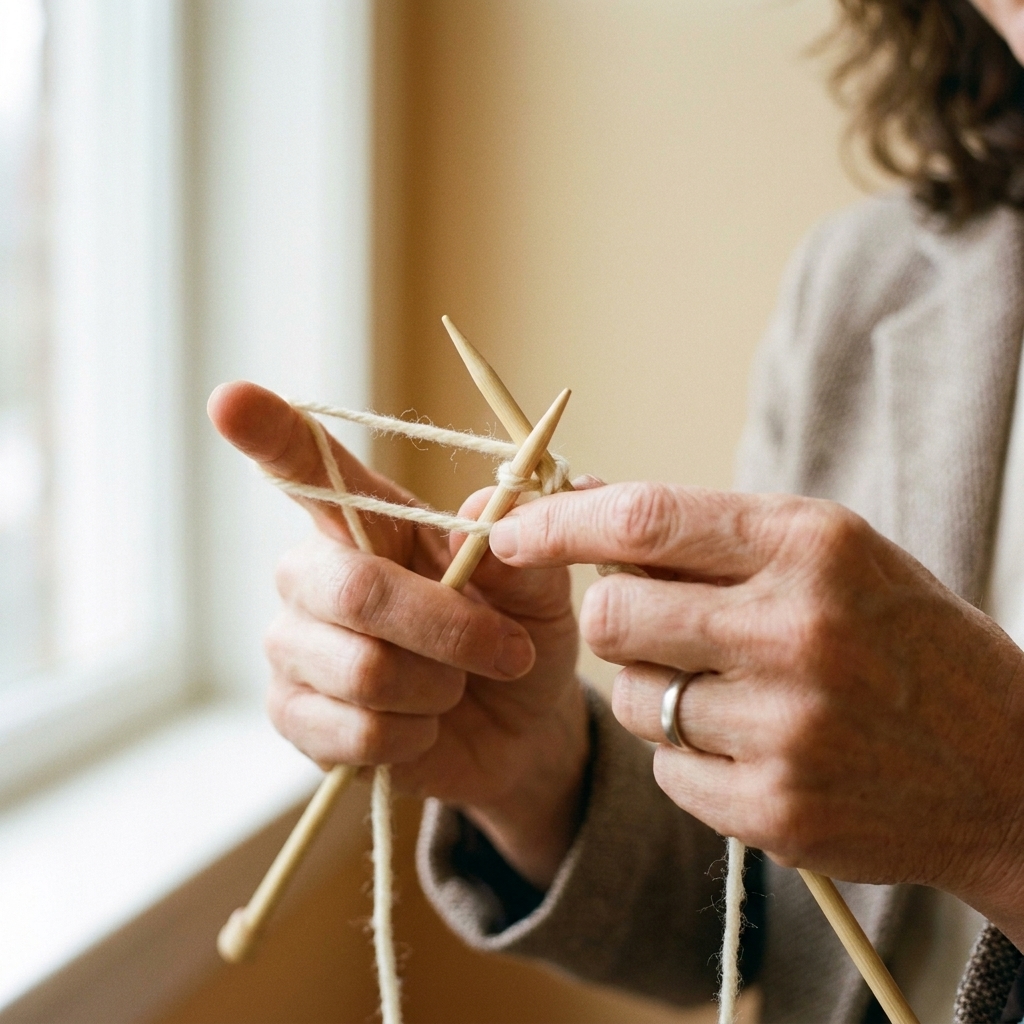
- Put your tail yarn over your thumb and your working yarn (from the ball) over your index finger, like a standard long-tail cast-on. Both strands meet in your palm.
You will repeat two moves: one that makes a knit-setup stitch, and one that makes a purl-setup stitch.
Repeat for 1x1 rib
Knit-setup stitch (this will become a knit)
- Bring the needle tip up through the loop on your thumb (from below).
- Go over the working yarn on your index finger.
- Bring that working yarn back down through the thumb loop.
- Drop the thumb loop and snug the stitch on the needle.
Purl-setup stitch (this will become a purl)
- Bring the needle tip down through the loop on your index finger (from above).
- Go under the tail yarn on your thumb.
- Bring that tail yarn back up through the index loop.
- Drop the index loop and snug the stitch on the needle.
Keep alternating those two stitches until you reach your (even) stitch count.
Counting that keeps you sane
I like to count in pairs because 1x1 rib is built in pairs:
- Count: 1-2, 1-2, 1-2… instead of 1, 2, 3, 4, 5…
- Each pair becomes one knit and one purl in the rib.
If your pattern says “Cast on 88 stitches,” you can think “44 pairs.” It is oddly soothing, and it makes miscounts easier to spot.
Quick visual check
Before you move on, look at the stitches on your needle. They should already look like they are alternating personalities. Every other stitch will have its leading leg sitting differently, and you should feel a steady rhythm as you slide along the needle: knit-setup, purl-setup, knit-setup, purl-setup.
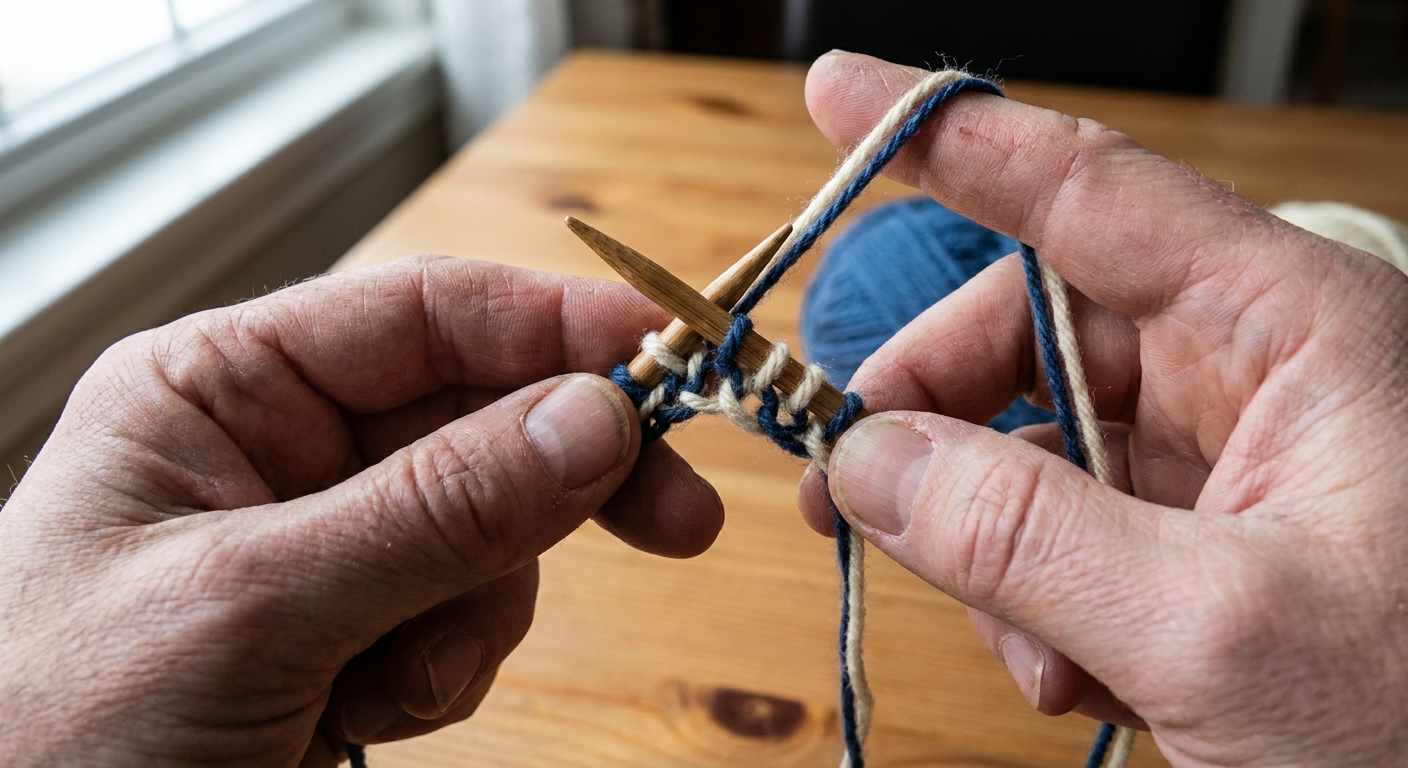
Step 2: Foundation rows
After the alternating setup is on your needle, the cast-on still looks a little loose and curly. That is normal. The next two foundation rows are what turn it into a stable, rounded edge.
These rows are not ribbing yet. Think of them as a locking rhythm: work the knit stitches, and slip the purl stitches with the yarn held where it needs to be. That is what creates the little tube the ribbing will sit on.
Important: The foundation rows are different depending on whether you are working flat (back and forth) or in the round. This is the spot where people get tripped up.
If you are knitting flat
You will work Foundation Row 1, turn, then work Foundation Row 2. Because you turned the work, Foundation Row 2 uses the same instructions as Foundation Row 1.
Turning tip: At the end of the row, make sure your yarn is where the instructions leave it. Do not tug it tight. Then turn your work and begin again.
Foundation Row 1 (flat)
- Knit the knit-setup stitches.
- Slip the purl-setup stitches purlwise with the yarn held in front.
You should see the yarn traveling across the front on the slipped stitches. That float is part of the structure.
Foundation Row 2 (flat)
- Knit the knit stitches.
- Slip the purl stitches purlwise with the yarn held in front.
If you are knitting in the round
You will work both foundation rounds without turning.
Foundation Round 1 (in the round)
- Knit the knit-setup stitches.
- Slip the purl-setup stitches purlwise with the yarn held in front.
Foundation Round 2 (in the round)
- Slip the knit stitches purlwise with the yarn held in back.
- Purl the purl stitches.
Now you will see floats on the back for the slipped knits. After these two foundation rows or rounds, the edge starts looking noticeably rounder and more finished.
Then start your 1x1 rib
Once the two foundation rows or rounds are complete, begin working 1x1 rib as normal:
- K1, P1 across (or follow your pattern’s ribbing instruction).
Counting check: When you begin ribbing, your stitches should naturally alternate. If you find two knits together or two purls together, it usually means a stitch got flipped in the setup, or you worked a stitch you meant to slip in the foundation rows.
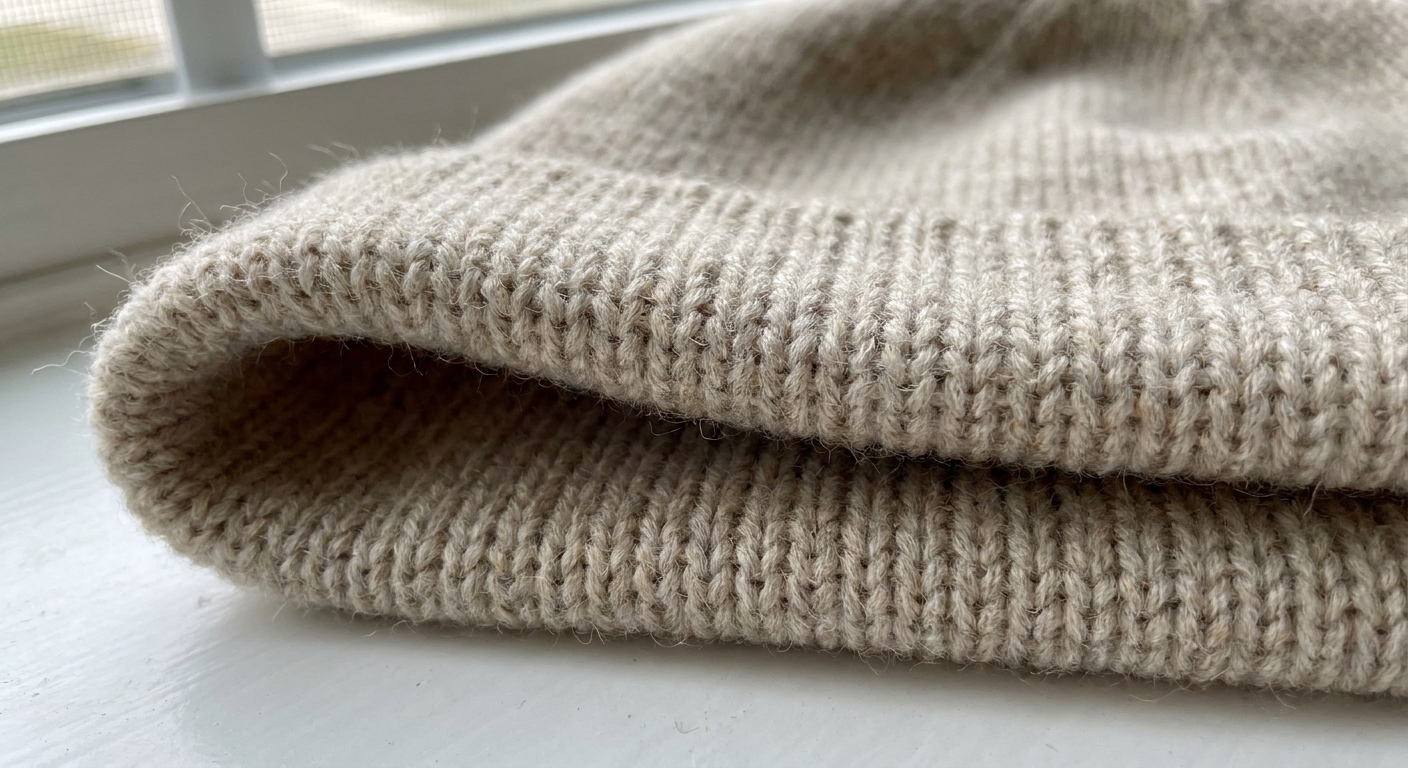
Signs it is working
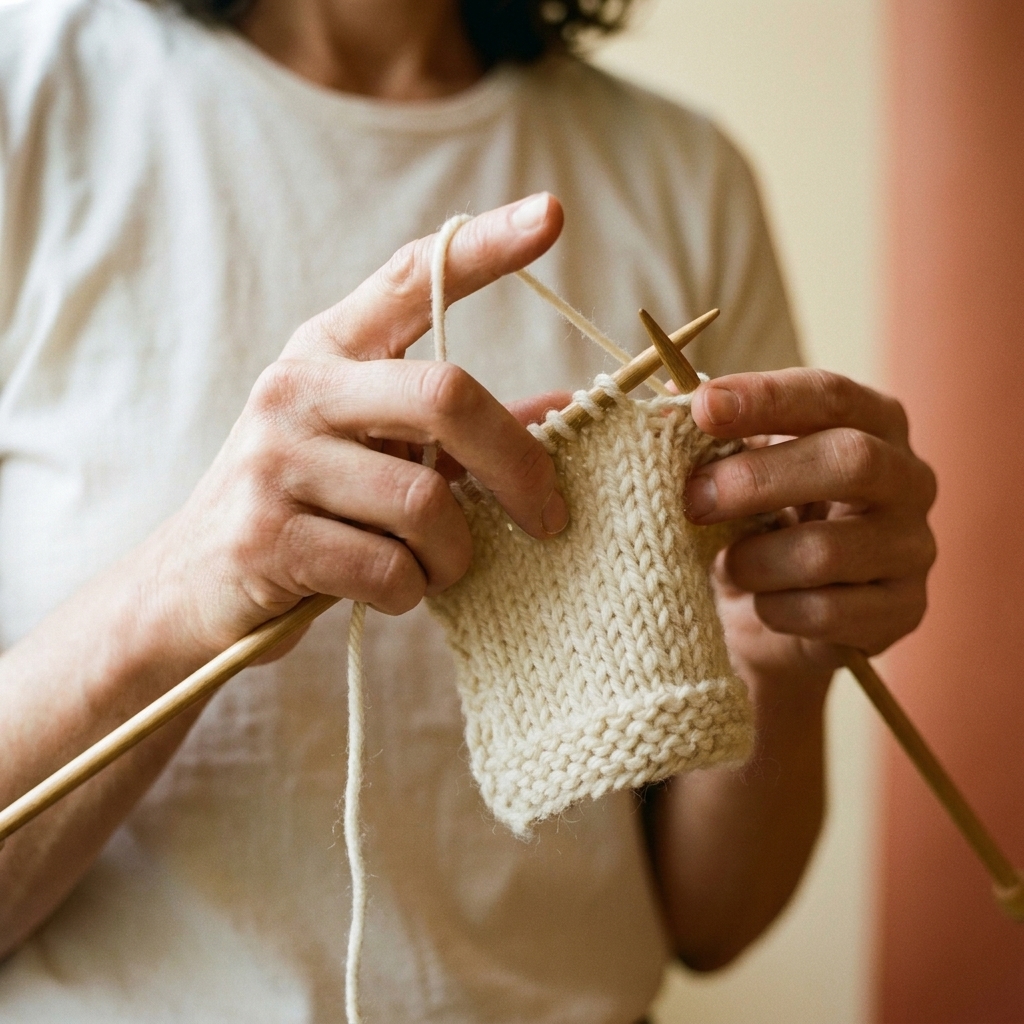
- The edge looks rolled and soft, not like a flat chain.
- The first rib row looks clean, with columns lining up quickly.
- The cast-on stretches comfortably without a tight, stingy feeling.
If it feels tight, the most common fix is simple: use a needle one size larger just for the cast-on and foundation rows, then switch back to your project needle for the ribbing. If it looks wobbly or ruffly instead, go the other way and use a smaller needle for the cast-on and foundation rows, or snug up your tension a touch.
Counting tricks
Here are two cozy counting tricks that help especially when you are casting on a big number for a sweater hem.
1) Count pairs
Because 1x1 rib repeats every two stitches, count in pairs:
- 10 stitches becomes 5 pairs.
- 80 stitches becomes 40 pairs.
If you lose count, it is easier to recount pairs quickly along the needle.
2) Mark every 10
Use removable markers or small loops of scrap yarn and mark every 10 stitches as you cast on. You will still need an even total, but markers prevent the classic “I was at 63… or was it 73?” moment.
Troubleshooting
It looks loose at first
That’s normal before the foundation rows. The structure appears after you work the two locking rows or rounds and then a few rows of ribbing.
I mix up yarn in front and back
For these foundation rows, here is the memory helper:
- Slip a purl stitch: yarn stays in front.
- Slip a knit stitch: yarn stays in back.
If you notice long floats getting pulled too tight, relax your tension on the slipped stitches. Let the yarn travel without tugging.
My first rib row does not line up
Check three things:
- Did you accidentally knit or purl a stitch that was meant to be slipped in one of the foundation rows or rounds?
- Are you starting with the stitch your pattern expects at the edge? Some patterns want the first rib stitch to be a knit, others want a purl.
- If you are in the round, did you join without twisting? A twist can make ribbing look confused even when your stitch sequence is right.
It stretches, but it flares
A tubular edge should be elastic, but it should not ruffle. Try a smaller needle for the cast-on and foundation rows, or keep your tension a touch firmer while making the alternating setup. If you are getting flare only at the join, re-check that first handful of stitches around the needle for uneven snugging.
When to use it
This cast-on is especially lovely when:
- You are starting 1x1 rib and want a rounded, professional-looking edge.
- You want a comfortable stretch for cuffs, brims, and hems.
- You want the cast-on edge to feel as soft as your bind-off.
If your pattern begins with 2x2 rib, there are tubular approaches for that too, but the steps change. For this page, we are keeping it snug and focused on 1x1 rib.
Quick recap
- Cast on an even number of stitches for 1x1 rib.
- Use the alternating Italian cast-on so stitches are set up as knits and purls.
- Work two foundation rows or rounds to lock the edge (flat and in the round differ).
- Then begin K1, P1 ribbing.
- Count in pairs to stay sane and stitchy.
If you’d like, tell me what you’re casting on for (hat brim, sweater hem, socks), plus your stitch count and whether you are knitting flat or in the round, and I can help you sanity-check your setup before you commit to “just one more row.”